RCS Rich Card Carousel Template
You can create a rich card carousel template. This template allows you to send RCS message containing multiple rich cards in a horizontally scrollable carousel. It’s designed to deliver visually engaging, interactive content beyond plain text or SMS. A carousel message consists of 2 to 10 rich cards, each with over 160 characters or rich media. You have the option to add a button in the rich card that includes URL Action, Reply, Dialer Action, View Location (Lat/Long), and Calendar event.
You have options to add chips such as:
- URL Action - Add URL to the rich card carousel template.
- Reply - Add reply message to the rich card carousel template. This message will help the end user to set the context for their reply message. If they click on the reply message provided while creating a template, then the same message will be received.
- Dialer Action - Add phone number for end-users.
- View Location (Lat/Long) - Add location to the rich card carousel template.
- Create Calendar Event - Create an event and share the date in the rich card carousel template.
To create an RCS rich card carousel template, perform the following steps:
- Follow the step 1 to step 3 of RCS Text Template.
The Template Details step appears.
- In the Template Details step, perform the following:
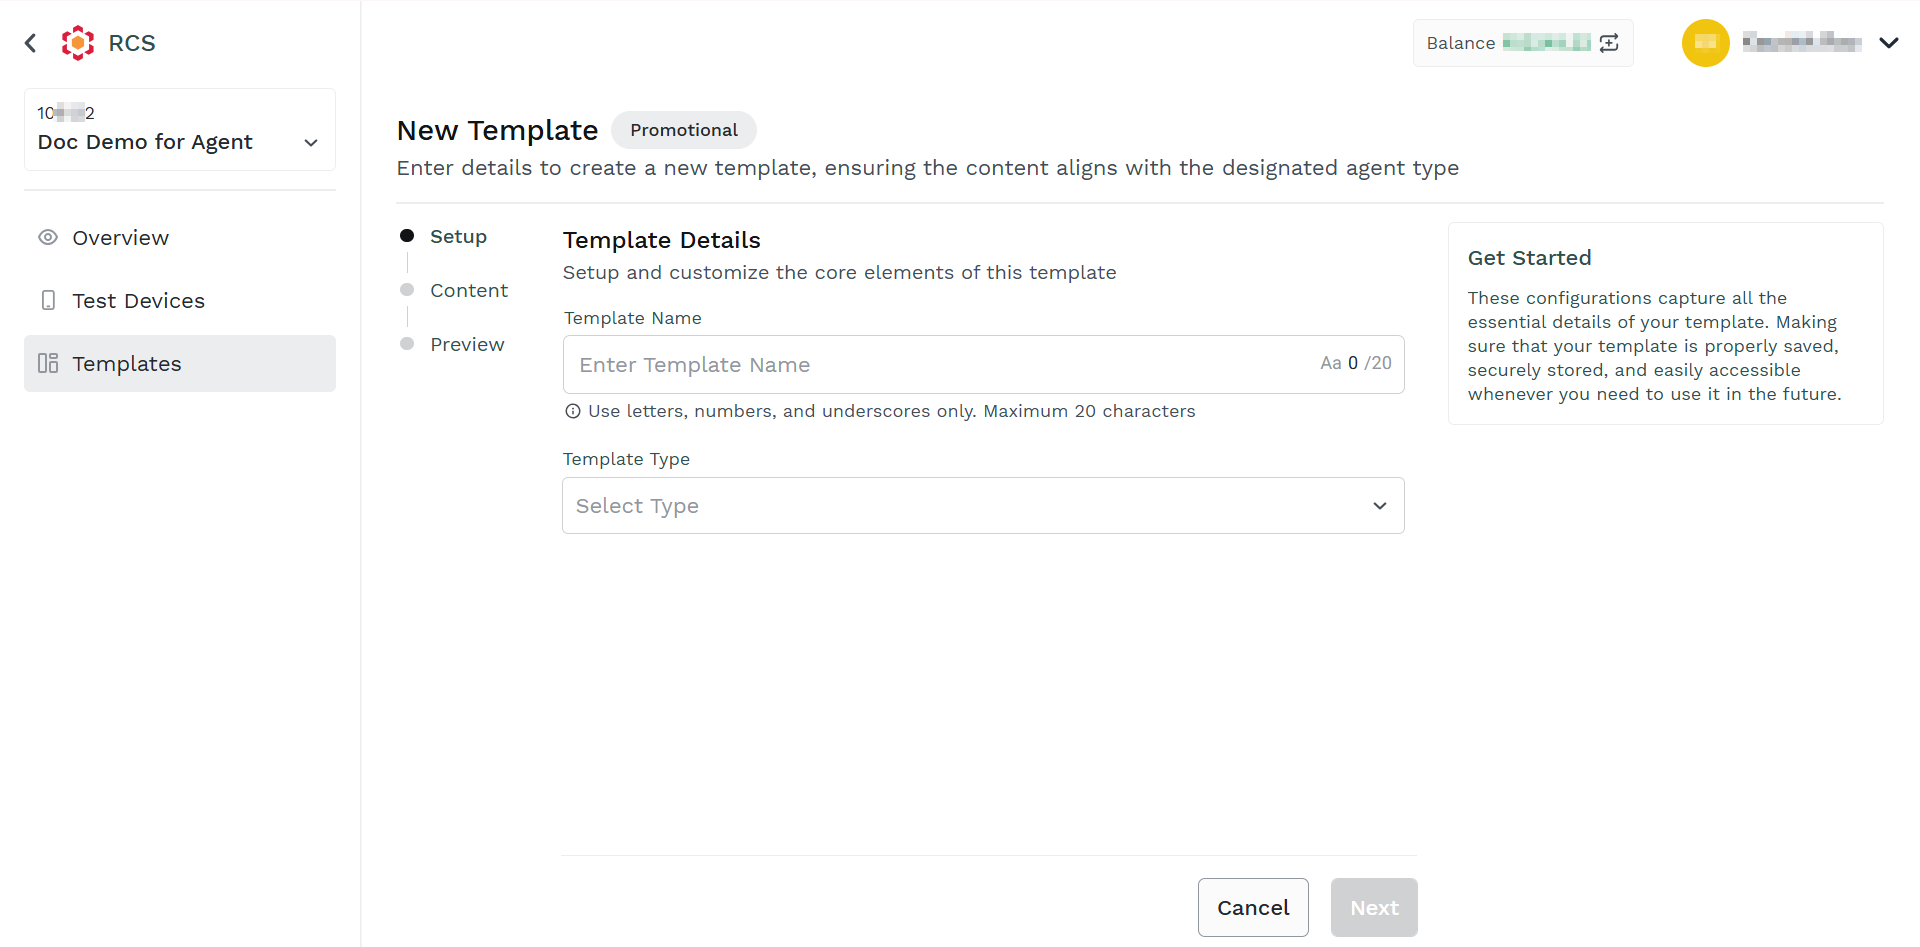
- In the Enter Template Name field, enter the template name. Only alphanumeric characters of a maximum of 20 characters are supported.
- In the Select Type drop-down, click the drop-down icon and then select the Rich Card Carousel option.
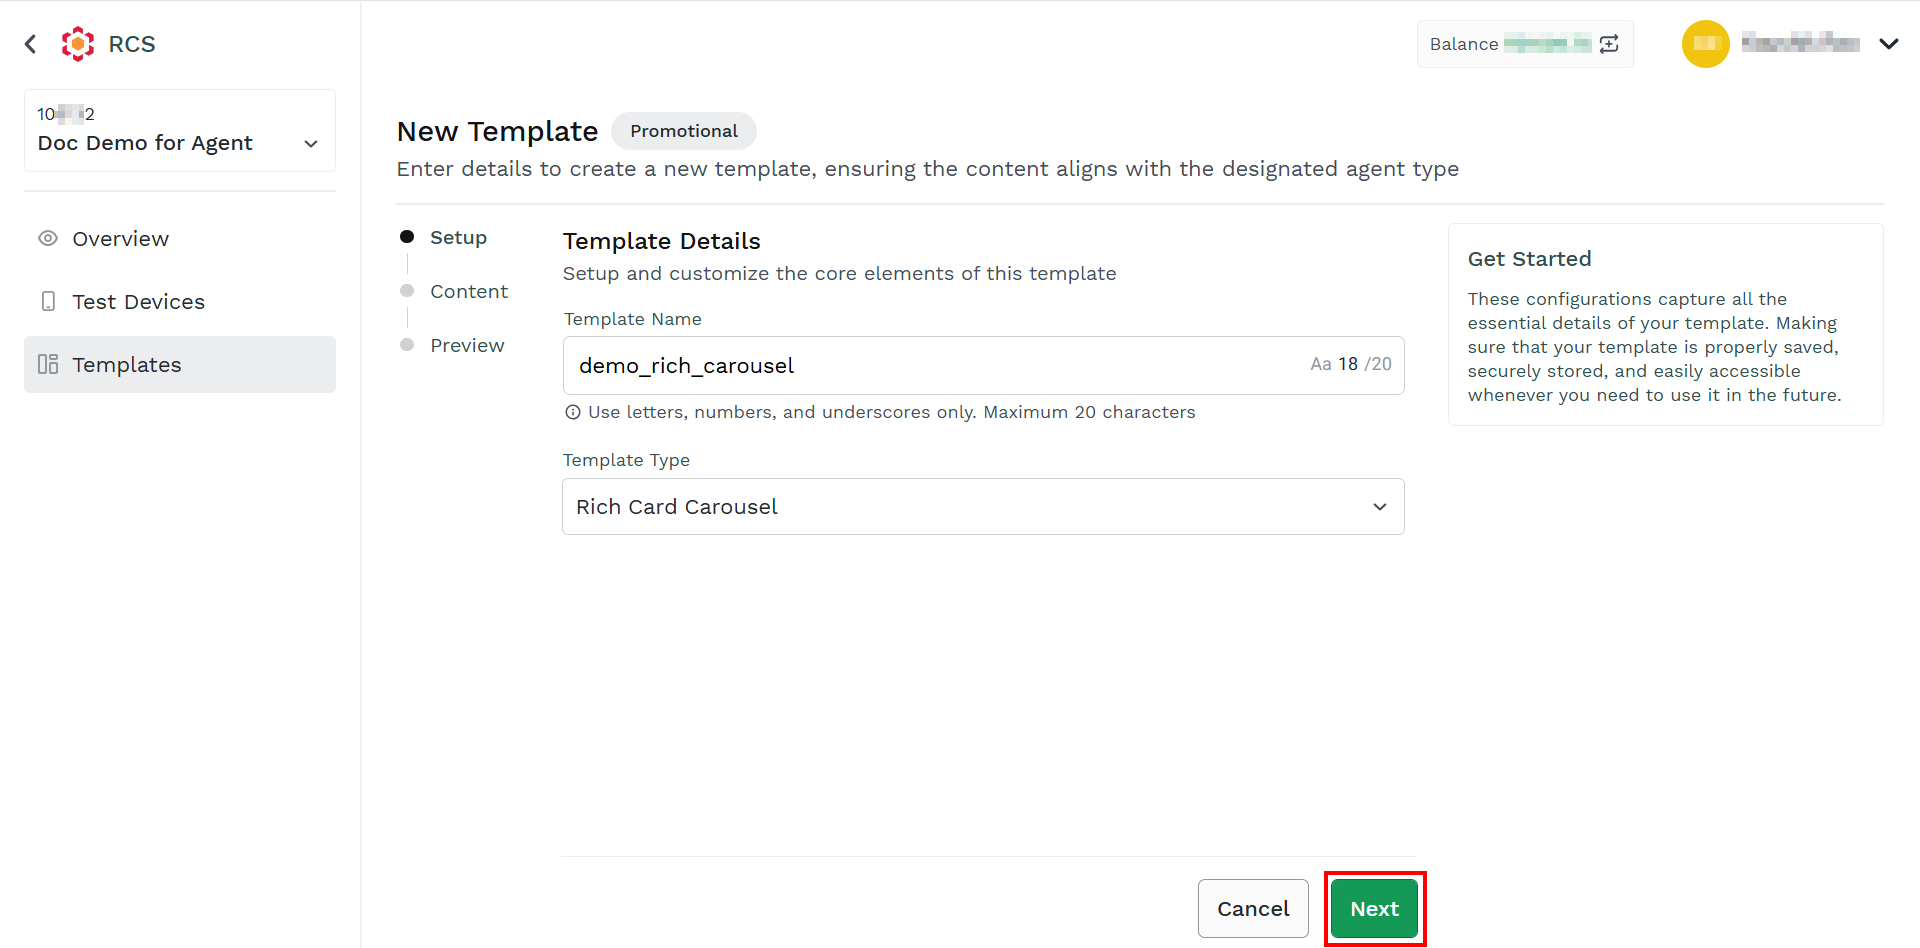
- Click Next.
The Add Content step appears.
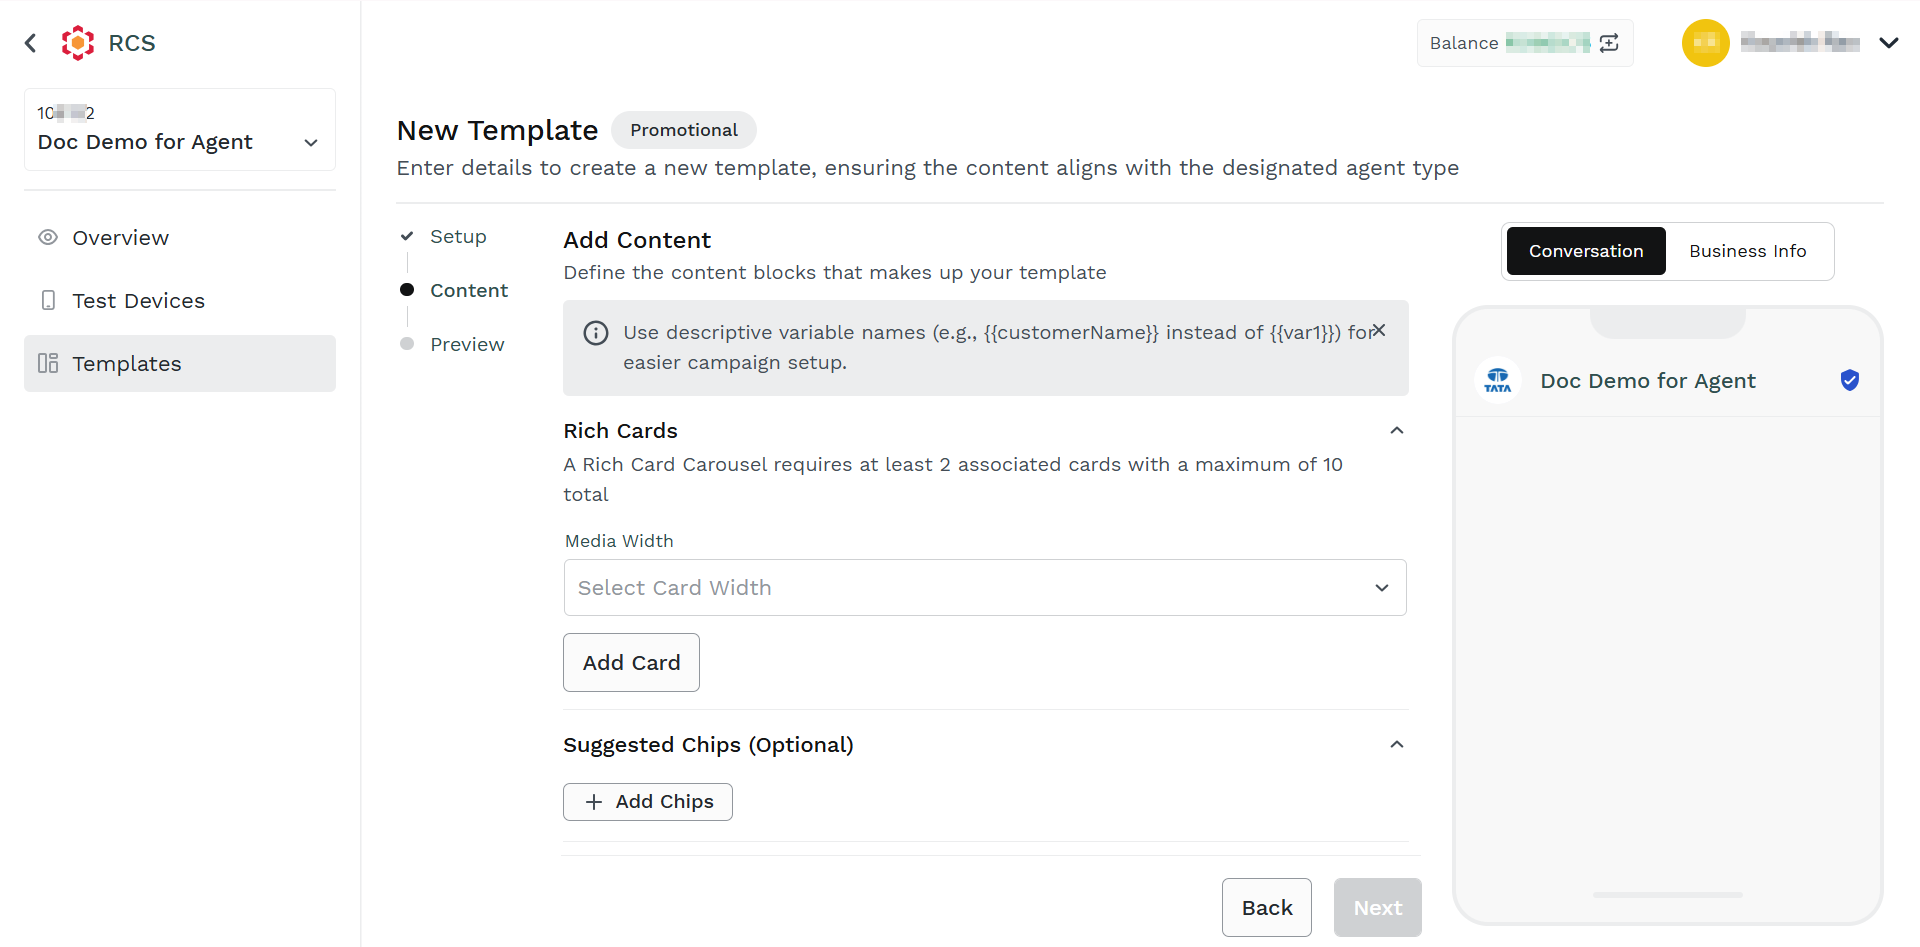
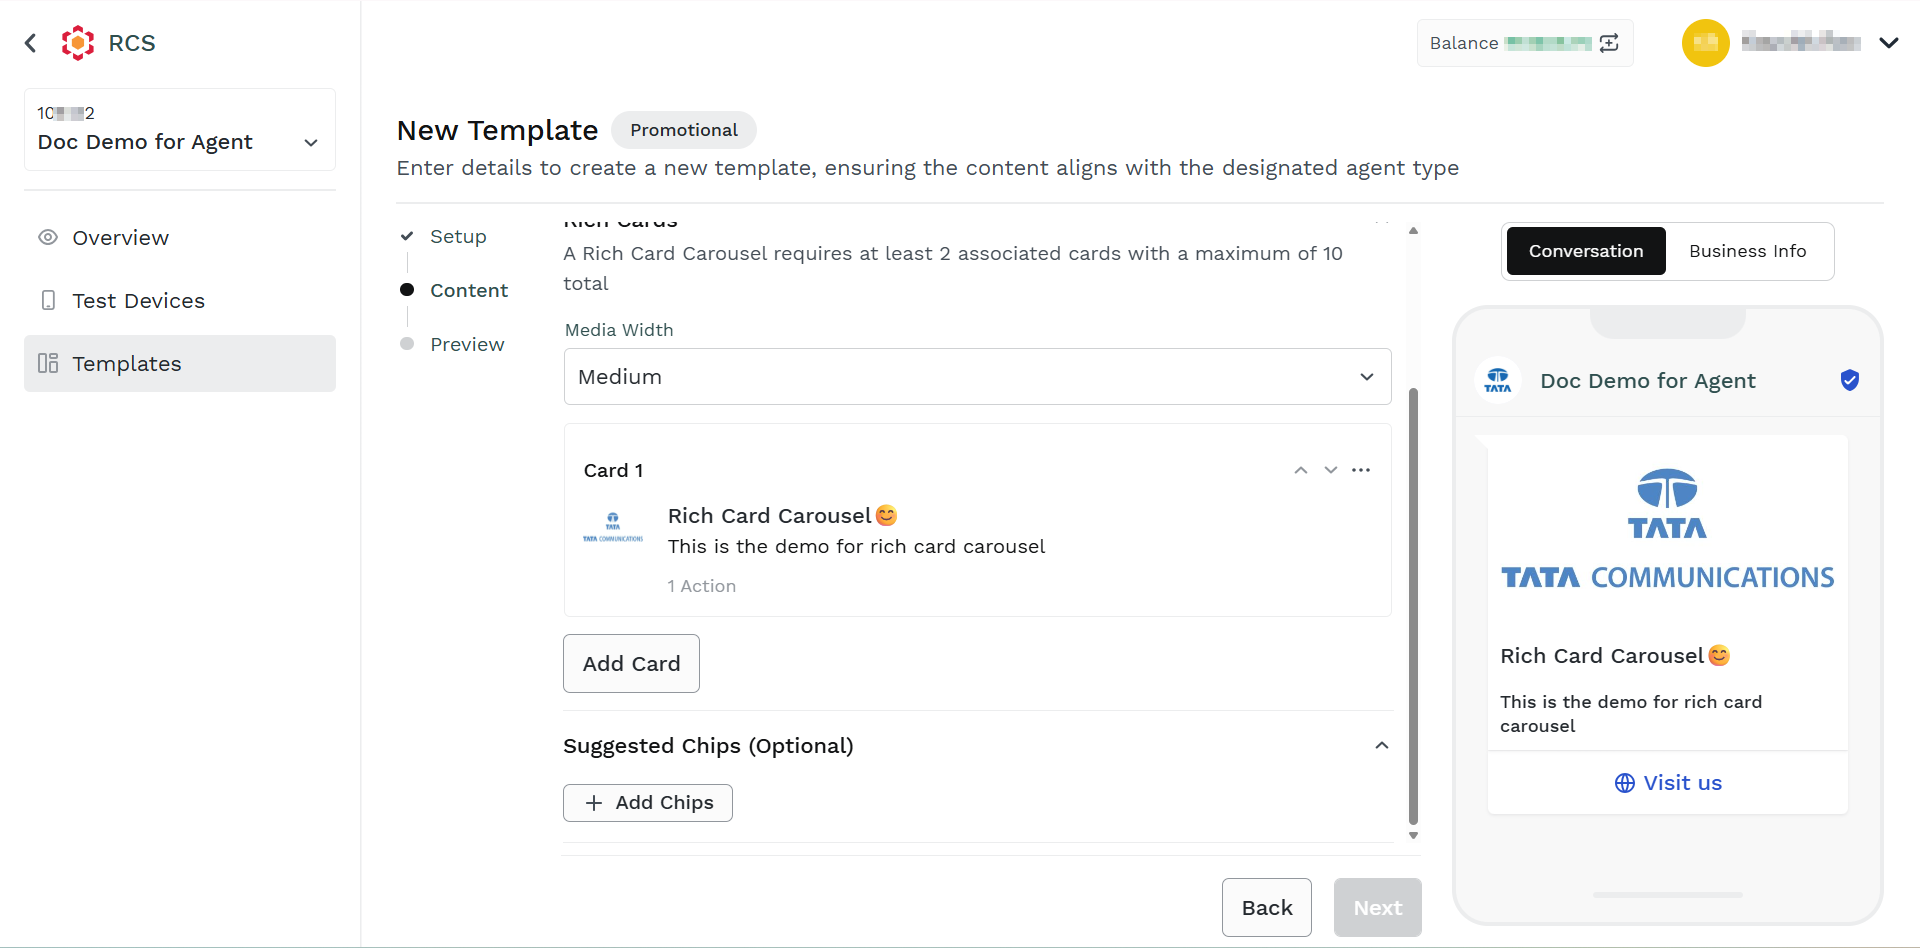
- In the Media Width drop-down field, click the drop-down icon and then select one of the following options:
- Small - for a small0width card.
- Medium - for a medium-width card.
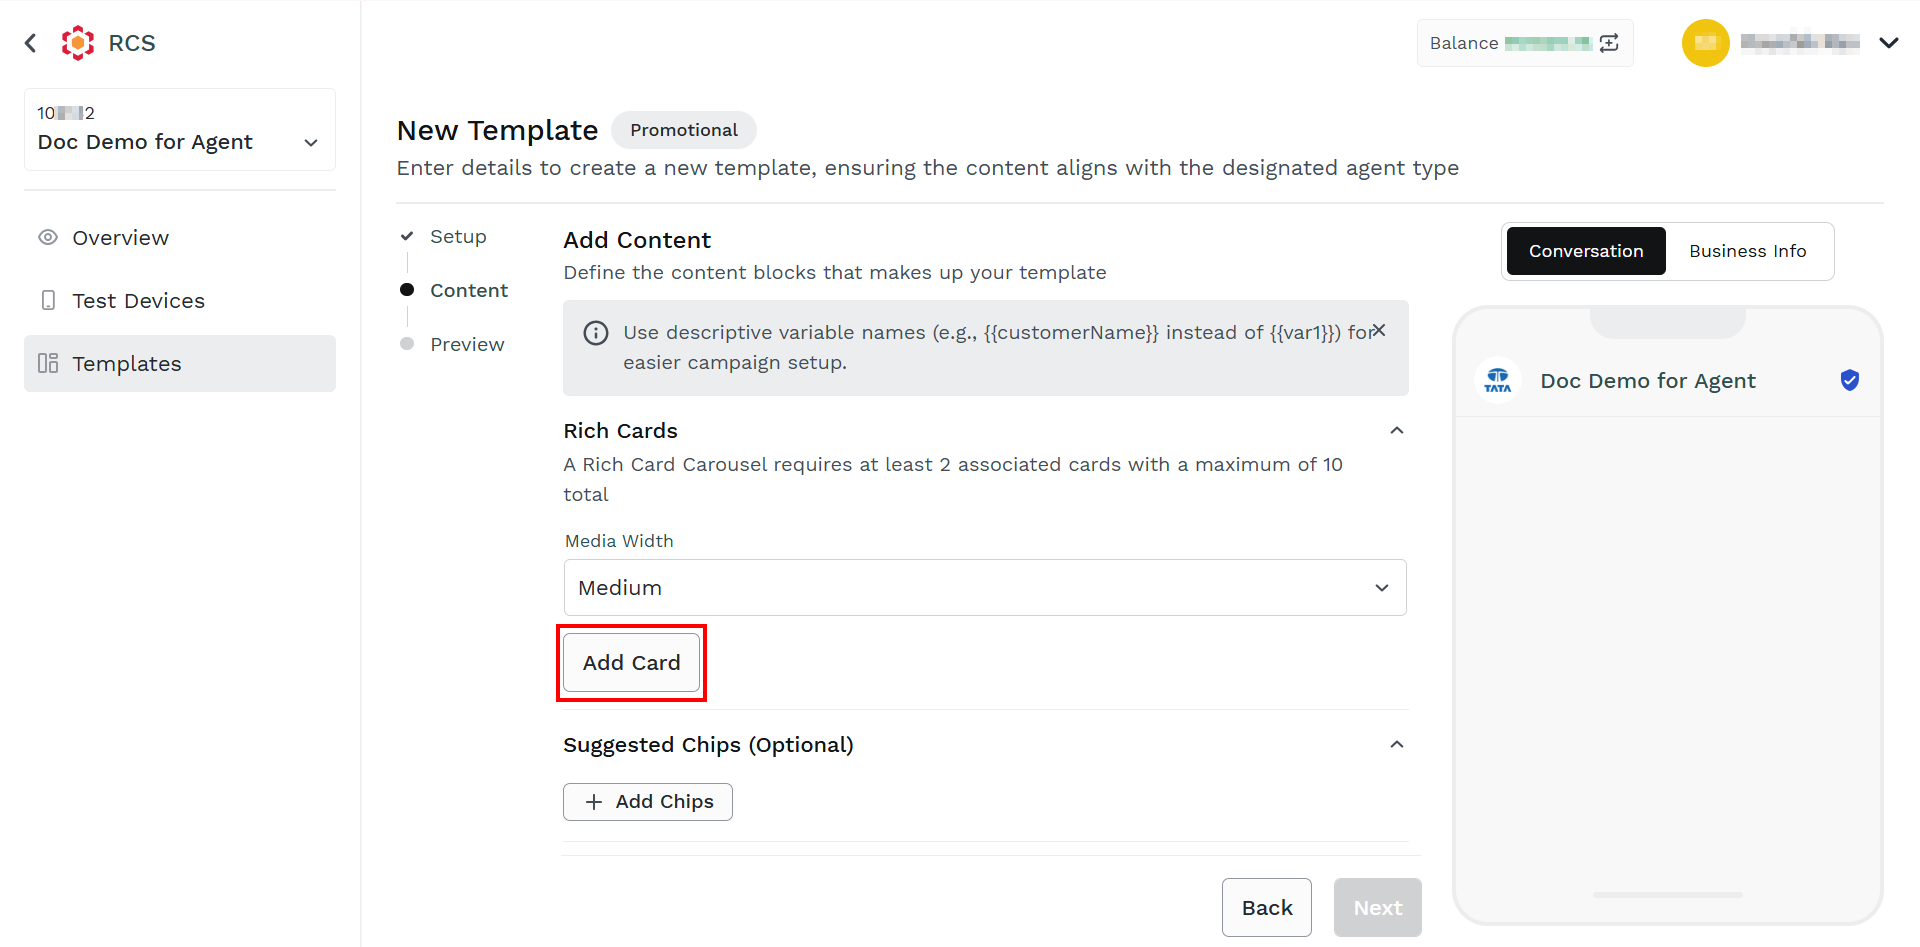
- Click Add Card.
The Configure Carousel Card pane appears on the right side of the page.
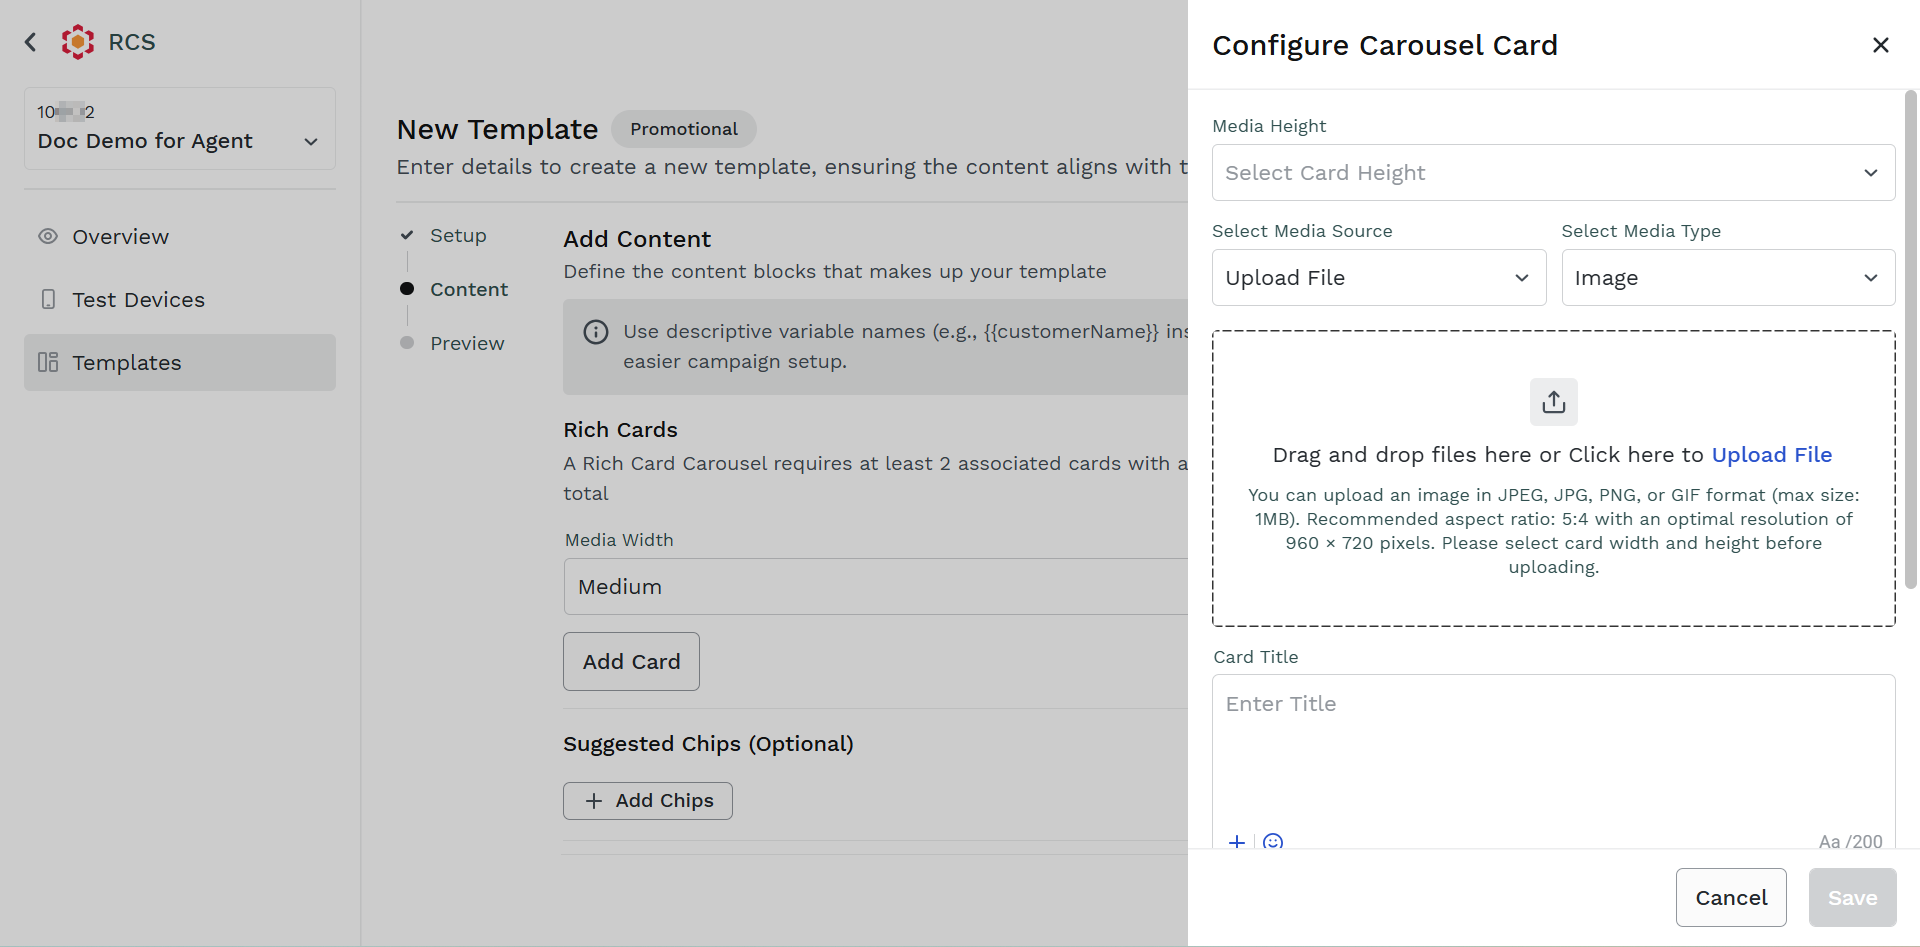
- In the Configure Carousel Card pane, perform the following steps:
- In the Media Height drop-down field, click the drop-down icon and then select one of the following options:
- Short - for small height media view.
- Medium - for medium height media view.
- Tall - for tall height media view.
- In the Select Media Source drop-down field, click the drop-down icon and select one of the following media sources:
- Upload File - Upload a file from your device.
- Upload from URL - Upload rich card carousel to an RCS message by providing a publicly accessible URL, instead of uploading the media file directly.
- Variable Image/Video URL - Create a placeholder field in an RCS template where the actual card carousel URL is supplied at send time, enabling personalization and dynamic content delivery.
- In the Select Media Type drop-down field, click the drop-down icon and select one of the following media types:
- Image - You can upload an image in JPEG, JPG, PNG, or GIF format (maximum size: 1 MB). Recommended aspect ratio: 5:4 with an optimal resolution of 960×720 pixels.
- Video - You can upload a video file up to 5 MB. Supported formats include H.263, M4V, MP4, MPEG, MPEG-4, and WebM.
- PDF - You can upload a PDF document with a maximum file size of 10 MB.
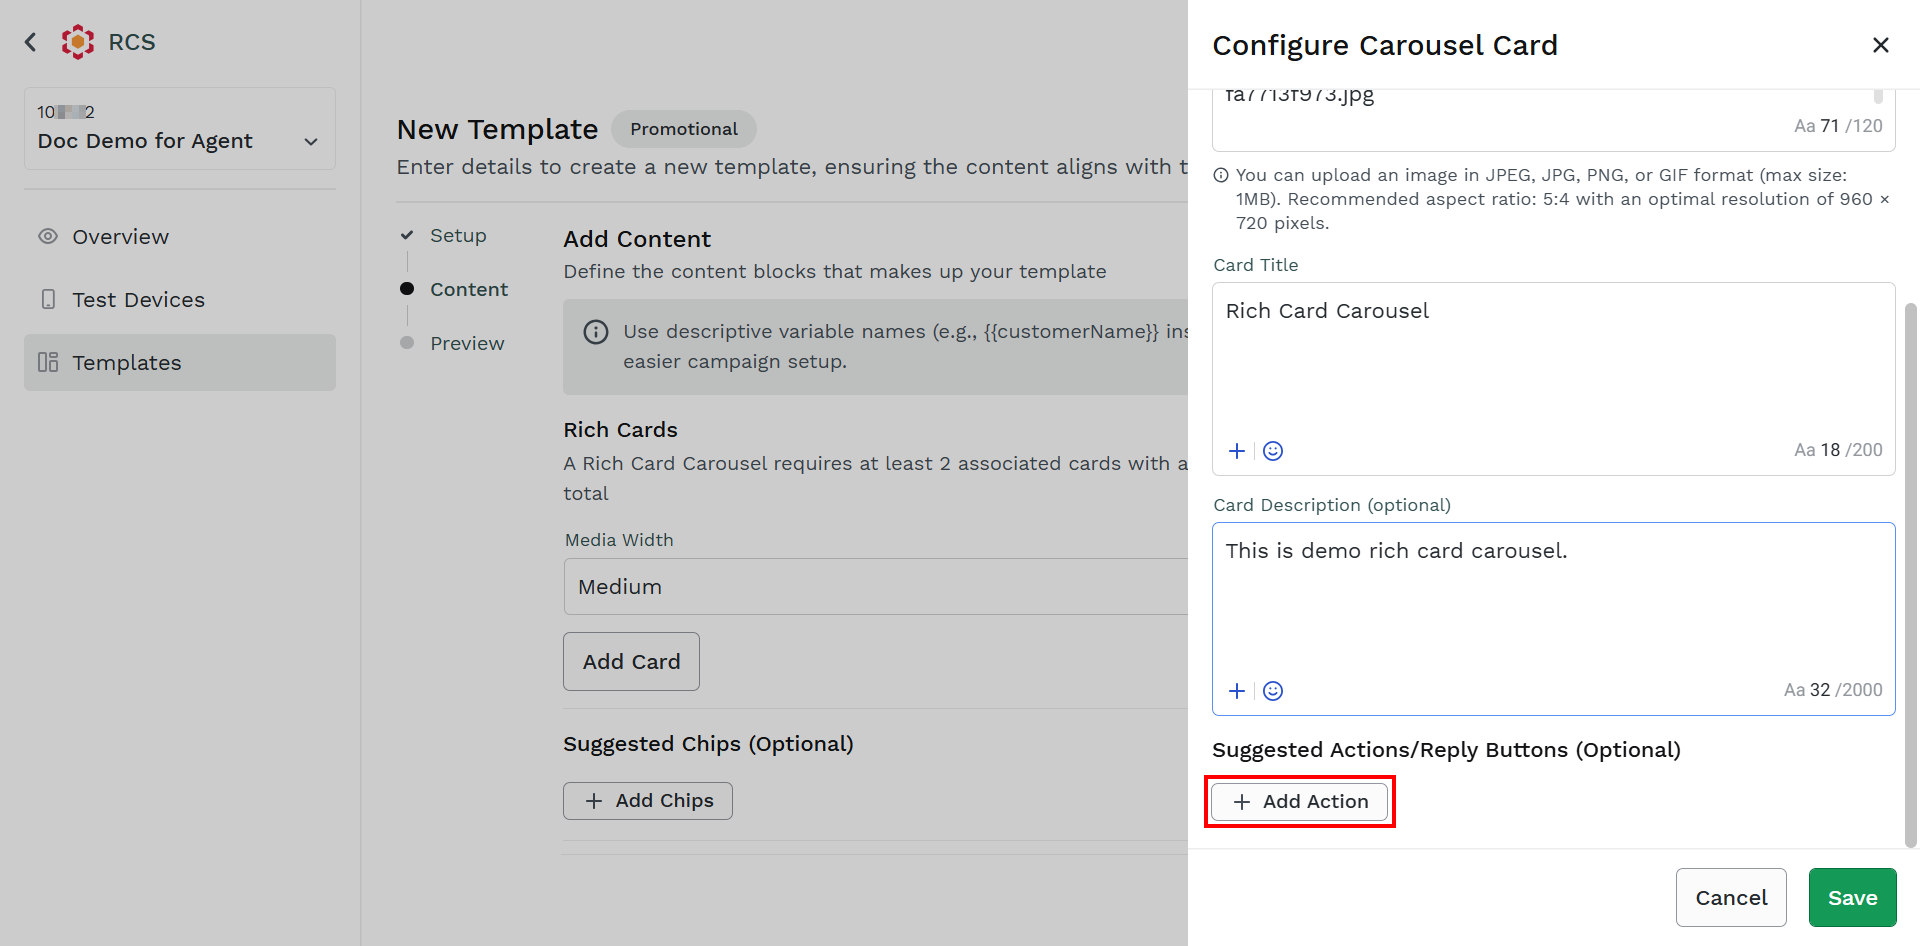
- In the Card Title field, enter the title for the rich card carousel. The maximum length of 200 characters is supported.
- (Optional) In the Card Description field, enter the description for the rich card carousel. The maximum length of 2000 characters is supported.
- In the Media Height drop-down field, click the drop-down icon and then select one of the following options:
Note:
The Suggested Actions/Buttons will appear with the card while the Suggested Chips will appear outside the card.
- Click Add Action.
The Button1 fields appear.
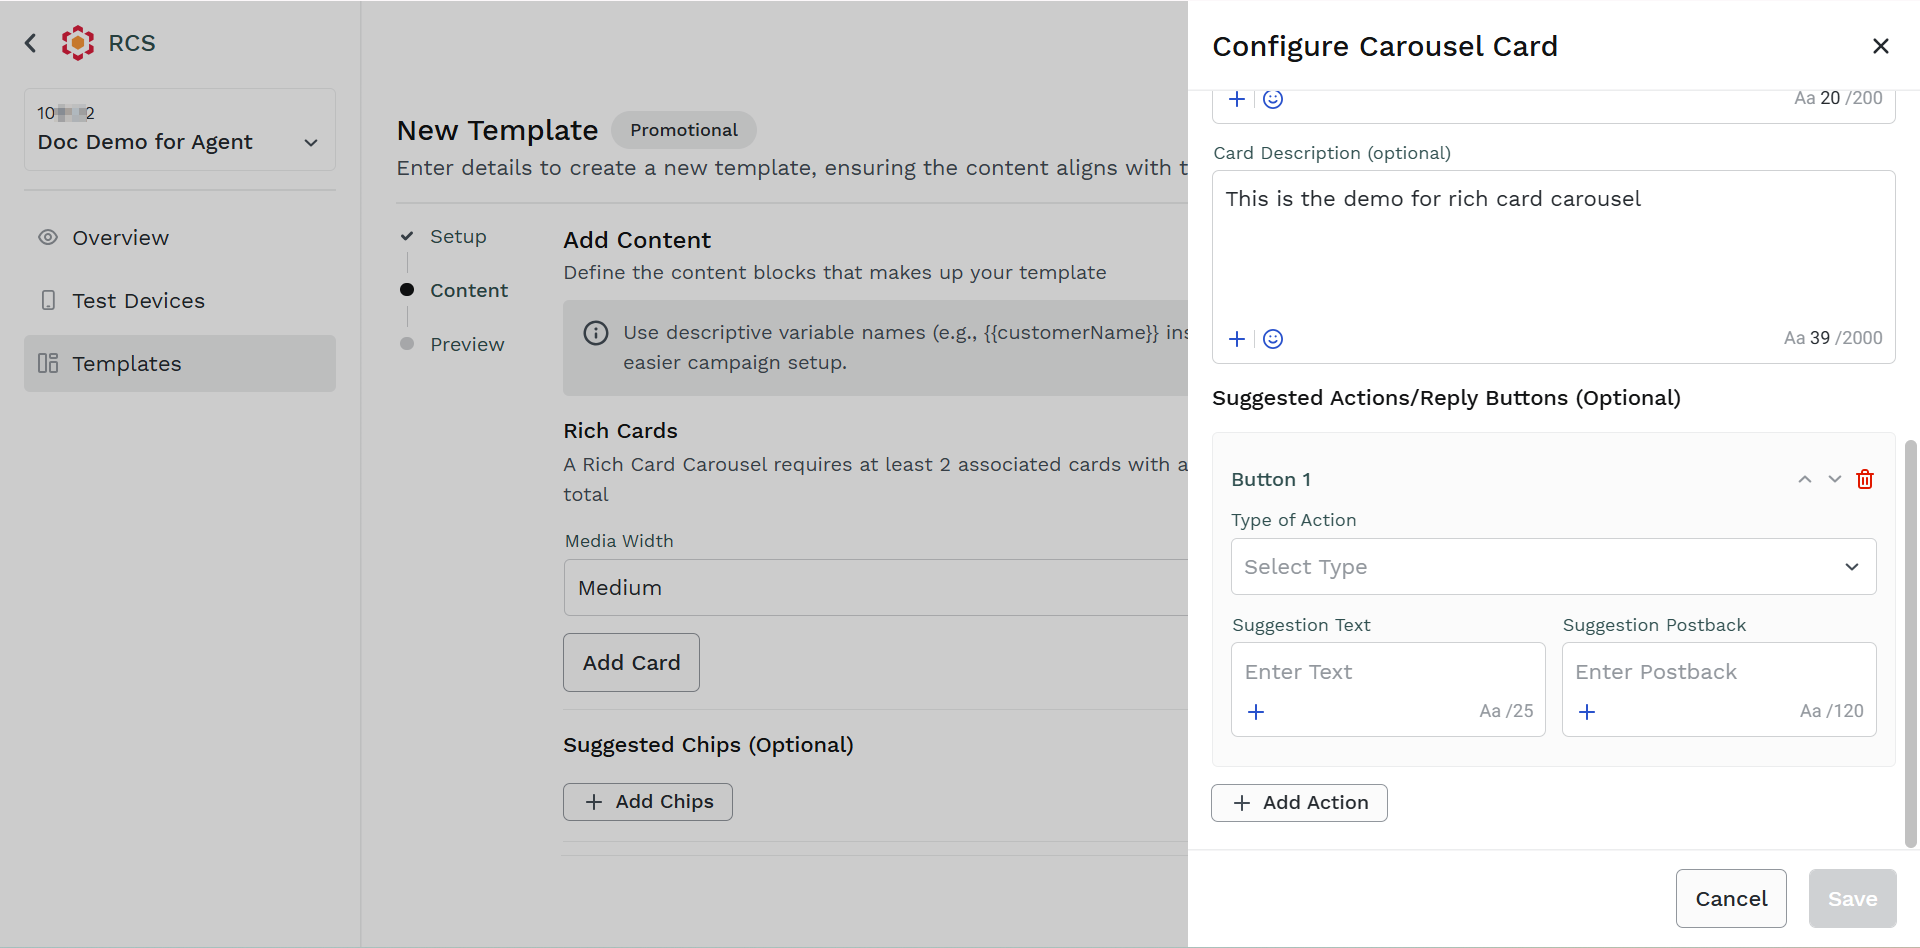
- Provide the buttons' details. For more information, see the step 6 of the RCS Text Template.
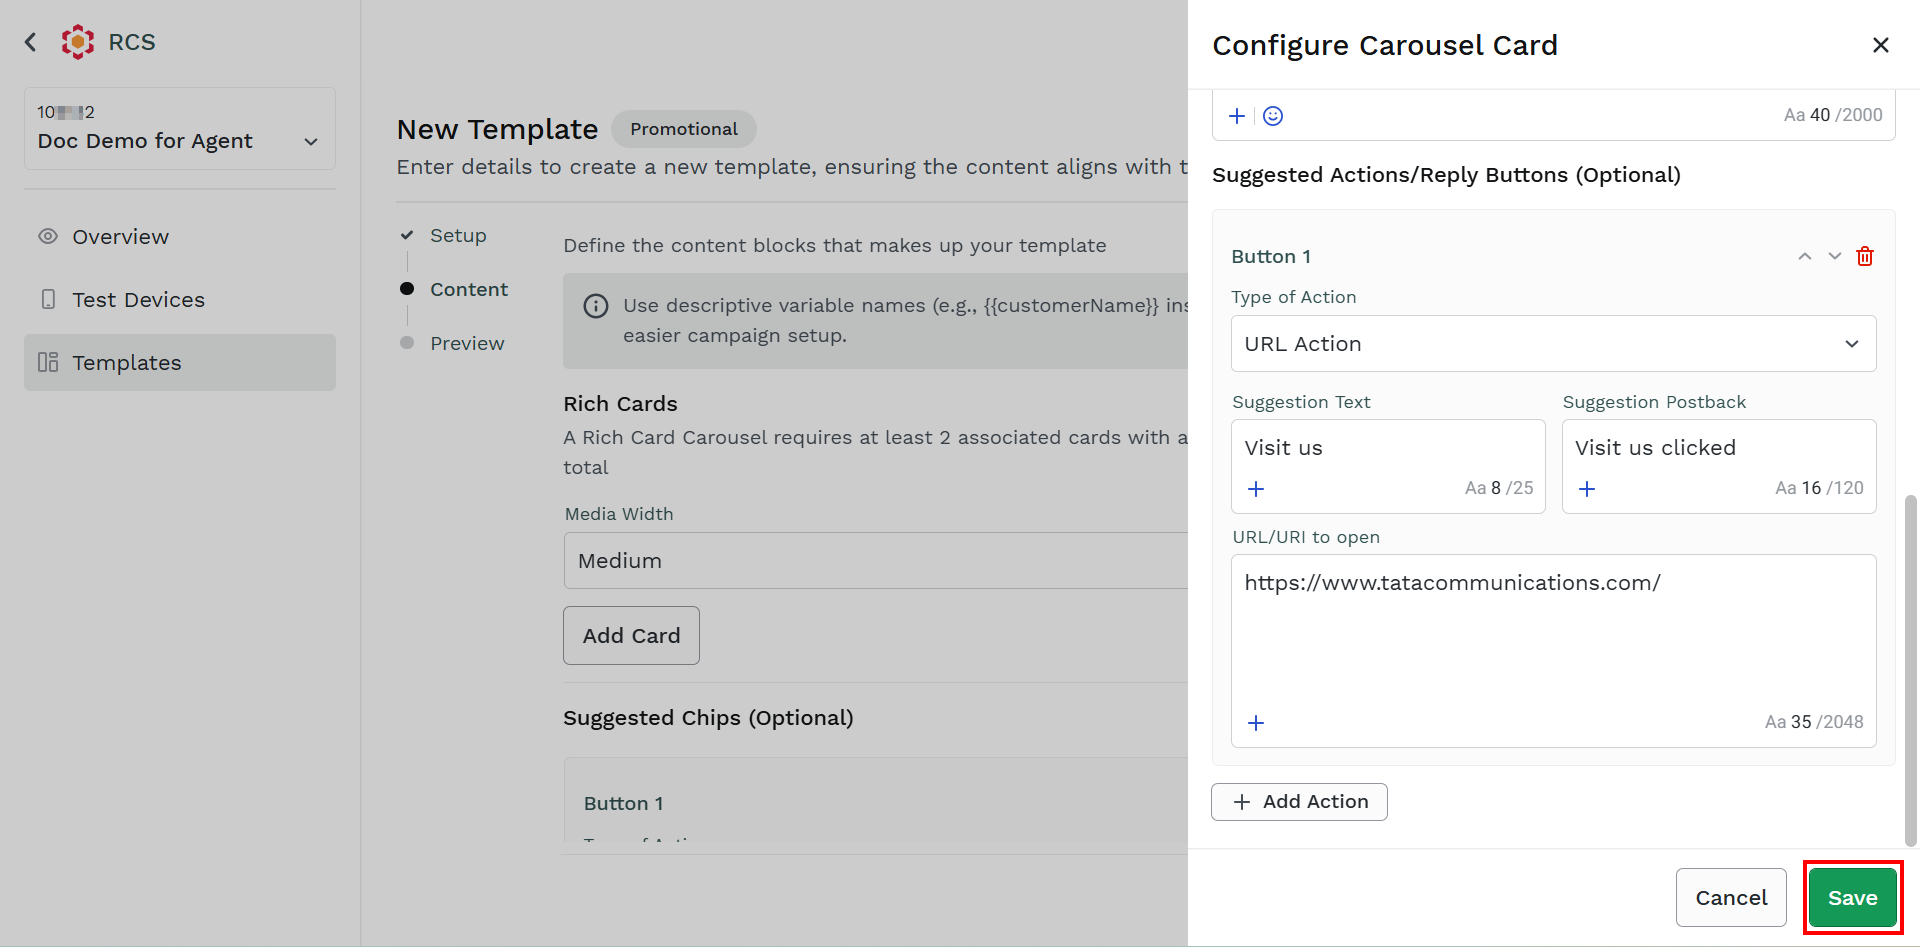
- Click Save.
The Rich Card Carousel gets added.
Notes:
- You need to have a carousel message that consists of 2 to 10 rich cards. To add more cards, follow step 6 and step 7.
- You can edit the card details. To edit the card details, hover over the card and click the ellipsis icon. Select the Edit option.
- You can delete the card. To delete the card, hover over the card and click the ellipsis icon. Select the Delete option.
- You can swipe the cards. To swipe the cards, on the top-right of the Card1 heading, click the up (^) or down icon based on the position of the card.
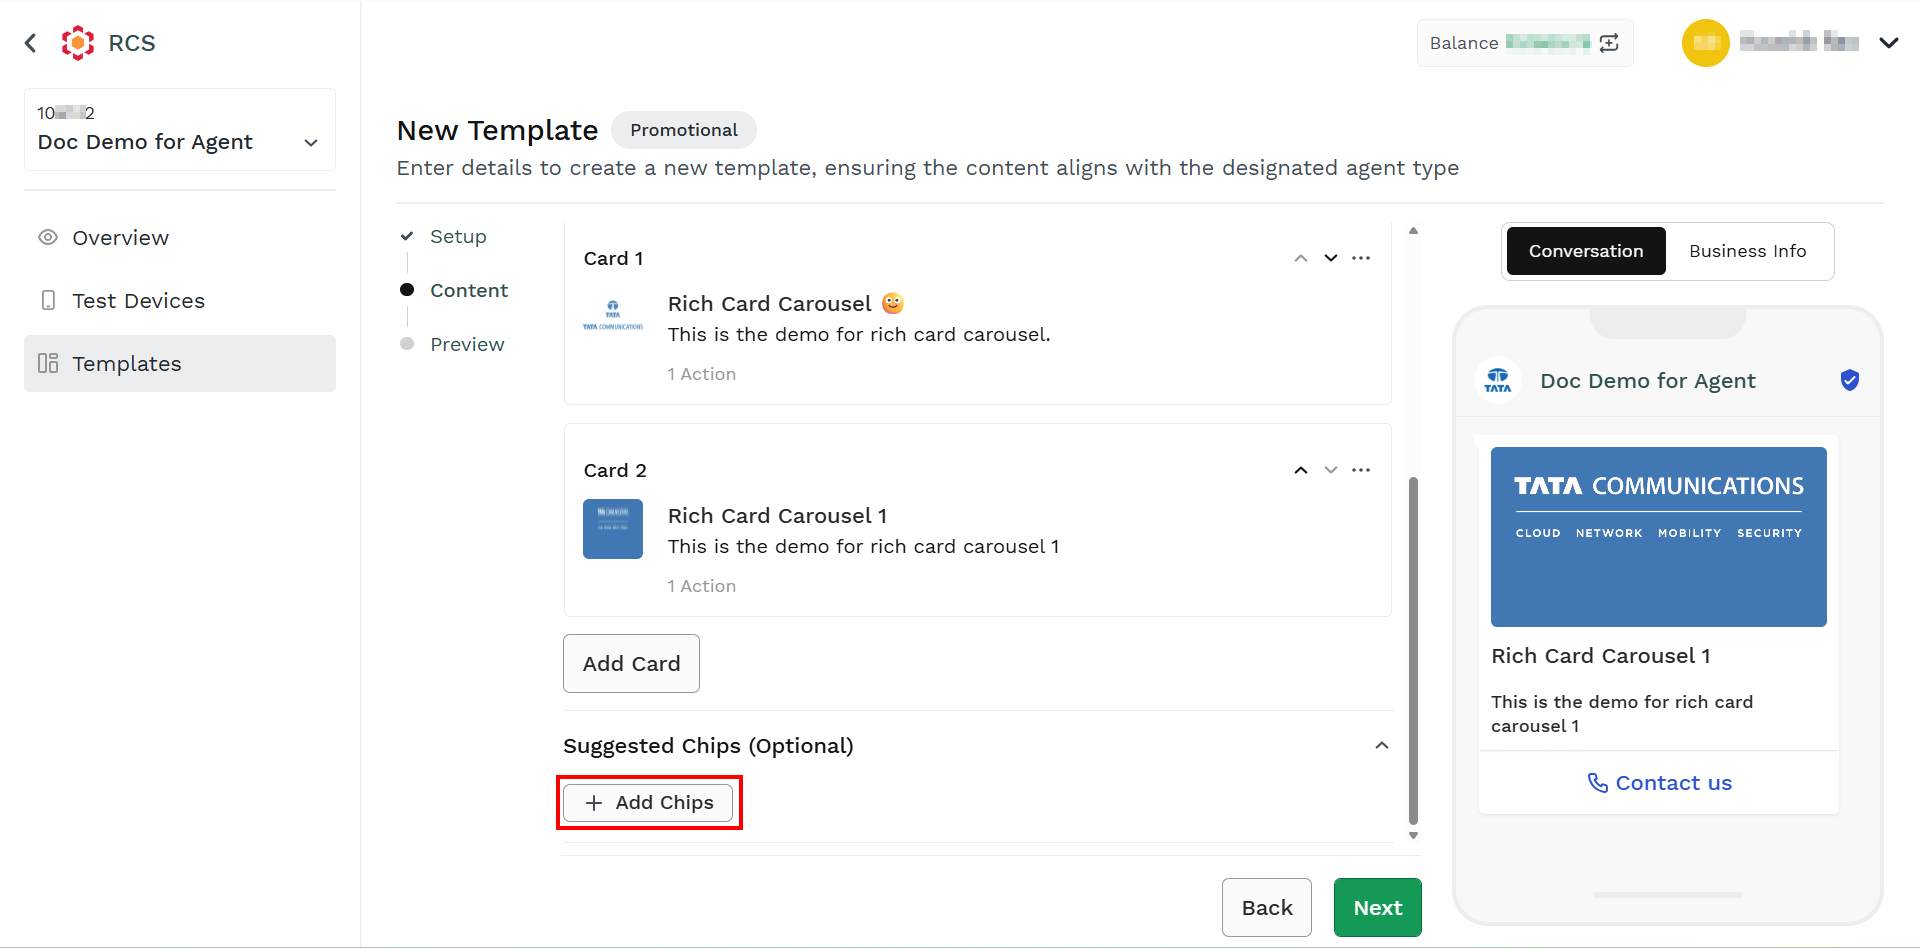
- (Optional) Click Add Chips.
The Button1 fields appear.
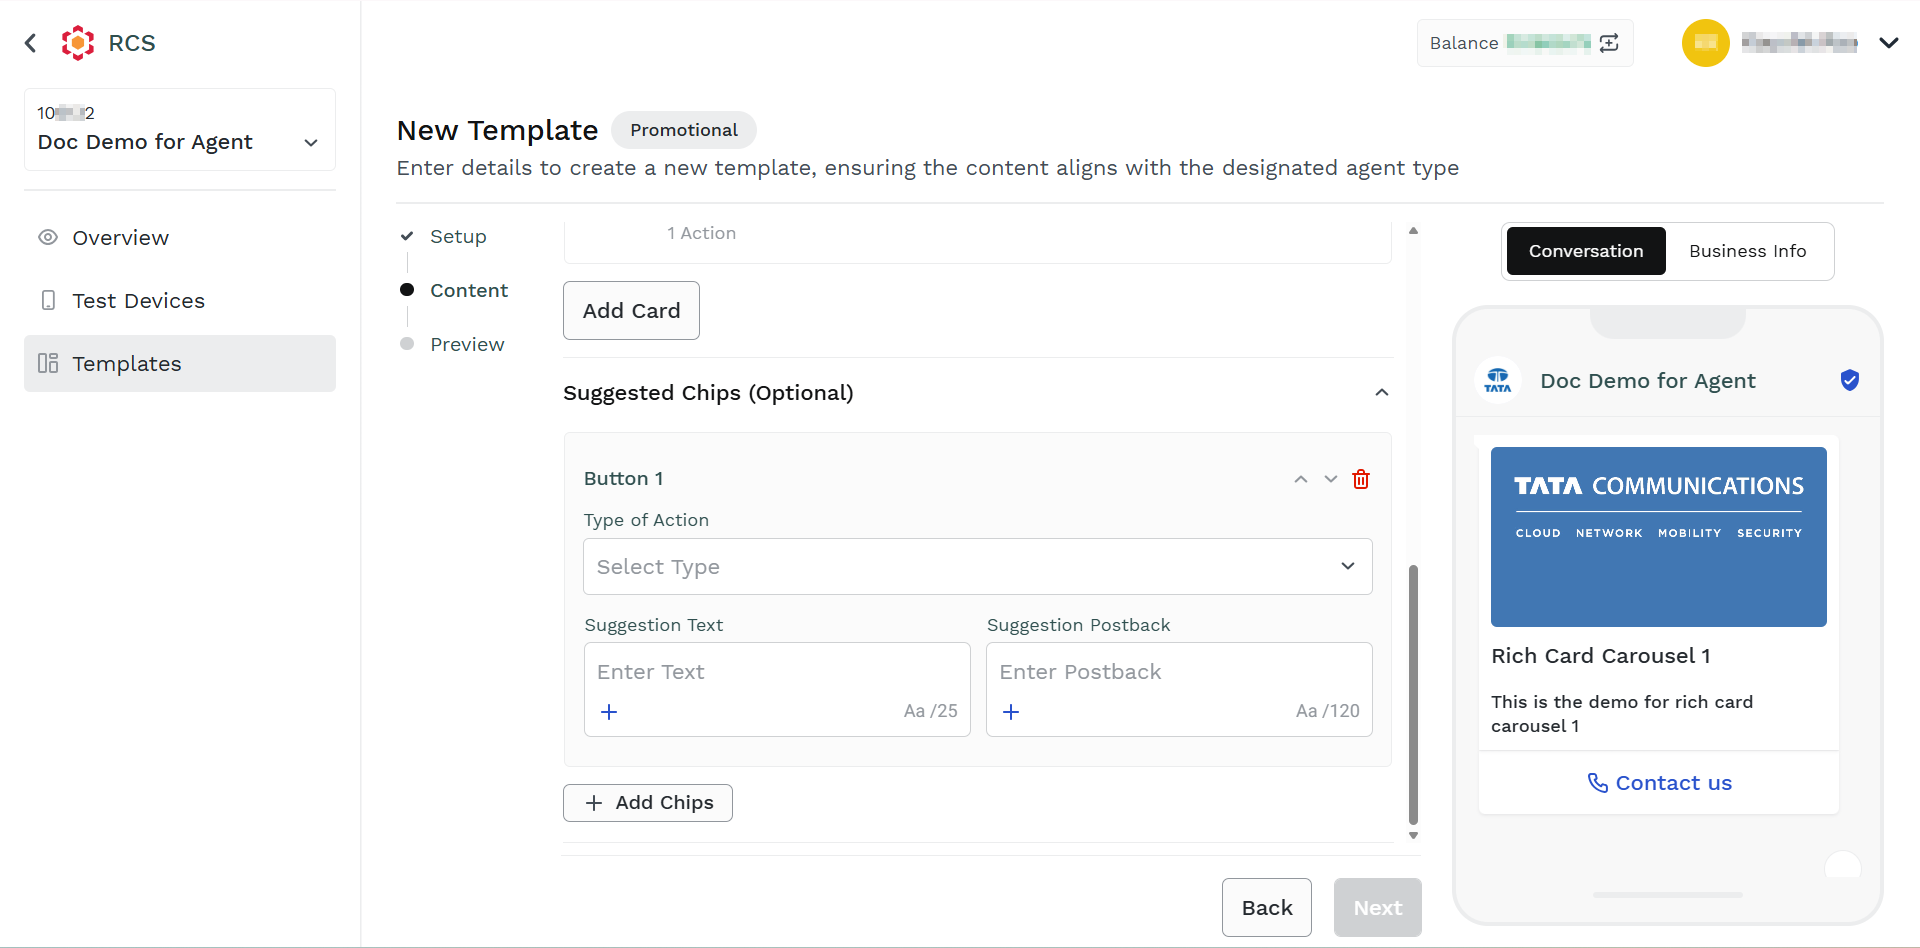
- Provide the buttons details. For more information, see the step 6 of the RCS Text Template.
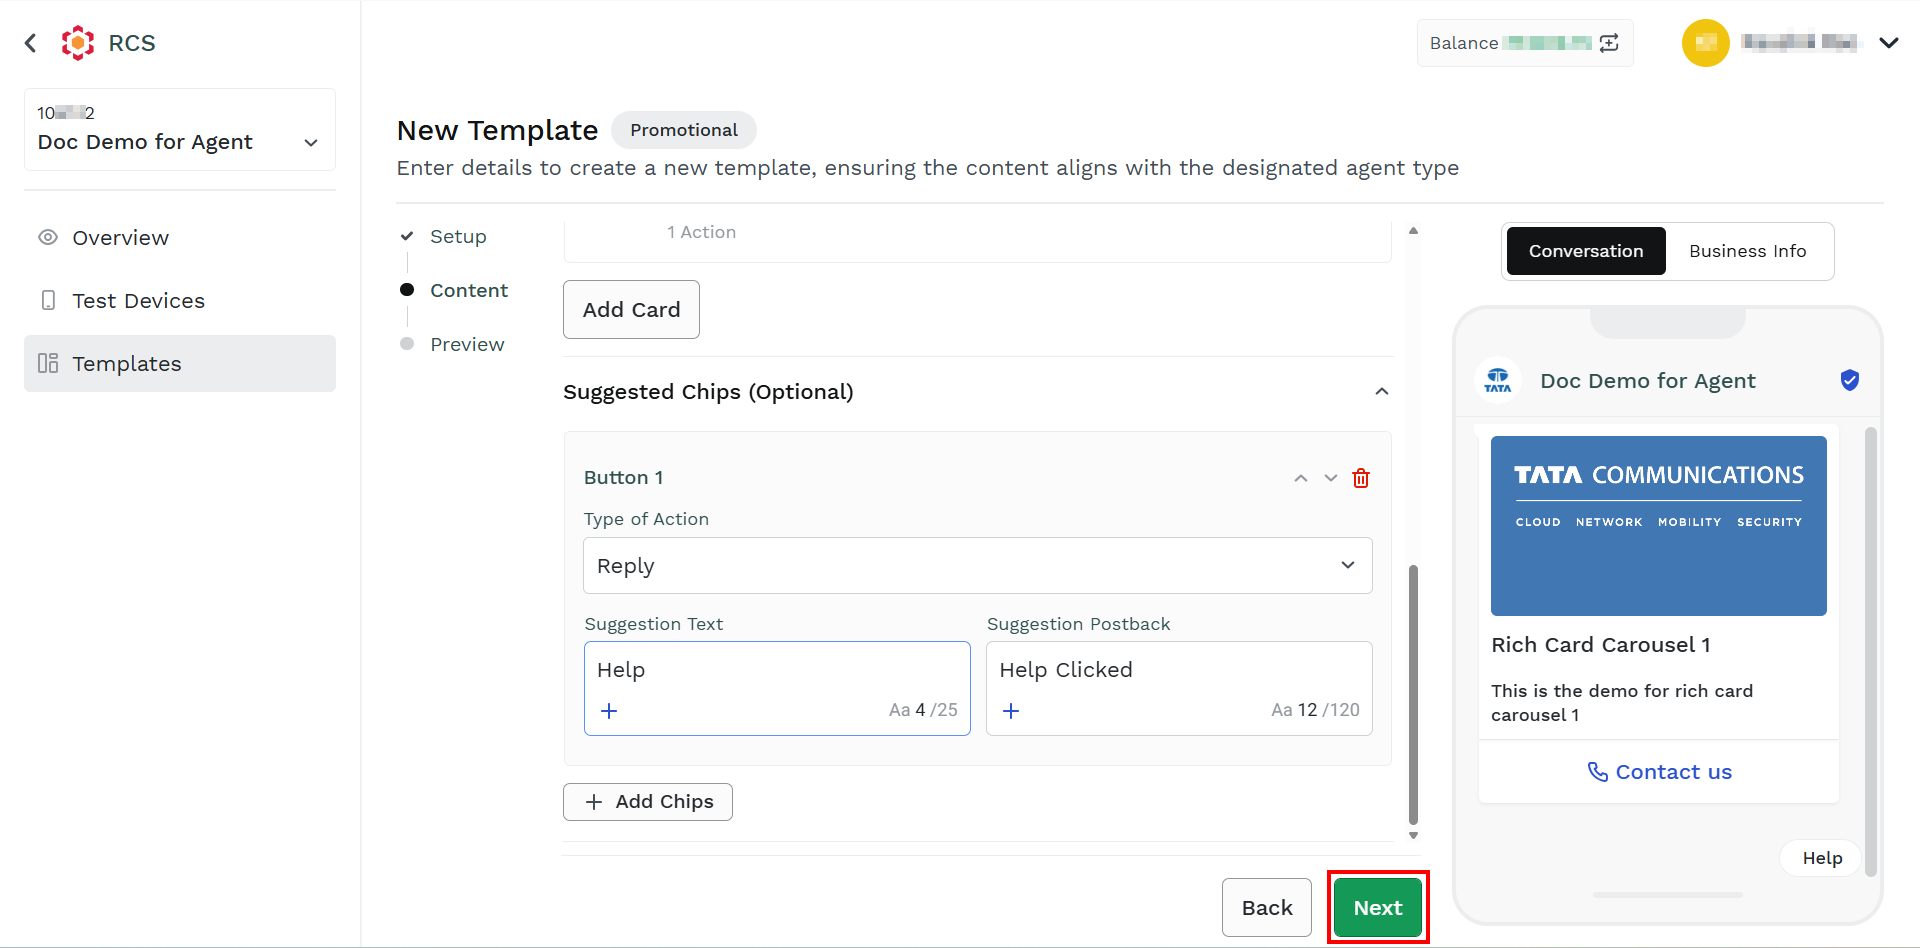
- Click Next.
The Preview step appears.
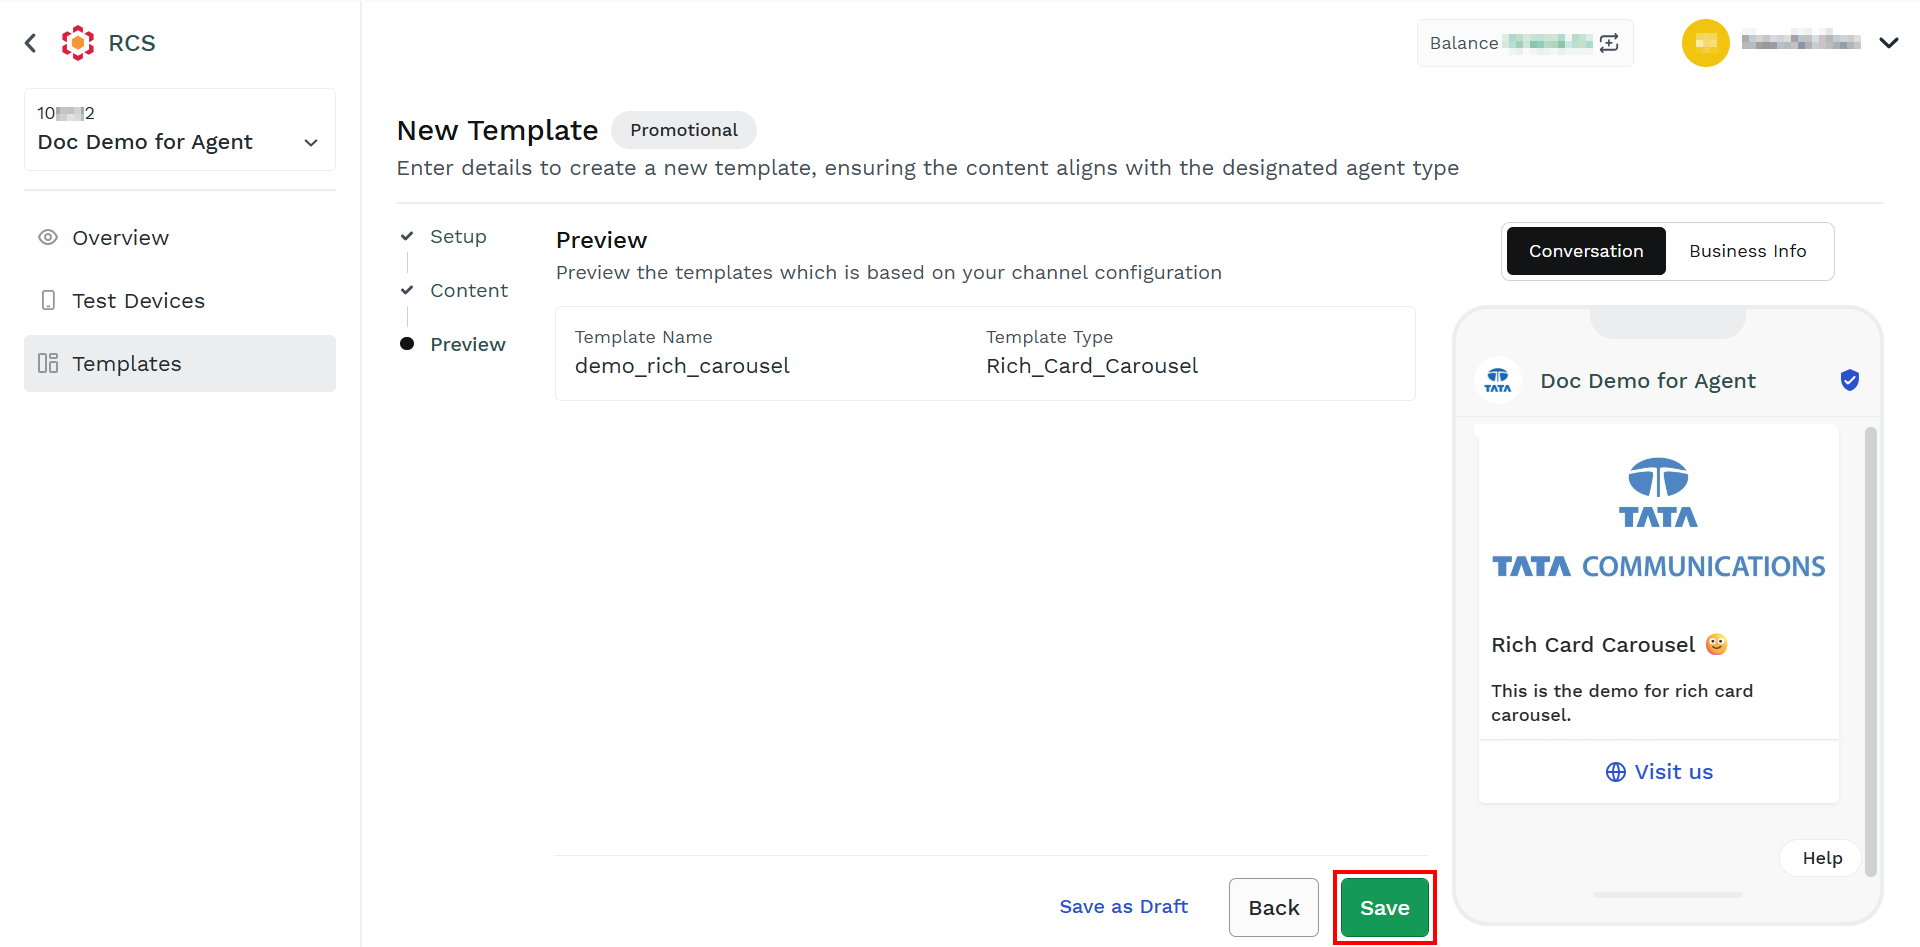
- Click Save.
The Activate template pop-up appears.
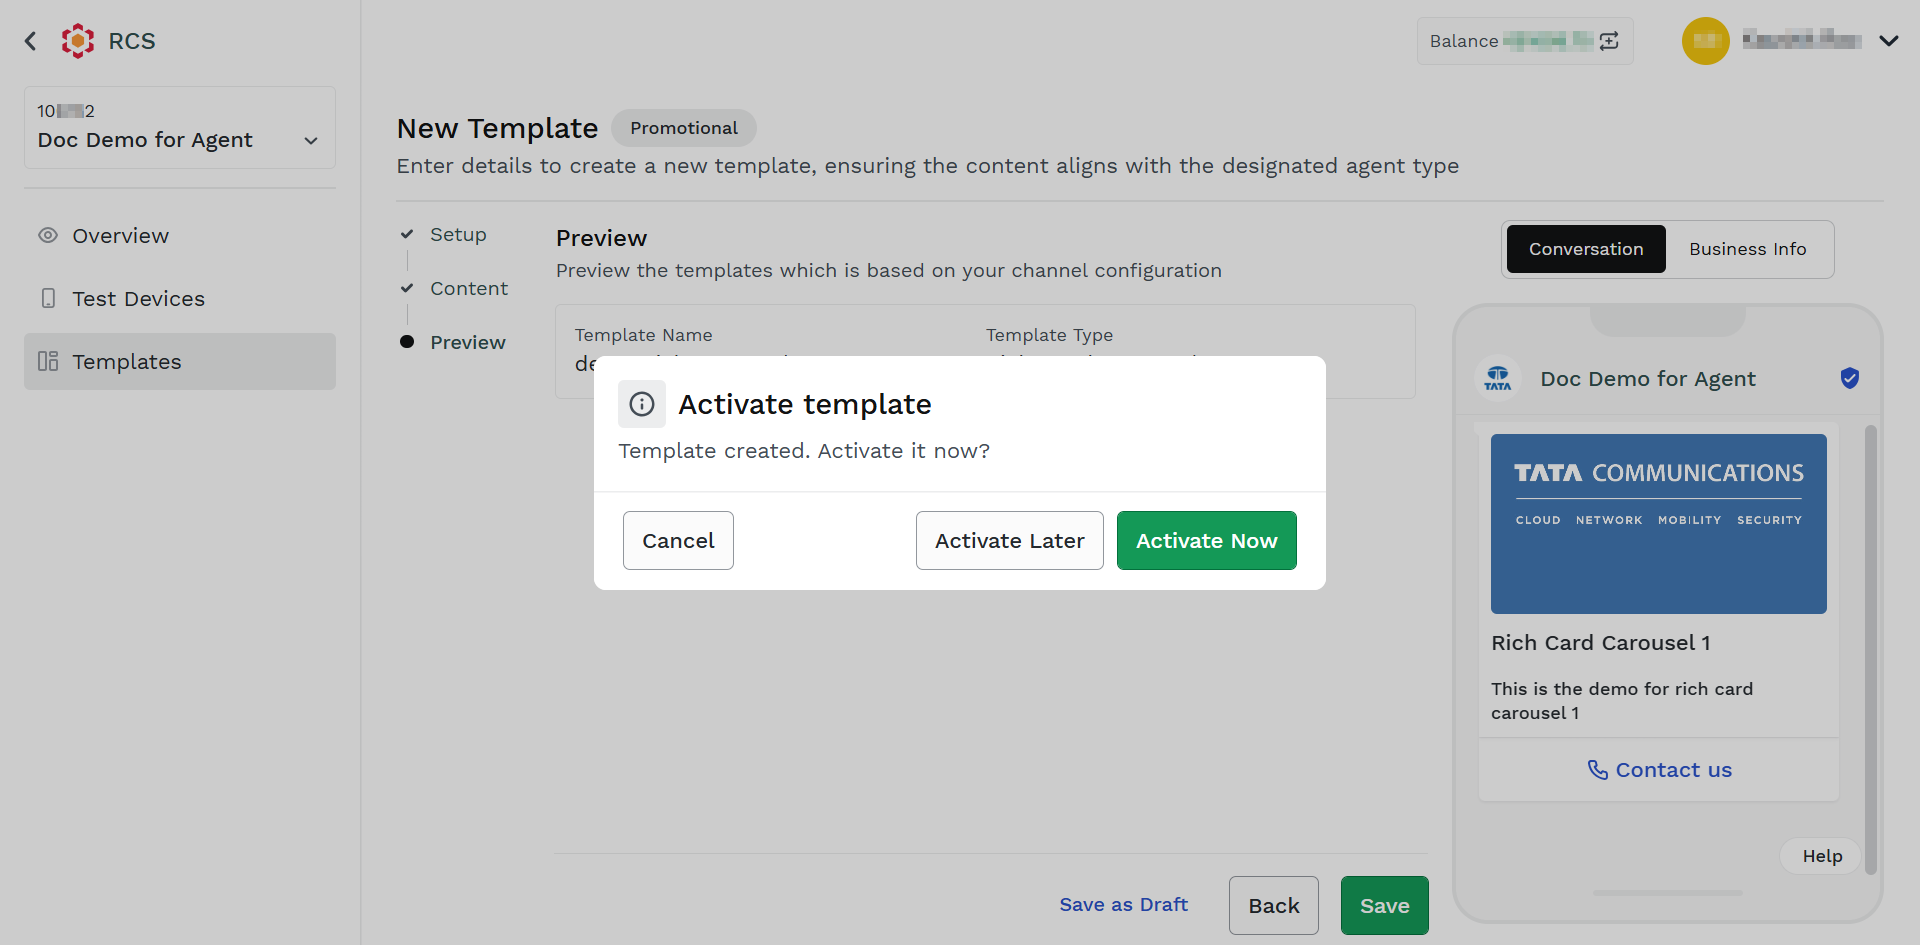
- Select one of the following options:
-
Activate Now - Activate the template immediately. After successful approval of the template, the Status of the template will be Approved.
-
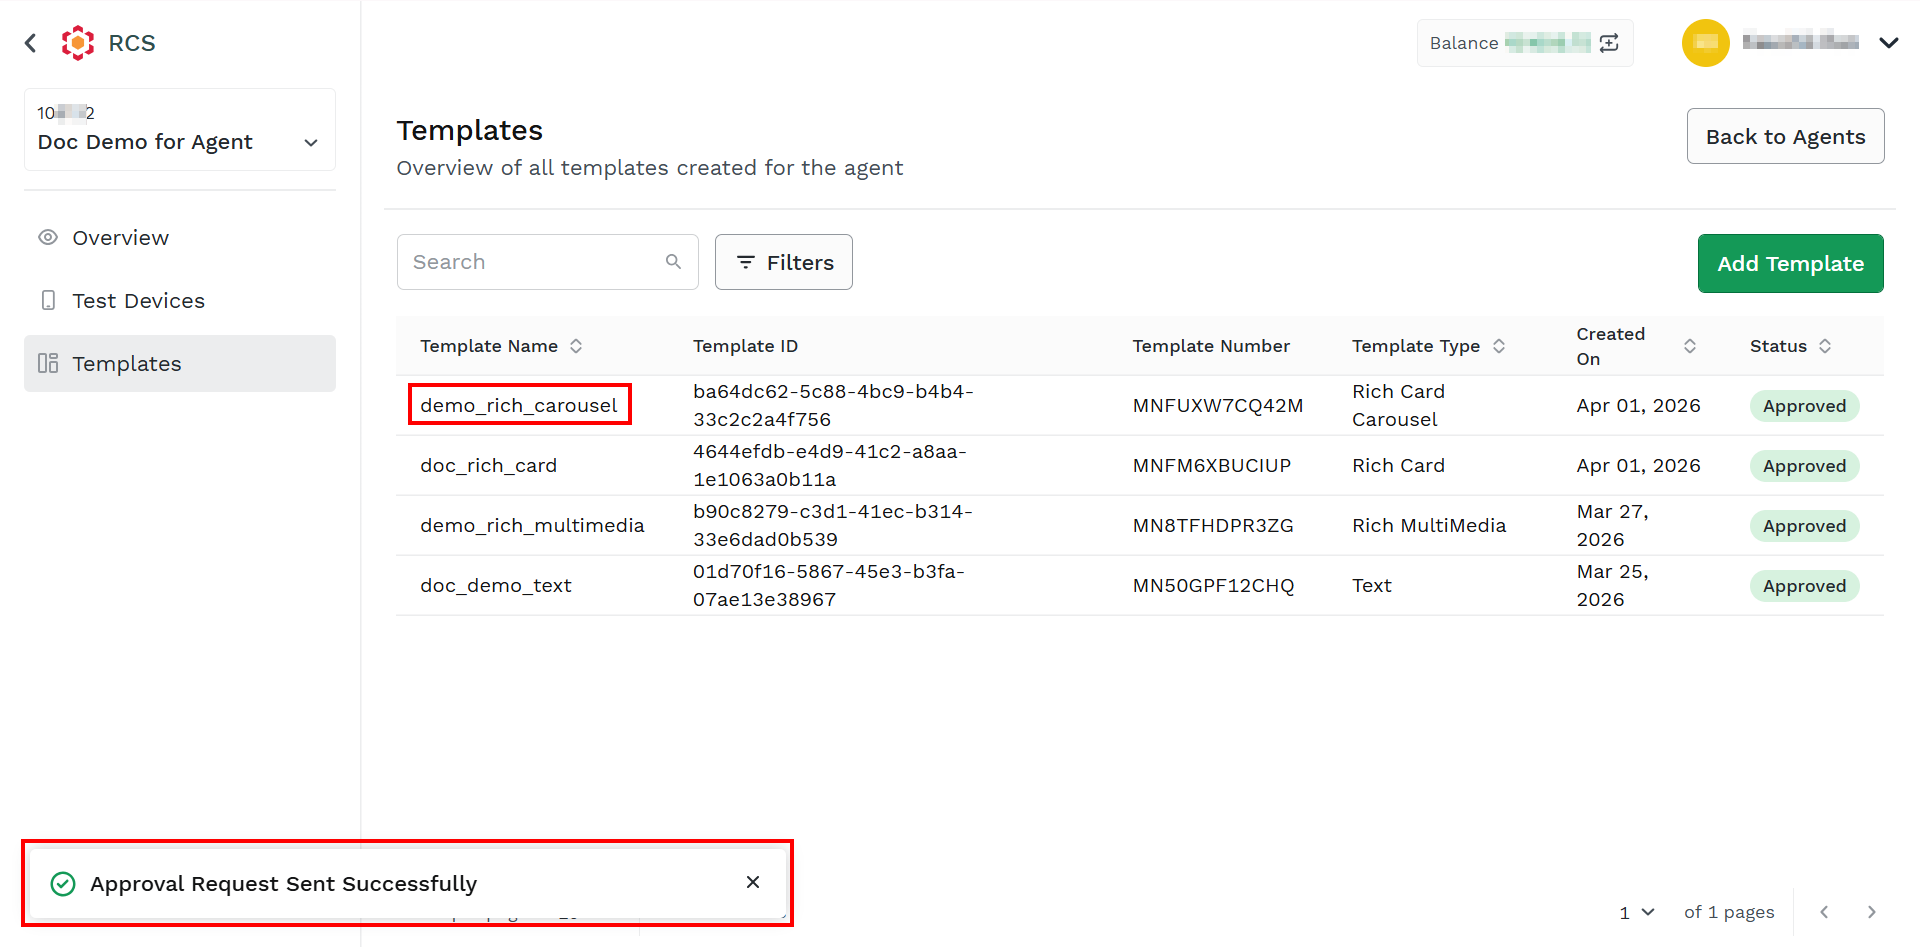
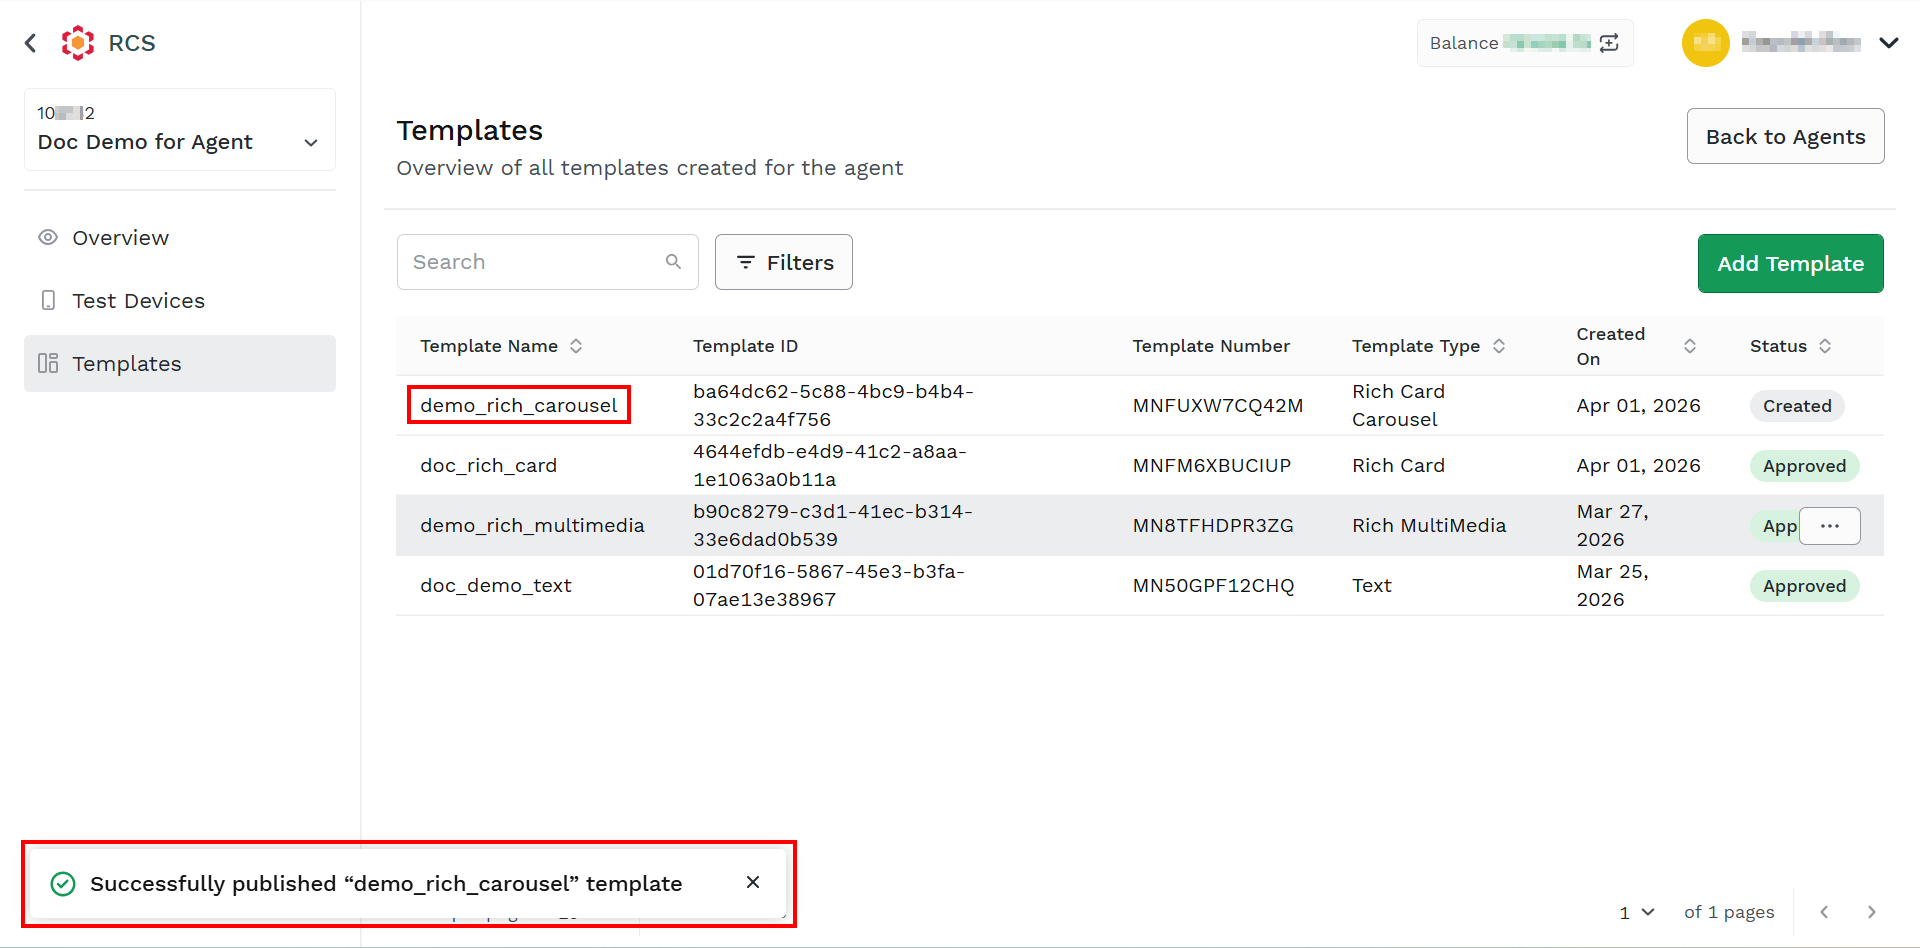
Activate Later - Create the template. After selecting the Activate Later option, the status of the template will be Created. You can send the template for approval later. For more information, see Send Template for Approval.
-
Updated about 2 months ago