Edit WhatsApp Template
Prerequisite
- The WhatsApp channel must be in an active state.
- You must have a WABA ID.
Note:You can edit templates in rejected, submission-rejected, and approved status.
Edit Templates
Notes:The following are the restrictions:
- For Approved templates (live on meta), the template can only be edited once in 24 hours and up to 10 times per month.
- For Rejected and Submission Rejected, templates can be edited unlimited times.
To edit a WhatsApp template, perform the following steps:
- Sign in to your kaleyra.io account.
- Go to Channels and on the WhatsApp section/card, click Manage.

- Click Configurations and then Templates.
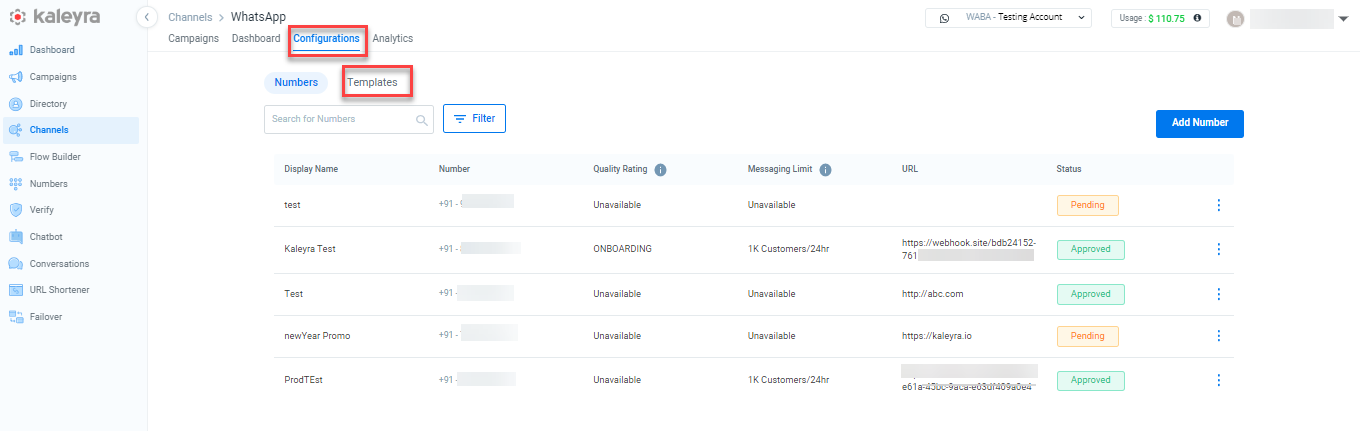
The Templates page appears.
- Click the three dots next to the Status column (for example, Approved status is selected) and then click the Edit option.
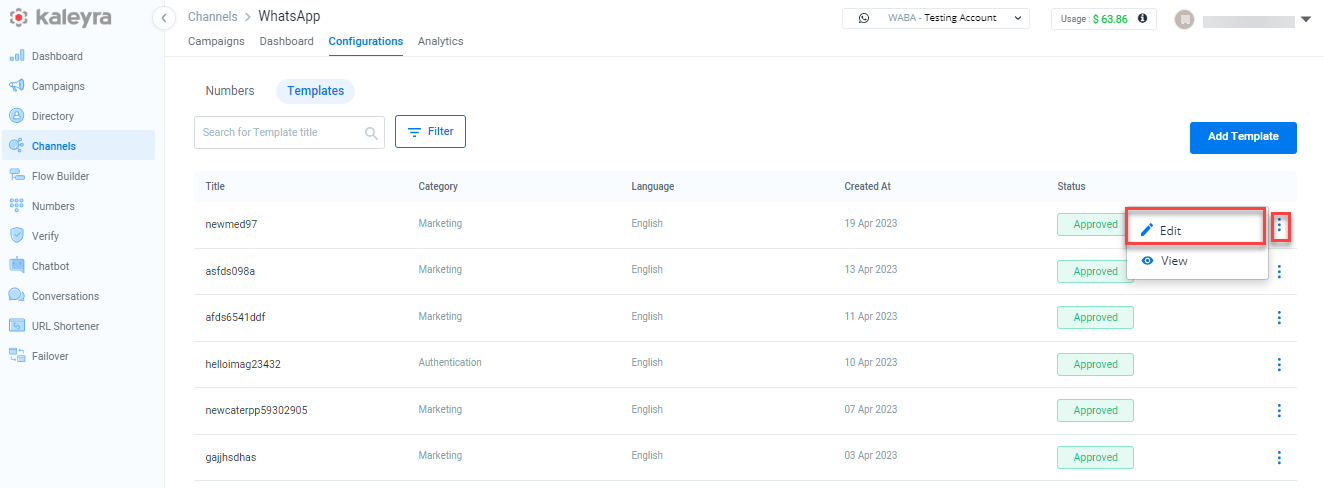
The Edit Template page appears.
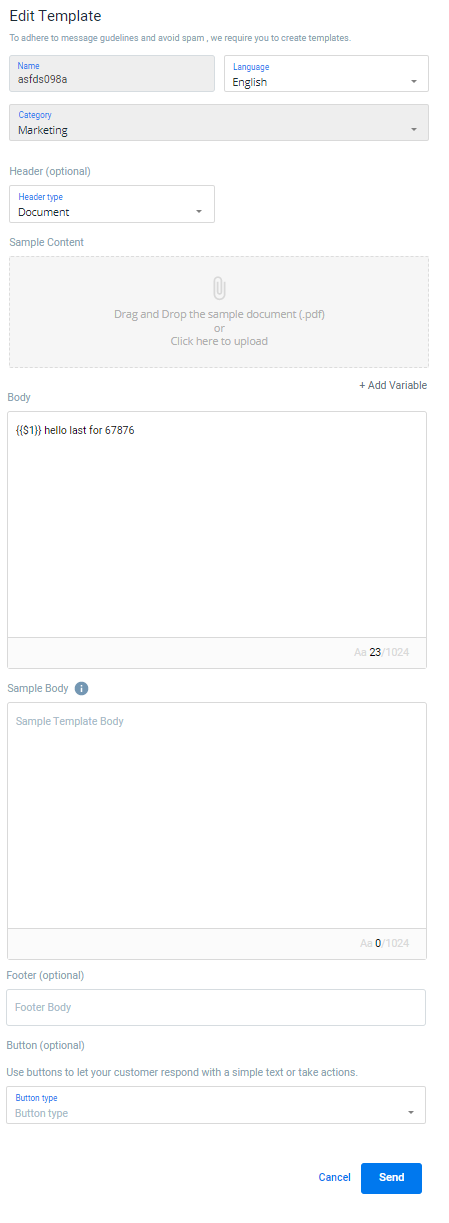
- The Edit Template page has the following fields:
Note:The Name and Category field values cannot be edited.
a. Language - Click the arrow next to the Language field to view the list. The default is English.
b. Header (Optional) - Click the arrow next to the Header type to view the list. Text, Image, Video, Document, and None are supported header types.
- Select the Header type as Text. For example, Hi {{$1}}. Enter the Sample Header text. For example, Hi {{Test}}.
Note:It is mandatory to add a sample to your template submission for approval from Meta.
- Select the Header type as Image, Video, or Document. Attach the supporting image, Video, or Document in the Sample Content field.
Note:
- You can drag and drop the sample document (.pdf) or click to upload the file.
- For Header type as Image, only jpg, .jpeg, and .png files are supported, for Video only .mp4 file is supported and for Document, only .pdf is supported.
c. Body - Enter the template body in the given space. It can be up to 1024 characters long and can have static or dynamic fields. For example, a body with dynamic fields will be like: "You made a purchase {{$1}} using a credit card ending in {{$2}}".
d. Sample Body - Enter sample body text based on the Body field and update the variable details. For example, You made a purchase for {{bag}} using a credit card ending in {{7511}}. In the example, the $1 variable is updated with bag and the $2 variable is updated with 7511.
e. Footer (Optional) - Enter the footer body in the text box.
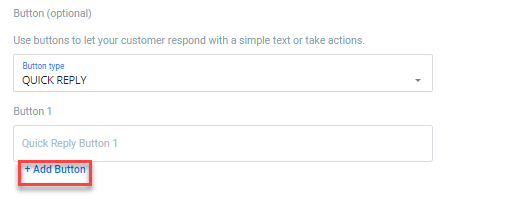
f. Button (Optional) - Click the arrow next to the button type to view the list. Supported button types are QUICK REPLY, PHONE NUMBER, and URL.
- Select the Button type as QUICK REPLY. Enter the Quick Reply Button 1 field. Click the +Add Button icon to add an additional button.
- Select the Button type as PHONE NUMBER. Enter the Button text and the Mobile number in the text box. Click the +Add Button icon to add an additional button.
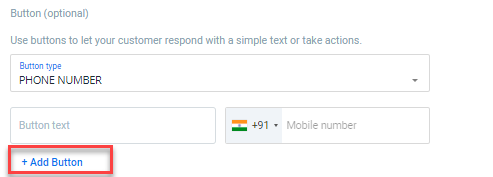
Note:Enter a valid landline or mobile number, VoIP numbers are not accepted.
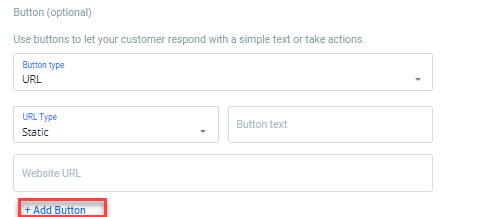
- Select the Button type as the URL. Click the arrow next to the URL type. Supported types are Static and Dynamic.
- Static - Select the URL type as Static. Enter the Button text in the text box. Enter the Website URL in the text box. For example, https://kaleyra.io. Click the +Add Button icon to add an additional button.
- Dynamic - Select the URL type as Dynamic. Enter the Button text in the text box. Enter the static part of the Website URL. For example, https://kaleyra.io and Sample Website URL. For example, https://kaleyra.io/{{channels}} in the text box. Click the +Add Button icon to add an additional button.
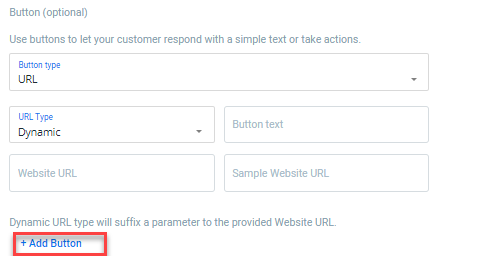
Note:Dynamic URL type will suffix a parameter to the provided Website URL.
- Click Send for submitting the template to Meta for approval.
- Click Cancel to cancel the application and return to the Configurations page.
Notes:
- After a successful submission from Kaleyra, the status will be updated to Pending. In this status, the template can only be viewed but not edited.
- After Kaleyra's submission and subsequent meta-approval have been completed successfully, you can view the Approved status next to your updated template.
- For the Submission Rejected and Rejected template statuses, the steps to edit the template fields are the same as the Edit Templates section.
Updated about 1 year ago