Contacts
This page has the following sections:
- Add Contacts
- Filter Contacts
- Import Contacts
- Export Contacts
- Edit, View, Delete, and Perform Lookup
- Check Blocklisted Contacts
- Remove Blocklisted Contacts
Note:To know more about how to import tags for your contacts in bulk, see Import Tags for your Contacts in Bulk.
Add Contacts
To add your contacts individually, perform the following steps:
- Sign in to your Kaleyra.io account.
- Navigate to Directory and on the Directory page, click Contacts. The Contacts page appears.
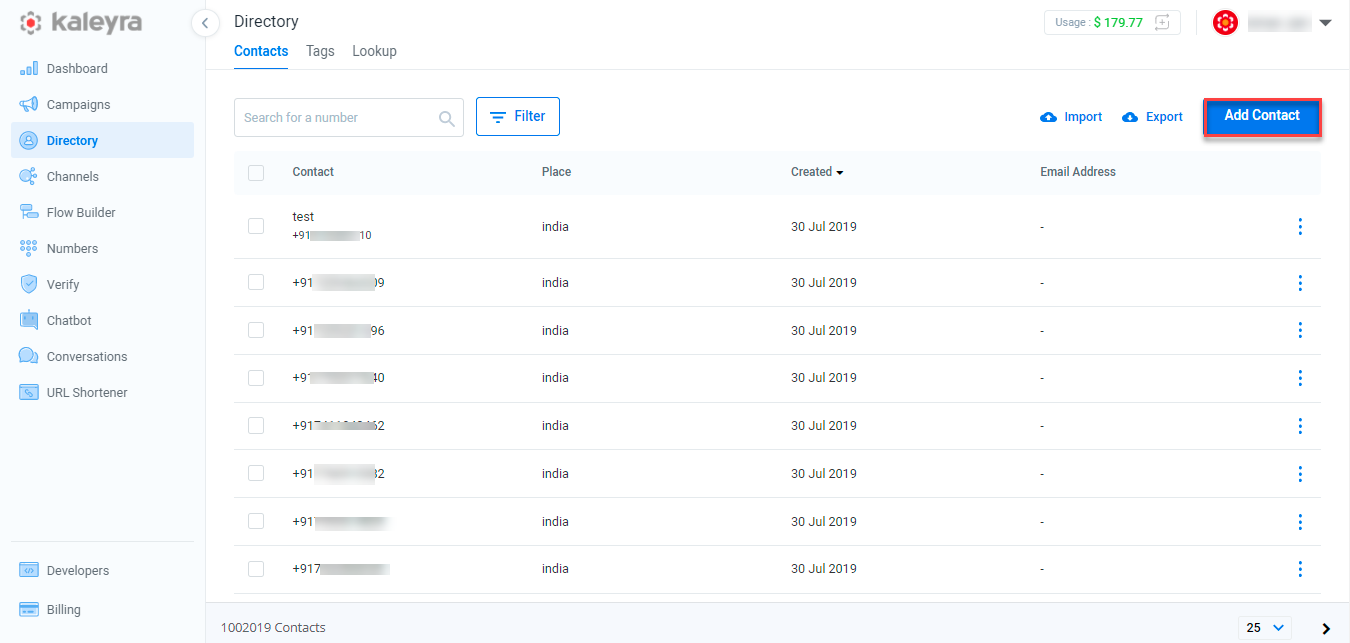
- Click Add Contact. The Add Contact page appears.
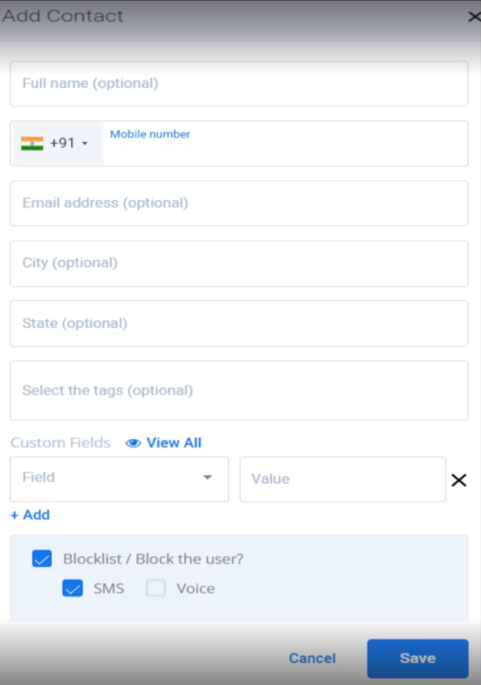
The Add Contact page has the following options:
Note:The allowed characters are : a-z0-9",@. $%&'*-/?^_~
- Full name (optional) - Enter the Full name.
- Mobile Number - Enter the mobile number.
- Email Address (optional) - Enter the Email address.
- City (optional) - Enter the city.
- State (optional) - Enter the state.
- Select the tags (optional) - Select the tags from the list.
- Custom Fields - Click the arrow next to Field to view the custom fields. Enter the value in the Value field.
- Click View All to view all the custom fields.
- Click +Add to add more custom fields.
- Select the checkbox Blocklist/Block the user? to turn on and off to blocklist the contact. You can decide which channel you want to blocklist for. An error will be displayed "Select at least one channel to blocklist" if the Blocklist feature checkbox is selected, but no channel is selected, the user must select at least one channel If the Blocklist feature is enabled.
Note:Blocklist channels may be selected or deselected at any time when adding or editing contacts.
- Click Save to save the contacts.
Filter Contacts
- Go to Contacts page and then click Filter to filter the contacts. You can filter the contacts through Name, Email, Blocklisted, Tags, and Created fields.
- Click + to add the fields related to Name, Email, Blocklisted, Tags, and Created.
- Once the field is updated. Click Apply. The field gets added to the row.

- Select the arrow next to More Filters to view more options. The available options are City, State, Country, and Custom Fields.
- Click Clear All to clear all the contacts.
- Click Cancel to cancel the application and return to the Directory page.
Import Contacts
To import your contacts, perform the following steps:
- Sign in to your Kaleyra.io account.
- Navigate to Directory and on the Directory page, click Contacts. The Contacts page appears.
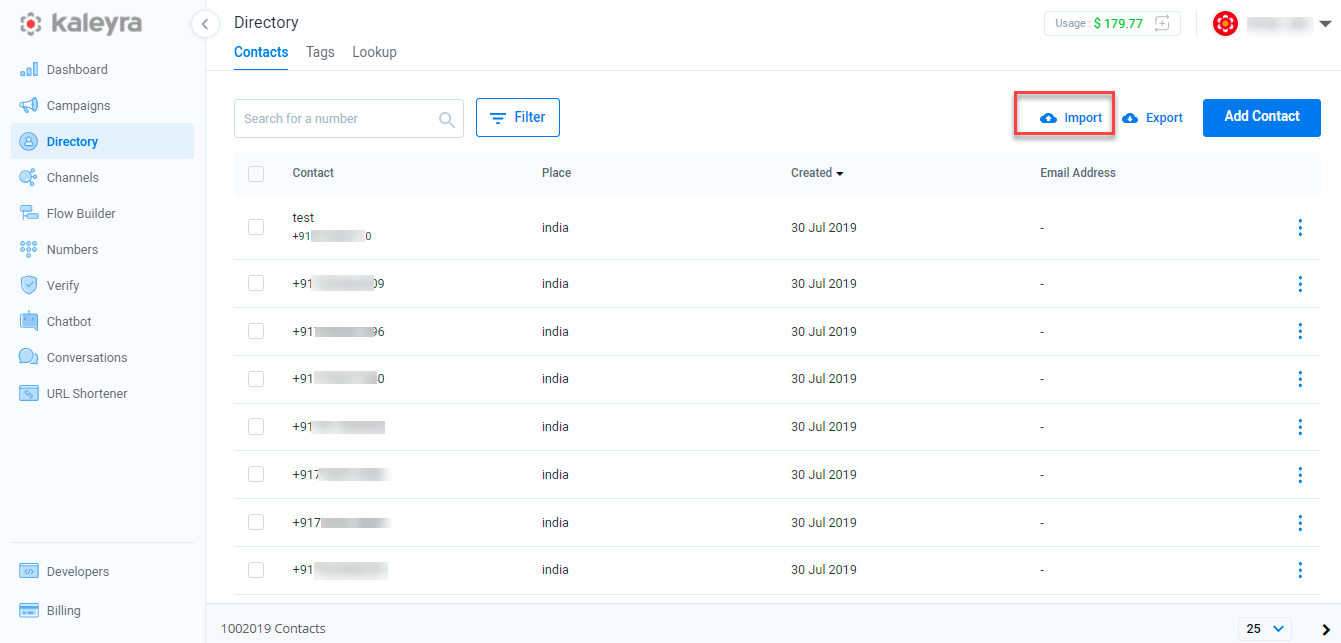
- Click Import. The Import Contactspage appears.
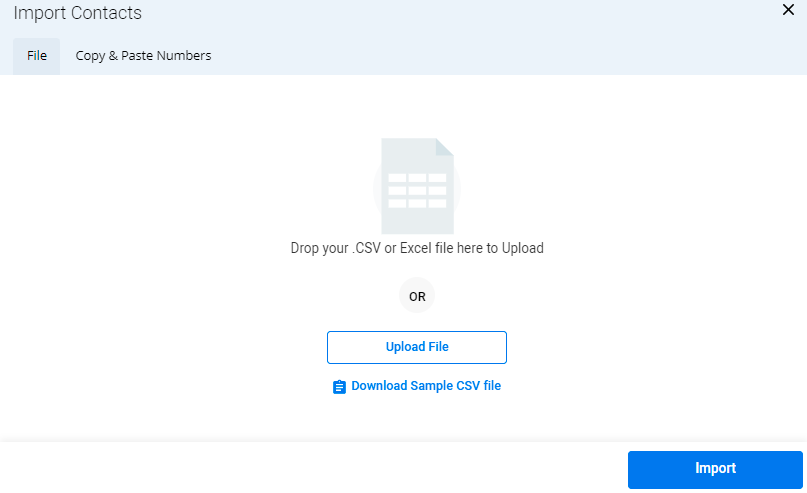
The Import Contacts page has the following options:
- File
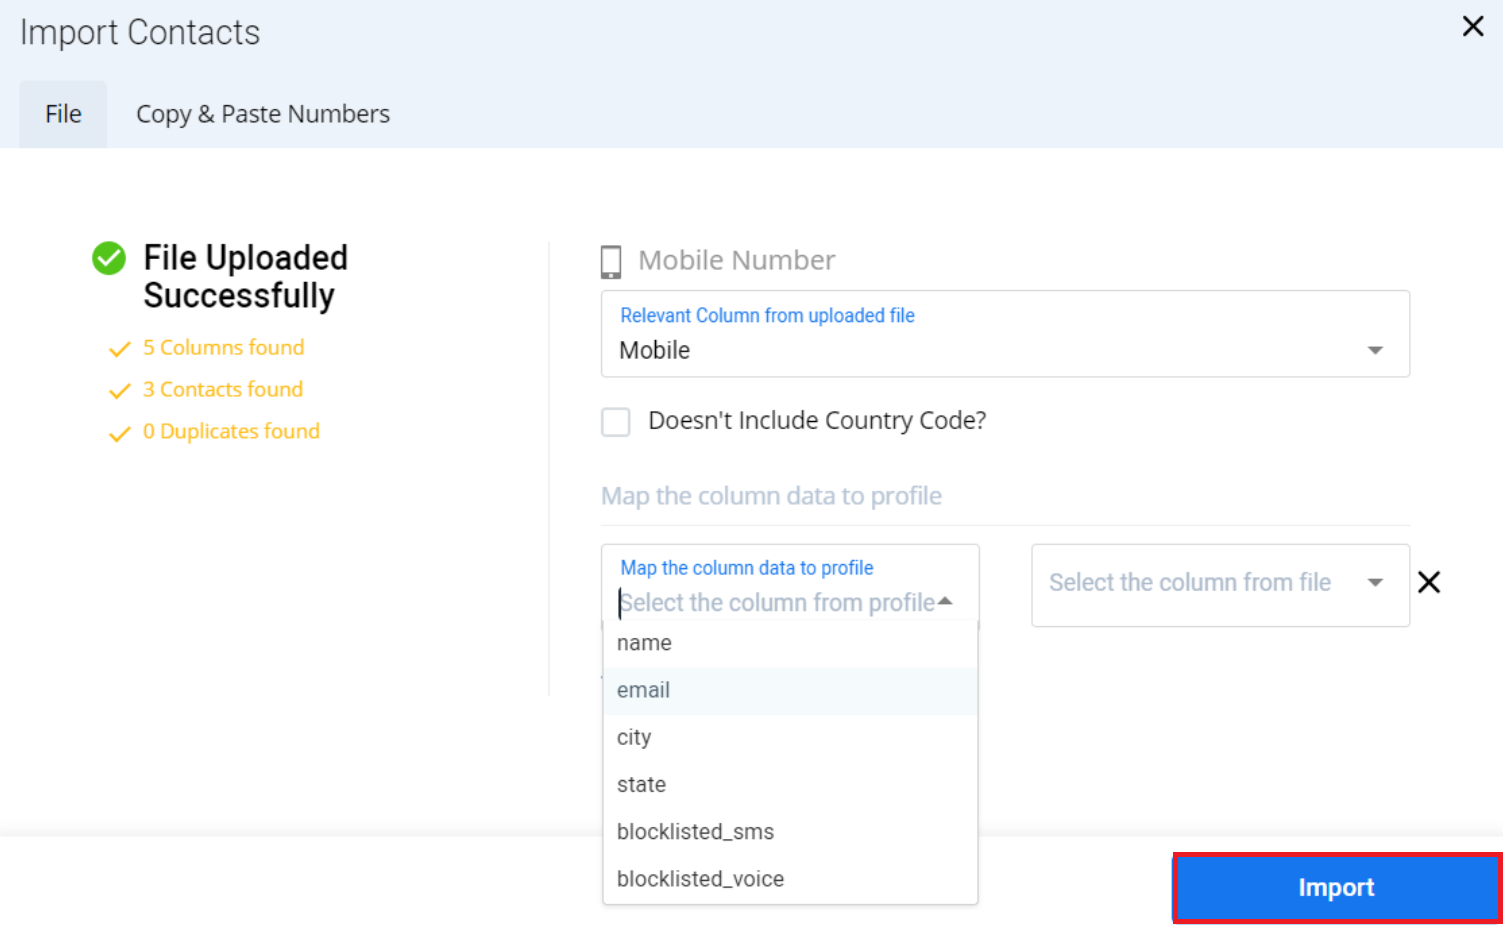
a) Click File and then click Upload File to upload a .CSV or Excel file. A message "File Uploaded Successfully" appears.
Note:
- If the numbers in the file you have uploaded do not have a country code, you can check the Doesn't include Country Code? option to add the country code of your choice.
- You cannot create a custom field during the upload of the file. The only way to add the custom fields is to create manually one contact and add the needed custom fields for the import.
- Click File and then click Download Sample CSV file to download a .CSV or Excel file.

Map the Column data to profile:
- Select the column from profile - Click the arrow next to select the column from profile to view the list.
- Select the column from file - Click the arrow next to select the column from file to view the list.
- Click +Add more columns to add more columns.
Once the file has been uploaded successfully you can map the fields in your file to any existing columns in your directory.
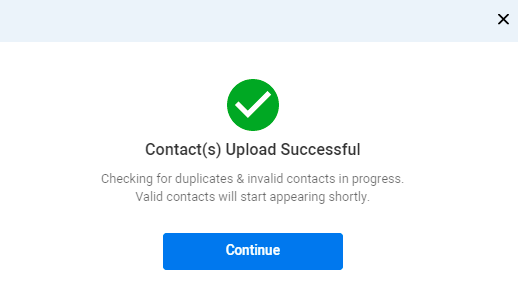
b) Click Import. The "Contact(s) Upload Successful" message appears.
Note:
- Blocklist channels can be mapped or unmapped at any time when adding contacts. You need to pass 1 to block and 0 to unblock contacts in the .csv file.
- You have to use separate columns for each profile field, including blocklist fields.
- The speed of the import is around 10,000 contacts per second. So, it may take a while to process large csv files.
c) Click Continue will return to the Directory page.
- Copy & Paste Numbers
a) Click Copy & Paste Numbers. Enter or paste the mobile numbers to be separated by new line.
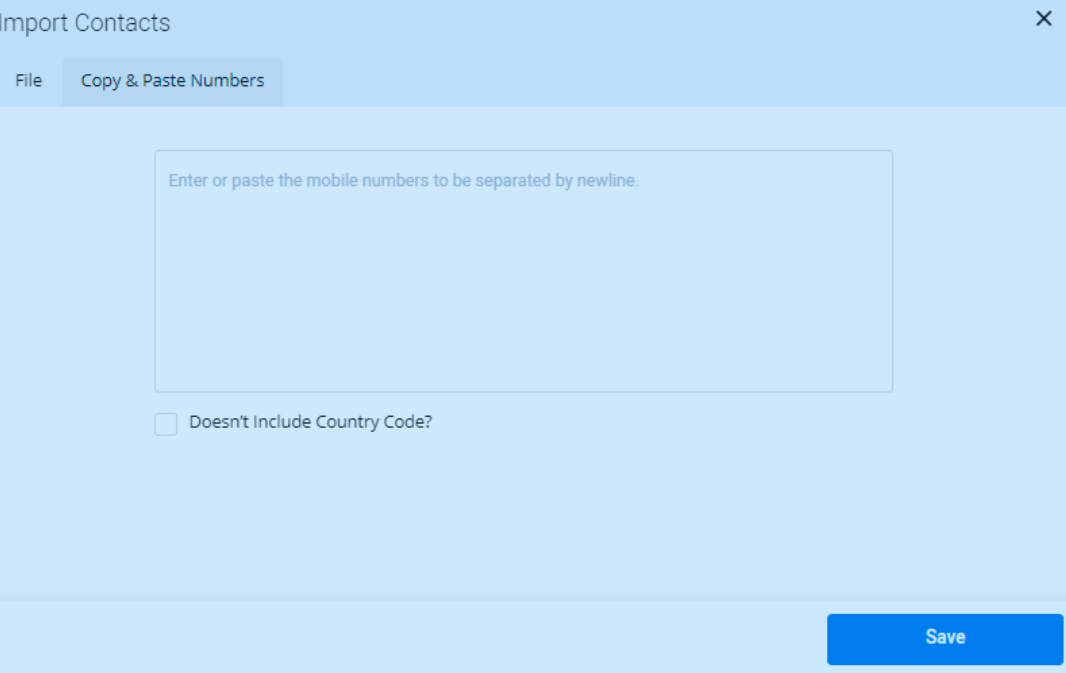
b) Click Save to save the file.
Export Contacts
To export your contacts, perform the following steps:
- Sign in to your Kaleyra.io account.
- Navigate to Directory and on the Directory page, click Contacts. The Contacts page appears.
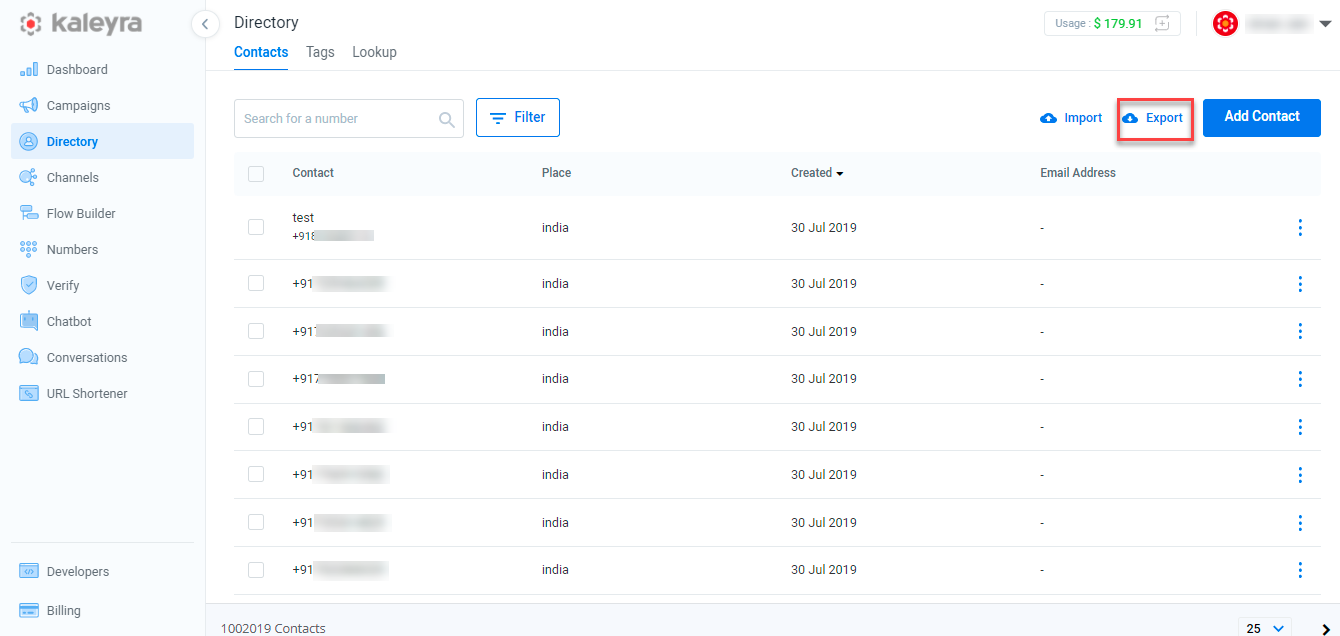
- Select the desired row from the Contacts column and click Export.
- The .CSV file will be downloaded automatically.
Edit, View, Delete, and Perform Lookup
To edit, view, delete, and perform lookup, perform the following steps:
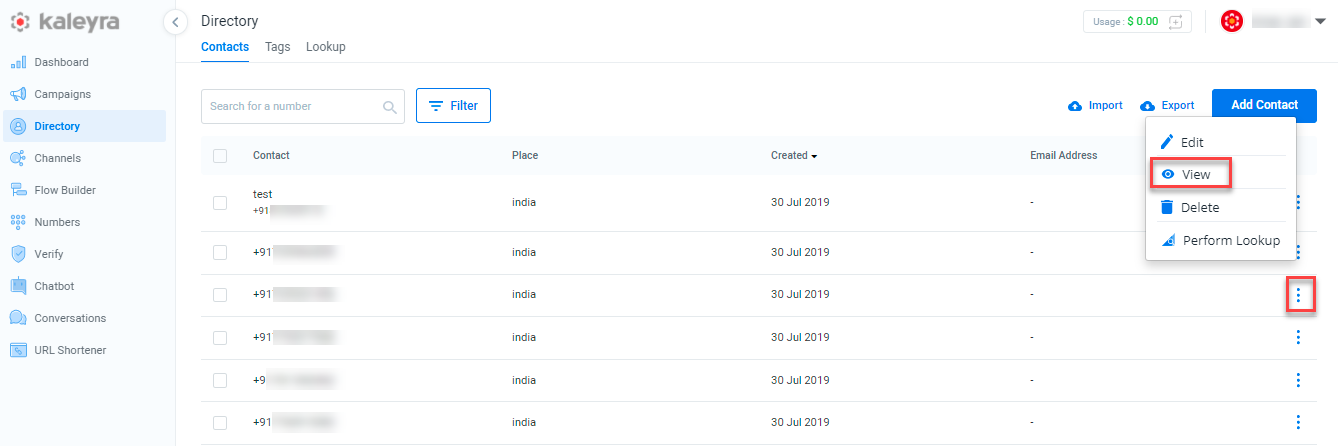
- Navigate to Directory and on the Directory page, click Contacts. The Contacts page appears.
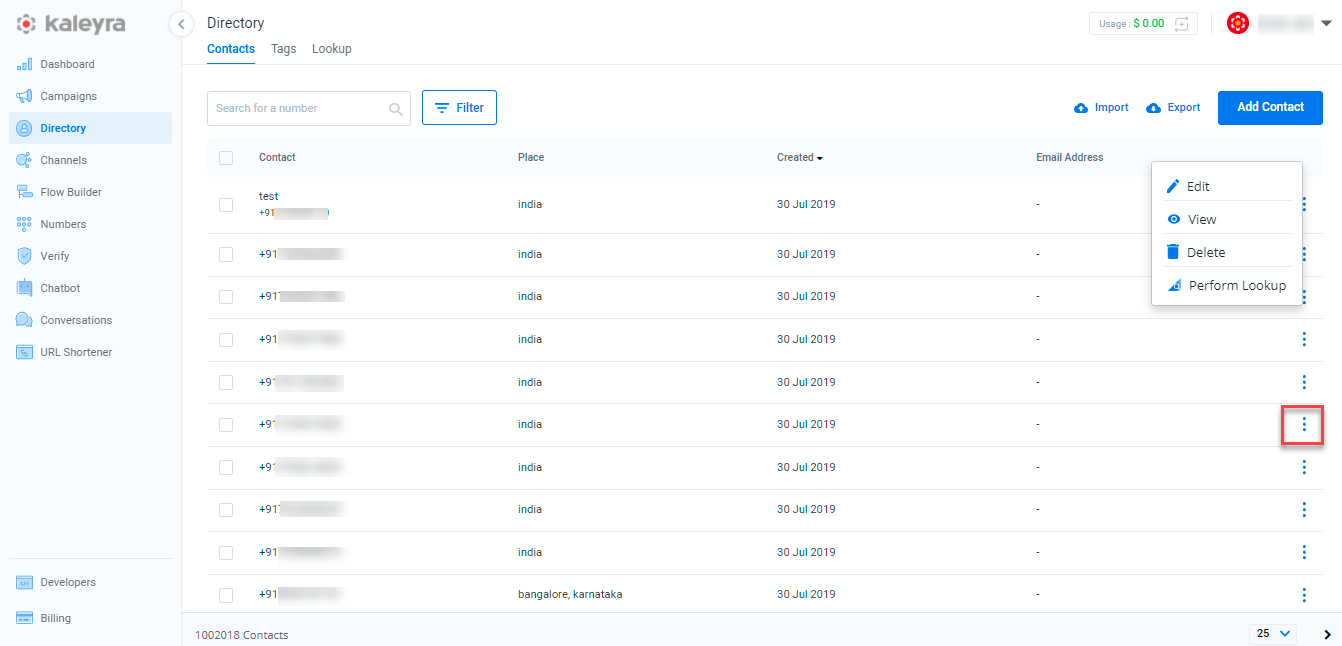
- On the Contactspage, click the three dots at the end of the row to Edit, View, Delete, and Perform Lookup function.
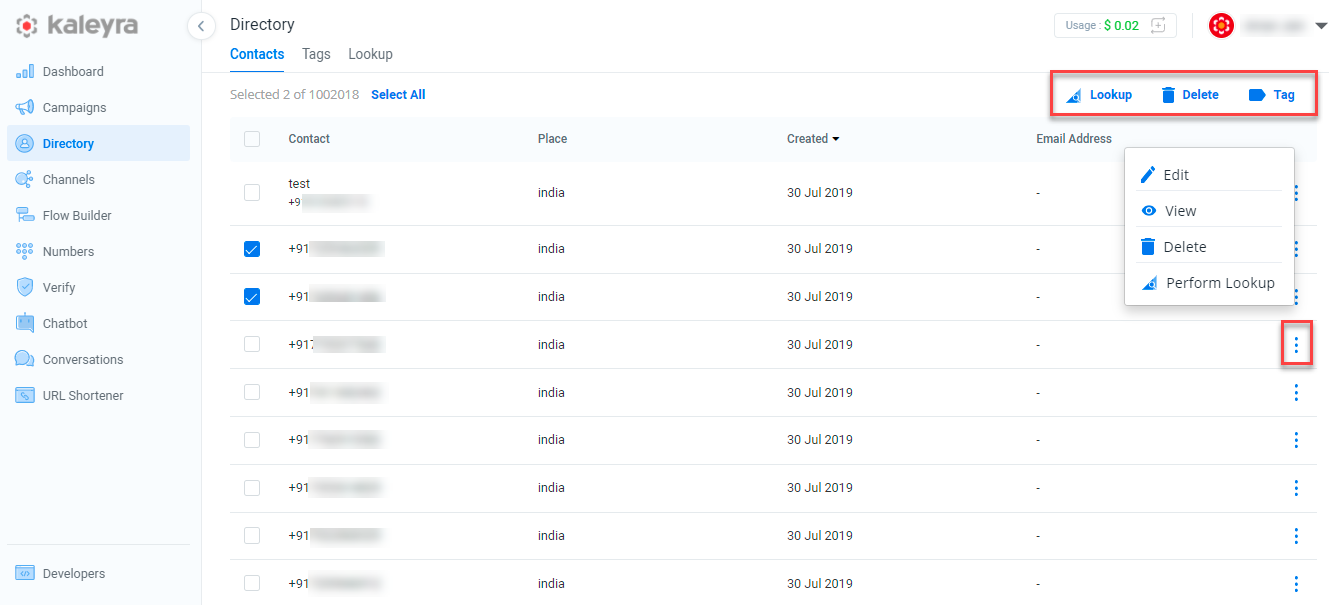
OR
Select a single or multiple rows from the Contacts column and then click Lookup or Delete or Tag available on the top right corner.
- Click Edit to edit the contact information.

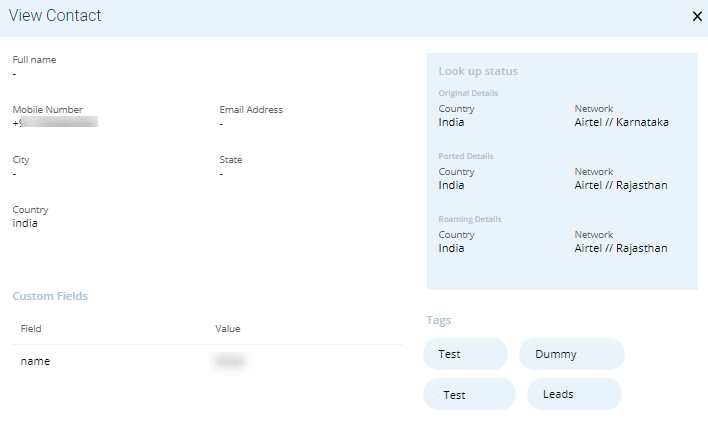
- Click View to view the contact information.
- Click Delete to delete the contact information.
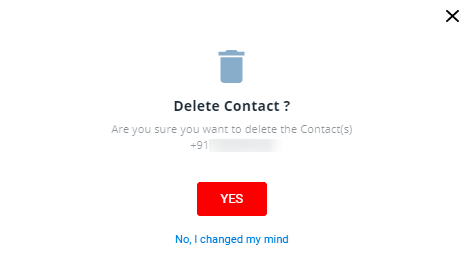
- Click YES. A pop-up message "Contact(s) delete request accepted successfully" appears.

- Click Perform Lookup. The Perform Lookup page appears.
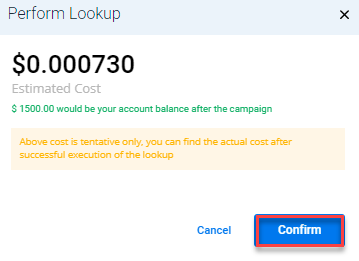
- Click Confirm to confirm the estimated cost.
- Click Cancel to cancel the application and return to the Directory page.
Check Blocklisted Contacts
To check if a contact number is blocklisted, perform the following steps:
- Navigate to Directory and on the Directory page, click Contacts. The Contacts page appears.
- Click the three dotsat the end of the row and then click view. The View Contact page with a reddish box at the bottom appears.
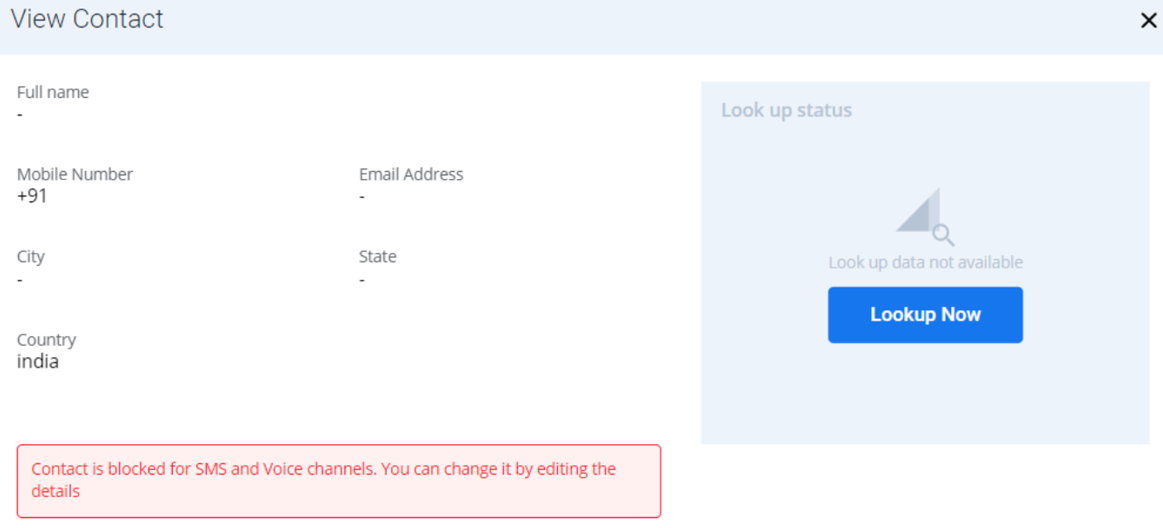
Note:If the contact is blocklisted, then there will be a reddish box at the bottom.
Remove Blocklisted Contacts
To remove customer from the blocklist, perform the following steps:
- Navigate to Directory and on the Directory page, click Contacts. The Contacts page appears.

- Click the three dots at the end of the row and then click Edit. The Edit Contact page appears.
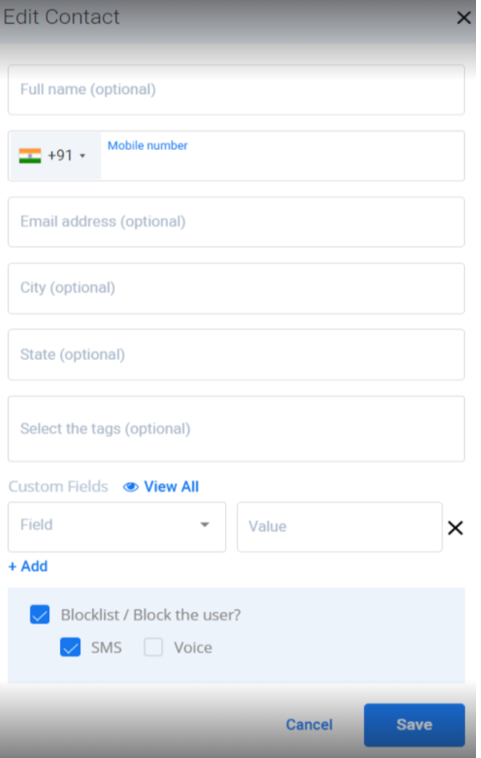
- Select the checkbox Blocklist/Block the user? to turn on and off to blocklist the contact. You can decide which channel you want to blocklist for. An error will be displayed "Select at least one channel to blocklist" if the Blocklist feature checkbox is selected, but no channel is selected, the user must select at least one channel If the Blocklist feature is enabled.
Note:Blocklist channels can be selected or deselected at any time when adding or editing contacts.
- Click Save. The "Contact(s) update request accepted successfully" message appears.

- Click Cancel to cancel the application and return to the Directory page.
Updated about 1 year ago