Create and Manage RCS Broadcasts
About RCS Broadcasts
Communicate Pro provides users the ability to send RCS Broadcasts. These Broadcasts are delivered to phone numbers through an RCS agent (rather than a traditional long code or shortcode).
Prerequisites
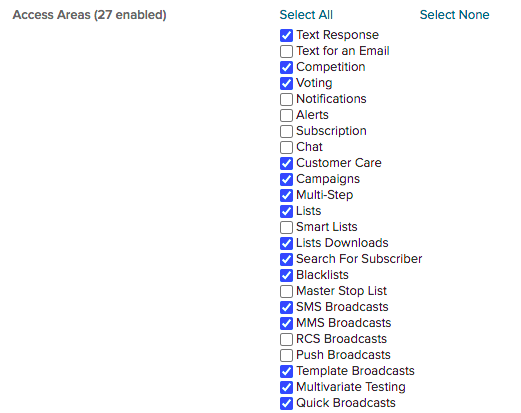
In order to send RCS Broadcasts, the RCS Broadcast feature must be enabled. This can ONLY be enabled for Communicate Pro Orgs that have an RCS Agent provisioned. If an RCS Agent is not provisioned, the RCS Broadcast access area will be disabled and not clickable.
Enabling RCS Broadcasts
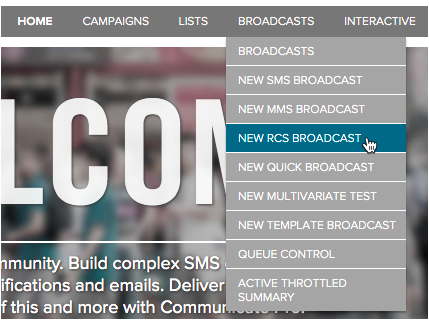
Once enabled, users will see an option for RCS Broadcasts, either from the Broadcast menu, as shown in the following image:
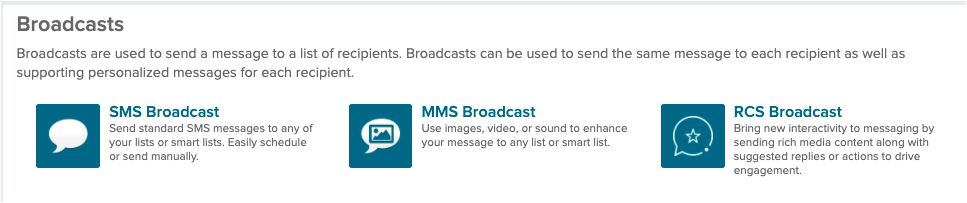
Or, from the Create Broadcast page:
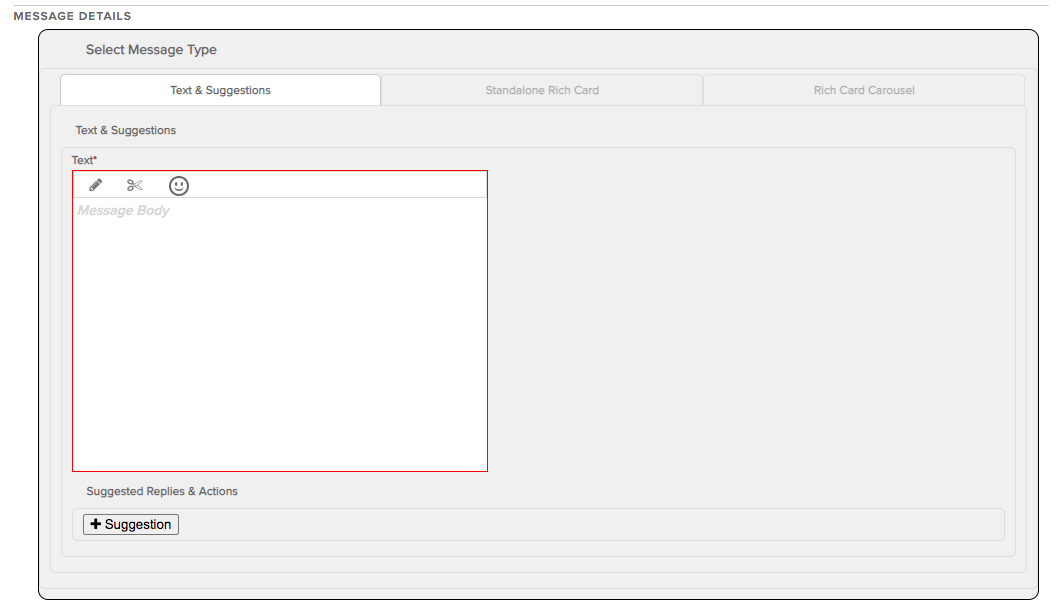
In addition to entering the basic Broadcast details, users will determine which type of RCS Broadcast they wish to send:
- Text & Suggestions
- Standalone Rich Card
- Rich Card Carousel
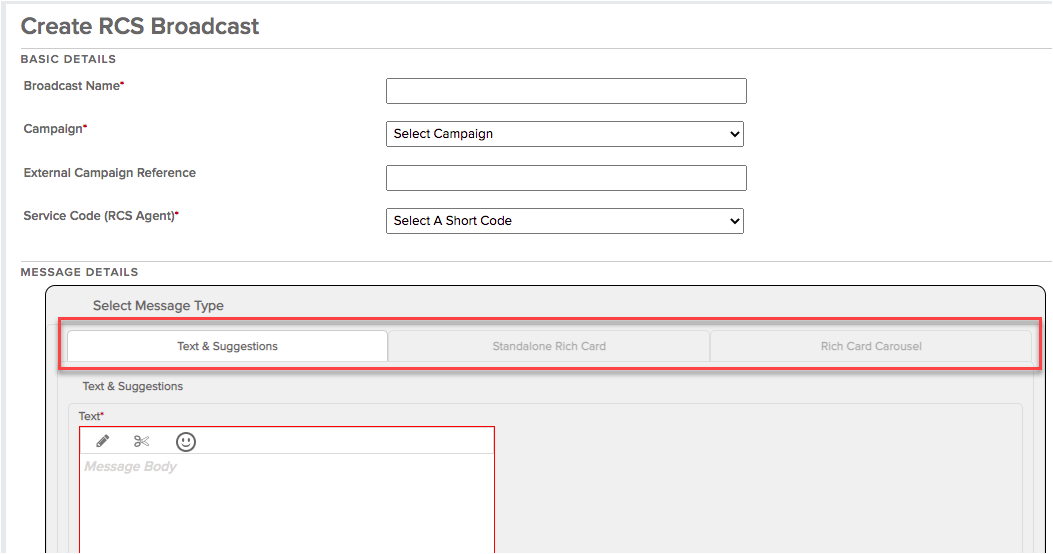
Navigate between tabs to select the type you wish to use. Required fields will vary depending on the type you have selected. The Save RCS Broadcast button will be disabled until all required fields are completed for the type you are viewing at the time you attempt to save.
Note:Only one RCS Broadcast type can be configured per Broadcast. If data has been entered on multiple tabs, a warning will be displayed to make sure users are saving the type they intend to use.
Configuring Text & Suggestions
Text & Suggestions is the default RCS Broadcast type, so each RCS Broadcast will begin with the Text & Suggestions tab selected.
Users can send a message without any call to action, simply by setting up Text without any Suggestions. The Text field is required and supports up to 999 characters.
To send a message and include suggested replies or actions, click + Suggestion.
Once + Suggestion is clicked, a new section will appear. Enter at least one and not more than four Suggested Replies or Actions. For more details, refer to the Configuring Suggested Reply and Action section.
Configuring Standalone Rich Cards
Standalone Rich Cards allow you to configure a message that includes a multimedia component that will be accompanied by a title and description. Suggested replies and actions in a Standalone Rich Card will be displayed vertically beneath the media, title, and description.
In order to save a Standalone Rich Card:
- Enter a Title of up to 200 characters, this will be presented above the description.
- Enter a Description of up to 2000 characters, this is essentially the message body. It is displayed below the title.
- Enter at least one and not more than four Suggested Replies or Actions. For more details, refer to the Configuring Suggested Reply and Action section.
- You can include a media component. The following media files are supported, as long as file sizes do not exceed 10 MB:
- Images (jpg, gif, png)
- Video (mp4)
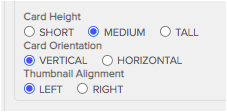
- Users can adjust the media height, orientation, and alignment by modifying the default settings for the Card Height, which are presented beneath the Rich Card details:
Configuring Rich Card Carousels
Rich Card Carousels allow you to configure between two and ten Rich Cards. The same requirements for the Standalone Rich Card apply; each card requires a title, description, and at least one suggestion. See the Standalone Rich Card section for additional details regarding Rich Card configuration.
Recipients of a Rich Card Carousel will be able to scroll left and right through the Rich Cards that have been created.
Note:The Card Height configured in a Rich Card Carousel will apply to all the Rich Cards in the carousel.
Configuring Suggested Reply and Action for all RCS Broadcasts
The section will be named Suggestion 1 (or Suggestion 2, or 3 up to Suggestion 11), so you can easily keep track of which suggestion you are creating.
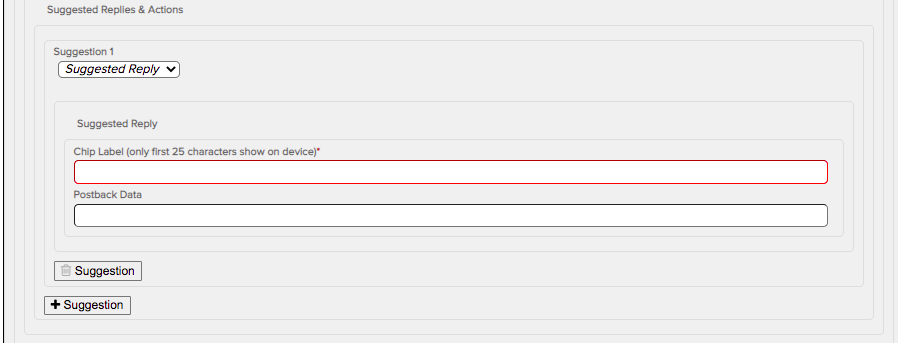
There are two types of suggestions you can configure.
Note:For each suggestion you create, a clickable chip will be displayed beneath the message. The chips will be displayed horizontally, and recipients can scroll left or right on their device to view and click on the chips to interact with your message.
Suggested Reply: to name the chip a recipient will see and can click on to respond to the message. The chip will appear beneath the message as a clickable button.
Note:You must configure a corresponding Multistep program that will be listening for these replies, so that you can respond accordingly once a chip has been clicked. For more detail, refer to the section below titled Creating a Multistep to Respond to your Chips.
Suggested Action: to configure one of four different actions, which will also be presented as clickable chips beneath the message. While these chips can result in a response from a Multistep program, they typically do not. Instead, these chips will:
- Open the phone app on the recipient's device.
- Take the user to a web page.
- Open the calendar app on the device.
- Open the map app on the device with a focus on the configured location.
Note:While configuring any of the actions, you can enter Postback Data. This will allow you to report on how often the chip is clicked and can also be used to configure Multistep program listeners. Maximum length is 100 characters. This is not mandatory.
Configuring the action to open the phone app on the recipient's device
- Select the Dial Number action.
- Enter a Chip Label of up to 25 characters, this is the name of the chip as it will be displayed on the device.
- Enter the phone number you would like the recipient to dial (upon clicking, the phone number will be pre-populated on the device).
Configuring the action to take the user to a web page
- Select the Open URL action.
- Enter a Chip Label of up to 25 characters, this is the name of the chip as it will be displayed on the device.
- Enter a Valid URL, the URL for the site you want to take the recipient to (up to 1000 characters). A valid URL contains both a protocol (http or https) and a domain (www.kaleyra.com): https://www.kaleyra.com.
Configuring the action to open the calendar app on the device
This action will let the recipients add the event directly to their calendars.
- Select the Create Event action.
- Enter a Chip Label of up to 25 characters, this is the name of the chip as it will be displayed on the device.
- Enter a Start Date and time for the event. This will need to be entered in UTC timezone format: 2018-12-02T15:00:00.0Z.
- Enter an End Date and time for the event. This will need to be entered in UTC timezone format: 2018-12-02T15:00:00.0Zn.
- Enter an Event Title (up to 100 characters), which will be displayed in the calendar app.
- Enter an Event Description (up to 1000 characters), which will be displayed in the calendar app.
Configuring the action to open the map app on the device with a focus on the configured location
- Select the View Location action.
- Enter a Chip Label of up to 25 characters, this is the name of the chip as it will be displayed on the device.
- Configure either Fixed Location or Search Vicinity.
Option 1: Fixed Location
- Latitude: The latitude for the location, must be entered as a number between 90 and -90.
- Longitude: The longitude for the location, must be entered as a number between 180 and -180.
- OPTIONALLY, you can also include a Label for the location, which will be shown on the map at the given latitude/longitude; 200 characters maximum.
Option 2: Search Vicinity
- Query: Enter an address or place name; 2000 characters maximum
Organizing suggestions
Suggestions 1 through 11 will be presented beneath the message. If you want to rearrange the order that the chips are presented, use the up and down arrows:

Note:You may only see one arrow associated with your suggestion as the arrows presented depend on if there are suggestions before or after the suggestion you are viewing.
Deleting suggestions
To delete a single suggestion, click Delete Suggestions or Delete All.

Creating a multistep to respond to the chips
You must configure a corresponding Multistep program that will be listening for any suggested replies. You can optionally add listeners for suggested actions if you want to send automatic responses when those chips are clicked.
There are two options for configuring listeners for your suggestions, use the Keyword listener type OR use the RCS Chatbot: Suggest Reply listener.
If using the Keyword listener type, you will need to set the keyword in the Multistep as the Postback data value from the suggestion in the Broadcast. Using the keyword listener will require you to comply with the keyword listener validation -- only alphanumeric characters are allowed.
If using the RCS Chatbot: Suggest Reply listener, you will set the Chip Label and Postback Data in the listener just as they are configured in the Broadcast.
Note:Remember that suggested actions will result in an action once the recipient clicks the chip. For example, their click may result in a browser being opened or different apps on the device being opened. If you have also configured the RCS Chatbot: Suggest Reply listener for these actions, a response will be sent when the chip is clicked. For chips that are presented horizontally beneath the RCS message, the chips will no longer be available to the recipient after they select a chip. So, if you desire to keep those chips in place and accessible to the recipient, consider sending a Standalone Rich Card or a Carousel; chips associated with those Broadcast types are presented vertically beneath the card title & description and will be retained on the device.
Sending an RCS Broadcast
Once the Broadcast is configured, Users can send the Broadcast. Scheduled delivery and Throttling capabilities are available on RCS Broadcasts, however Local Timezone Delivery in the US is not available at this time.
Once the Broadcast is sent, subscribers will receive it as long as their device is RCS-enabled. To find out if a device is RCS-enabled, see Chat Features & Status.
Note:SMS fallback configuration in an RCS Broadcast is not yet supported. Therefore, it is still recommended that the Kaleyra team confirm RCS-enabled devices before sending the Broadcast. This will enable you to deliver the RCS Broadcast to those devices that support it (you can also configure an SMS Broadcast for those that do not).
In a future release, Users will be able to verify which numbers are RCS-enabled before they send the Broadcast and also configure an SMS fallback message that will be delivered to devices that are not RCS-enabled.
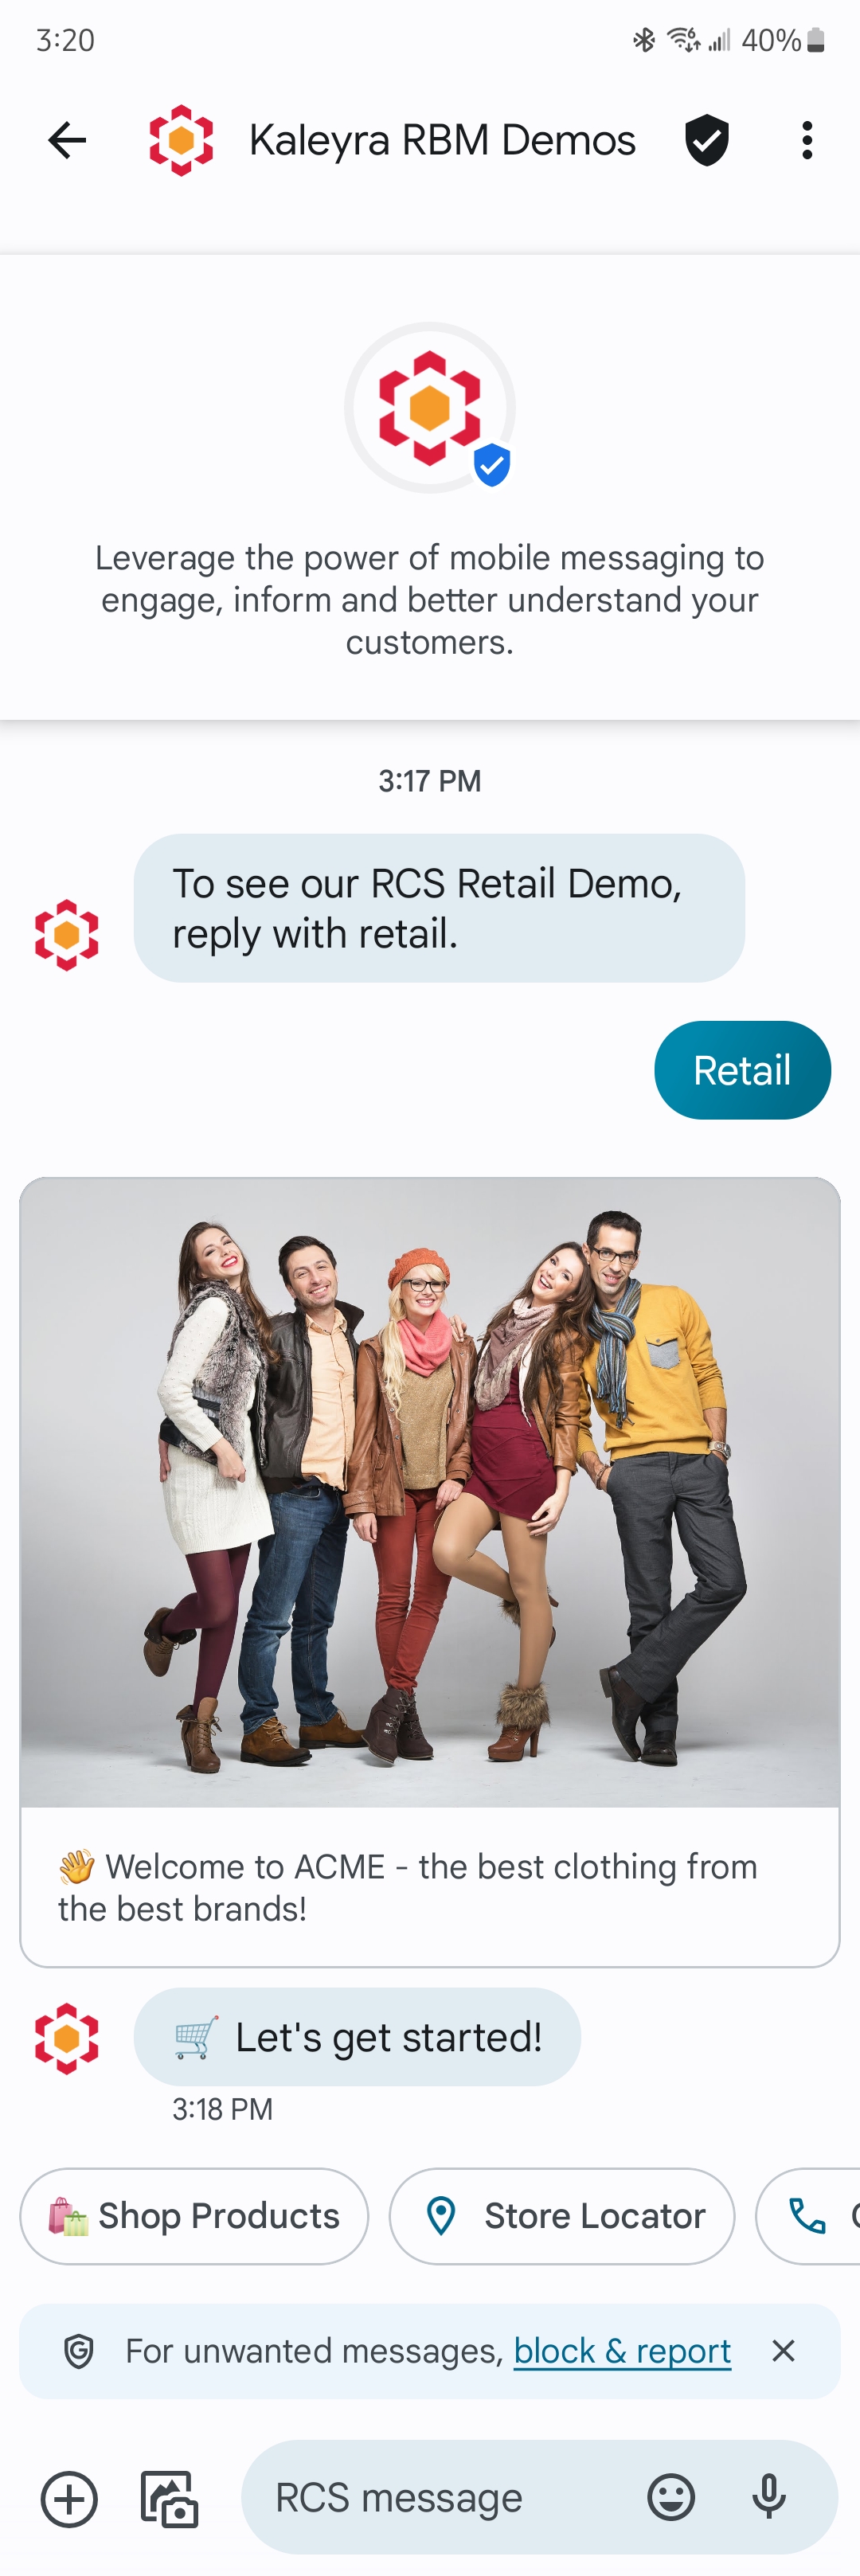
Sample of RCS Messages on the Device
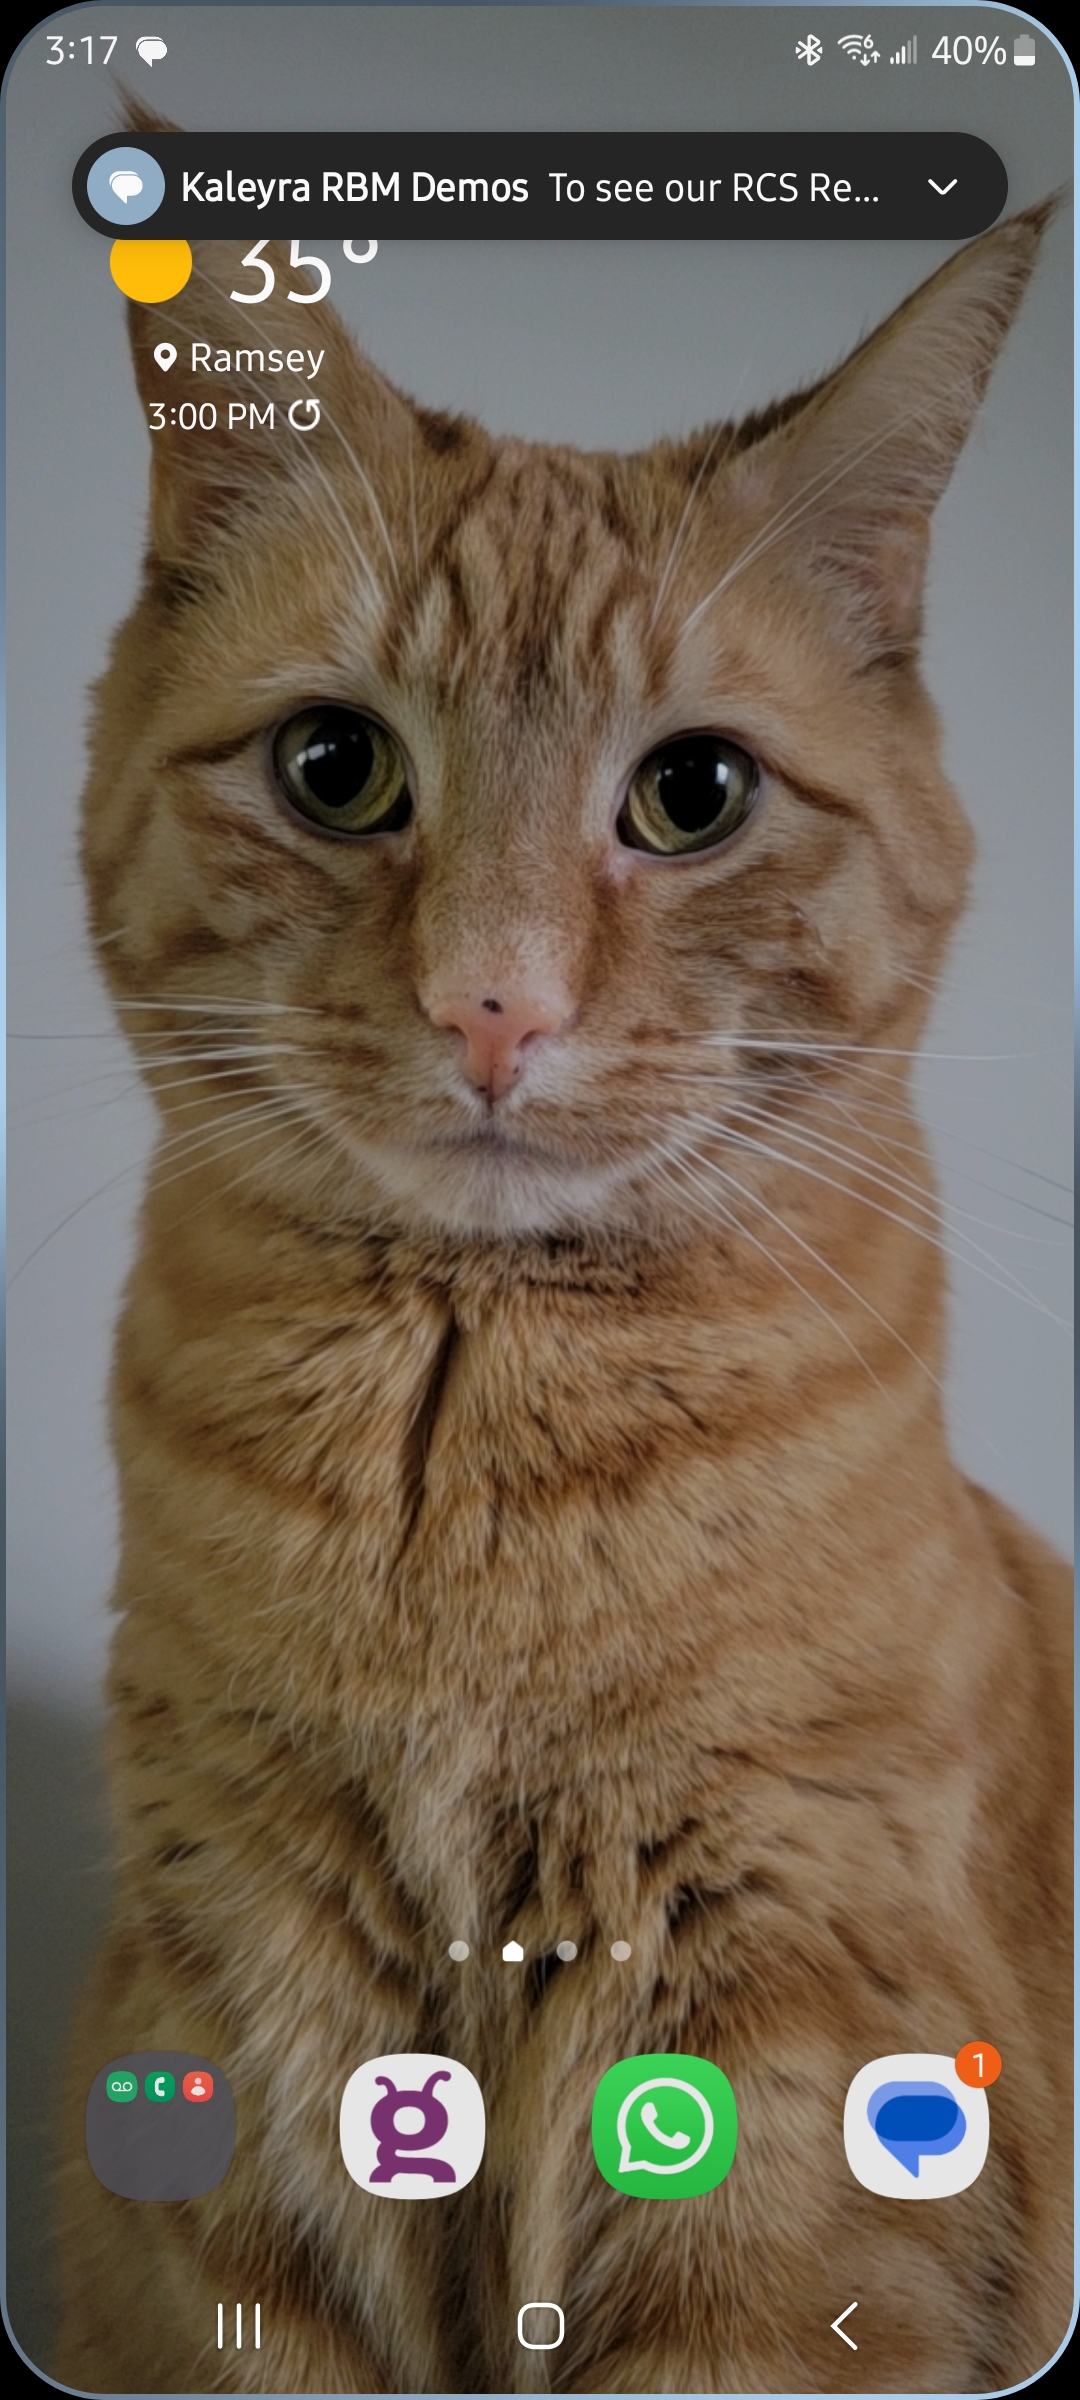
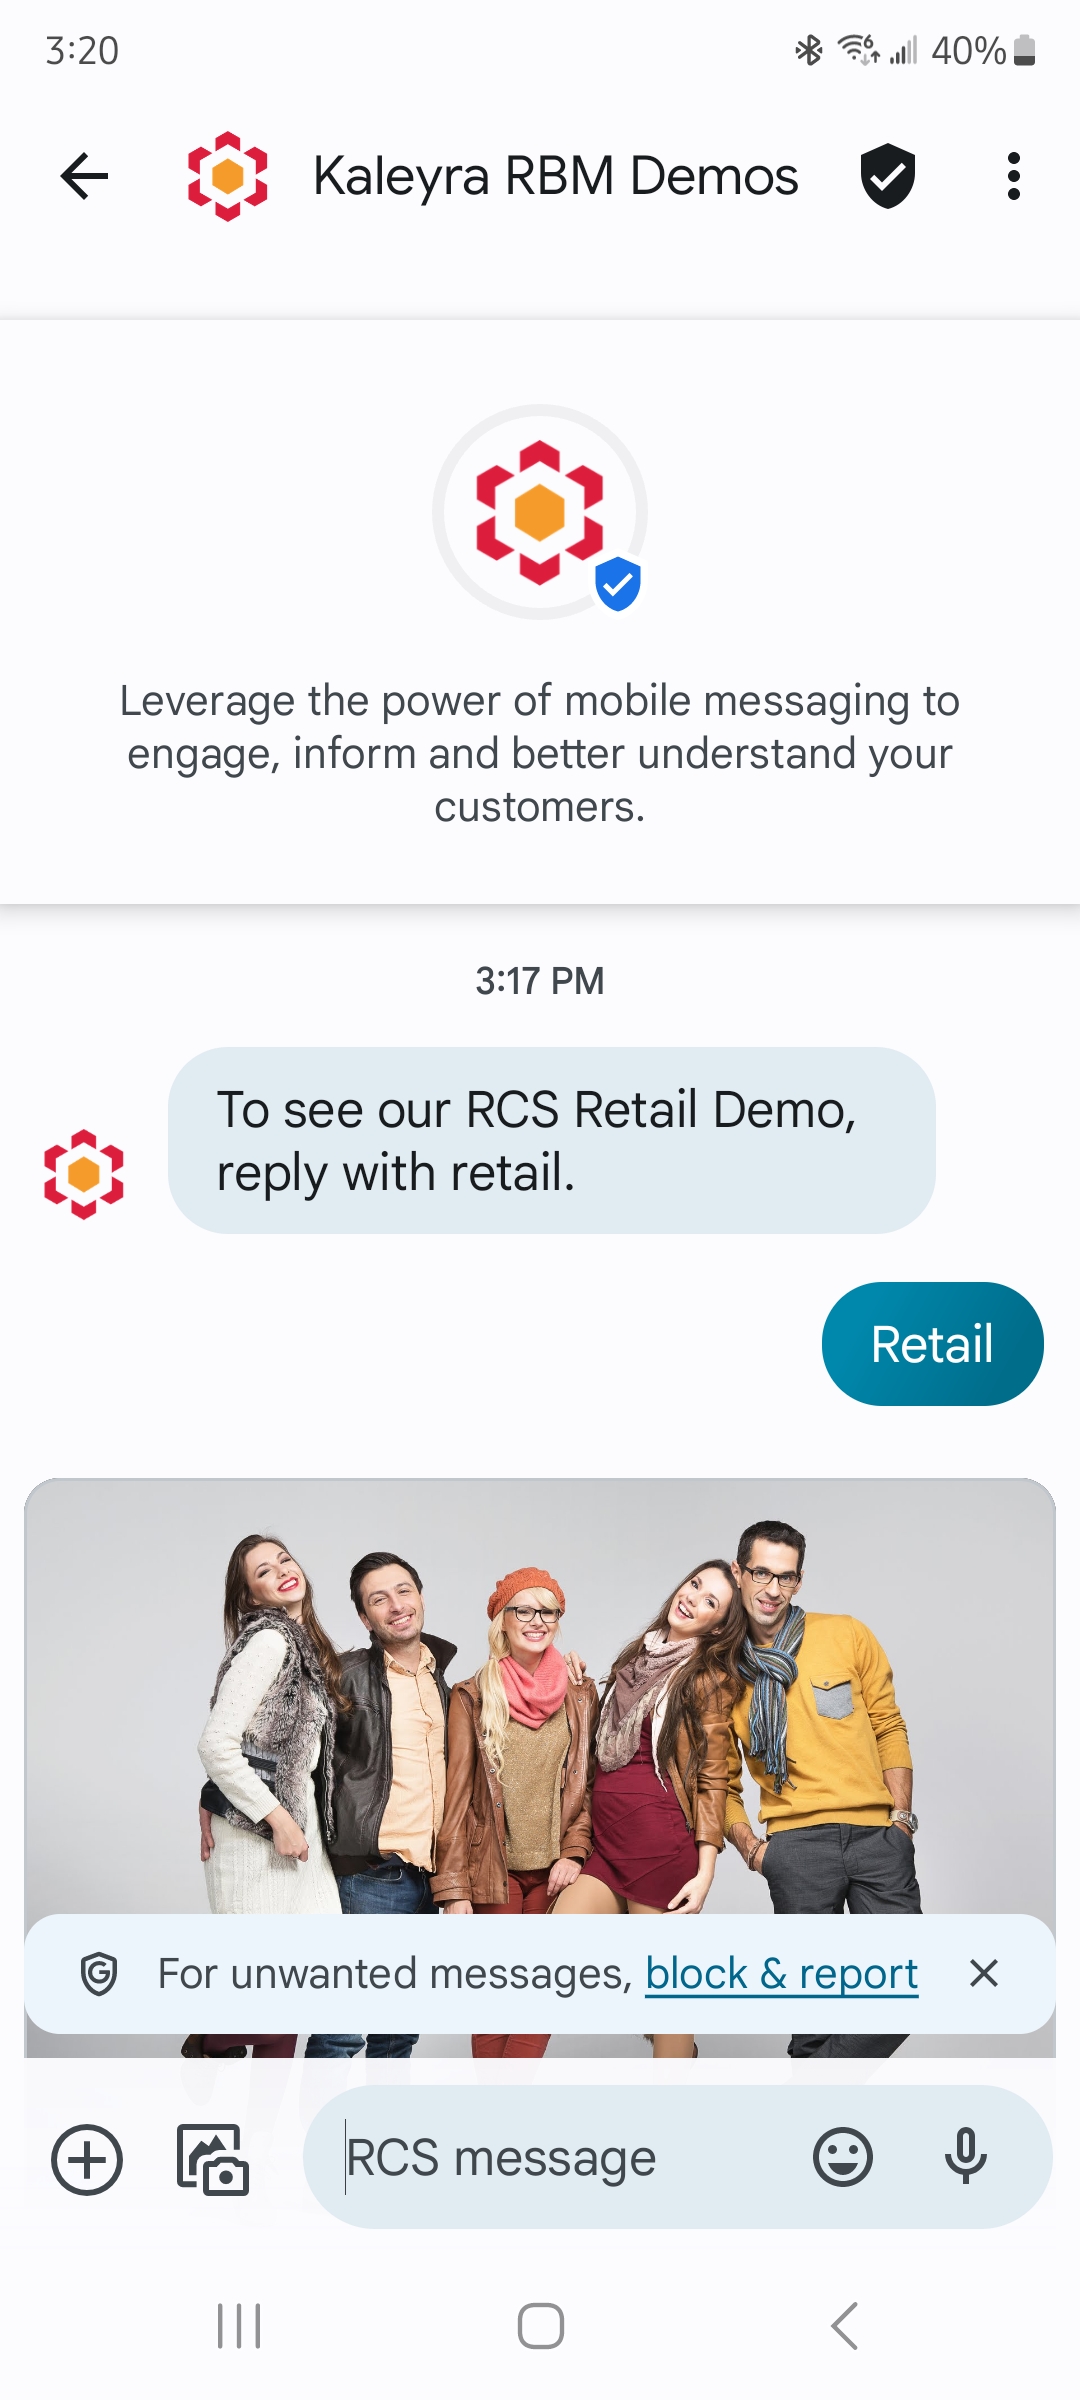
When the subscriber replies, the RCS Multi-Step program will be initiated and the interaction will continue from there:
Once the Broadcast has been sent, Users can manage the RCS Broadcast from the Broadcasts page:

Updated about 1 year ago