Text Response
A text response program may be used to collect information from the subscribers. The response set up in the program is what would be sent to participating subscribers. There is no way to track replies on the program nor in the reporting page. You can go to the Messages Page to review their subscriber replies.
Note:Feature documented for Text response can vary based on your geographical location.
Using a text response program, you can use it to collect opt-ins and opt-outs, but it does not have to. Also, you can decide whether to save or not to save a subscriber to a list (this activates consent).
For examples:
- Program Keyword(s) + STOP (example: "Feedback Stop") removes a user from the Text Response program only.
- Short Code Opt-Outs are handled separately. If the subscriber did not put the keyword before STOP, then they would be removed from all marketing tied to that Short Code.
Text Response Use Case
- Text Response programs are primarily used to receive views and opinions from your audience. They are a great way to gauge opinion and collect mobile numbers for future mobile marketing programs.
- Place your call to action on flyers, leaflets, radio, or TV advertisements prompting your audience to text a keyword followed by their message to a short code.
How does Text Response work?
- A mobile user sends a text message starting with a keyword from their phone to a short code which is delivered to Communicate Pro.
- Communicate Pro checks the keyword-short code combination and sends out the reply stored in the relevant program.
How to Set Up a Test Response Program?
- Give your new program a name, assign it to a project, and set your start and end dates.
- Select your short code and enter a keyword. To assign more than one keyword to your program, select the Additional Keywords box.
- Enter your text for the Reply message for your program.
How do Users Enter the Program?
- The mobile user texts the keyword with a space followed by any other message content to the short code.
To set up a Text Response program, perform the following steps:
- Log in to the Communicate Pro account.
The communicate pro home page appears.
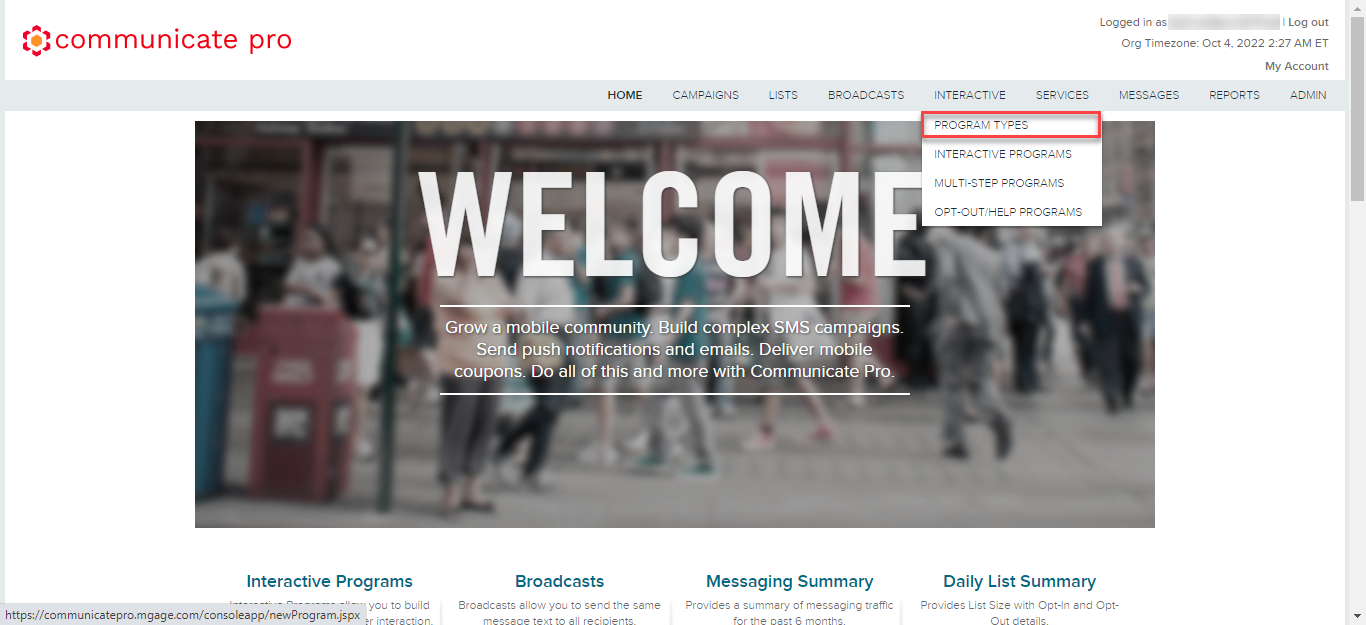
- From the top menu bar, hover over INTERACTIVE, and then select PROGRAM TYPES.
The Interactive Programs page appears.
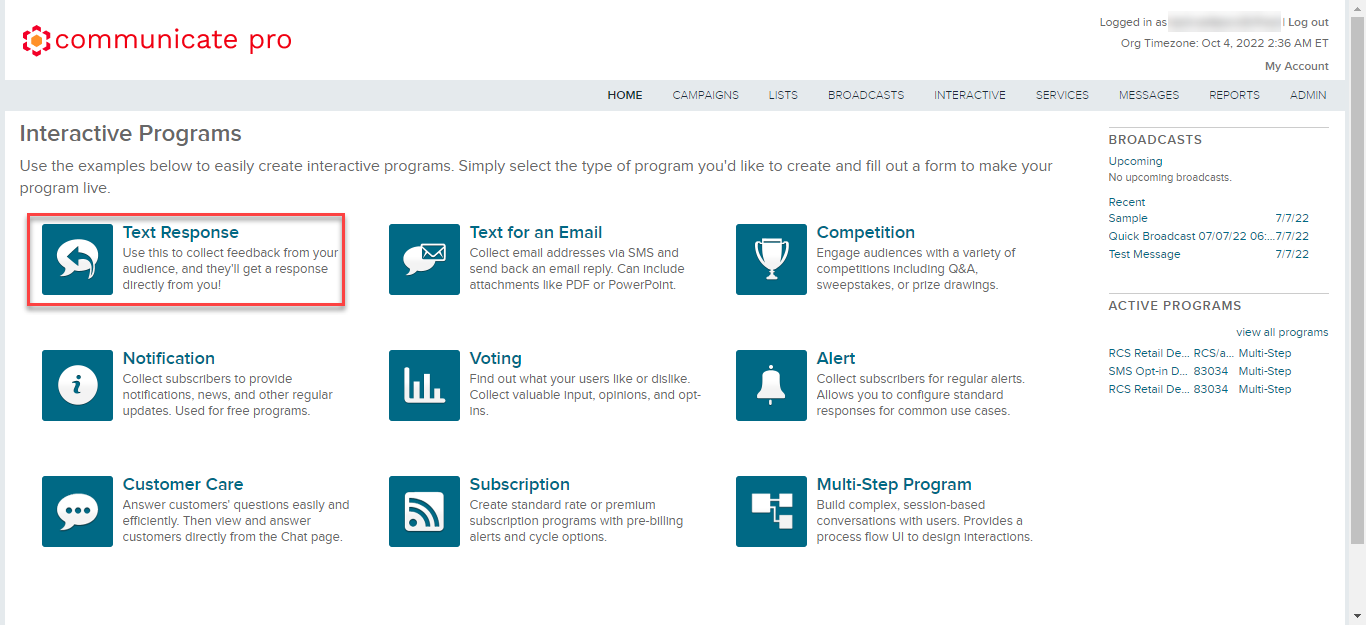
- Click Text Response.
The Text Response page appears.
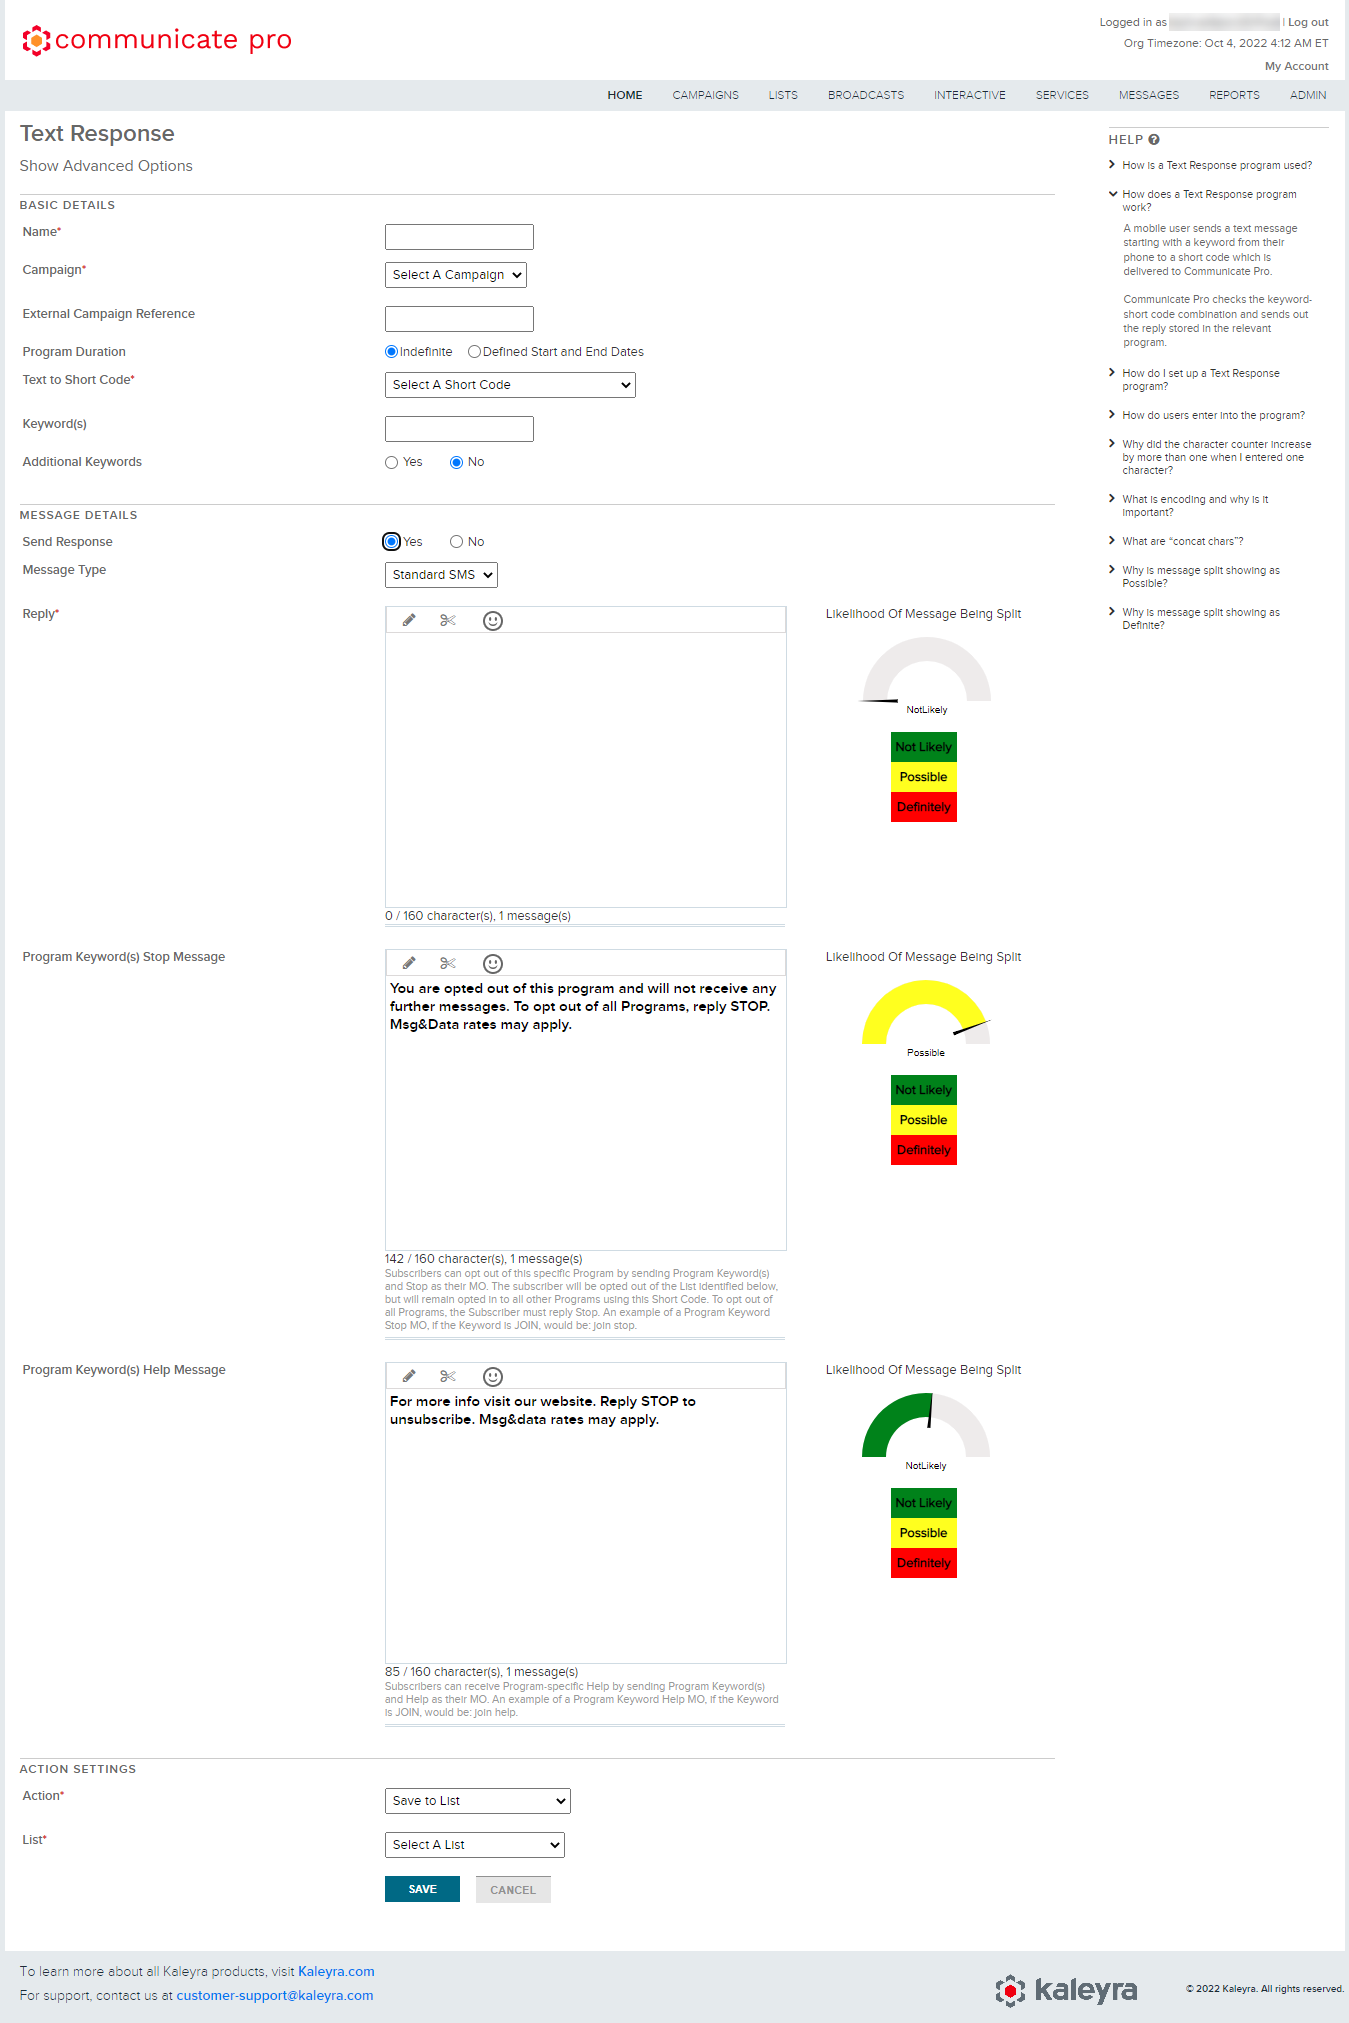
- In the BASIC DETAILS section, perform the following steps:
- In the Name field, enter a name for the text response.
- Click the Campaigns field, and a list of options appears, select a campaign.
- (Optional) In the External Campaign Reference field, enter the external campaign reference.
- (Optional)The duration enables your messengers during which they can interact with the program. From the Program Duration option, select any one of them:
- (Default) Indefinite - To keep the text response active for an indefinite time.
- Defined Start and End Dates - To keep the text response active from the start date and time to the end date and time. In the Start Time & Date fields, enter the start date and time. In the End Time & Date fields, enter the end date and time.
- Click the Text to Short Code field, and a list of options appears, select the text to short code for the text response.
- In the Keyword(s) field, enter the keywords that will help you in sending the short code to your user based on these keywords.
- If you want to add additional keywords for a text response, from the Additional Keywords option, select Yes, and enter the keywords in the box that will help you in sending the short code to your user based on these keywords.
- In the MESSAGE DETAILS section, perform the following steps:
- From the Send Response option, select one of the following options:
- (Default)Yes - To opt-in to the response from your messengers.
- No - To opt out of the response from your messengers.
- Click the Message Type field, list of options appears, select one of the following options:
- Standard SMS - This allows your messenger to send SMS.
- MMS - This allows your messenger to send MMS.
- In the Reply field, enter the message you want to send to your messenger as an automatic reply to their messages. You can use the following to customize the reply messages:
- Insert dynamic value - You can insert dynamic value. To insert a dynamic value, click the pencil icon, and click the Select Dynamic Value drop-down arrow, a list of dynamic values appears, and select one of them.
- URL shortener - To sort the URL available in the reply field. To sort the URL, click the scissor icon, and then select Shorten URL(s). Click the Default drop-down to view the list of shortened URLs, and select one of them, and if not available you can shorten the URL.
- Smiley - You can insert the smiley in your reply messages. To insert the smiley, click the smiley icon, and a smiley box appears, select one of them.
Note:
- The Likelihood Of Message Being Split in the right-hand side of the Reply message box indicates if the reply message is eligible for split or not.
- In the bottom of the Reply message box indicates the message characters count.
- In the Program Keyword(s) Stop Message field, enter the message you want to send to your messenger as an automatic reply to their messages when they opted out of the program. You can use dynamic value, URL shortener, and smiley in your message.
- In the Program Keyword(s) Help Message field, enter the message you want to send to your messenger as an automatic reply to their messages when they want help from you through the program.
- From the Send Response option, select one of the following options:
- Click Show Advanced Options to view the advanced options.
The advanced option appears toward the end of the page.
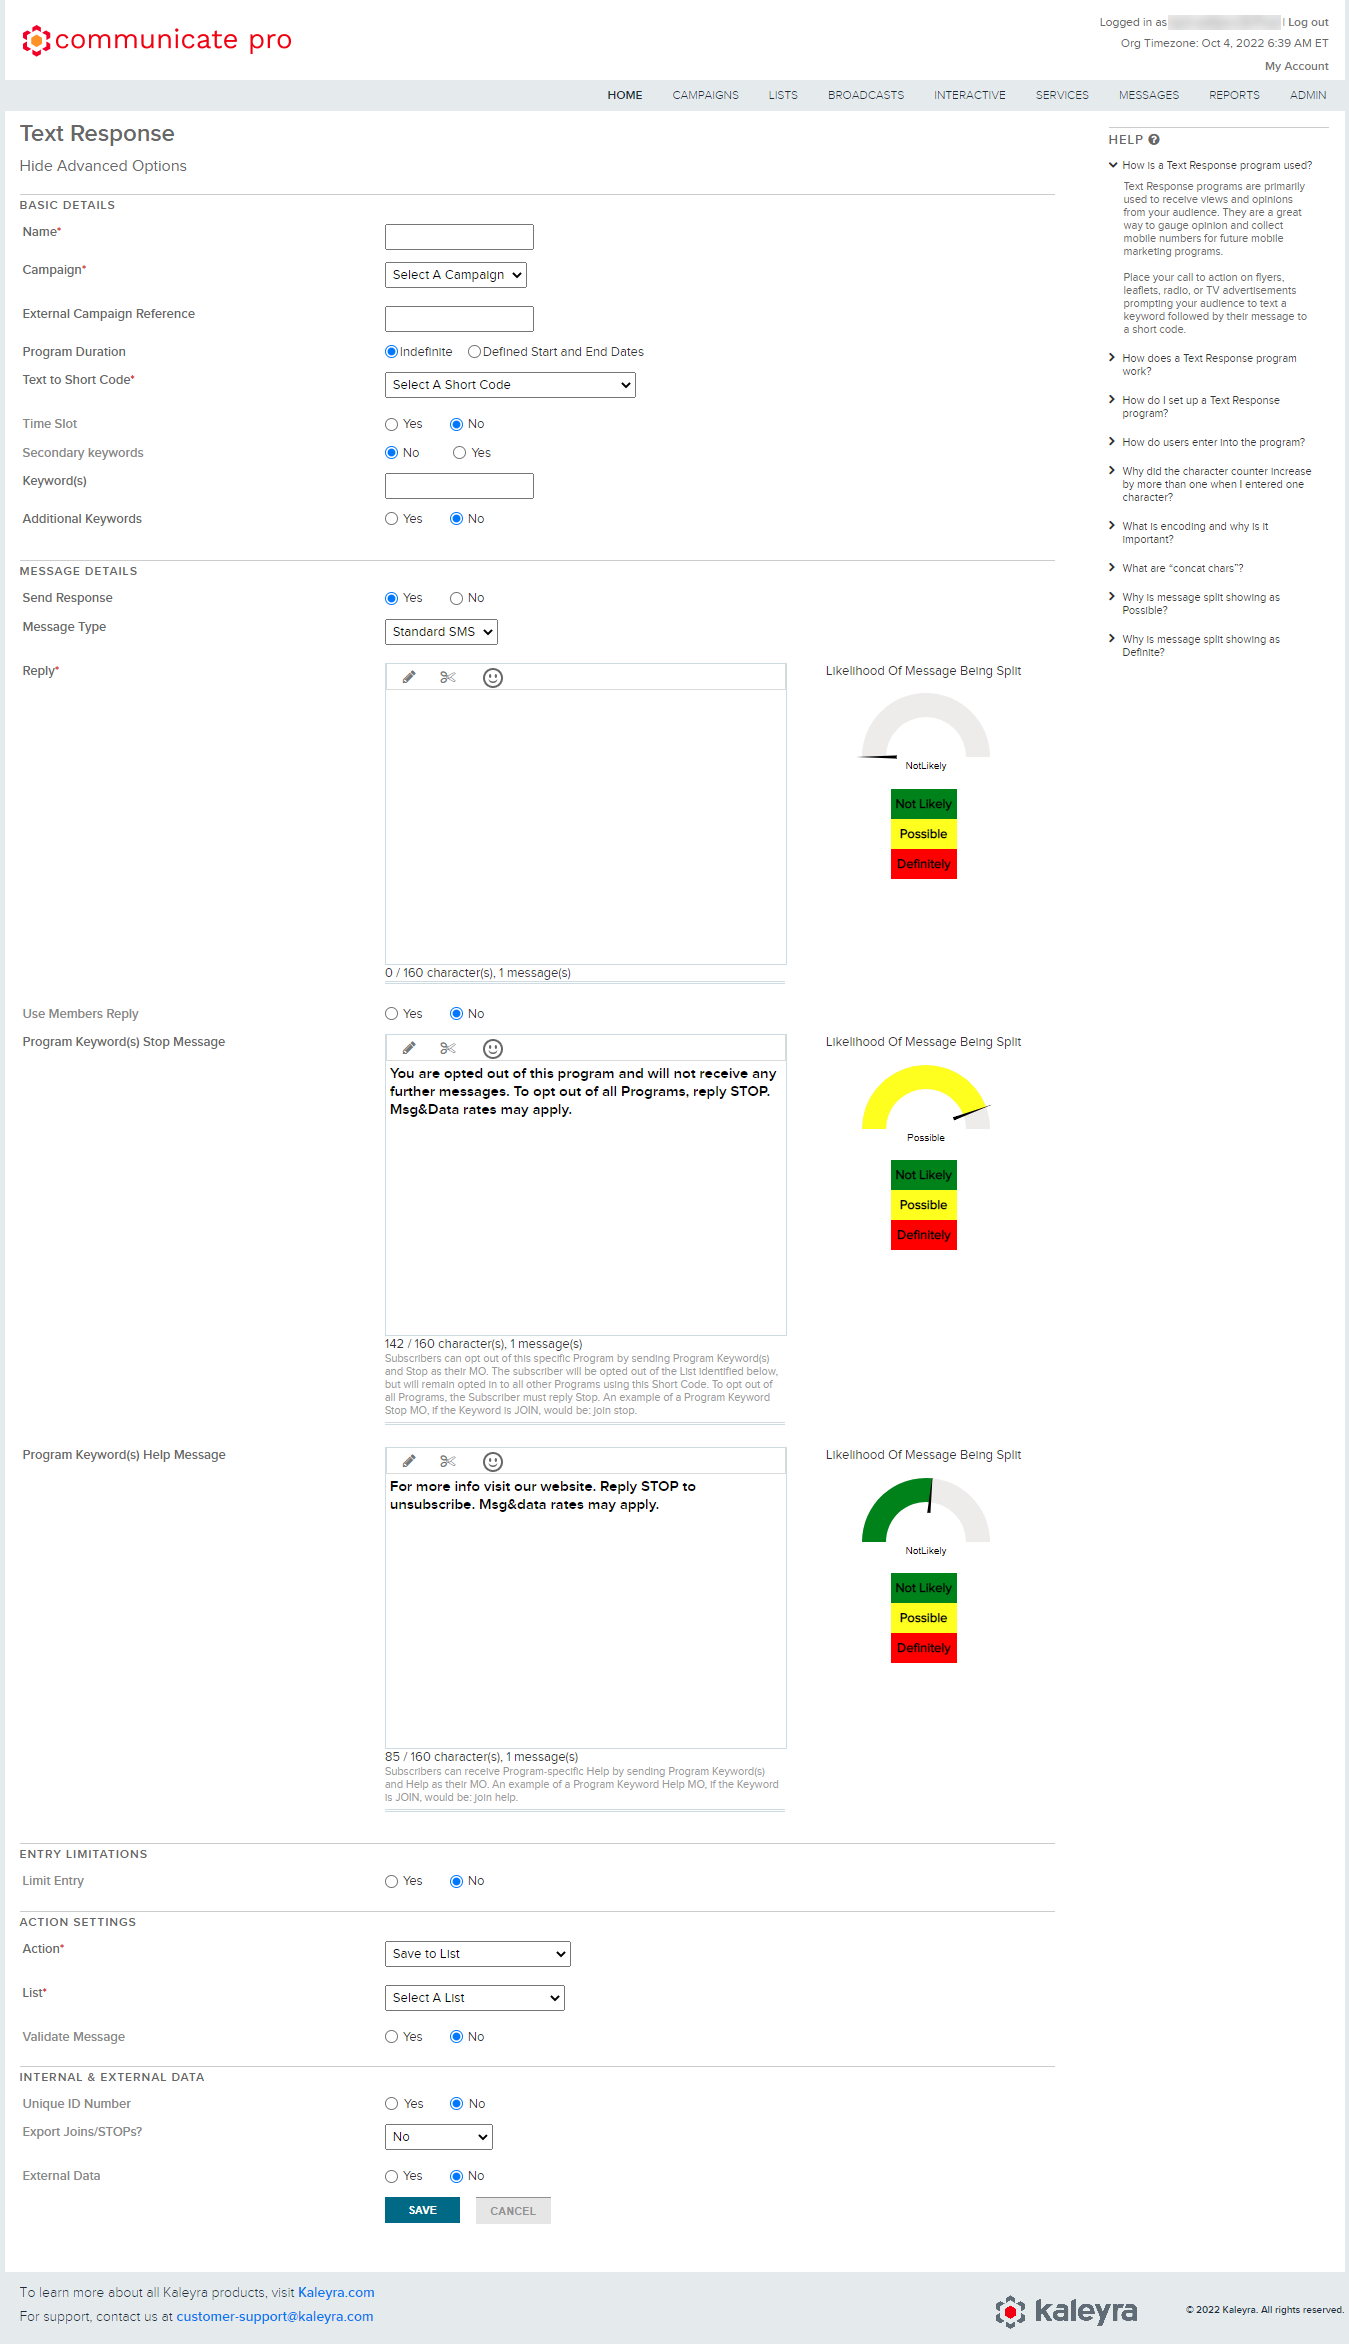
- In the ENTRY LIMITATIONS section, select one of the following options:
- Yes - It allows your messengers for a number of entries for messages and validation in hours or days durations with a predefined message for them. You can use dynamic value, URL shortener, and smiley in your message.
- (Default) No - It does not limit the entries by a messenger on sending the messages.
- The action settings define how entries are handled. The default action is to save the entries to the list specified in the basic details. The option to save entries and forward them to an email by sending an email each time a message is received for the program. In the ACTION SETTINGS section, perform the following steps:
- In the Actions field, click the Select Action drop-down arrow to view the list, and select one of the following actions:
- Save to list - To save the text response to a list.
- Do Not Save Entries to List - Do not save the text response to a list.
- In the List field, click the arrow next to Select A List to view the list, and select the list you want to map to the text response. You have to provide additional details based on the list you have selected. For example, list name, assigned campaigns, and many more.
- In the Validate Message section, select one of the following options:
- Yes - If you want to validate the text response messages. The validation can be done for three numbers separated by a comma and a validation error message that will be delivered in the case the validation fails.
- No - If you do not want to send the validation message.
Notes:
- The message details are in the body of each email. You have the option to save entries and forward a .csv file to an email will send one .csv file, at the end of the program with all of the entries for the entire program in the .csv file. The emails are sent to multiple email addresses by entering them in the emails field separated by commas.
- The saved message will remain active for 30 days after the program has ended. This message may be used to inform mobile users that the program is over if they message the keyword to the short code after the end date is in the past.
- The internal and external data allows you to opt-in and opt-out or join and stop, which can be sent or received externally (if required). In the INTERNAL & EXTERNAL DATA section, perform the following steps:
- From the Unique ID Number, select one of the following options:
- Yes - To send or receive messages with a unique ID number.
- No - To send or receive messages without a unique ID number.
- In the Export Joins/STOPs? field, click the arrow next to No, the following list appears, select one of them and enter the Method, URL, User Name, Password, and Internal Reference details:
- Stops Only
- Signups Only
- All
- In the External Data field, select one of the following options:
- (Default) No - If you do not want the external data.
- Yes - If you want the external data. You need to provide Method, URL, User Name, Password, External Reference, and Error message.
Note:
To send information select POST, and to retrieve information select GET. Enter the URL to which the request will be sent and the user credentials.
- From the Unique ID Number, select one of the following options:
- Click Save. The text response is saved.