Chatbot Dashboard
The Chatbot's Overview page provides overall detail of your chatbot's statistics and includes the following detail:
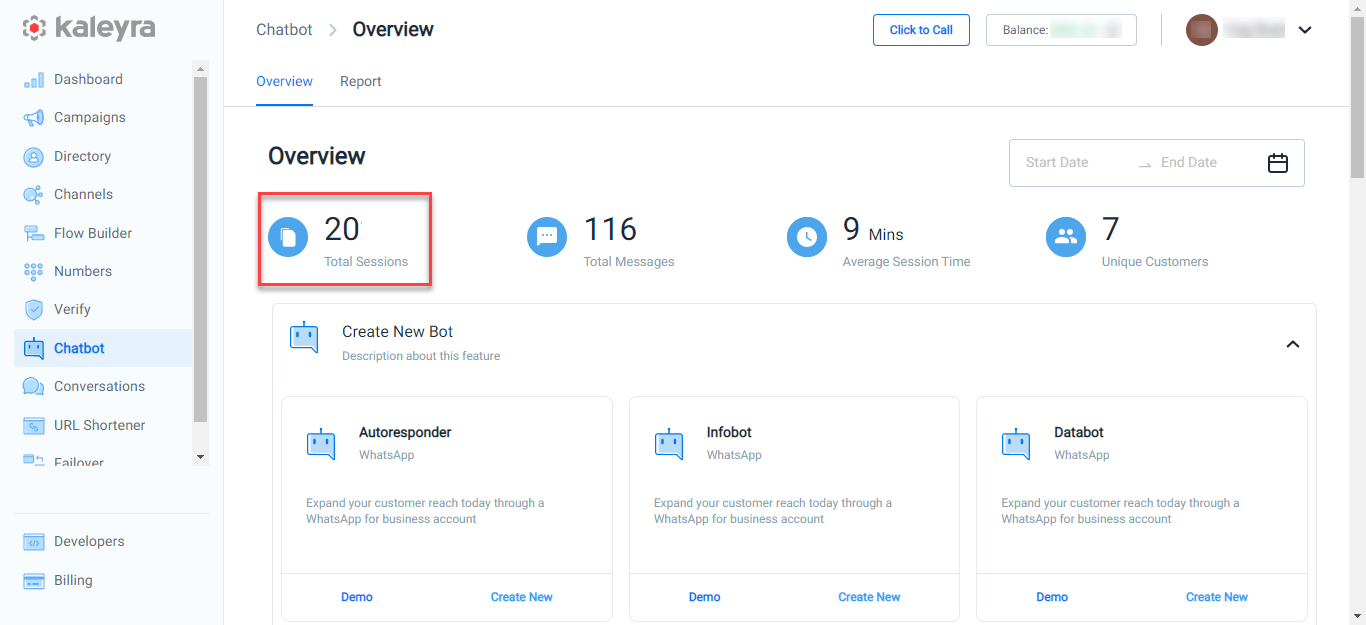
Total Sessions
The total session indicates the number of times your end users have interacted with a configured chatbot and started the session.
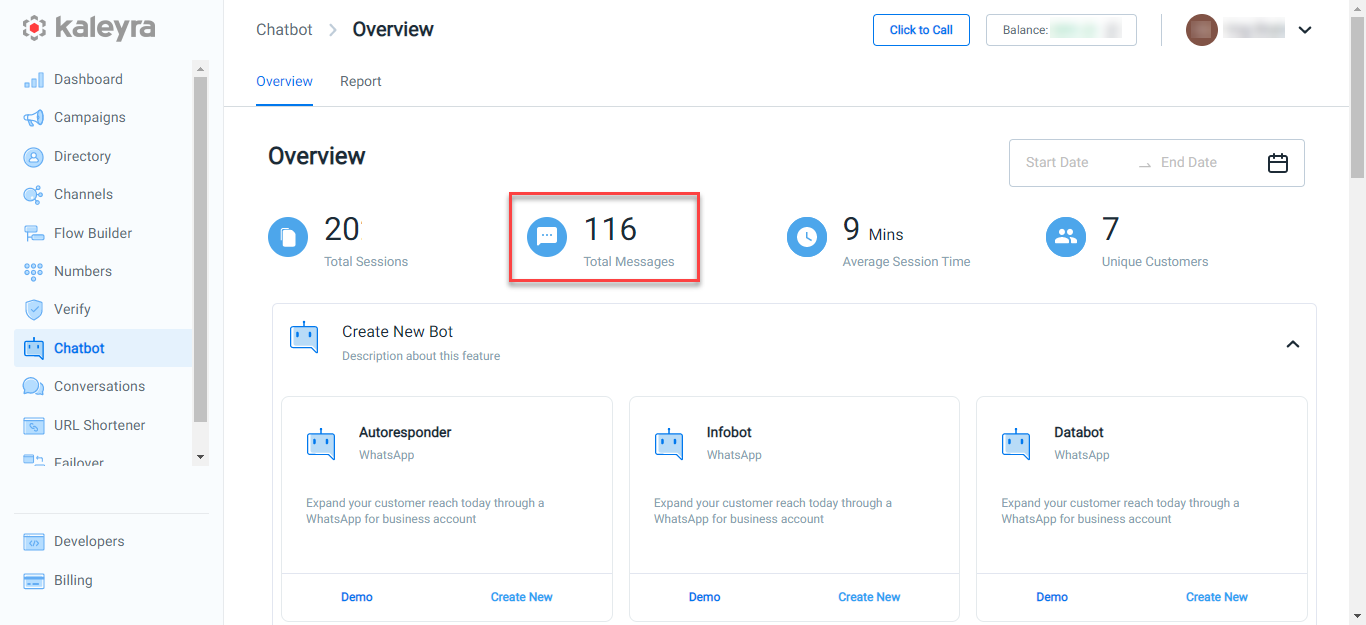
Total Messages
The total message indicates the number of messages sent and received during a session.
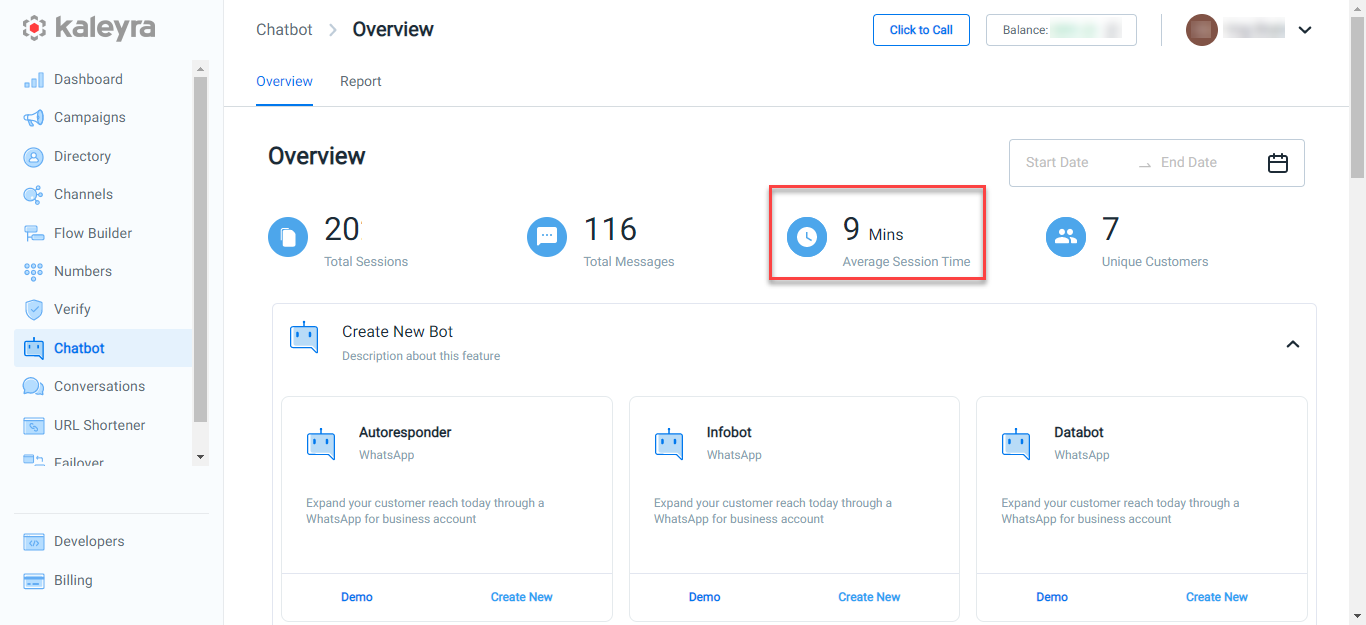
Average Session Time
The average duration of your sessions.
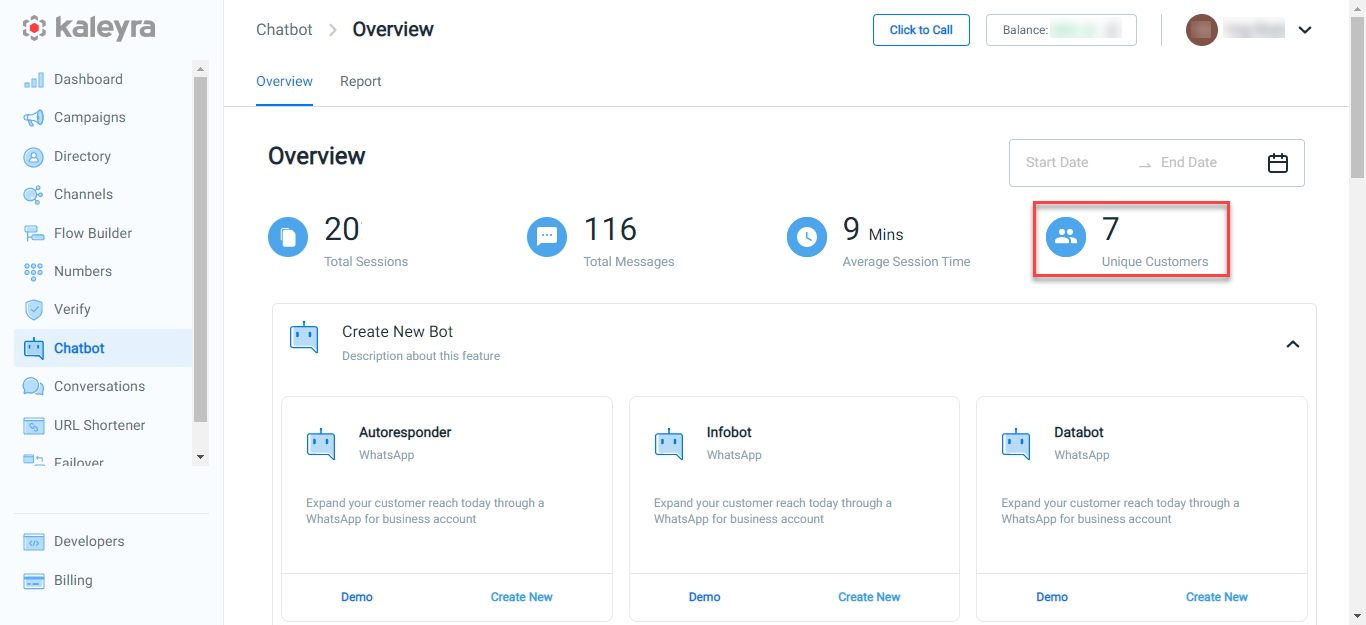
Unique Customers
The unique customers indicate the number of users who have interacted with the configured chatbots.
View Chatbot Analytics based on Date Range
Kaleyra.io provides an option to filter the chatbot based on the date range. To enter the start date, click on the Start Date and a calendar appears. Select the start date from where you want to search the chatbots, and then click Done. Also, to enter the end date, click on the End Date and a calendar appears. Select the end date up to which you want to search for the chatbots, and then click Done. The search result appears based on the date filters.

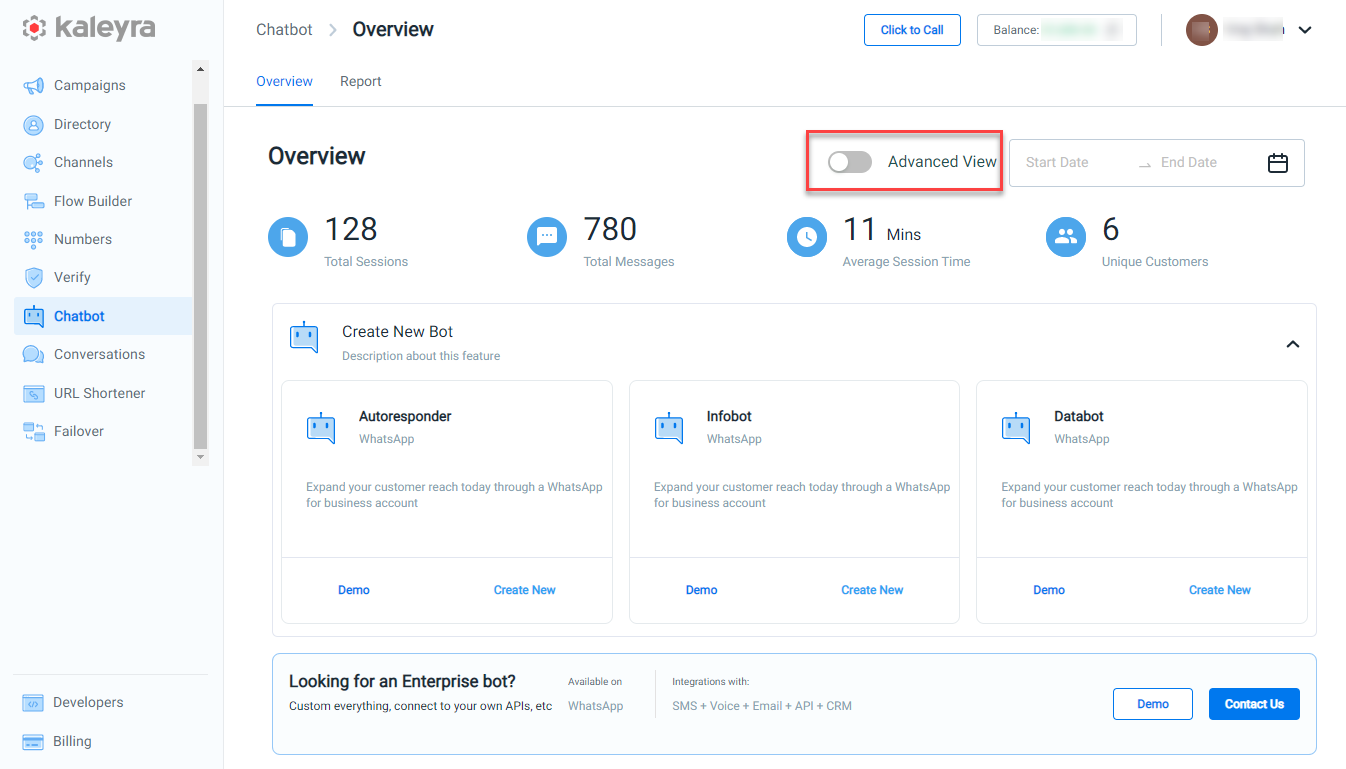
Enable Advanced View
Kaleyra.io provides an advanced view option. The advanced view option allows you to switch to developer mode. You can create your own custom chatbots from the initial steps. Kaleyra.io does not provide any support except the Kaleyra.io environment. To enable the Advance View option, you can send a request to the Kaleyra Support team. Once the Kaleyra Support team enables Advanced View for you, you can switch it to developer mode by toggling Advanced View.
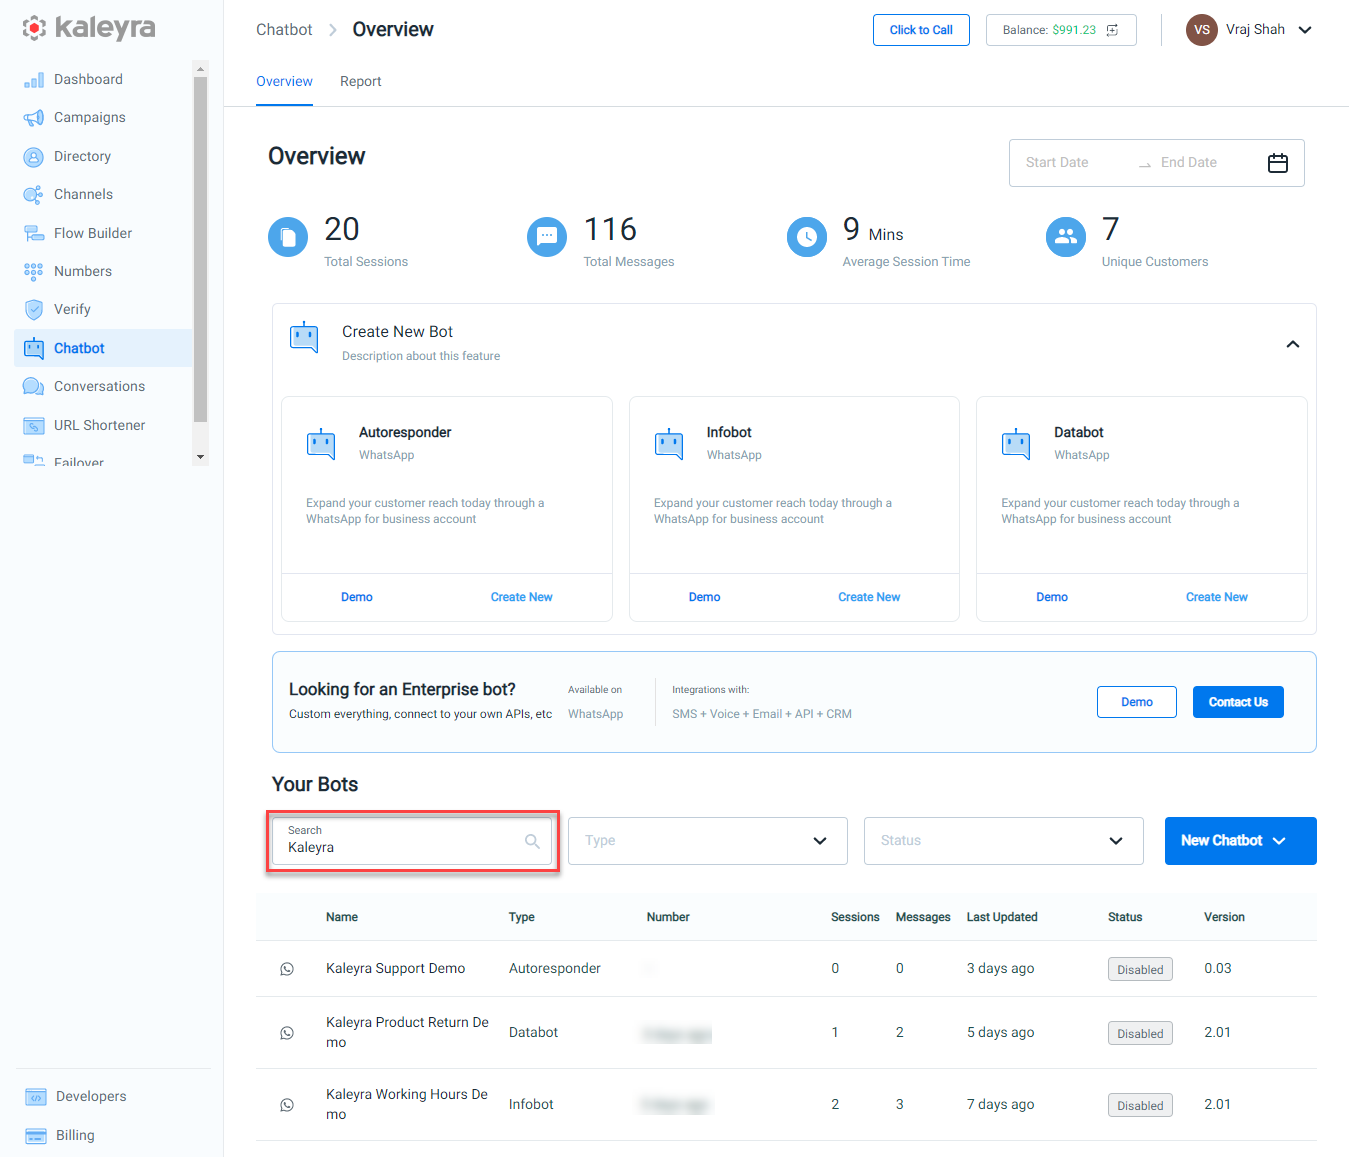
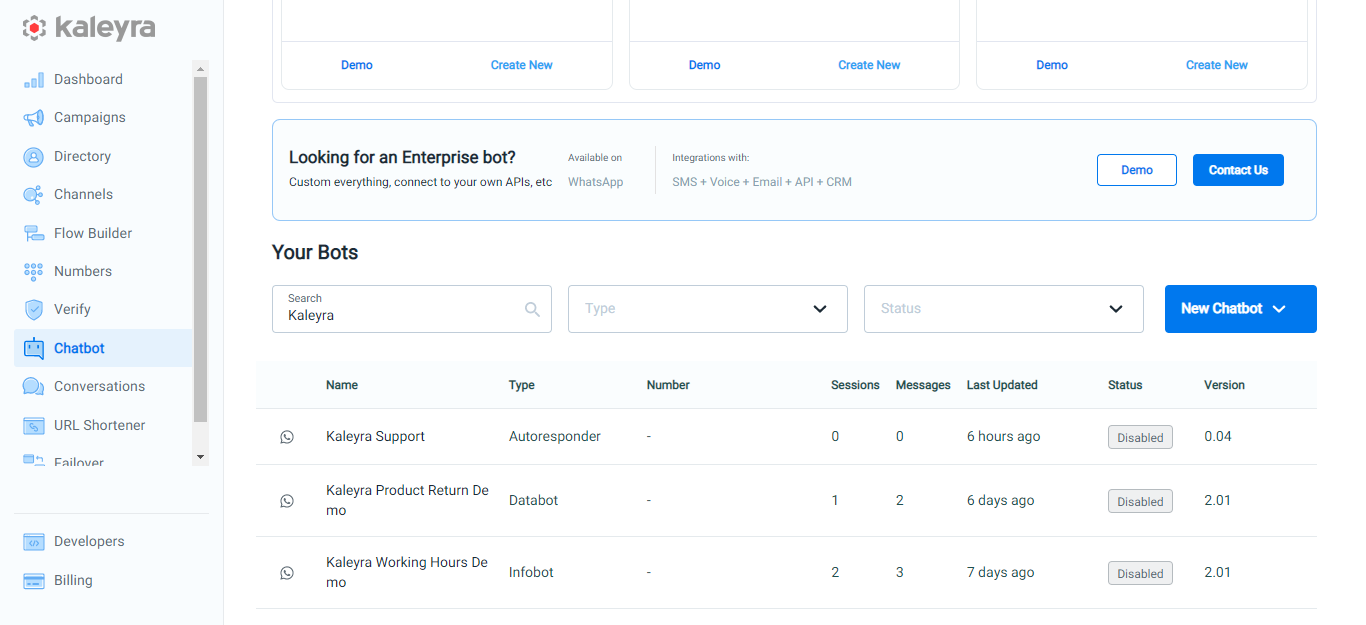
Search Chatbot based on Name
Kaleyra.io provides an option to search the chatbots by name. In the Search field, enter the name of the chatbot you are searching for, based on your entries the search result appears.
Filter Chatbot based on Type and Status
Kaleyra.io provides you the option to filter the chatbots based on Type and Status.
The following is the list of options available in the Type filter:
- Autoresponder
- Infobot
- Databot
- Enterprise
The following is the list of options available in the Status filter:
- Active
- Disabled
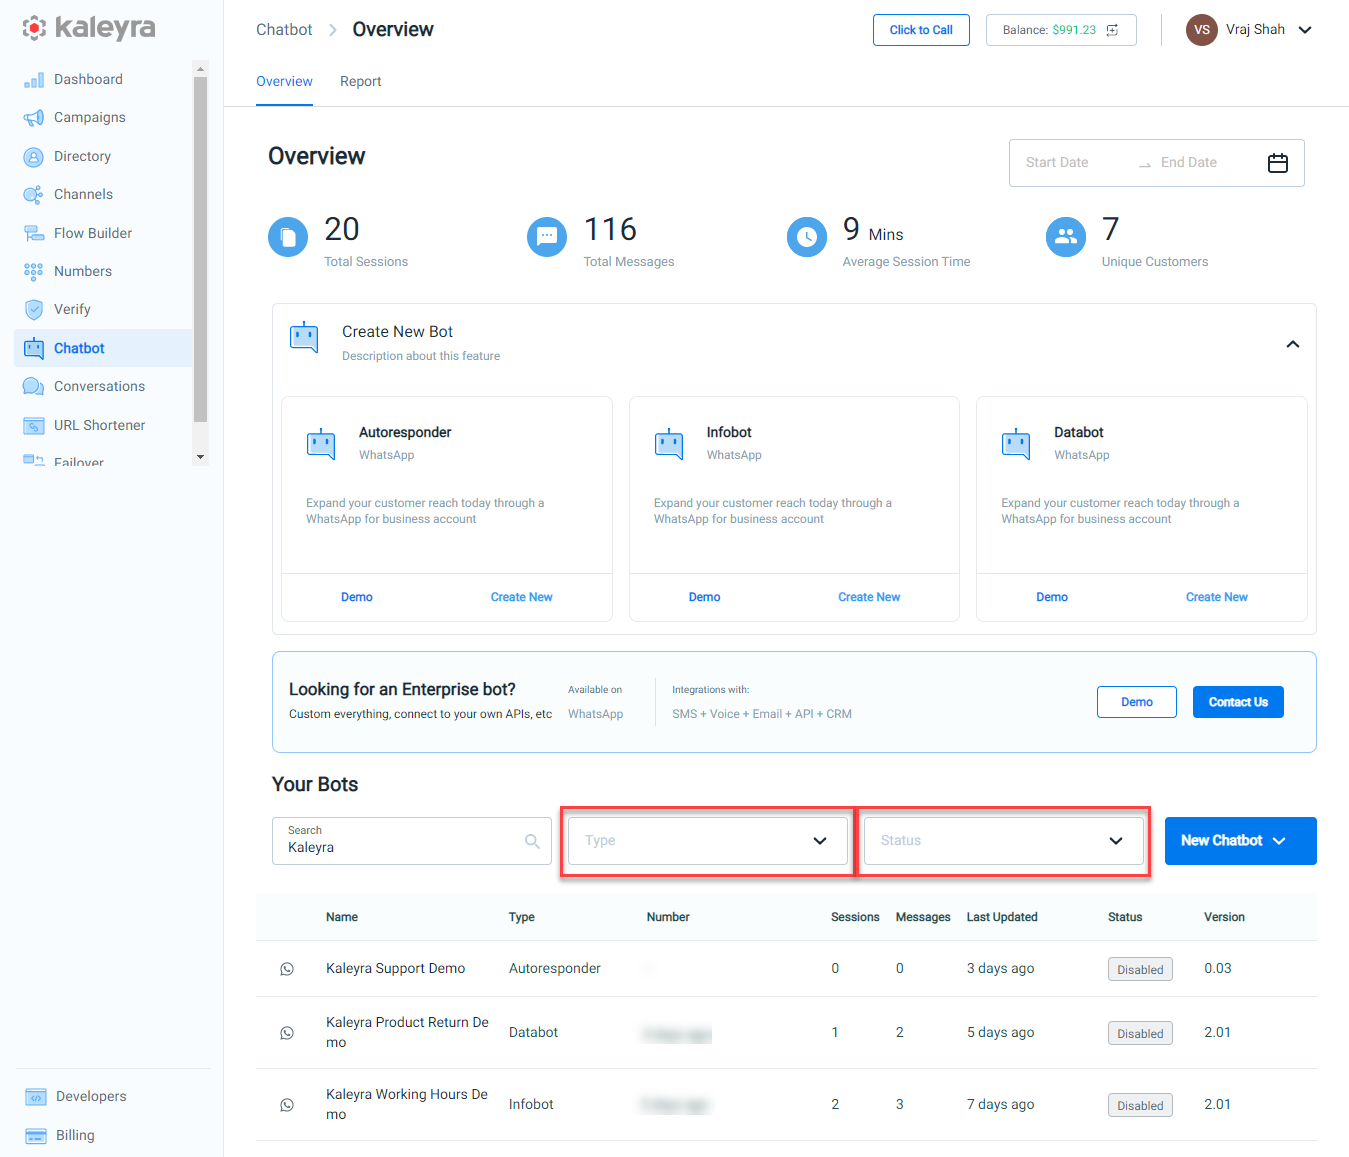
Note:The Search chatbot by name, filters based on Type and Status functions based on AND logic. For example, if you are entering any chatbot name in the Search field, also you are using the Type and Status filters then, the chatbot appears based on matches for all three conditions.
Create New Chatbot
Apart from creating chatbots from Autoresponder, Infobot, and Databot sections, you have also the option to create them from the Your Bots section. From the Your Bots section, click the arrow next to the New Chatbot. The following options appear, select one of the following:
- Autoresponder - For more information on the autoresponder chatbot, see Autoresponder.
- Infobot - For more information on the infobot chatbot, see Infobot.
- Databot - For more information on the databot chatbot, see Databot.
Rename Chatbot
You have the option to rename the chatbot from the Overview page. You can rename both active and disabled chatbots.
To rename the chatbot, perform the following steps:
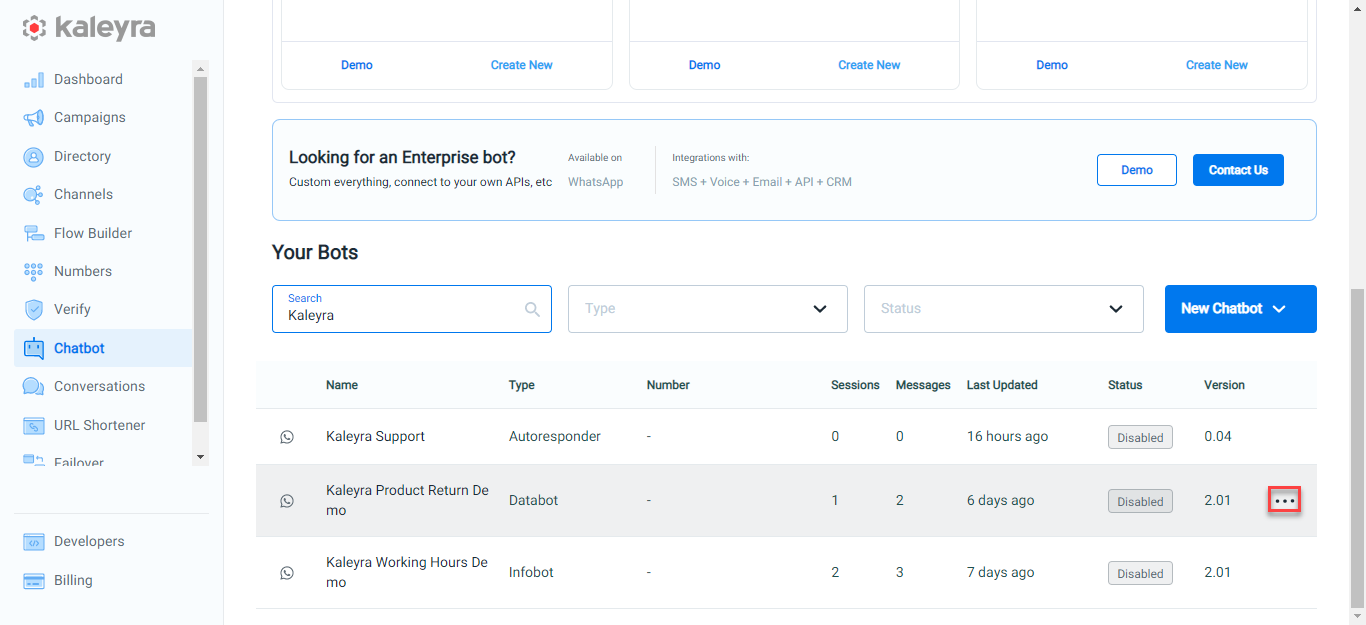
- On the Chatbot's Overview page, scroll down to the Your Bots section, hover over the chatbot you want to rename, and then click the ellipsis.
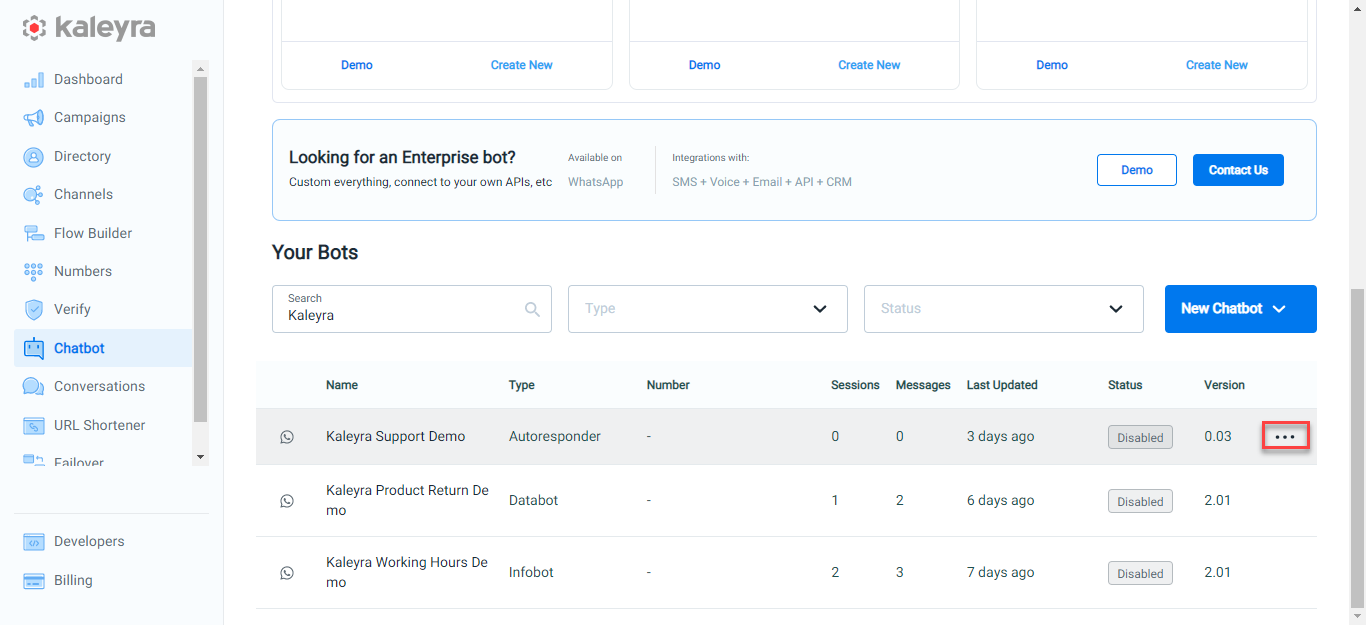
- From the list of options, select Rename Chatbot.
The Rename Chatbot pane appears on the right side of the page.
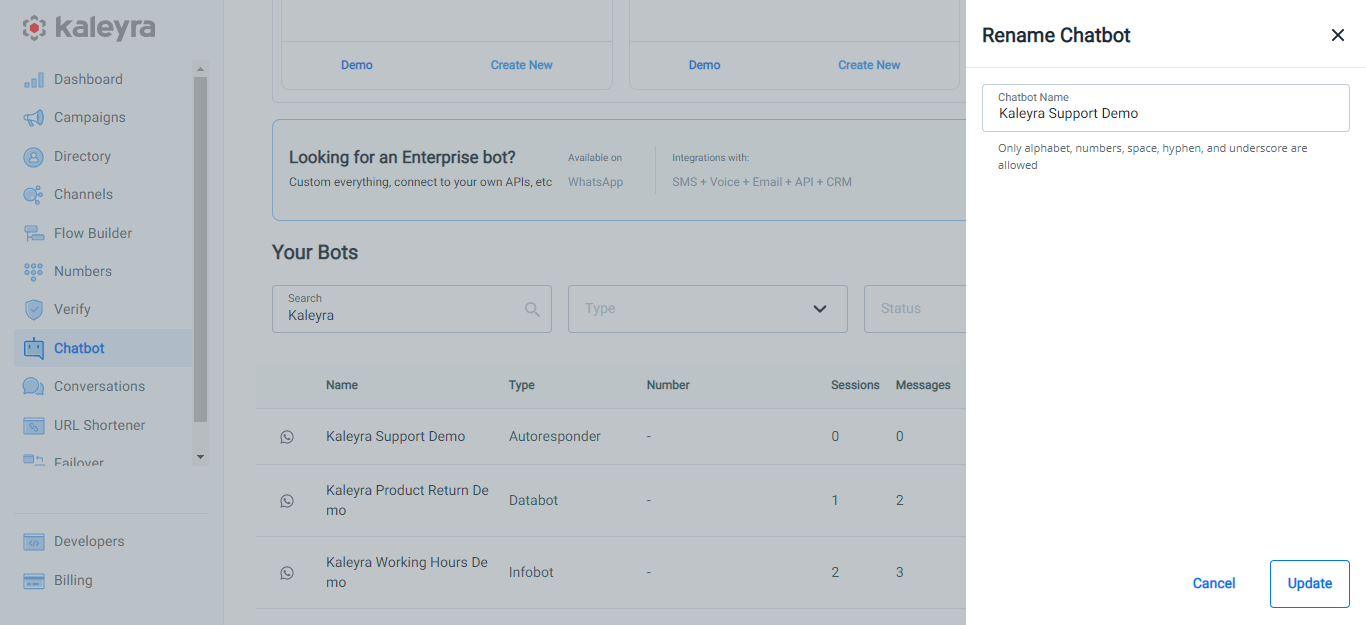
- In the Chatbot Name field, edit the name.
- Click Update. The confirmation message Chatbot has been renamed successfully appears.
Note:Before you publish the chatbot, the version number gets updated in decimal numbers for any updates. After you publish the chatbot the version number gets updated in number.
Add Intent
You can add intent to the existing infobot and databot chatbots.
To add questions, perform the following steps:
- On the Chatbot's Overview page, scroll down to the Your Bots section, hover over the chatbot you want to rename, and then click the ellipsis.
- From the list of options, select Add Intent.
The Setup a New Intent page appears.
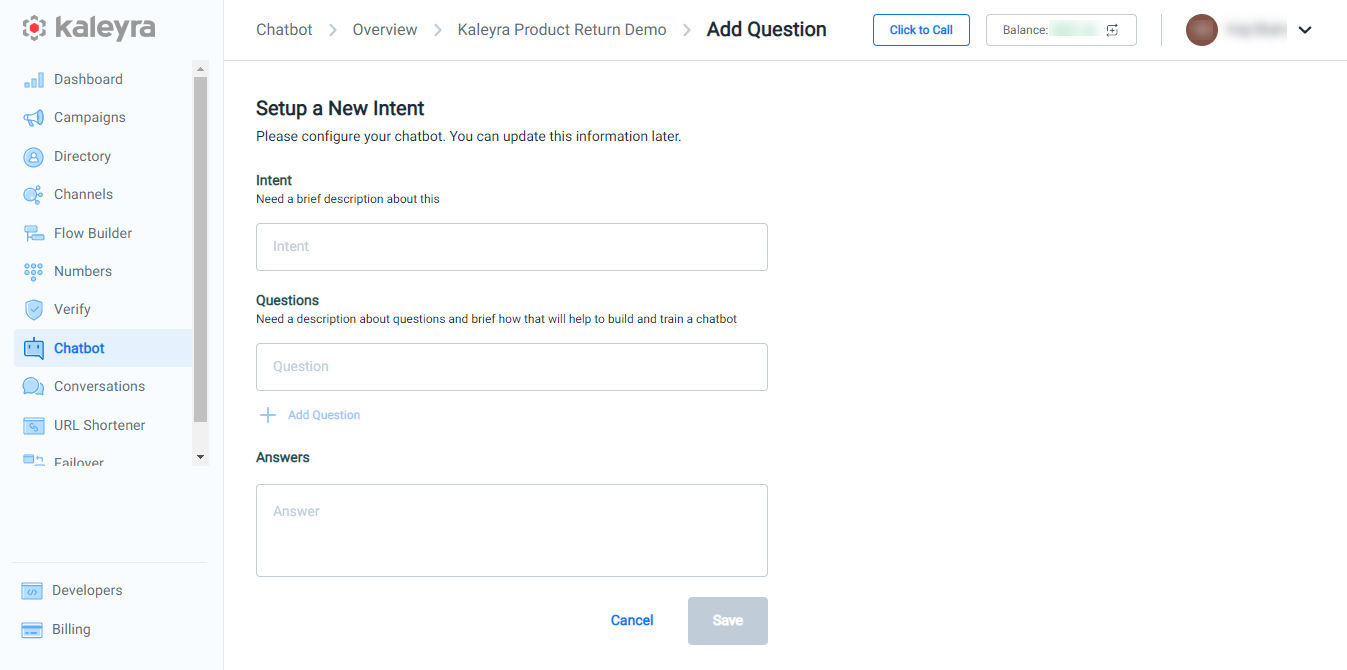
- Based on the chatbots to which you want to add questions, select one of the following links to proceed:
- Infobot - For more information on adding the intent in infobot, see step 4 of Create Infobot Flow.
- Databot - For more information on adding the intent in infobot, see step 3 of Create Databot Flow.
Publish Chatbot
You can publish the chatbot from the Chatbot’s Overview page.
Select one of the following links based on the chatbot you want to publish:
- Autoresponder - For more information on publishing the autoresponder flow, see step 2 of Publish an Autoresponder.
- Infobot - For more information on publishing the infobot flow, see step 2 of Publish an Infobot.
- Databot - For more information on publishing the databot flow, see step 2 of Publish a Databot.
Delete Chatbot
Kaleyra.io allows you to delete chatbots. To delete the chatbot, On the Chatbot's Overview page, scroll down to the Your Bots section, hover over the chatbot you want to delete, and then click the ellipsis. Select Delete Chatbot. A confirmation message appears, click Yes, Delete. The chatbot gets deleted.
Lock Chatbot
Kaleyra.io allows you to lock the chatbot. Once you lock the chatbot, no one else can edit it except the account from which the bot is locked. To lock the chatbot, On the Chatbot's Overview page, scroll down to the Your Bots section, hover over the chatbot you want to lock, and then click the ellipsis. Select Lock Chatbot from the dropdown list. The confirmation message Are you sure you want to Lock this Chatbot? appears, click Lock Chatbot to lock the chatbot.
Unpublish Chatbot
You can unpublish the chatbots that are already published from the Chatbot’s Overview page. To unpublish the chatbot, on the Chatbot's Overview page, scroll down to the Your Bots section, hover over the chatbot you want to unpublish, and then click the ellipsis. Select Unpublish Chatbot. A confirmation message appears, click Disable Chatbot. The chatbot gets unpublished.
Updated 3 months ago