Customer Care
The Customer Care program facilitates chat sessions between mobile users and customer care agents. When a mobile user sends a message (keywords) to configured short code, a session is created. This program sends a confirmation SMS for a successful session creation automatically to the mobile user while remaining on the Chat screen until an agent replies. The mobile user will not receive another message until a customer care agent responds from the chat interface. The first step in using the chat interface is to set up a Customer Care program.
You have the option to define the session duration that determines the time duration till the mobile user remains in the chat session. If the session times out, the mobile user would have to send the keyword to the short code to re-initiate a chat session. However, while the mobile user is still in the session, they will not be able to interact with another program on the same short code.
To set up the customer care agents who can reply to the sessions, you have to select the numbers from a list of Communicate Pro users who will be authorized to access the Chat page and answer to the mobile users.
You can enable notifications using chime, email, or SMS as chat messages are received from the mobile user. The goal of these notifications is to alert customer care agents of newly received messages to address times when they may not have Communicate Pro open as their primary application or if they are away from their desks. Notifications are for both NEW messages (those that have not been replied to yet) and ONGOING messages (those that an agent has replied to).
Audio chimes, emails, and SMS for NEW messages will be heard/delivered to any agents that are logged in, while audio chimes, emails, and SMS for ONGOING messages will only be heard/delivered to the agent that last replied to the chat session.
To set up customer care, perform the following steps:
- Log in to the Communicate Pro account.
The communicate pro home page appears.
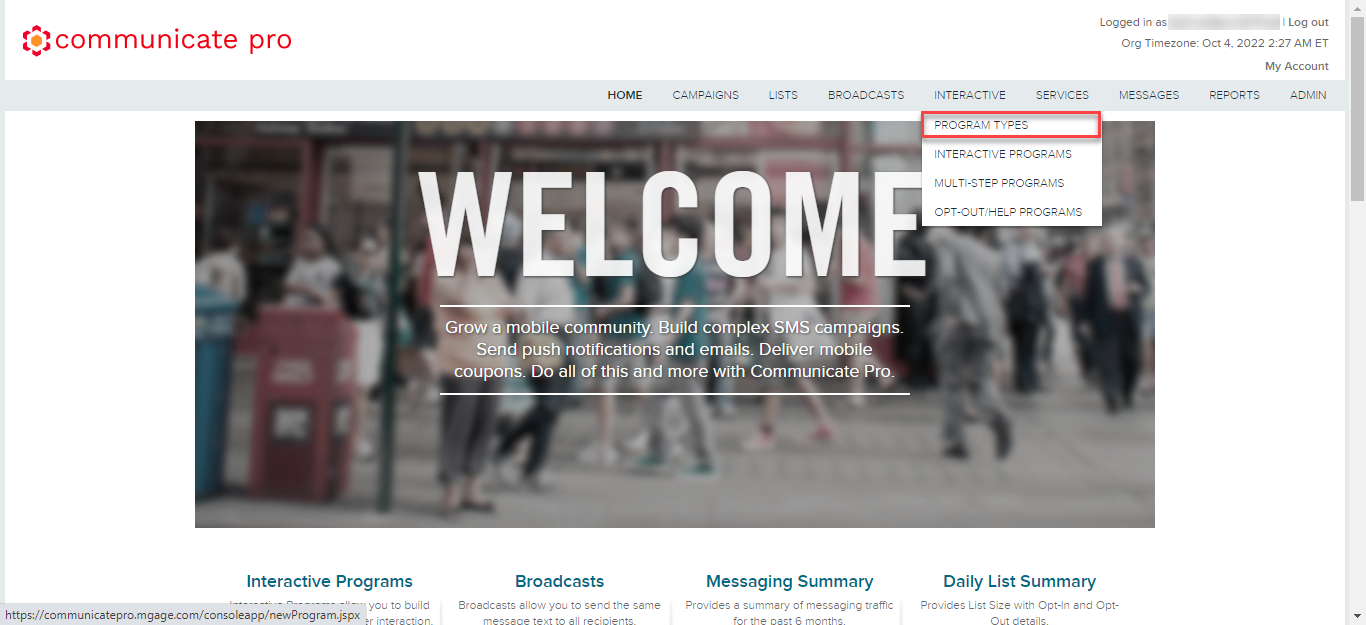
- From the top menu bar, hover over INTERACTIVE, and then select PROGRAM TYPES.
The Interactive Programs page appears.
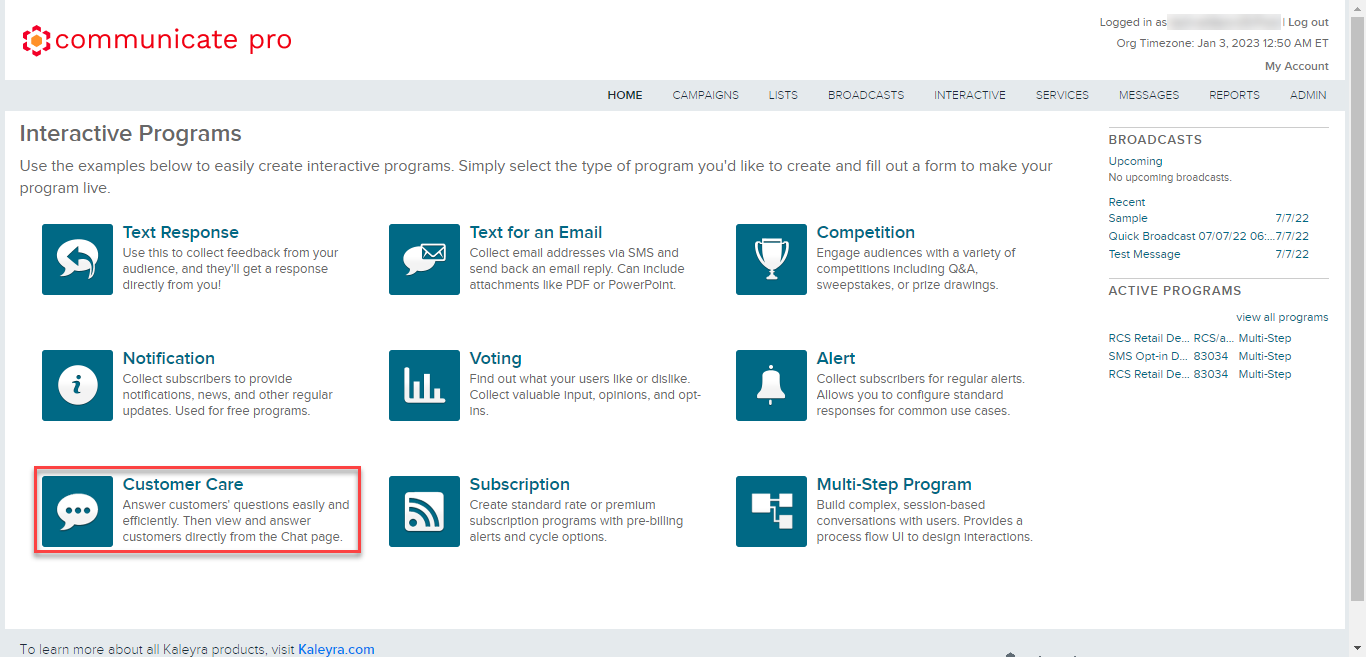
- Click Customer Care.
The Customer Care page appears.
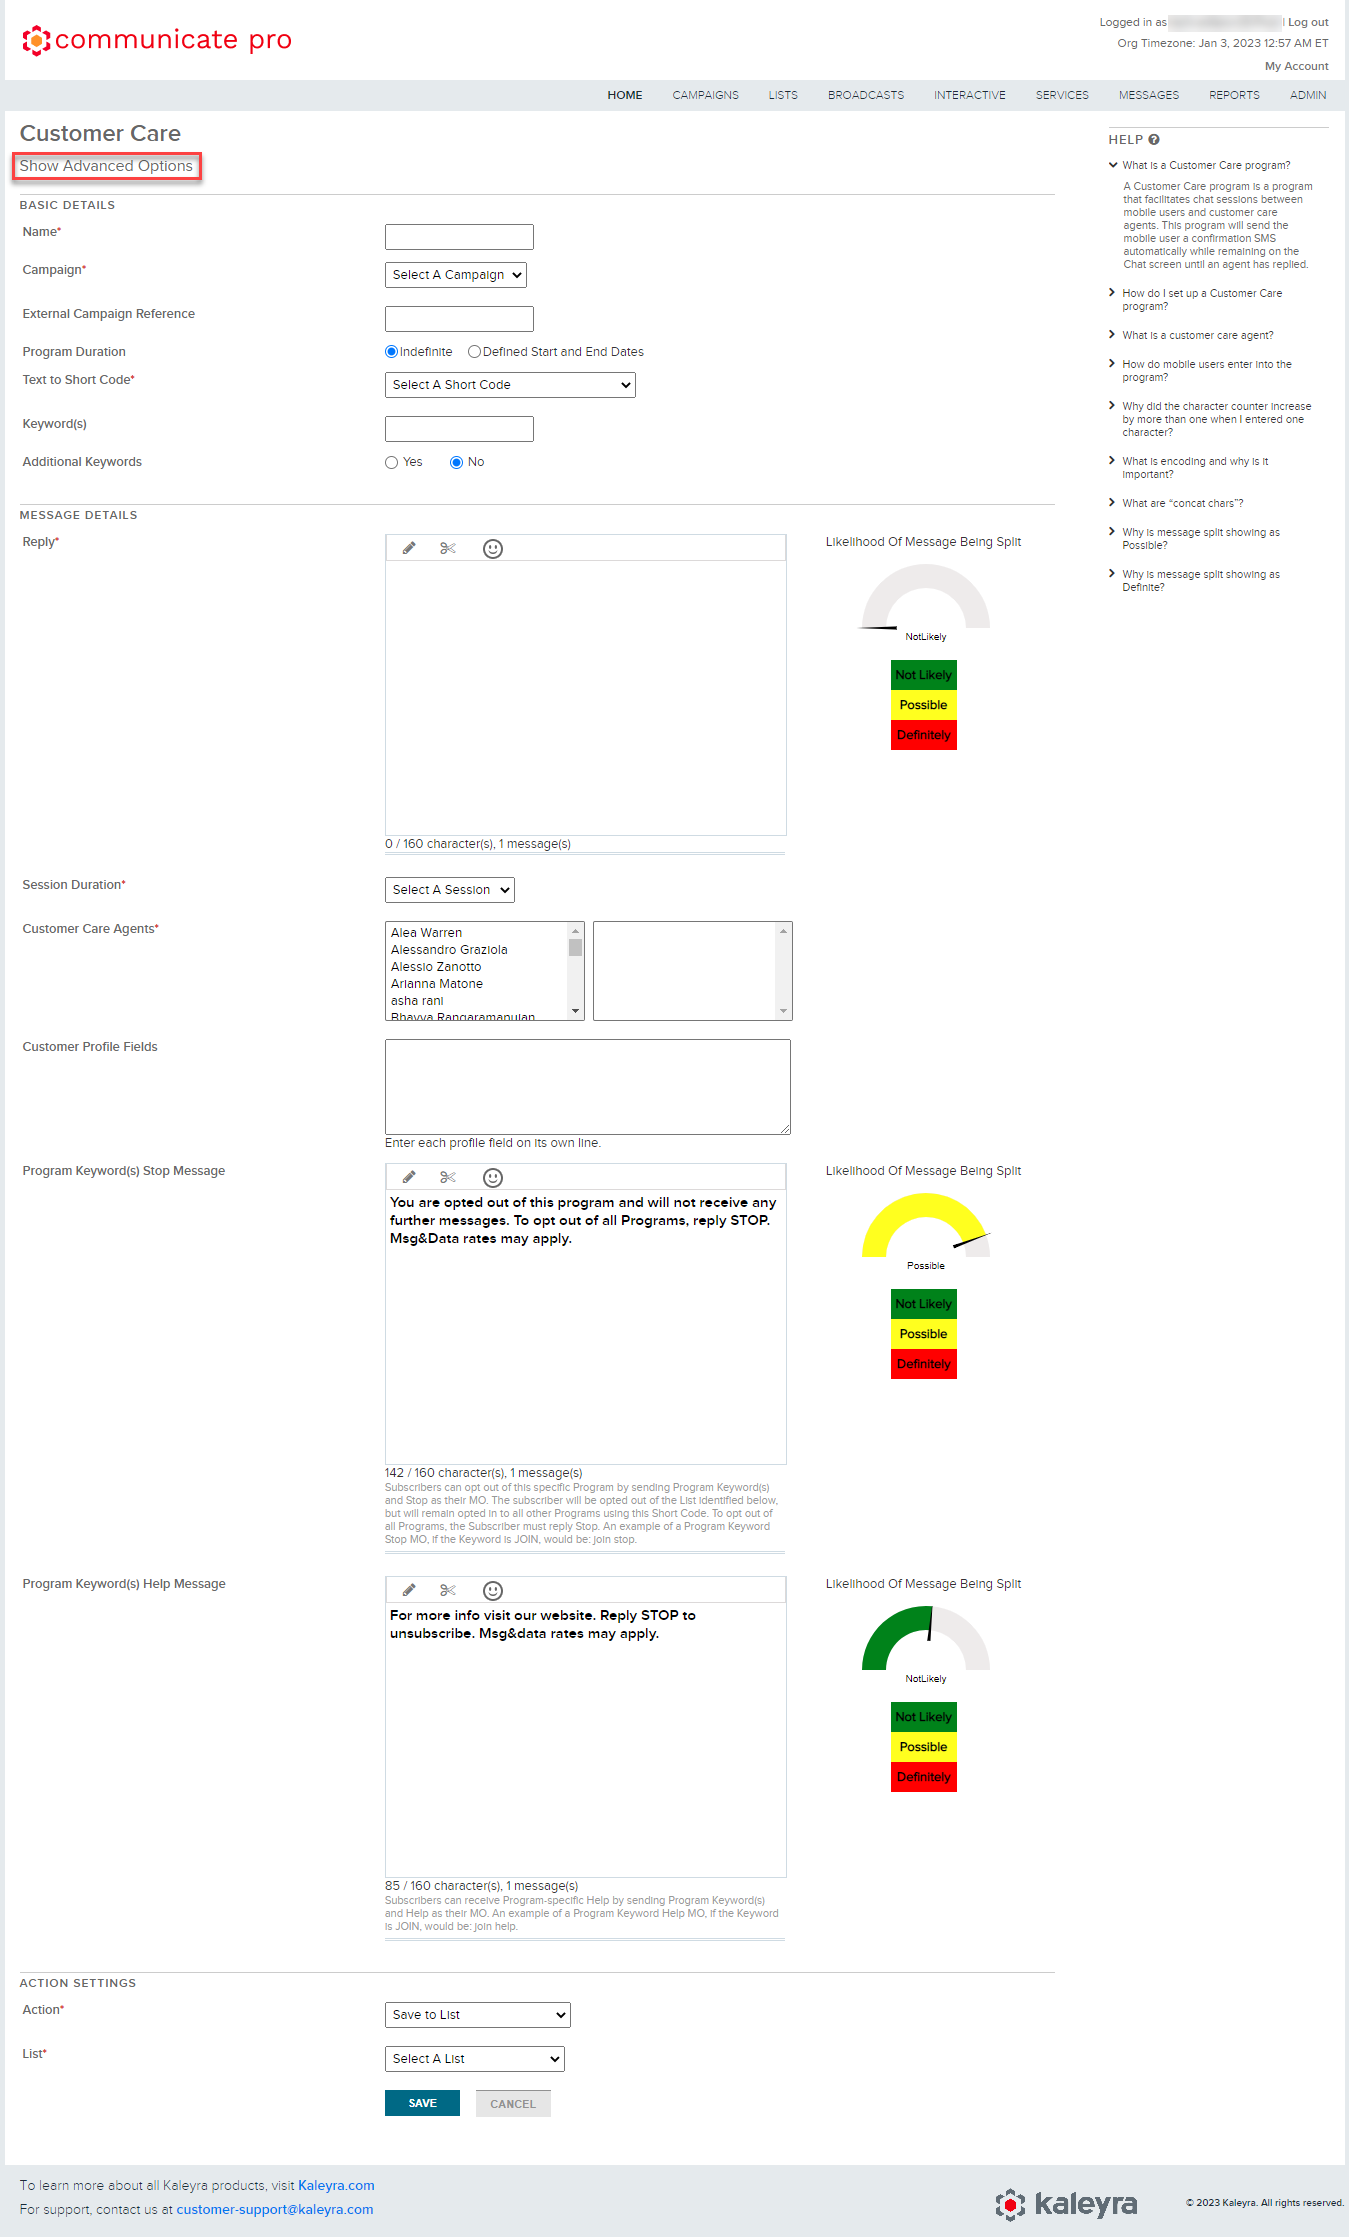
- Click Show Advanced Options.
The advanced options field appears.
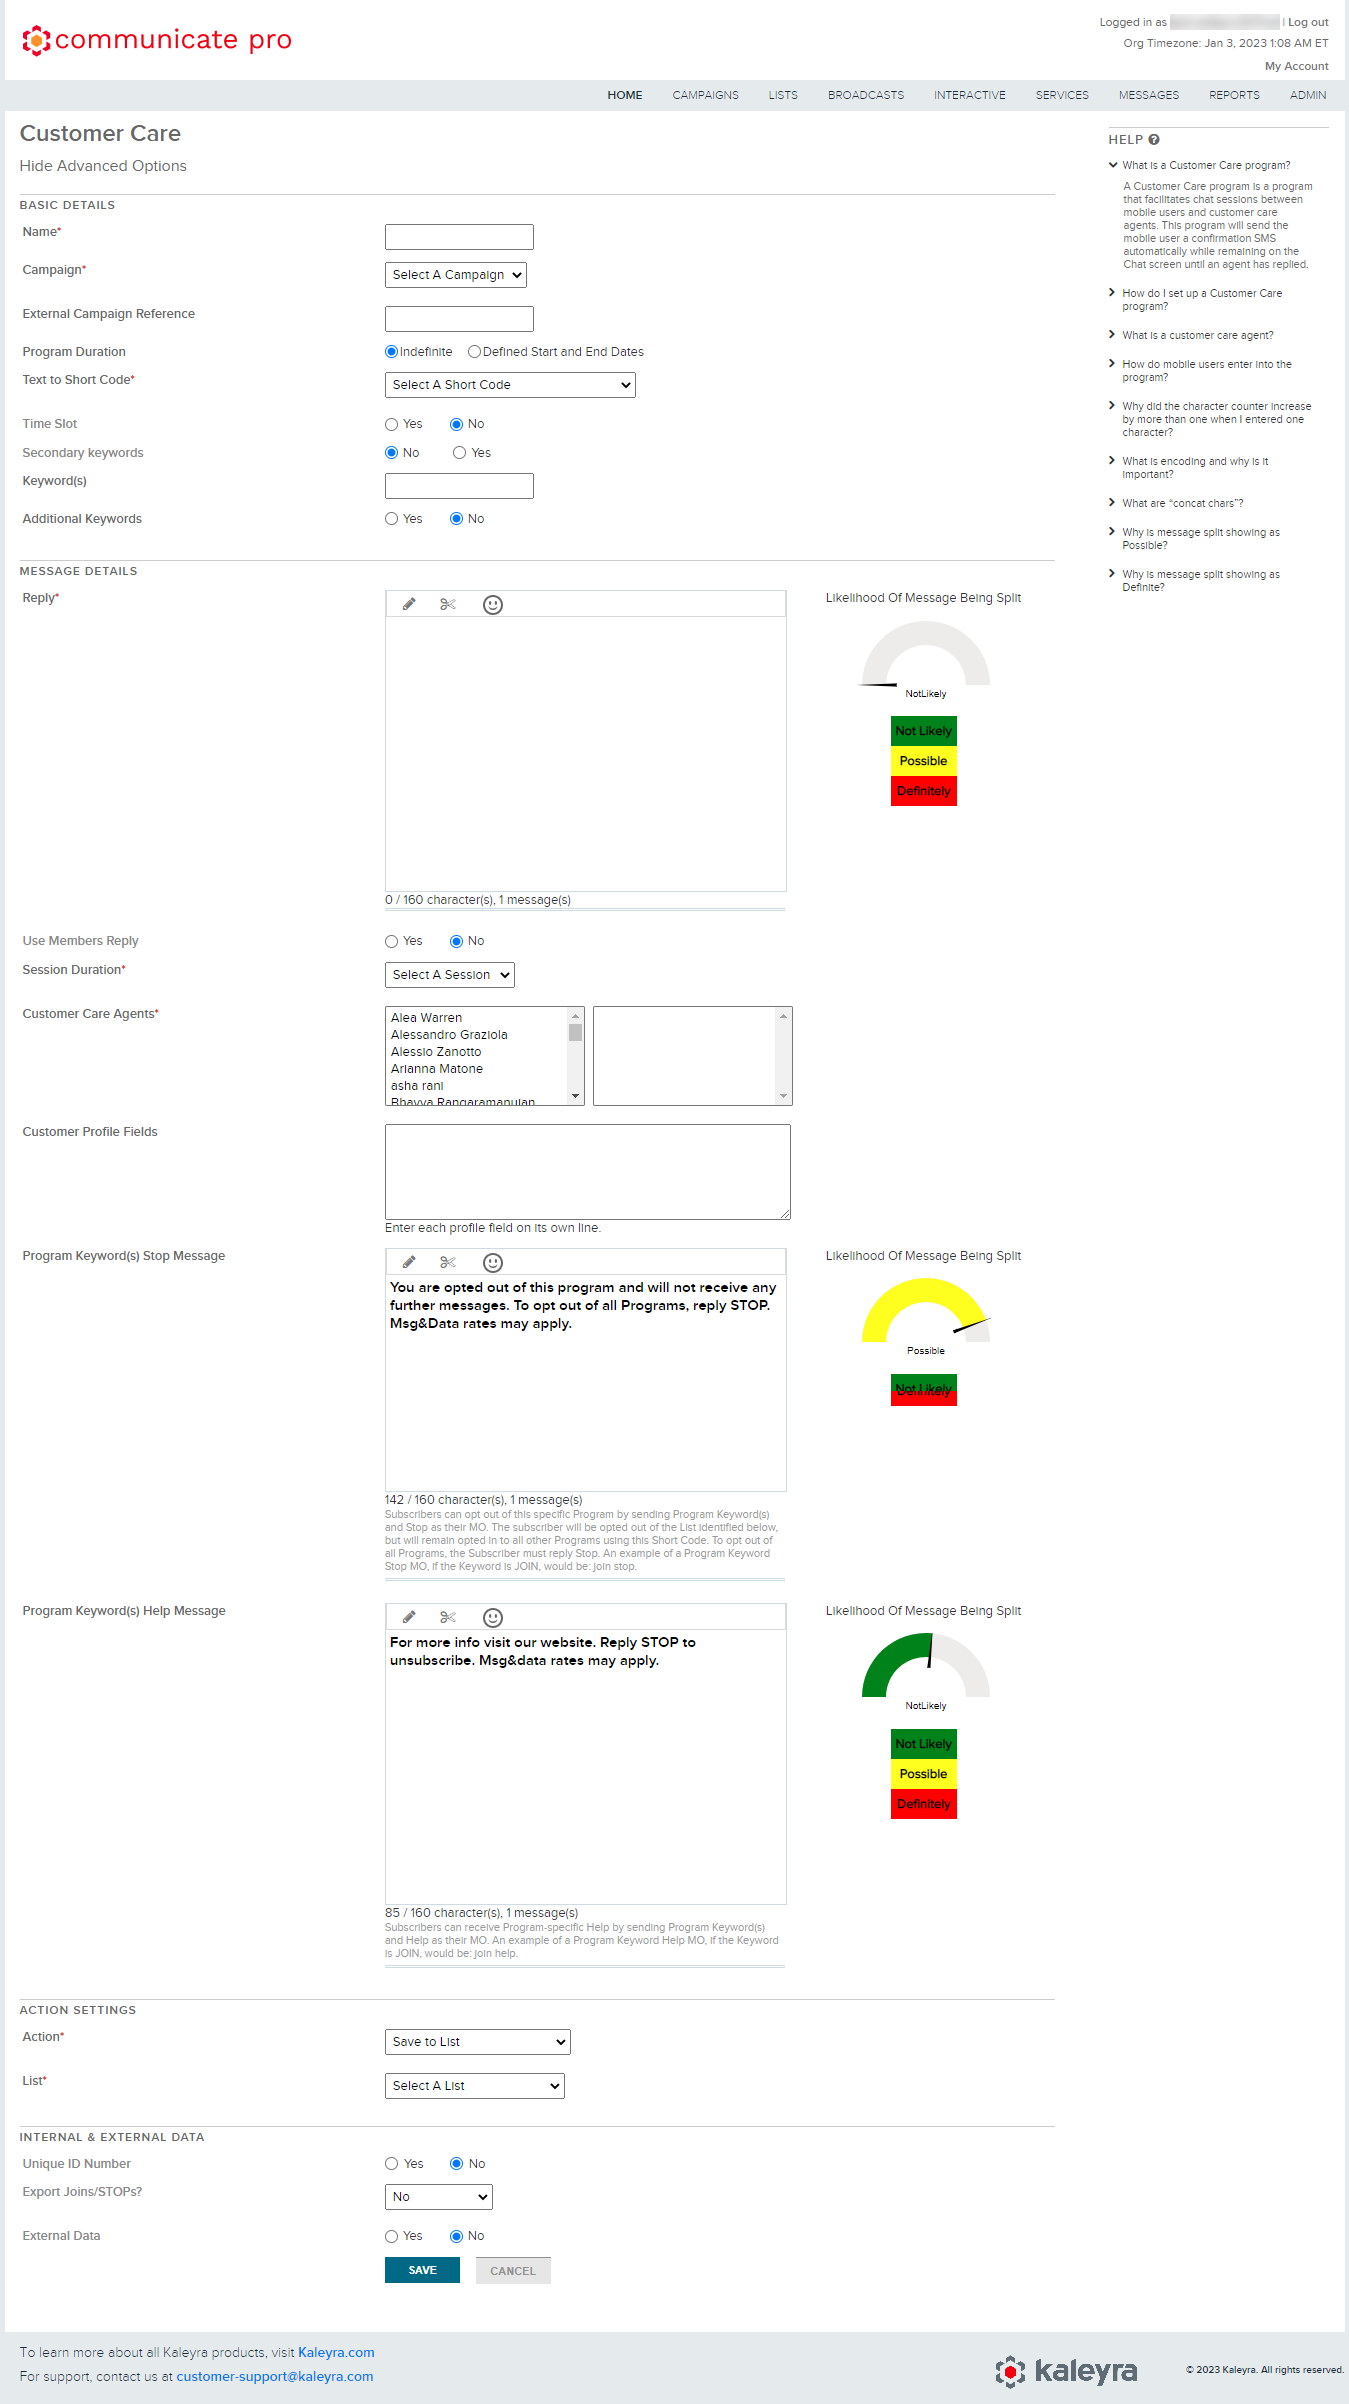
- In the BASIC DETAILS section, perform the following steps:
- In the Name field, enter a name for the customer care services.
- Click the arrow next to the Campaigns field and a list of options appears. Select a campaign.
- (Optional) In the External Campaign Reference field, enter the external campaign reference.
- (Optional) The duration enables your messengers during which they can interact with the chat. From the Program Duration option, select any one of the following:
- (Default) Indefinite - To keep the text response active for an indefinite time.
- Defined Start and End Dates - The start and end time are important to customer care as they define the window during which customer care will reply to messages. After the end time, customer care will not respond to messages. In the Start Time & Date fields, enter the time and start date. In the End Time & Date fields, enter the time and end date.
- Click the arrow next to the Text to Short Code field and a list of options appears. Select a short code that you will use to communicate with your subscribers. You can be charged for a separate short code, verify your short code before selecting it.
- From the Time Slot option, select one of the following:
- Yes - If you select Yes, then you have to define the chat duration (when entries will be accepted until). It is highly recommended to define a chat duration to mitigate unwanted noise and to use the chat as it was intended. To define the time interval when customer care is in the active stage. Enter the time from and to with the correct format when customer care will be active.
- (Default) No - If you select No then the chat will continue to accept entries for an unlimited duration.
- Secondary keywords are only visible using the Advanced Options. It allows you to leverage the keywords to start the session, and maybe you still want to accept it into the chat. From the Secondary keywords option, the default is No, select Yes, if you want to add a secondary keyword for customer care. The secondary keywords provide you with an option to use them as the secondary keywords for customer care.
- Keyword(s) triggers the chat. The subscribers would send the identified keyword to be entered into the chat. In the Keyword(s) field, enter the keywords that will help you in sending the short code to your user based on these keywords. Based on your selection of Secondary keywords, an additional field is available for secondary keywords.
- You can have different/several keywords that trigger the same chat. You may want 'Blue' as a keyword for those subscribers who heard customer care on the radio, and they want the keyword 'Gray' as a keyword for those subscribers who saw customer care on the radio station's social media page. They can leverage the chat to differentiate their subscriber base. Multiple keywords to one chat are less common, but it can happen. If you want to add additional keywords for a text response, from the Additional Keywords option, select Yes, and enter the keywords in the box that will help you in sending the short code to your user based on these keywords.
- In the MESSAGE DETAILS section, perform the following steps:
- The reply field allows you to configure the message that will be automatically sent when the mobile user sends the message with a keyword using the Short Key. The mobile user will not receive another message until a customer care agent responds from the chat interface. In the Reply field, enter the message that you want to send when an end-user sends a message with a keyword using the Short Key.
- (Optional) The Use Members Reply allows you to configure the message that will be triggered on behalf of the customer care agent an agent is available for a reply and sends his first message. The default is No. If you select Yes, then in the Use Members Reply field, enter the message that you want to send when a customer care executive is available to reply for a session.
- The Session Duration determines the time duration till the mobile user remains in the chat session. If the session times out, the mobile end-user has to send the keyword to the short code to re-enter into a chat session. However, while the mobile user is still in the session, they will not be able to interact with another chat on the same short code. Click the Session Duration drop-down and a list of duration appears. Select the session duration based on your configuration.
- The Customer Care Agents allow you to configure the agent who can reply to the Chat page and answer mobile end-user. From the Customer Care Agents, click on the agent whom you want to authorize to reply to the Chat. The selected customer agents get listed on the right side of the field.
- The Customer Profile Fields allow you to configure the customer profile with a liner description about them, it helps the customer support executive to view the customer profile details. In the Customer Profile Fields, enter the customer with their profile field.
- In the Program Keyword(s) Stop Message field, enter the message you want to configure to stop the message chat session with customer care. When the end-user sends the message with configured keyword to stop the chat session gets terminated.
- In the Program Keyword(s) Help Message field, enter the message you want to configure to help the end-user in case they want any help. When the end-user sends the message with configured keyword to get help.
- The action settings define how entries are handled. The default action is to save the entries to the list specified in the basic details. The option to save entries and forward them to an email by sending an email each time a message is received for the chat. In the ACTION SETTINGS section, perform the following steps:
- In the Actions field, click the Select Action drop-down arrow to view the list, and select one of the following actions:
- Save to list - To save the text response to a list.
- Do Not Save Entries to List - Do not save the text response to a list.
- In the List field, click the arrow next to Select A List to view the list, and select the list you want to map to the text response. You have to provide additional details based on the list you have selected. For example, list name, customer care, and many more.
- In the Actions field, click the Select Action drop-down arrow to view the list, and select one of the following actions:
- The internal and external data allows you to opt-in and opt-out or join and stop, which can be sent or received externally (if required). In the INTERNAL & EXTERNAL DATA section, perform the following steps:
- From the Unique ID Number, select one of the following options:
- Yes - To send or receive messages with a unique ID number.
- No - To send or receive messages without a unique ID number.
- In the Export Joins/STOPs? field, click the arrow next to No, the following list appears, select one of them and enter the Method, URL, User Name, Password, and Internal Reference details:
- Stops Only
- Signups Only
- All
- In the External Data field, select one of the following options:
- (Default) No - If you do not want the external data.
- Yes - If you want the external data. You need to provide Method, URL, User Name, Password, External Reference, and Error message.
- From the Unique ID Number, select one of the following options:
Note:To send information select POST, and to retrieve information select GET. Enter the URL to which the request will be sent and the user credentials.
- Click Save. The customer care configuration is saved.
Updated 12 months ago