Click to Call
You can initiate outgoing calls on Kaleyra with the Click to Call option on the application.
Note:By default, the Click to Calloption in the User Interface is disabled.
To enable the Click to Call functionality, perform the following steps:
- Sign in to your Kaleyra.io account.
- Click the arrow next to the User Profile information to access your settings and then click Settings.
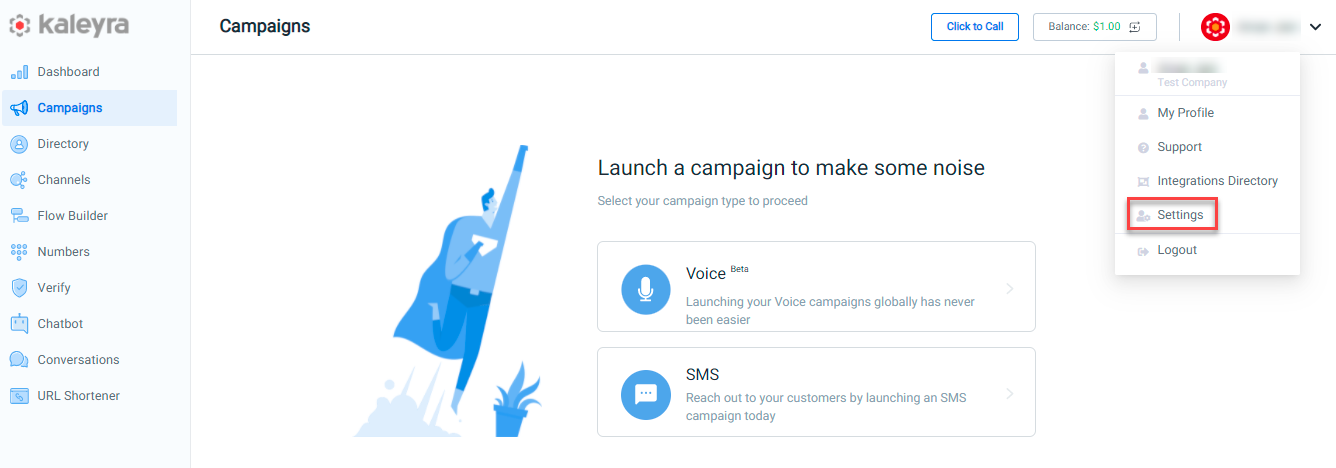
The Settings page appears.

- Click the Settings tab.
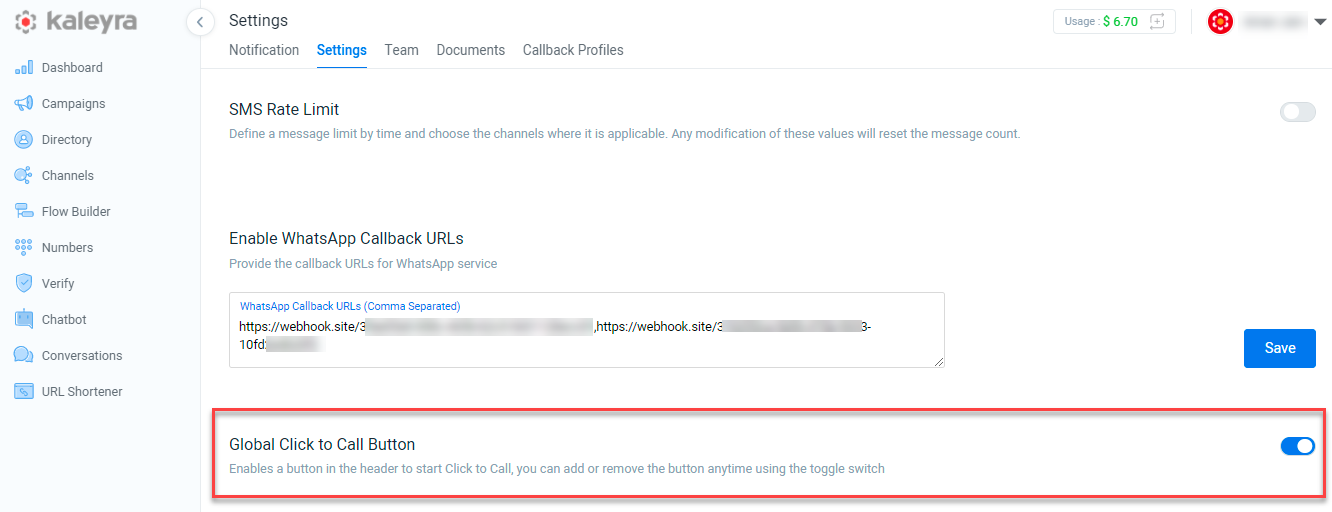
- Click to enable the Global Click to Call Button, from the Settings page, the Click to Call function appears on the top right corner to initiate a call.

- Click on the Click to Call button, a slider appears to fill in.
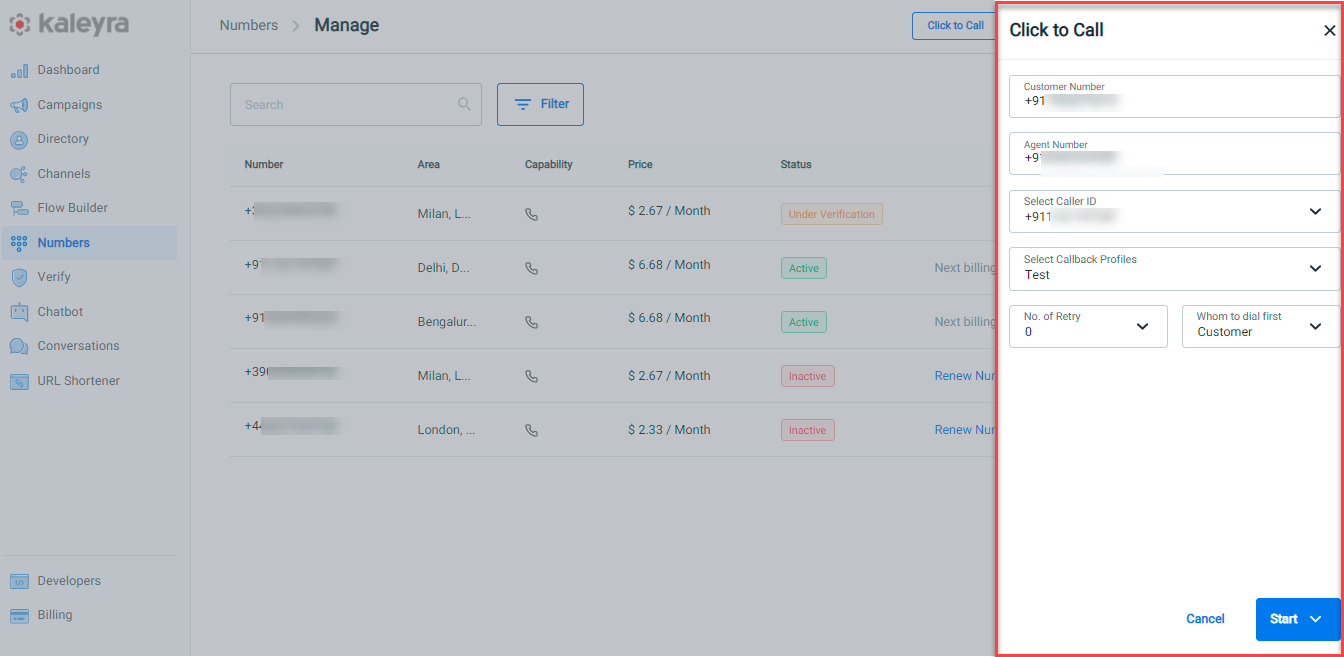
The Click to Call slider has the following options:
- Customer Number - Specifies a valid customer number with country code.
- Agent Number - Specifies a valid agent number with country code.
- Select caller ID - Click the arrow next to select caller id to select the caller ID.
- Select Callback Profiles - Click the arrow next to select callback profiles to view the list.
- No. of Retry - Click the arrow next to No. of Retry to view the list. You can set up/select the number of retries in case the call is not answered.
- Whom to dial first - Click the arrow next to whom to dial first. You can select whom to call first between agent and customer.
- Click Start. The "Click to Call created successfully" message appears.

- Click the arrow next to the Start button to navigate to the Schedule Call page. The option lets you schedule a Click to Call for a later date and time.
Note:You can schedule the Click to Call, with a minimum duration of 15 minutes and a maximum duration of 3 days from the current time.

- Click Save. The "Click to Call created successfully" message appears.

- Click Cancel will return to the Click to Call page.
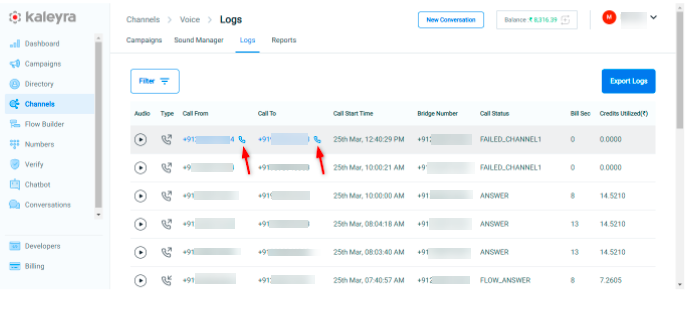
- Click to Call functionality can also be initiated from the Logs tab. Also, you can view the details of your call from the Logs page.
Updated 12 months ago
Did this page help you?