Send SMS and Launch Campaign
This page covers the following topics:
Send SMS to Customers
To send SMS to your customers, perform the following steps:
- On the Shopify home page, from the left navigation bar, click Customers.
The list of customers appears.
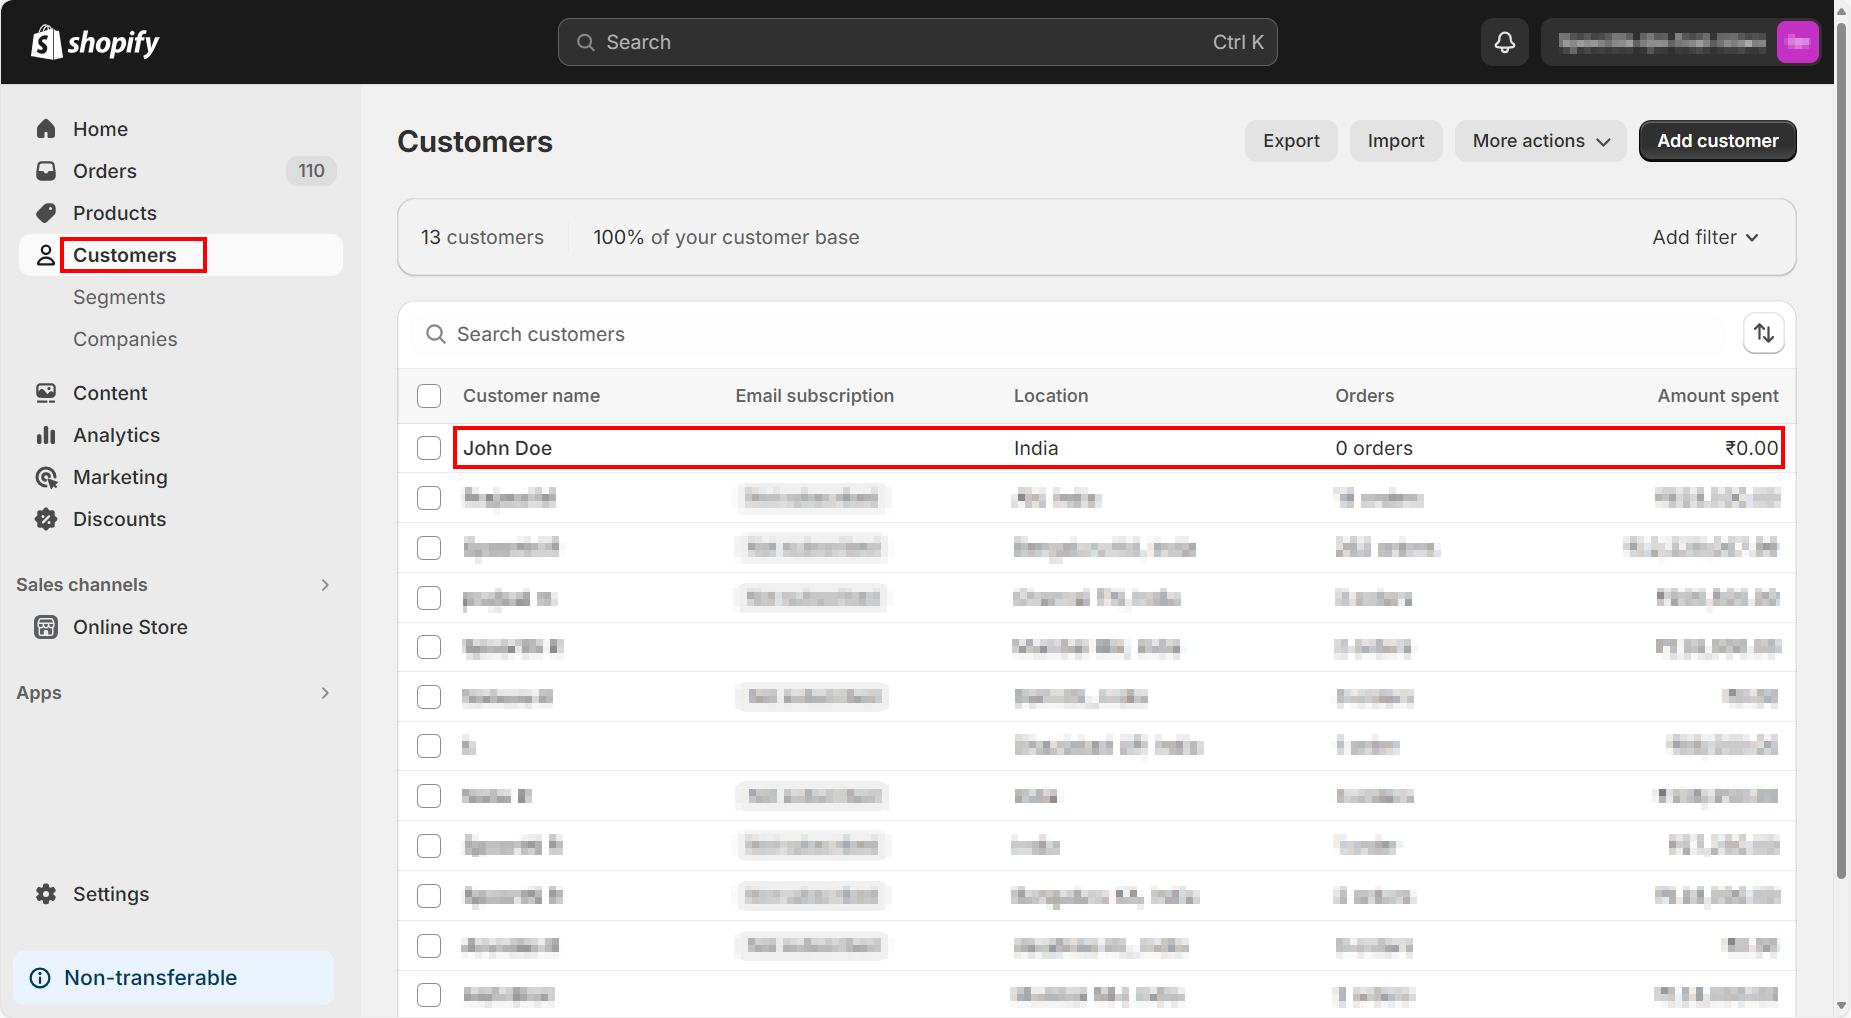
Note:Also, you can click the customer from the list you want to send SMS. On the top-right click More actions, and then Send SMS.
- Select the customer you want to send SMS.
The available options for the customer appear.
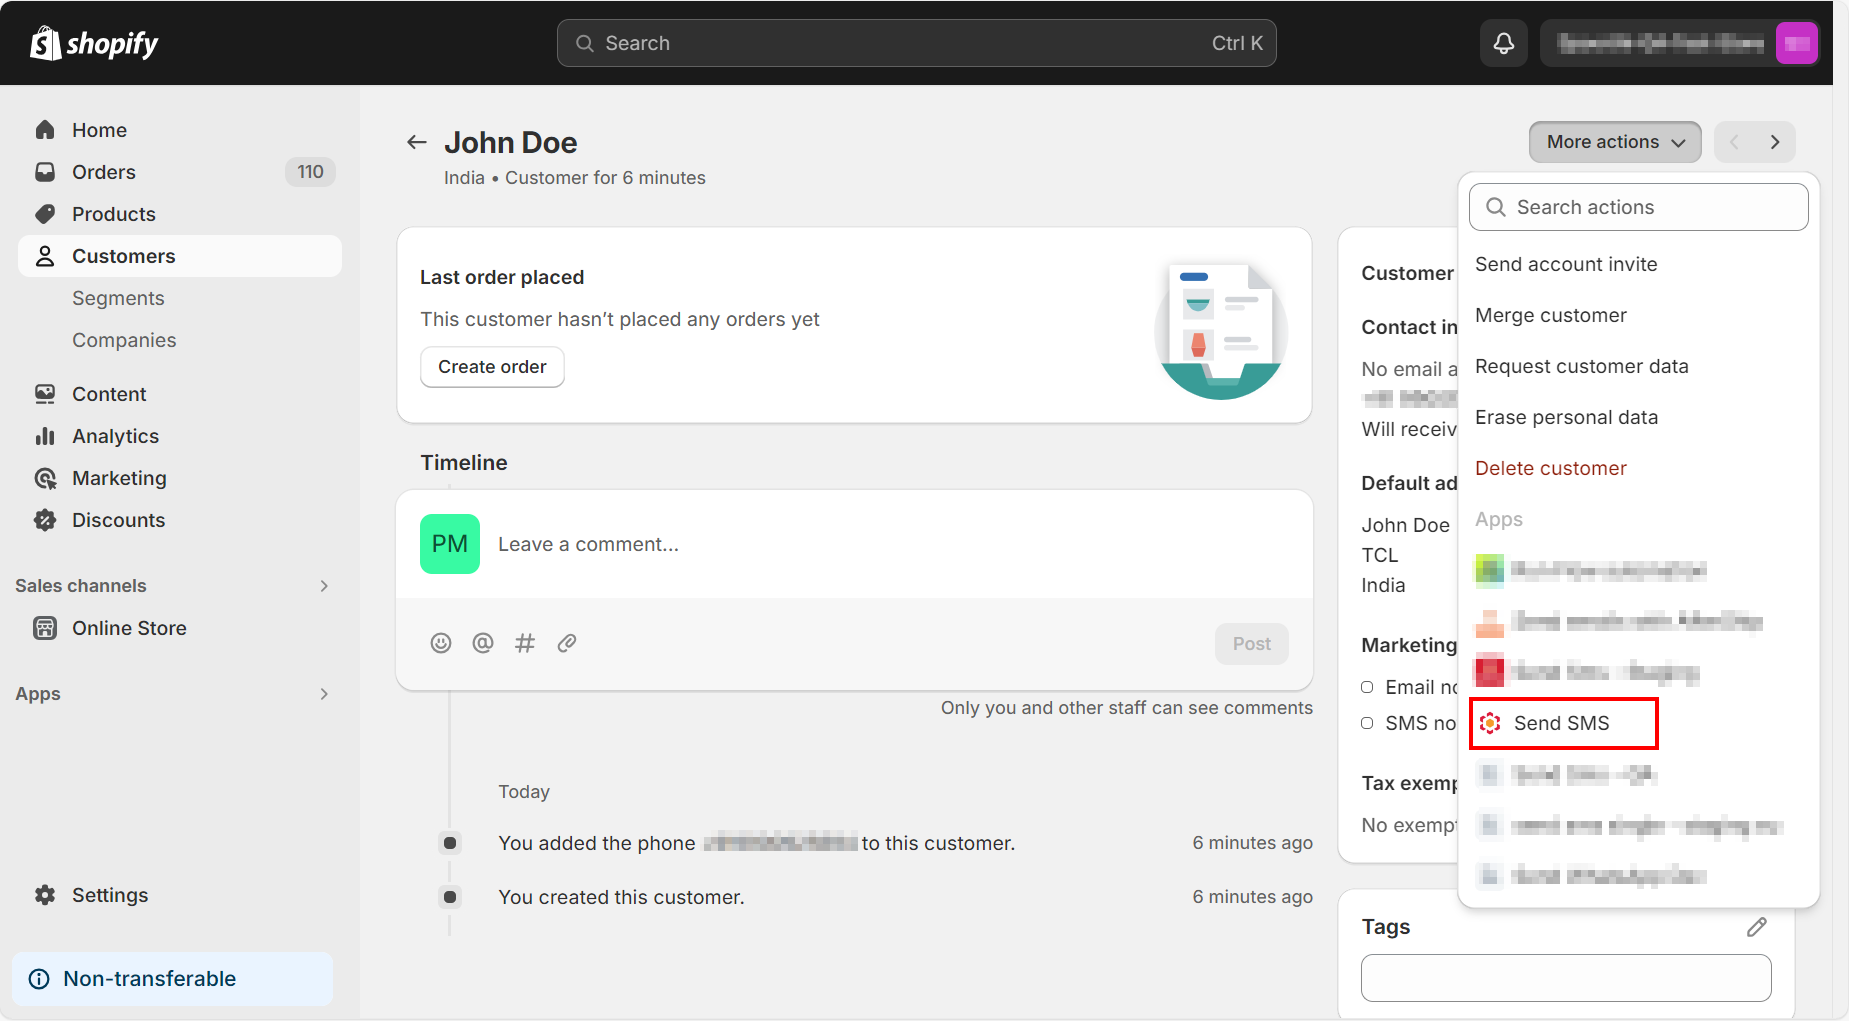
- Click More actions and then click Send SMS.
The Kaleyrapage appears.
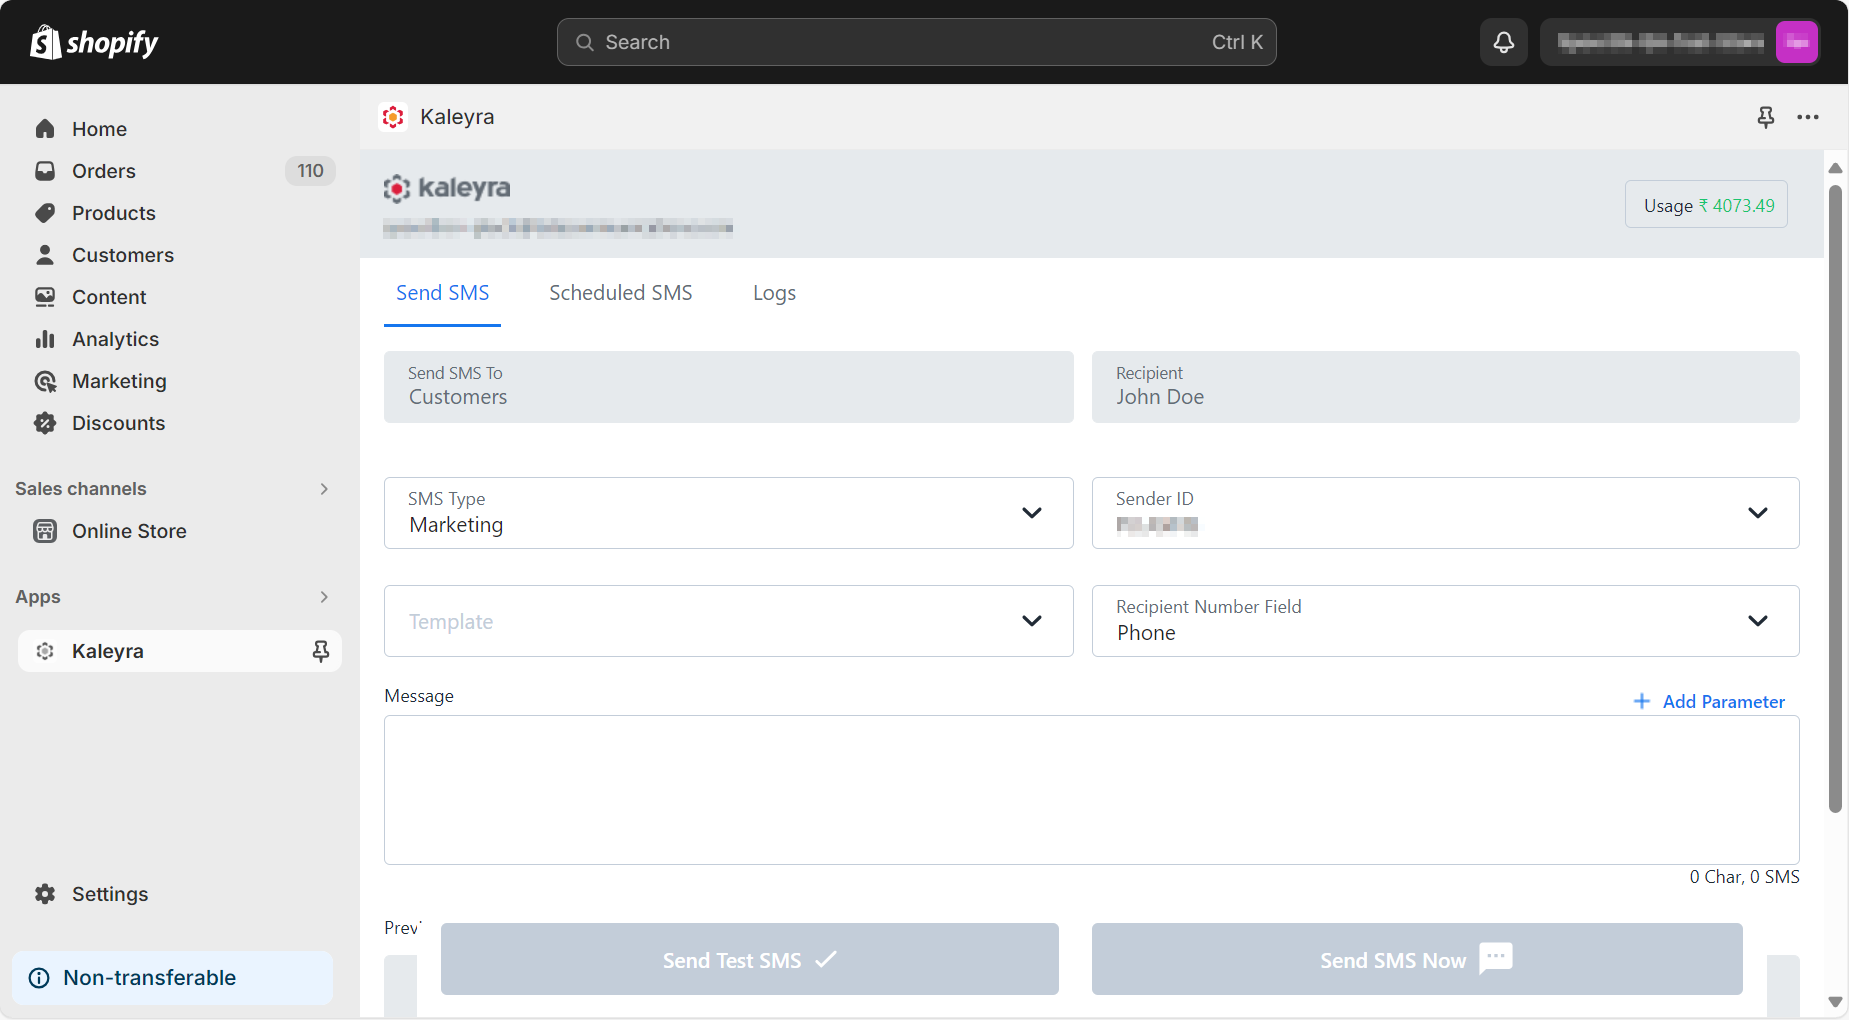
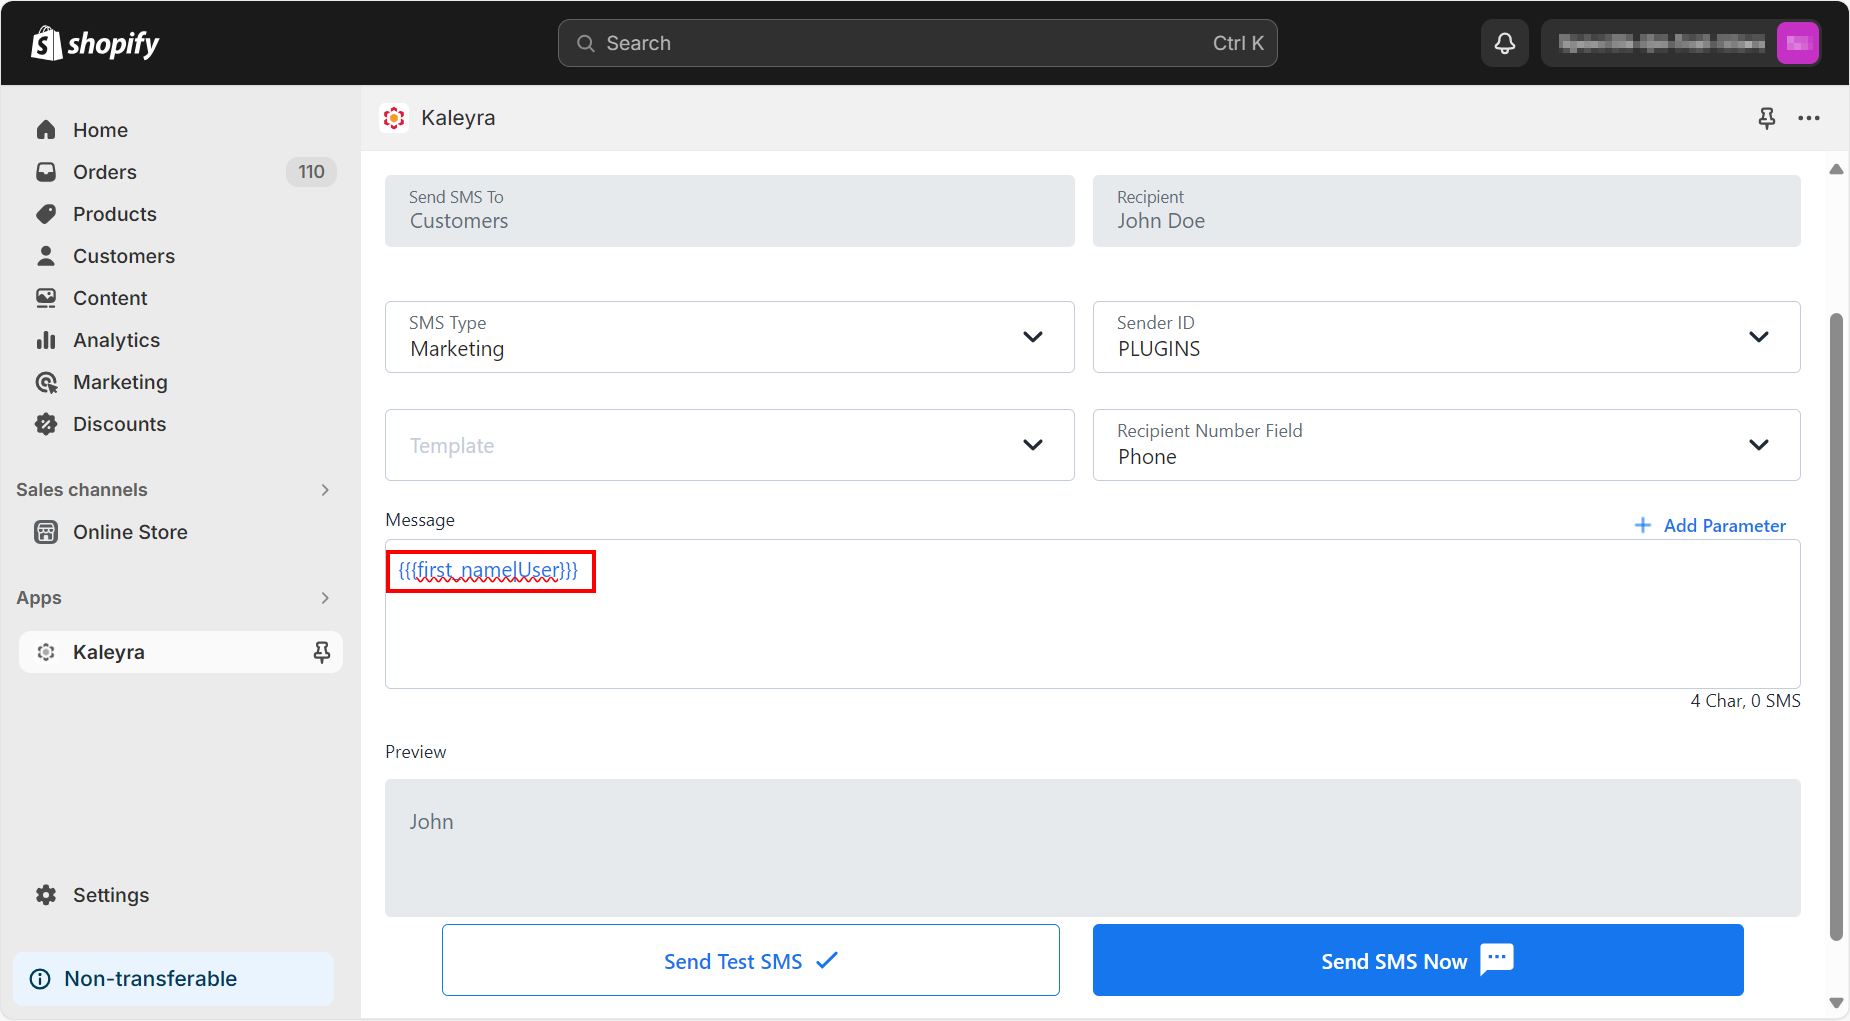
- In the Send SMS section, enter the following details:
- SMS Type - Click the arrow next to SMS Type to view the list. You can choose SMS Type as OTP, Marketing, Transactional, Transactional DND, M2M, or default depending on the regulations of their country.
- Sender ID - Click the arrow next to Sender ID to view the list.
- Template - Click the arrow next to Template to view the list of pre-registered templates.
- Recipient Number - By default the selected customer is selected.
- The Message section has the following options:
You can compose a message in multiple ways:
a. Use static message content through a template or compose a message directly.
b. Insert dynamic parameters to your message content using the Add Parameter feature.
-
+ Add Parameter
i. Click on the + icon OR Add Parameter link. The Add parameter consists of three open and close curly braces {{{}}}.
ii. Click curly braces {{{}}}. The Parameter Data Type section appears.
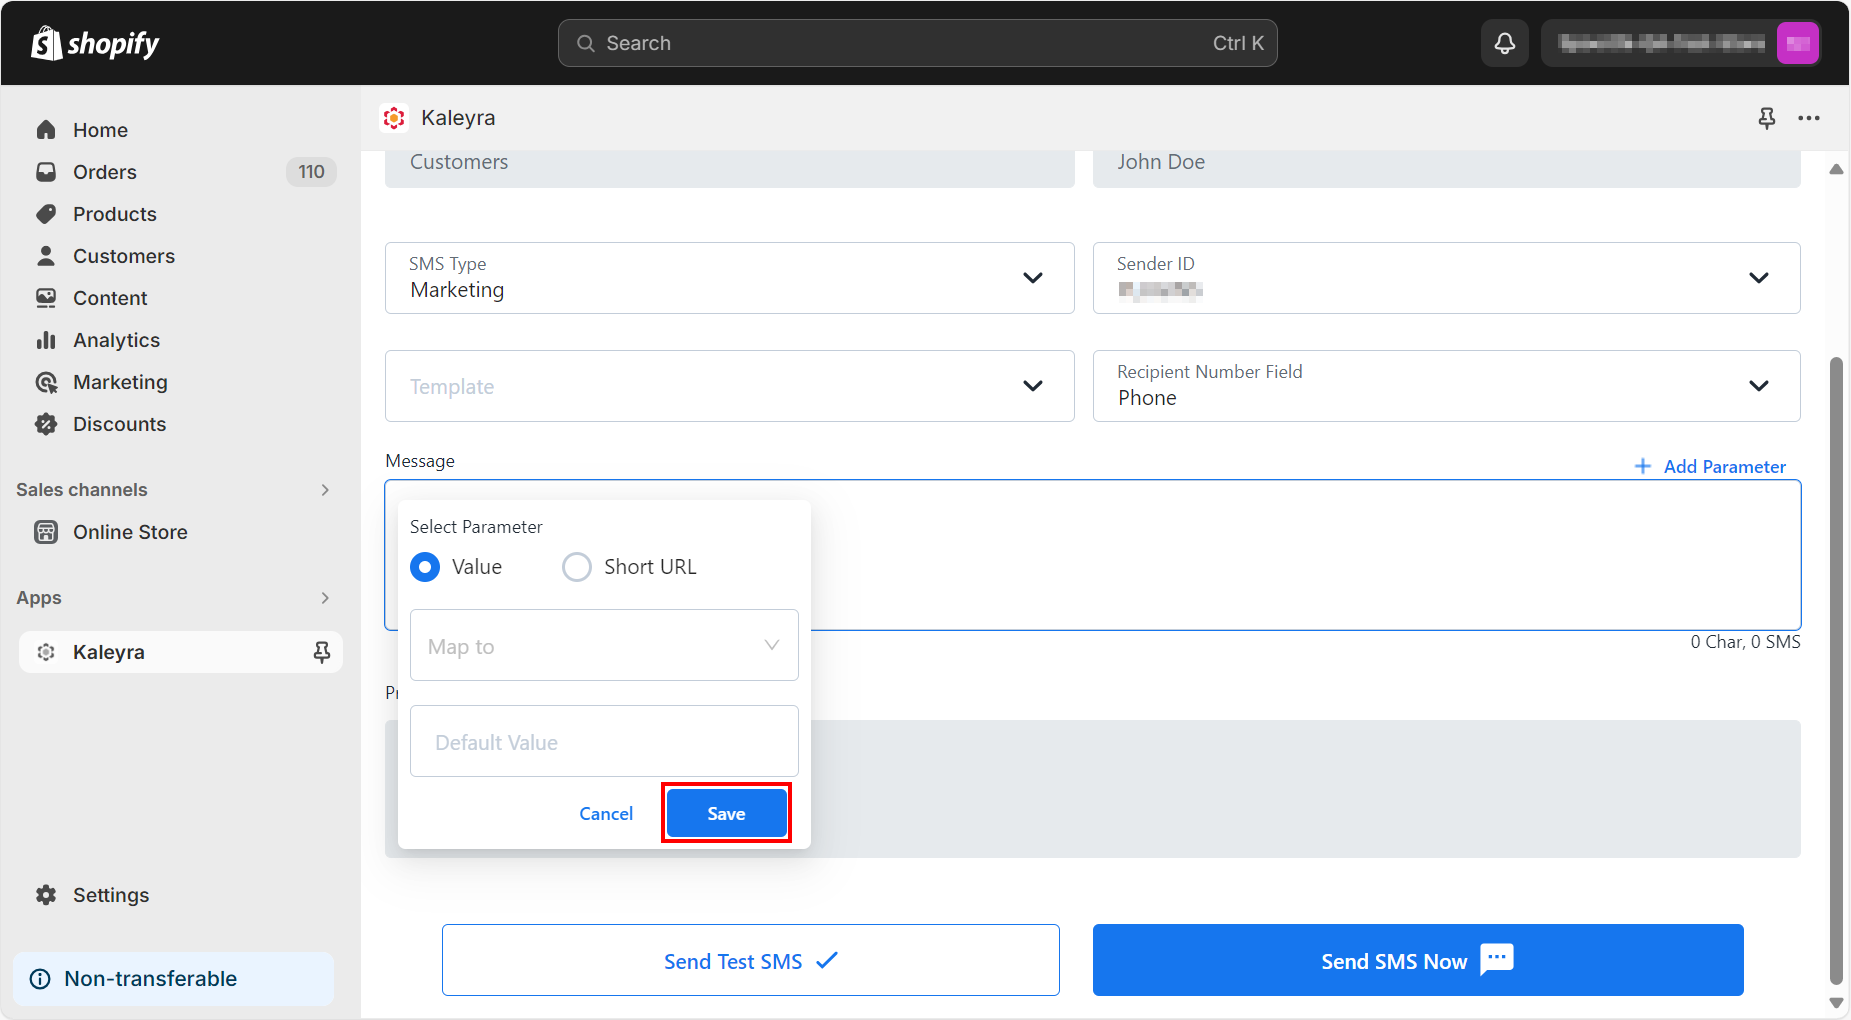
iii. Select value option and then click the arrow next to Map to field to view the list.
iv. Default Value - Enter the default value and click Save.
The added parameter will be displayed in the Message field.
 Note:
Note:- If the added parameter has no value, then it will return to the Default Value field in the Parameter Data Type section.
-
+ Add Short URL
i. Click on the + icon OR Add Parameter link. The Add parameter consists of three open and close curly braces {{{}}}.
ii. Click {#AddURL#}. The Parameter Data Type section appears.
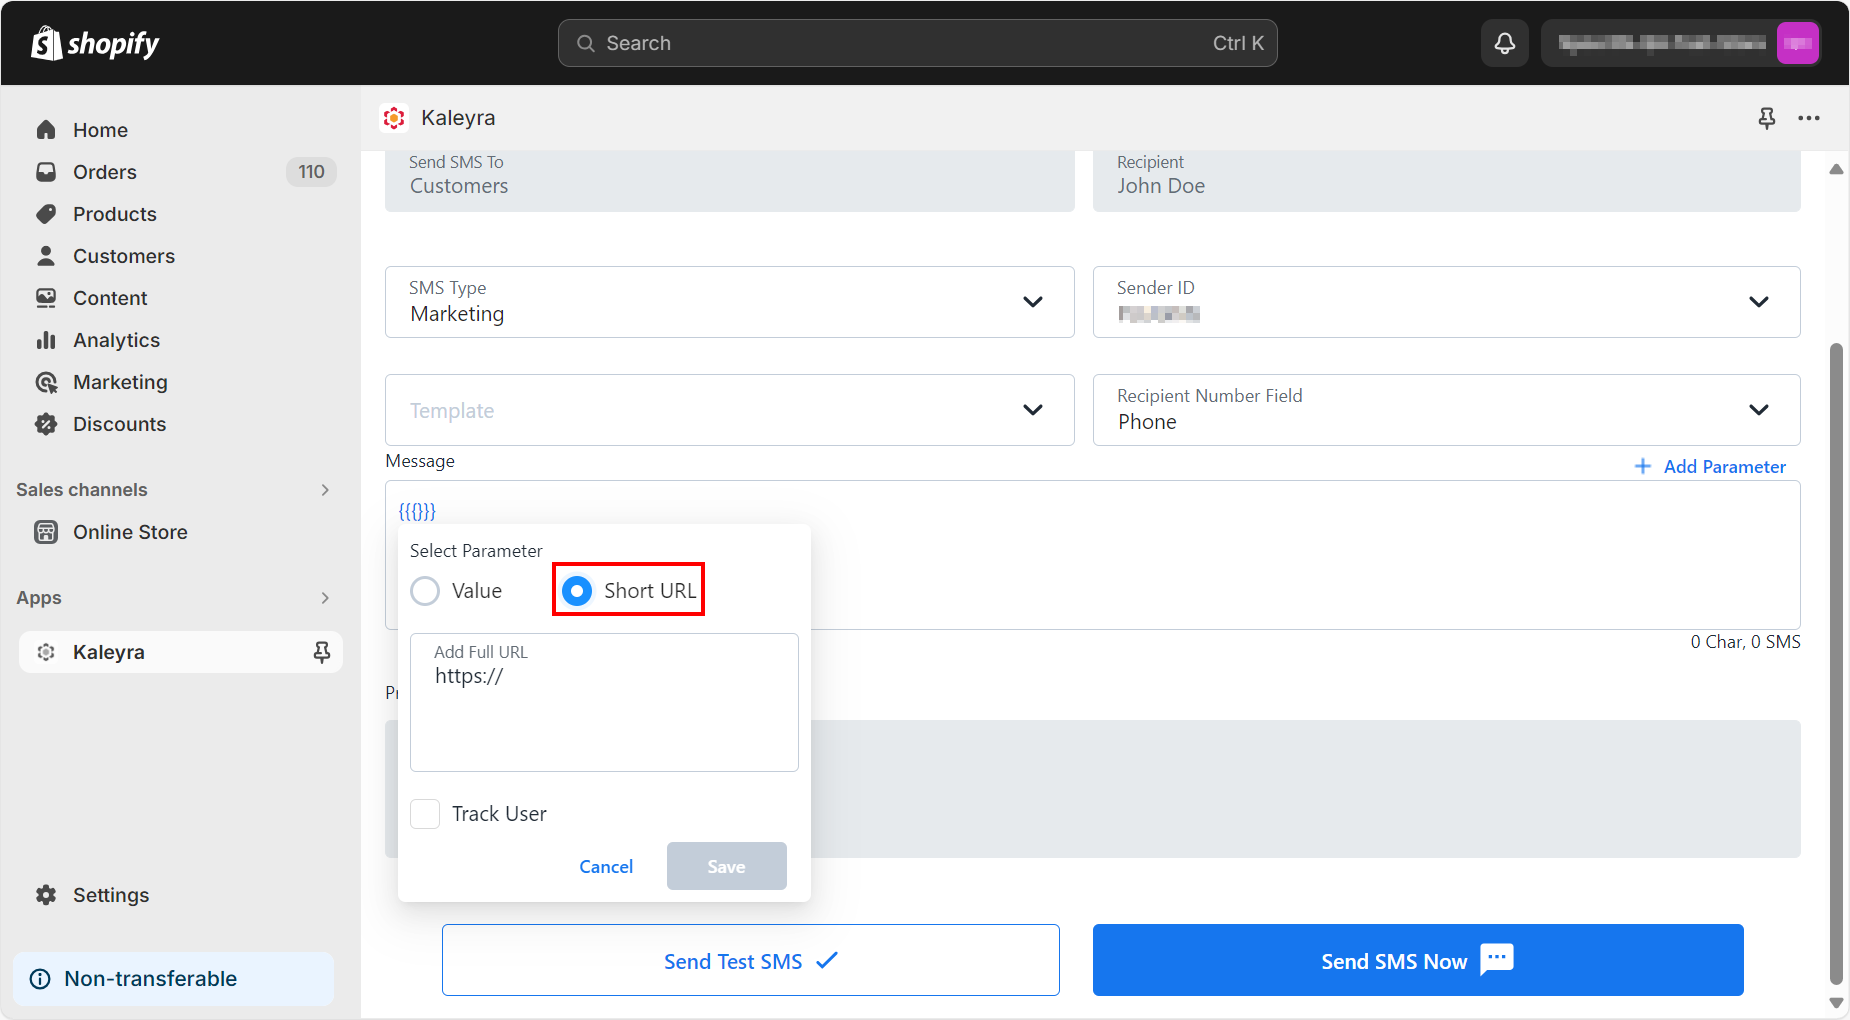
iii. From Select Parameter, select Short URL option.
iv. In the Add Full URL field, enter the original URL to short.
v. Track User - you can find "{kadvanced}" at the end of the URL in the Message field, if the tracker user option is enabled then click Save.
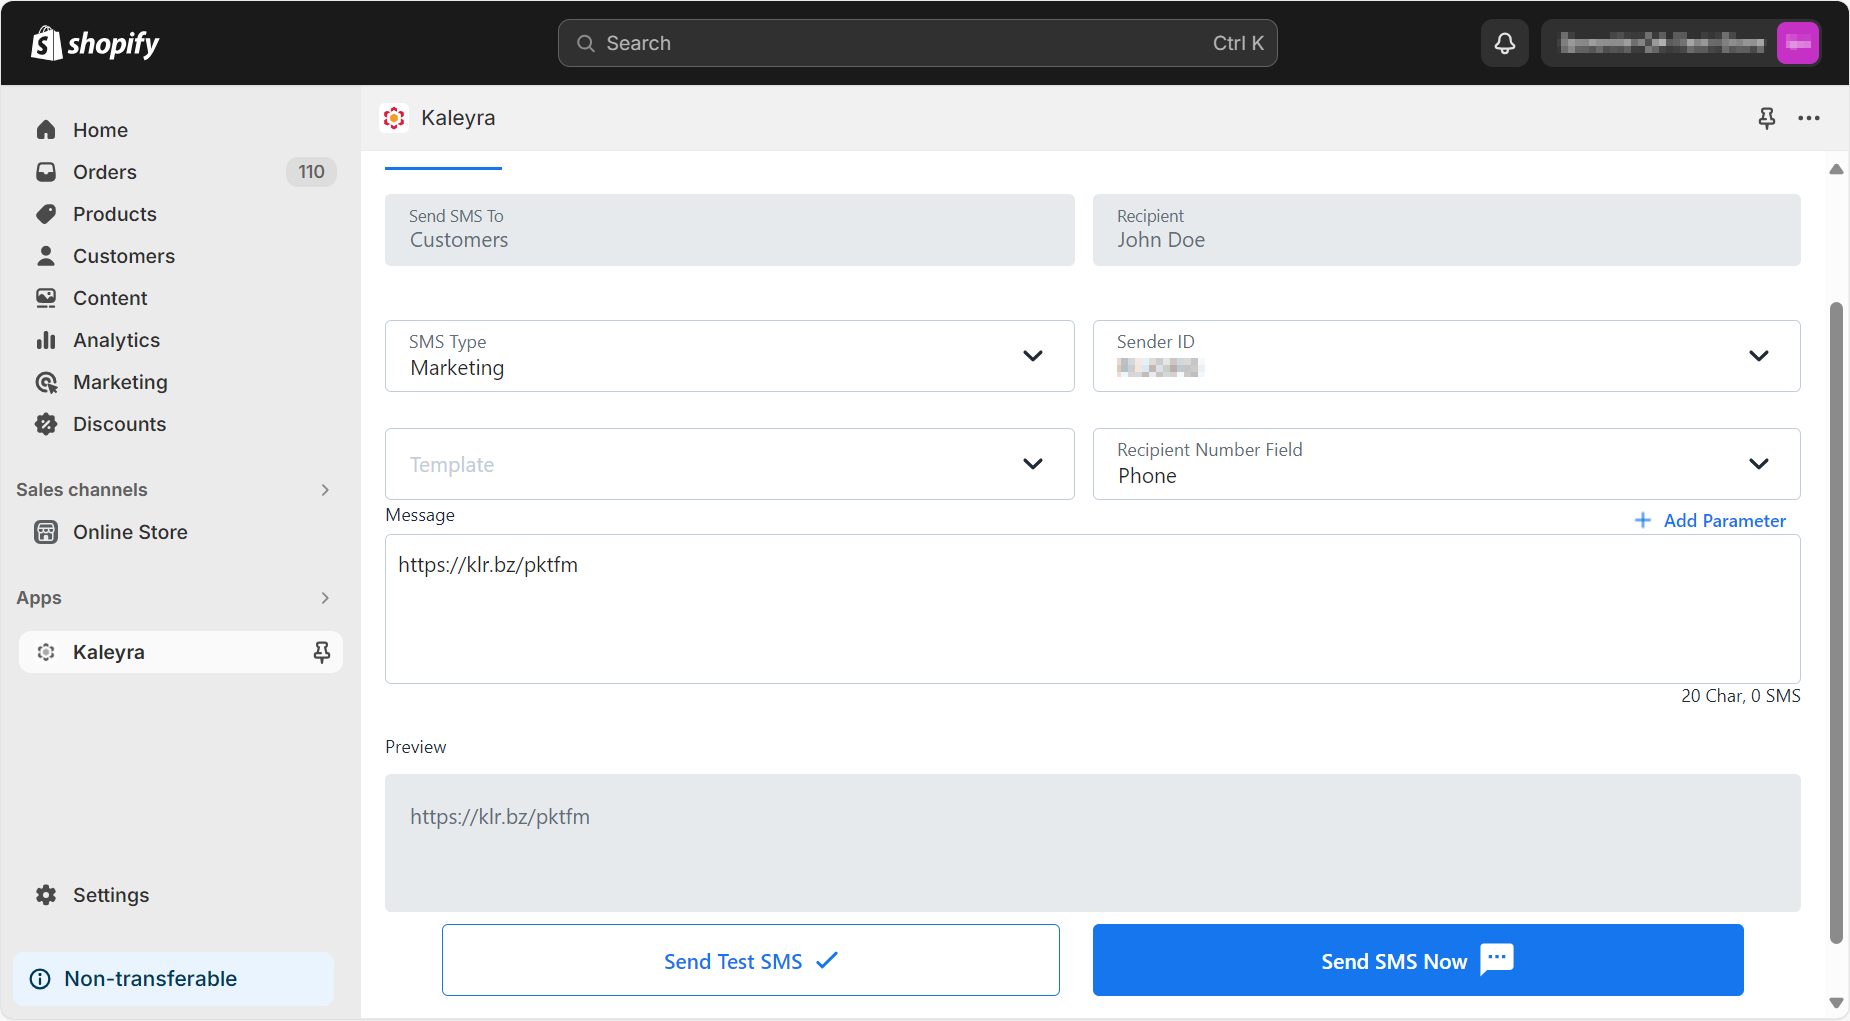
The updated URL will be displayed as a short URL in the Message field.
Note:Ensure you add HTTPs.
- The Preview section displays the preview of the draft message.
- Select one of the following options:
- Send Test SMS - Enter your registered mobile number to send a test SMS message. Click Send Test SMS. The "Test SMS has been sent. Did you receive the test SMS?" message appears.
- Schedule SMS - Enter the date and time when you wish to send the SMS message.
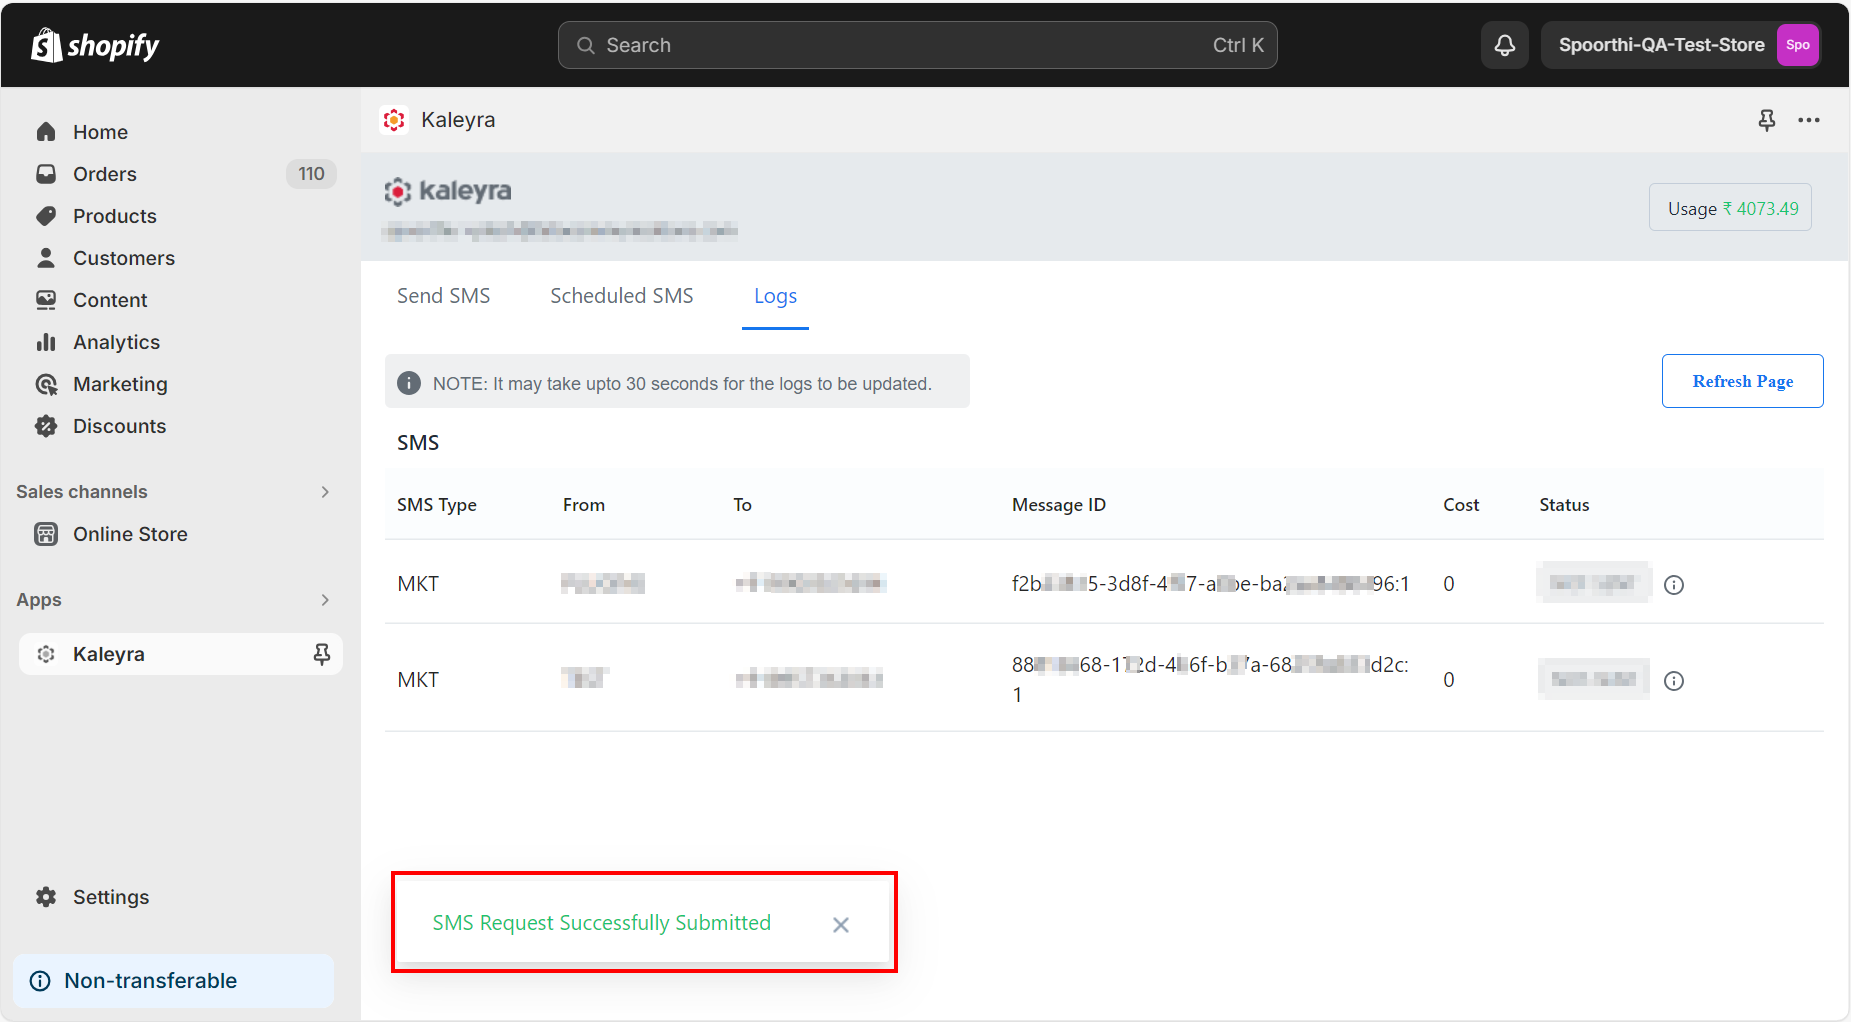
- Send SMS Now - Click Send SMS Now to send an immediate message. The "SMS Request Submitted Successfully" message appears.
Launch Campaign
You can launch a campaign from the Shopify app using Kaleyra.
To launch the campaign, perform the following steps:
- On the Shopify home page, from the left navigation bar, click Marketing and then Campaigns.
The Marketing campaigns page appears.
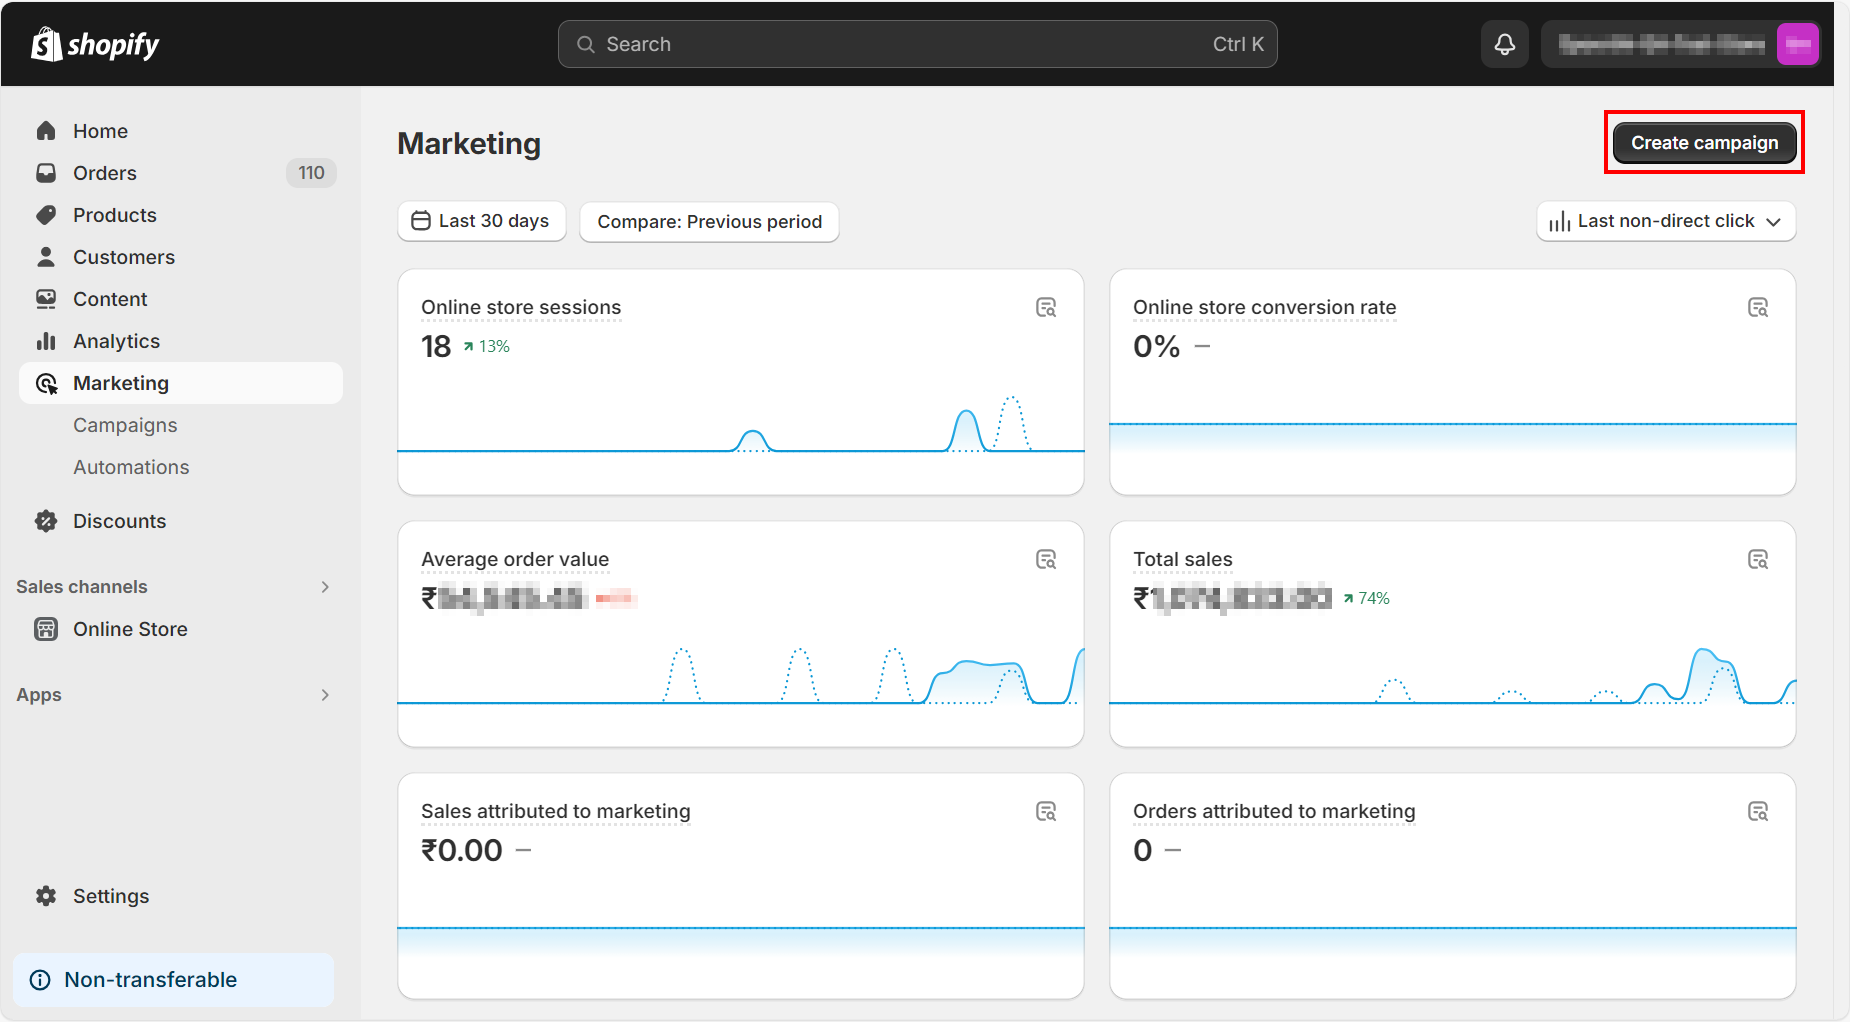
- Click Create campaign.
The Select an activity appears.
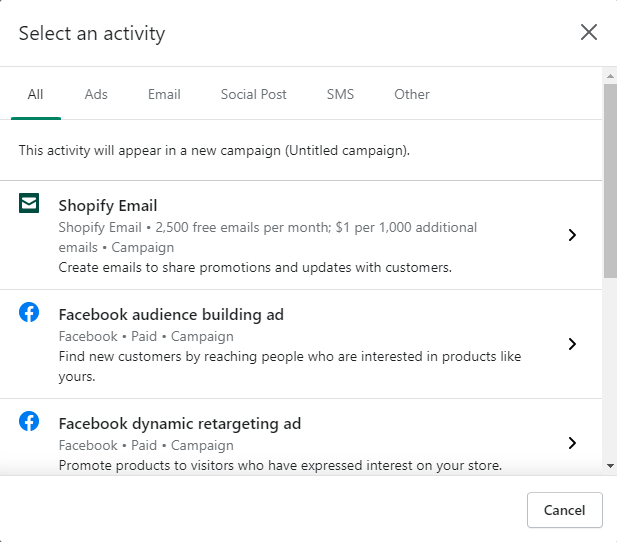
- Click the Other tab.
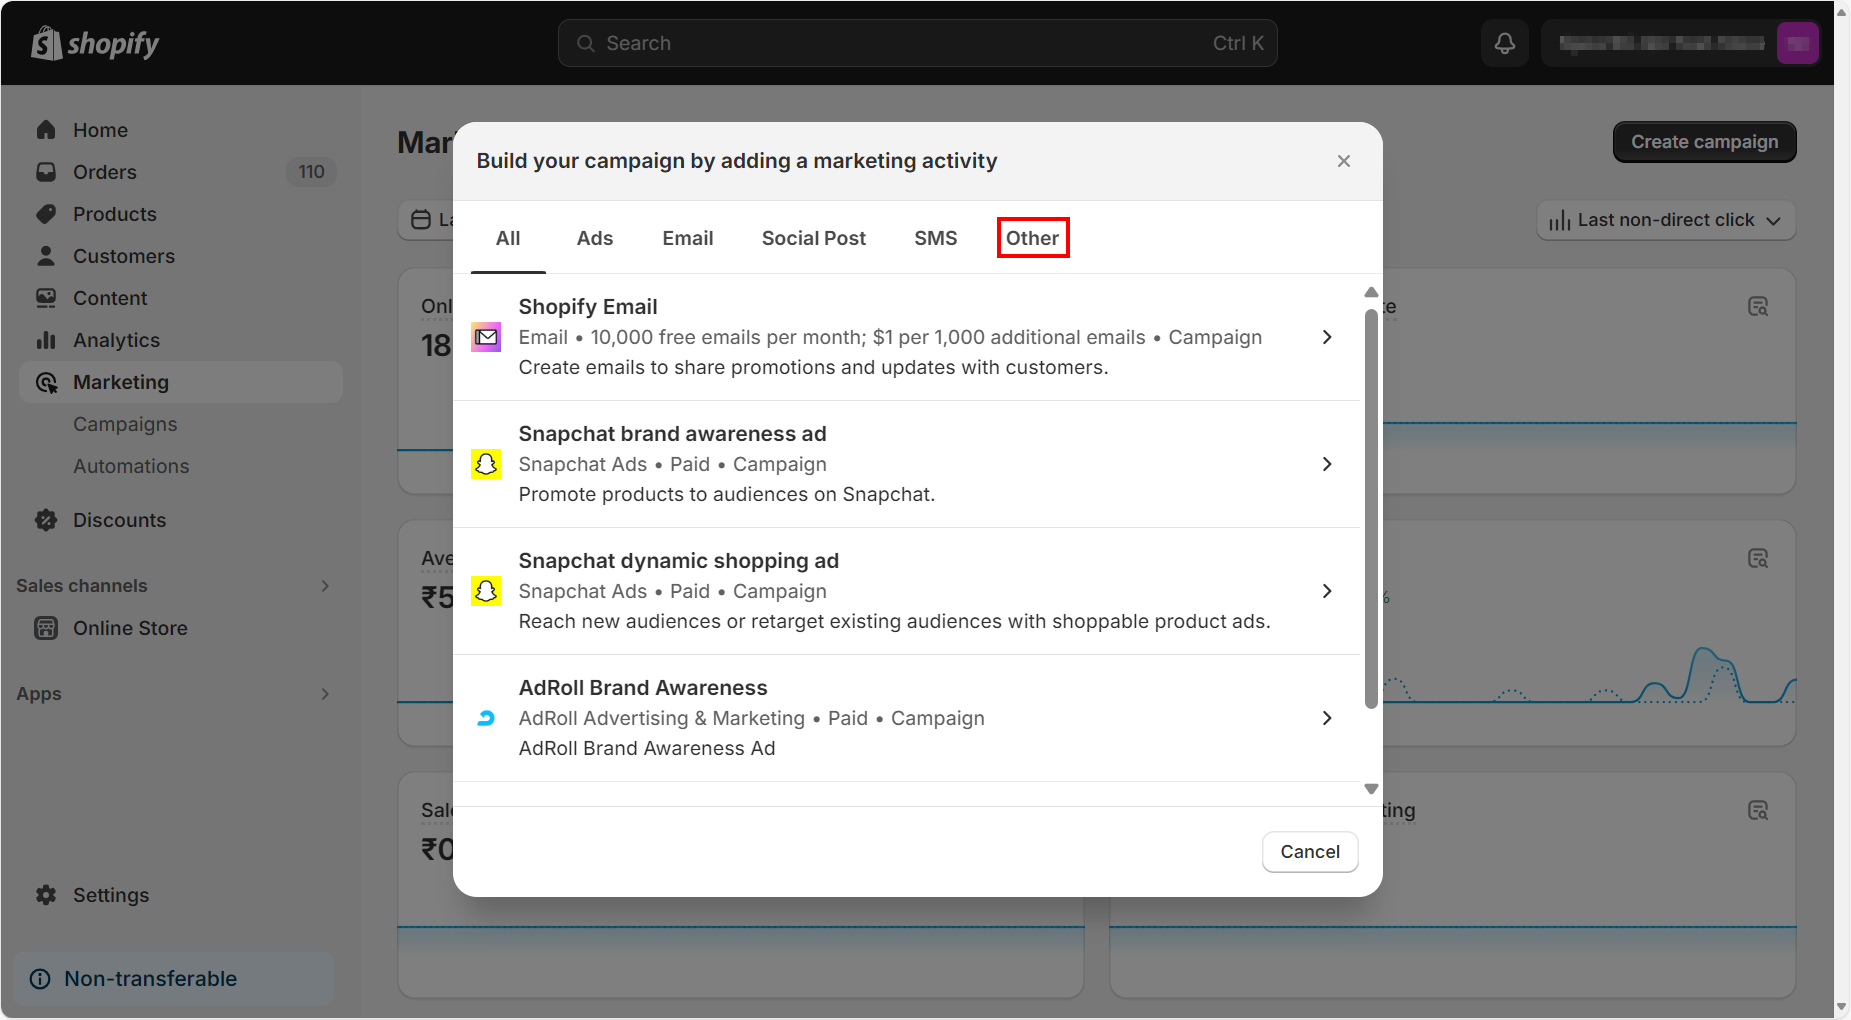
- Click Send Marketing SMS.
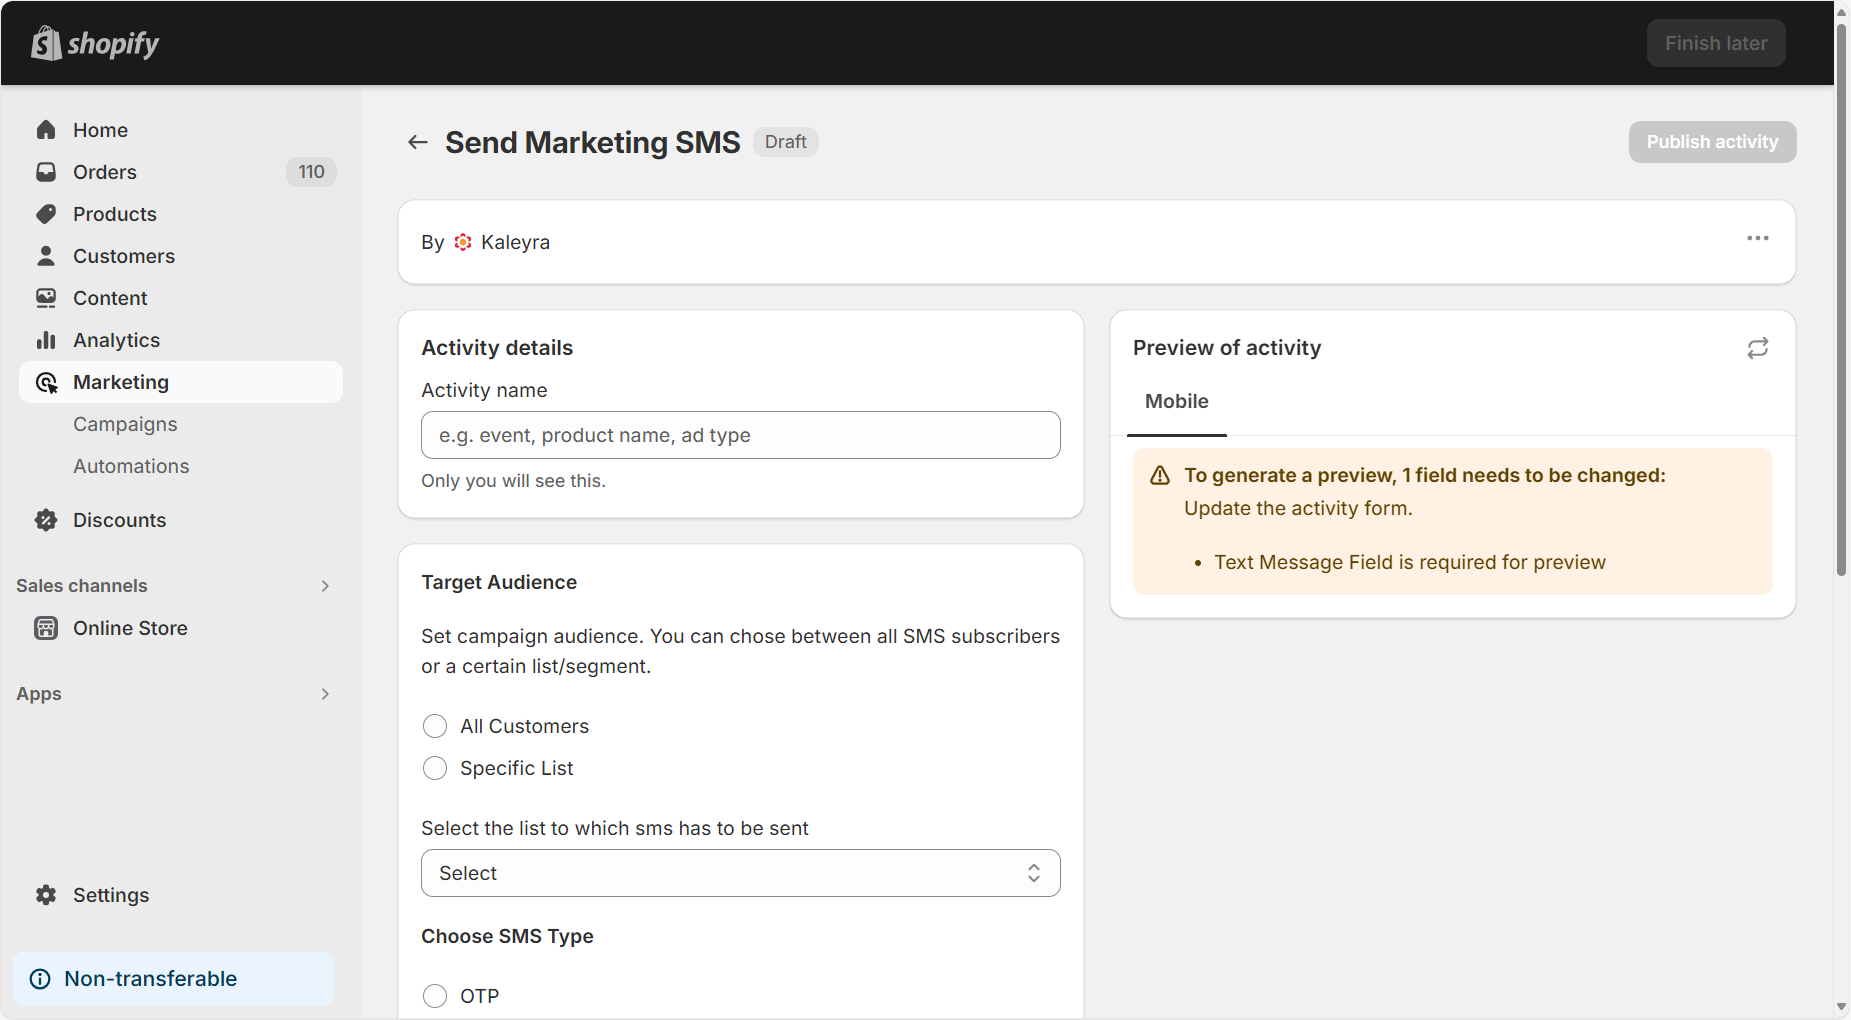
- In the Activity name, enter the campaign name. This name is only visible to you and for your reference.
- In Target Audience, select one of the following options:
- All Customers - to send the campaign message to all the customers.
- Specific List - to send campaign message to specific list or segment of customers.
Note:If you are selecting Specific List for the campaign, then you must select the list to which you want to send SMS from the Select the list to which sms has to be sent list.
- In Choose SMS Type, select one of the SMS type.
- In Choose a Sender ID, select the sender ID.
- In the message field, enter the campaign message you want to send.
Notes:
- You can use variables in your message, click the Notification variables reference link to view the list of supported variables.
- In the right-top of the page, you can preview the campaign message details in Preview of activity.
- Click Publish activity. The campaign is launched.
Note:You can view the message log in the Logs page under the Configure Kaleyra Settings.
Updated about 1 year ago