Adding a new WABA ID
Note:This feature applies only to WhatsApp Business Account created through embedded signup.
You can add multiple numbers as WhatsApp Business Account (WABA) and generate the WABA IDs. Also, if you have more than one WABA ID in your kaleyra.io account, you can select which WABA ID to use from the kaleyra.io UI among the available ones.
The following are the conditions when you are using multiple WABA IDs:
- An already existing WABA ID can not be added to your kaleyra.io account while creating a new WABA ID.
- An already existing WABA ID can not be added to different kaleyra.io accounts.
- The same WABA ID can not be added to kaleyra.io accounts in different regions (that is America/Europe and the Rest of the World). For example, if you have a WABA ID called WA_TEST in any given account, you can not create another WABA ID with the same name in the same or another account even if in a different region.
Prerequisites:Before you can create a WABA ID, you need to:
- Create a kaleyra.io Account.
- Complete the Know Your Customer (KYC) Procedure.
- Create an account name and a Business Manager ID using the Facebook Business Manager.
- Have an active mobile Number that does not have an associated WhatsApp account.
To add a new WABA ID from the kaleyra.io account, perform the following steps:
- Sign in to your kaleyra.io account.
The Channels page appears.
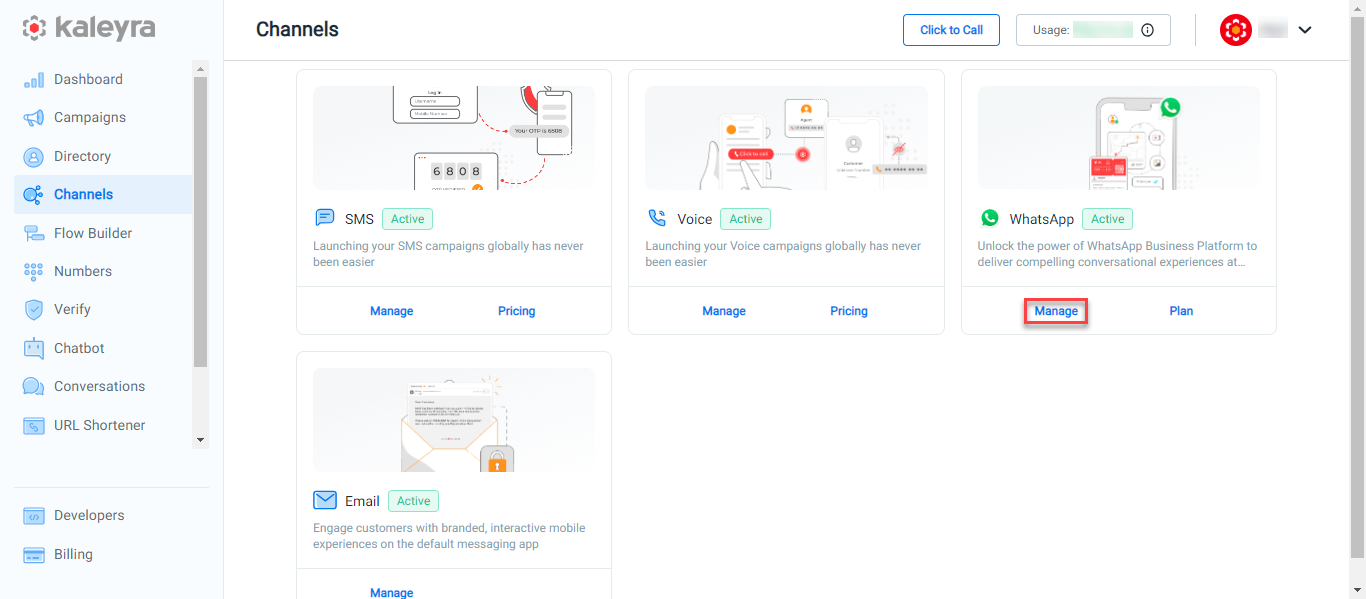
- On the WhatsApp widget, click Manage.
The WhatsApp's Dashboard page appears.
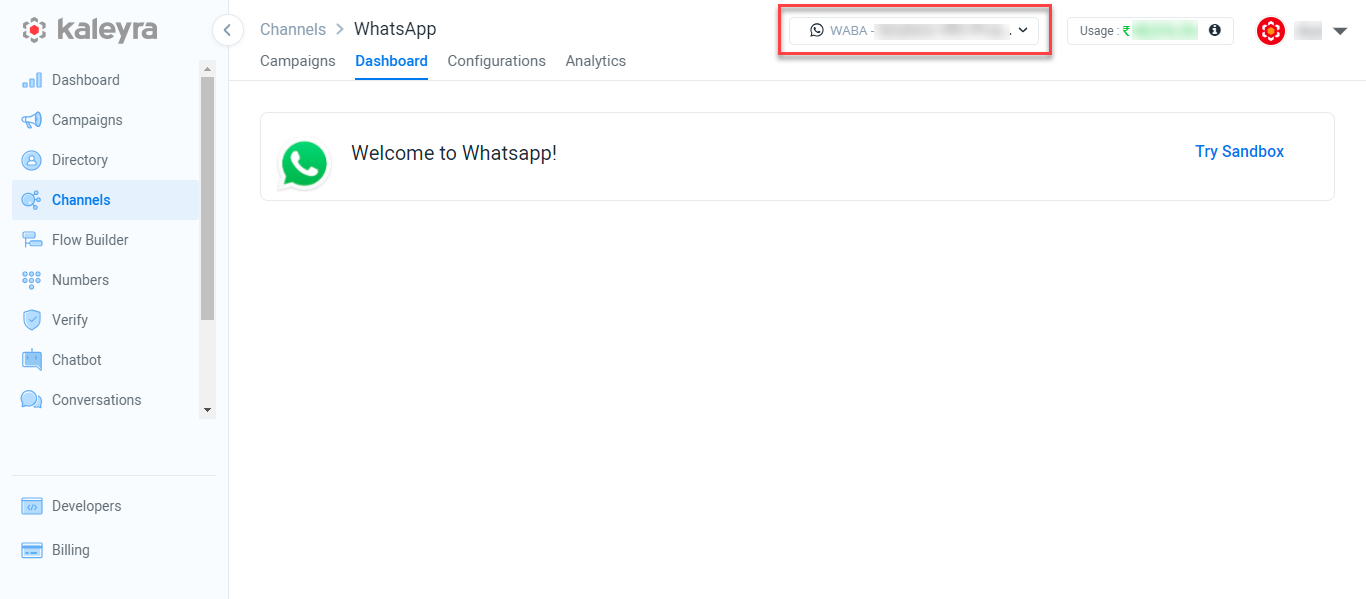
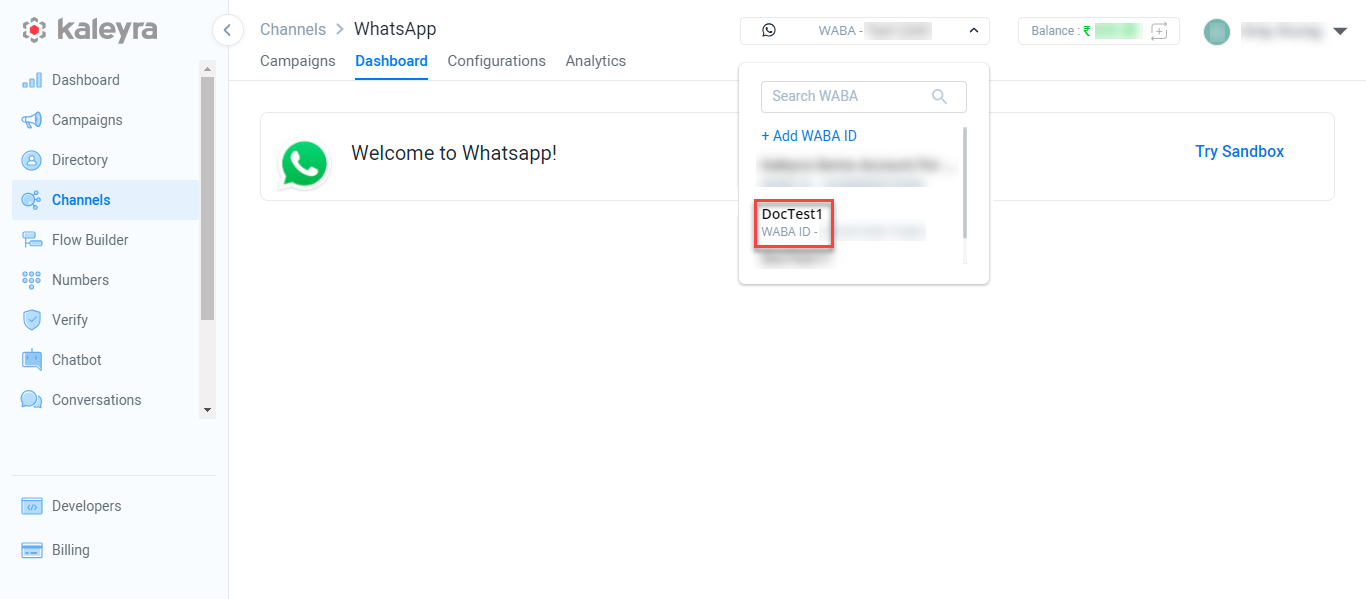
- From the top right side of the page, click the WABA drop-down.
The WABA ID list appears.
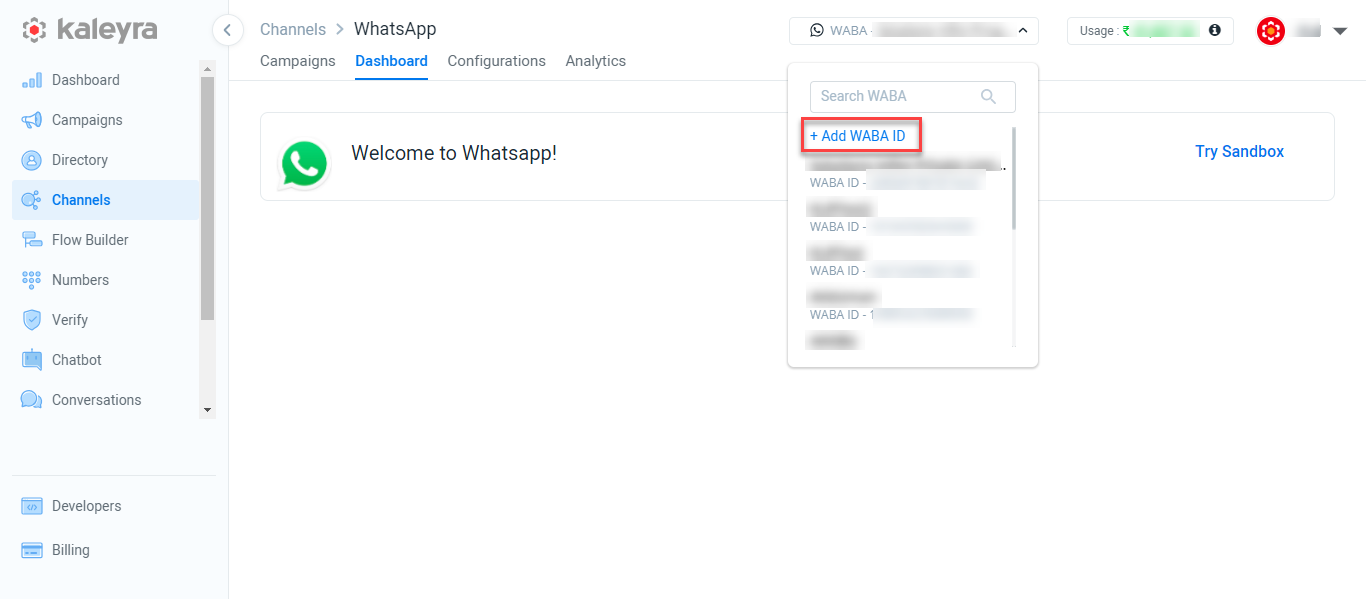
- Click +Add WABA ID.
The Facebook login widget appears.
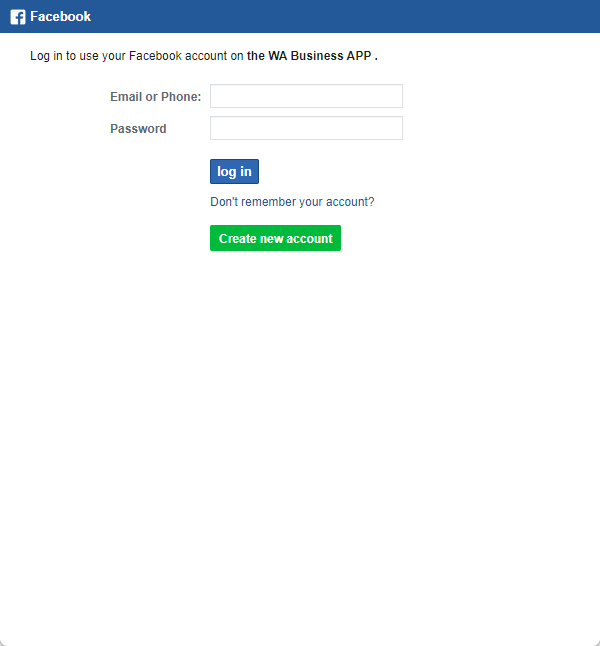
- Enter the Email address or Phone number associated with your Facebook business account. In the Password field, enter the password.
- Click log in.
The Connect your account to Kaleyra page appears.

- Read the terms of service and click Get Started.
The Fill in your business information page appears.
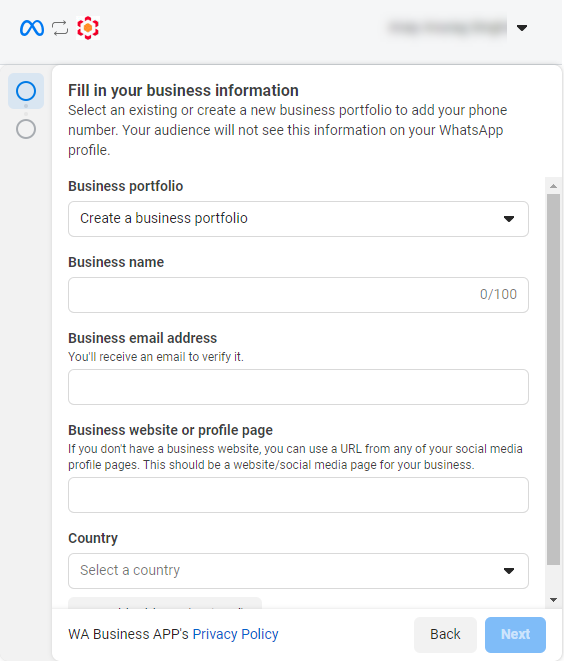
- Enter the following details:
- (Default) In the Business Portfolio drop-down, the Create a business portfolio option is selected.
- In the Business name field, enter the business name you want to provide for the new WABA. You can not use the same WABA ID for your account, the WABA ID for other accounts, or on different production environments.
- In the Business email address field, enter your business email address. An email will be sent to the entered email address by Meta for email verification.
- In the Business website or profile page field, enter your business website or profile link.
- Click the Select a country drop-down and the list of countries appears. Select your country.
- (Optional) Click the Add address, the fields to enter the address appear, and then enter your address business details.
- Click Next.
The Create or select your WhatsApp Business account page appears.
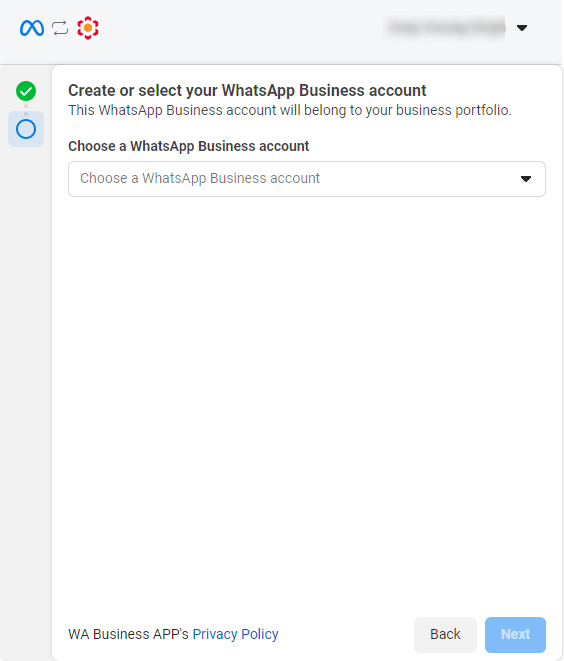
- Click the Choose a WhatsApp Business account drop-down.
The Choose a WhatsApp Business account option appears.
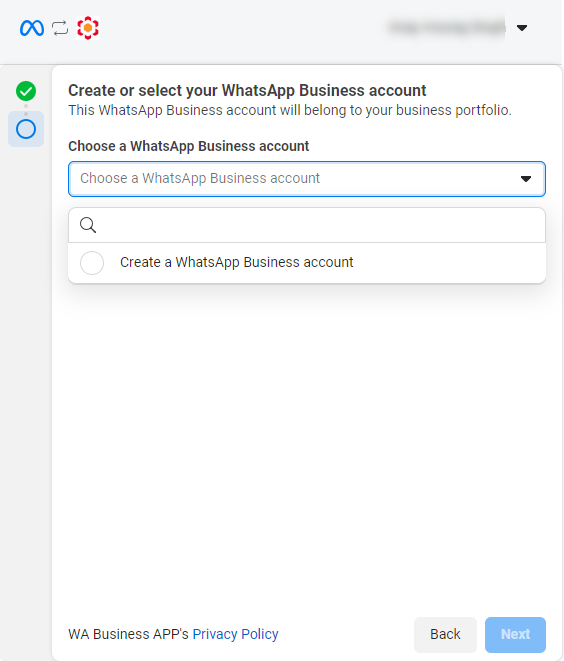
Note:If you have WABA IDs already created earlier, they will be listed in the drop-down.
- Select the Create a WhatsApp Business account and then click Next.
The configured WhatsApp business account name and Time zone appear.
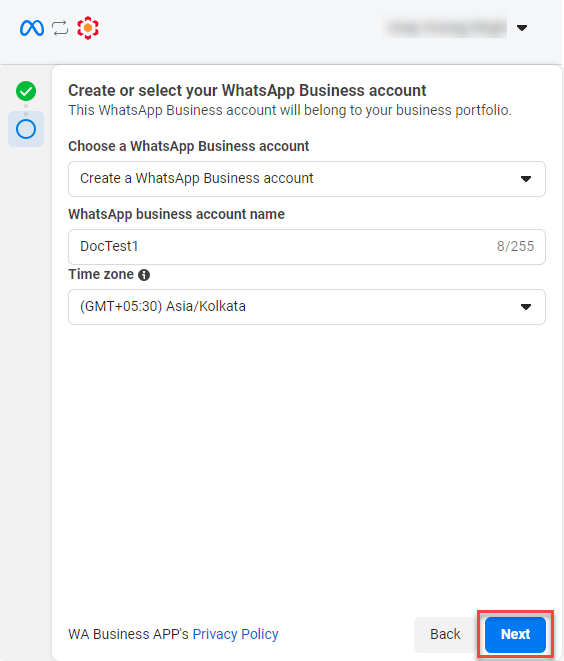
- Click Next.
Review what WA Business APP is requesting permission to do page appears.
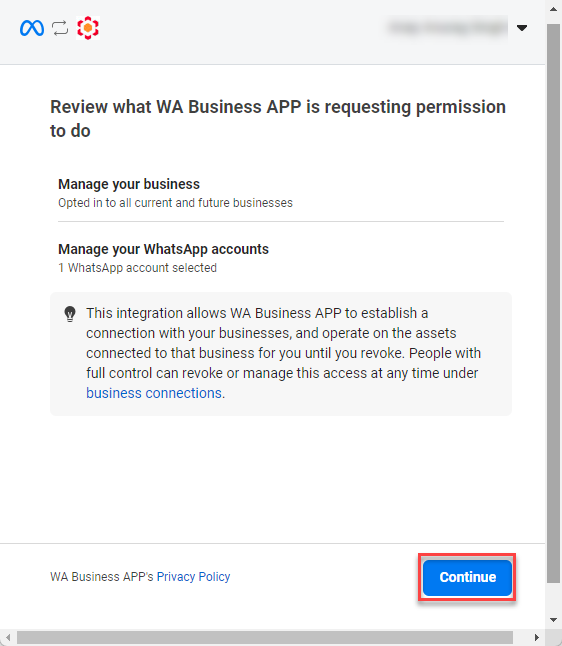
- Click Continue.
The You're now ready to chat with people on WhatsApp page appears.
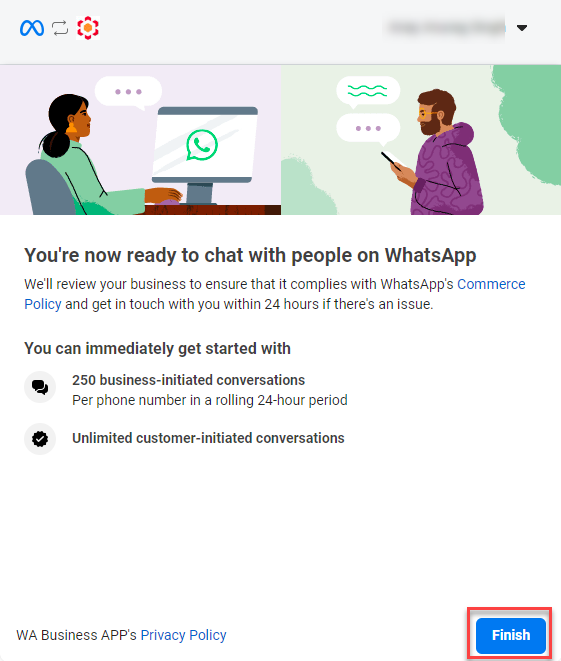
- Click Finish.
A confirmation message appears.
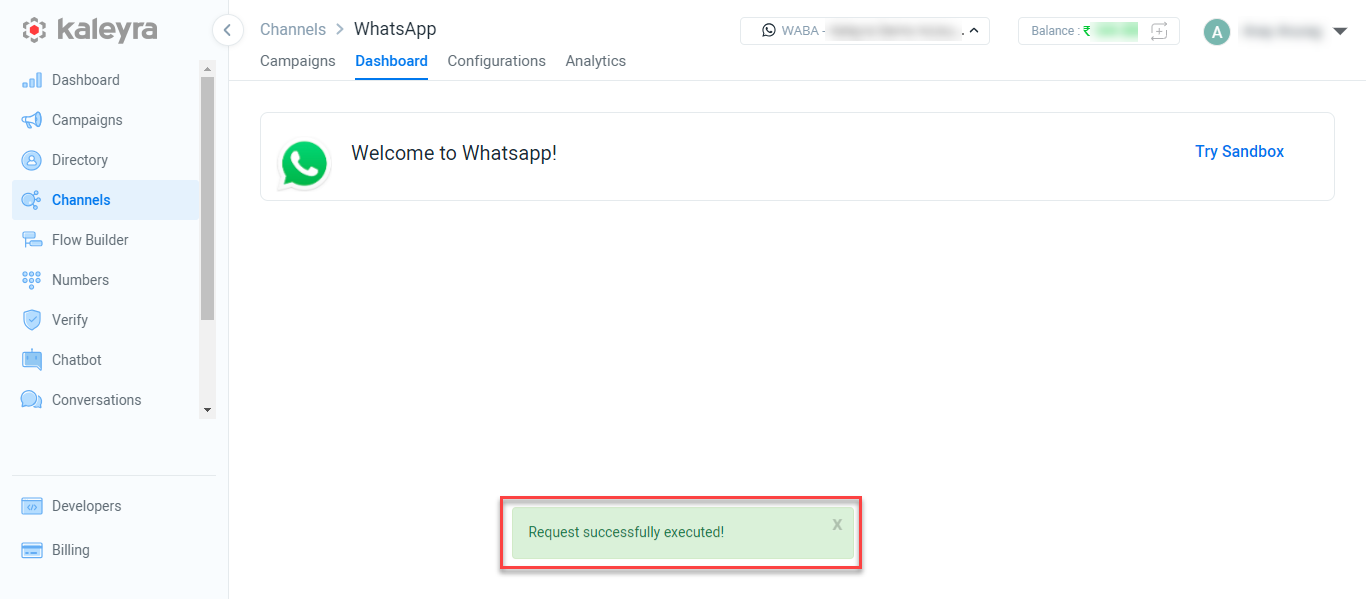
- The WABA ID gets added to your WABA ID list.
- Open the email inbox you added while creating the WABA ID and click Confirm Now.
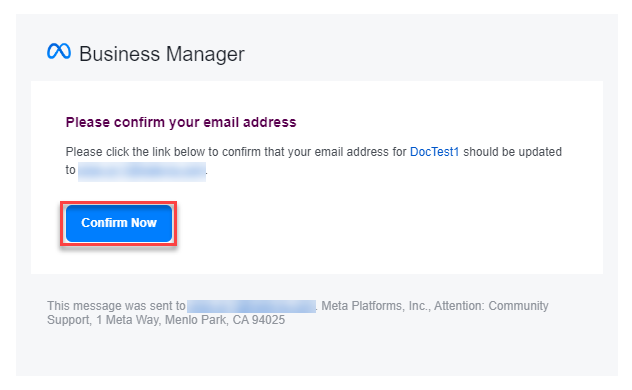
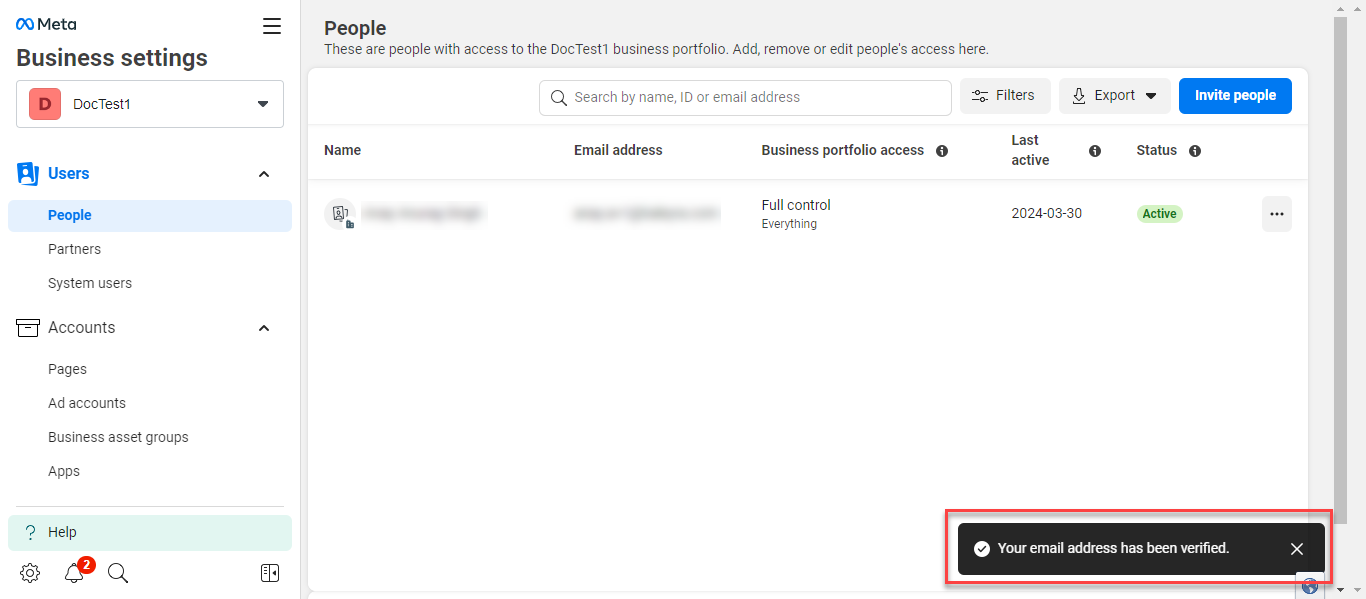
A confirmation message appears.
Updated 4 months ago