Launch a WhatsApp Campaign
You can launch a WhatsApp campaign through MoEngage using any of your approved templates and Kaleyra as the provider.
Prerequisite:You must import the contacts list to whom you want to send WhatsApp messages. For more information on how to import the contacts list, see Import User Data.
To launch a WhatsApp campaign, perform the following steps:
- Sign in to your MoEngage account.
- From the left menu bar click Engage.
A list of available options appears.
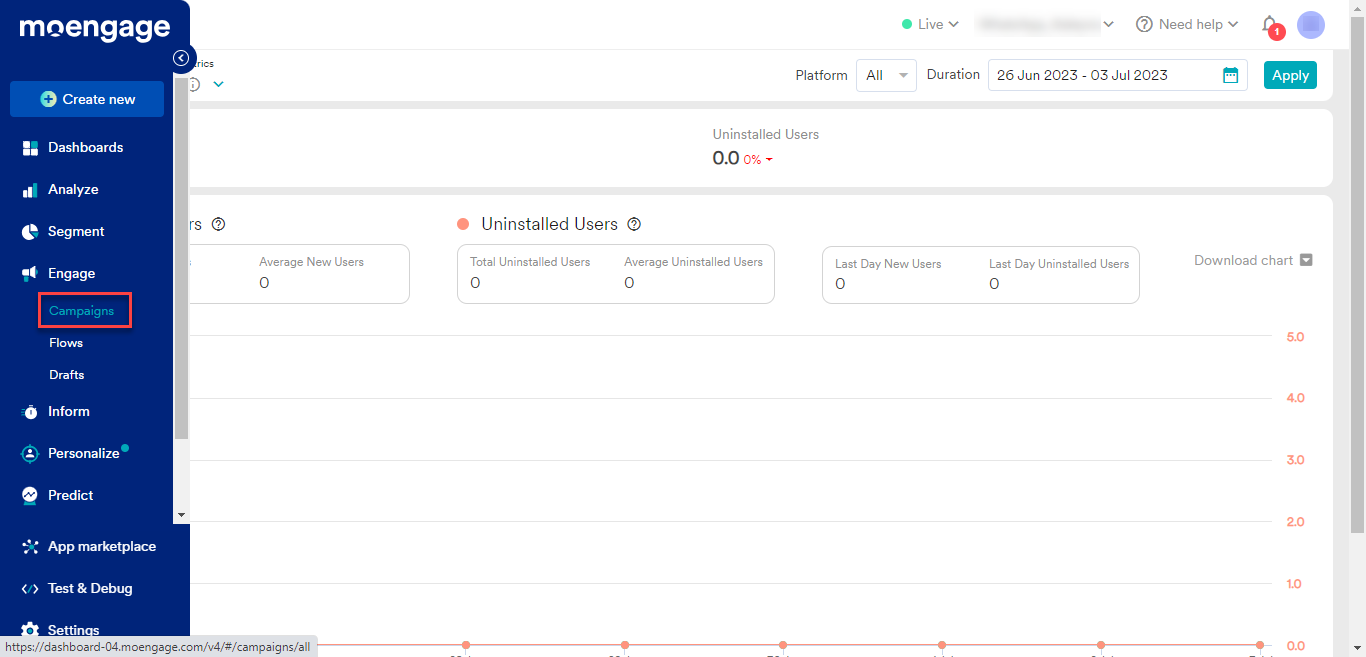
- Click Campaigns.
The All campaigns page appears.
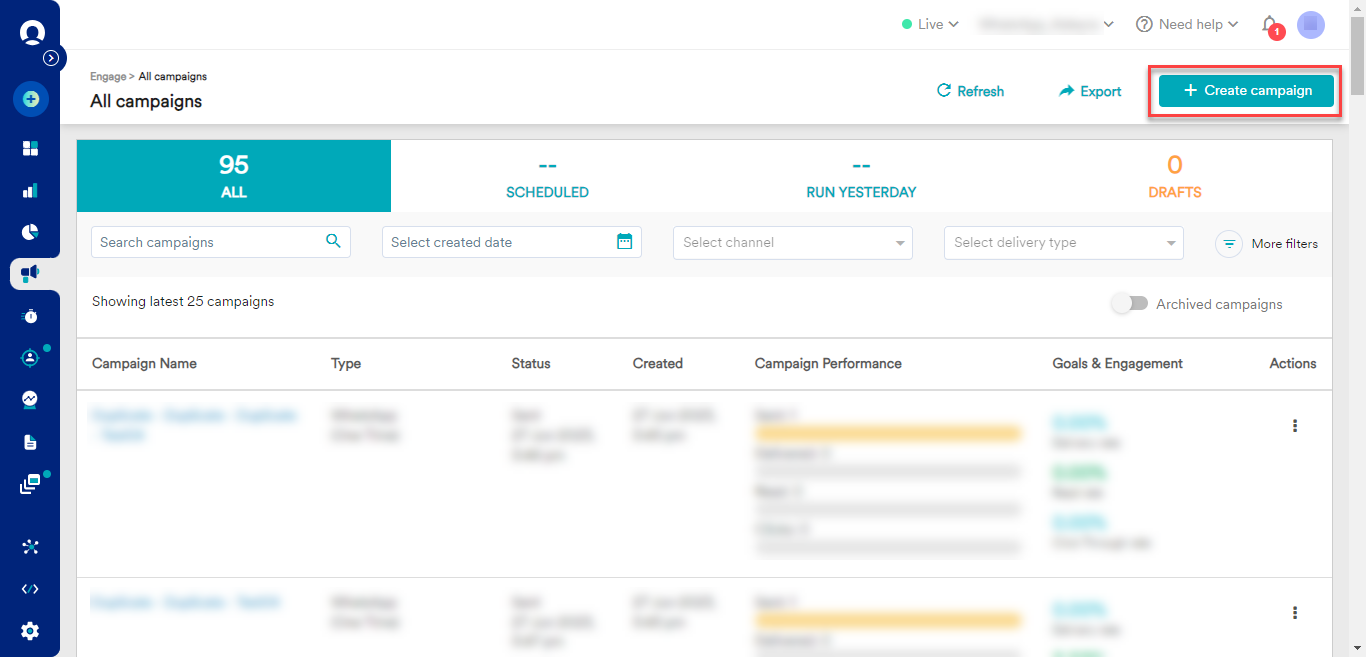
- On the right of the All Campaigns page, click + Create campaigns.
The Create campaign pane appears on the right side of the page.
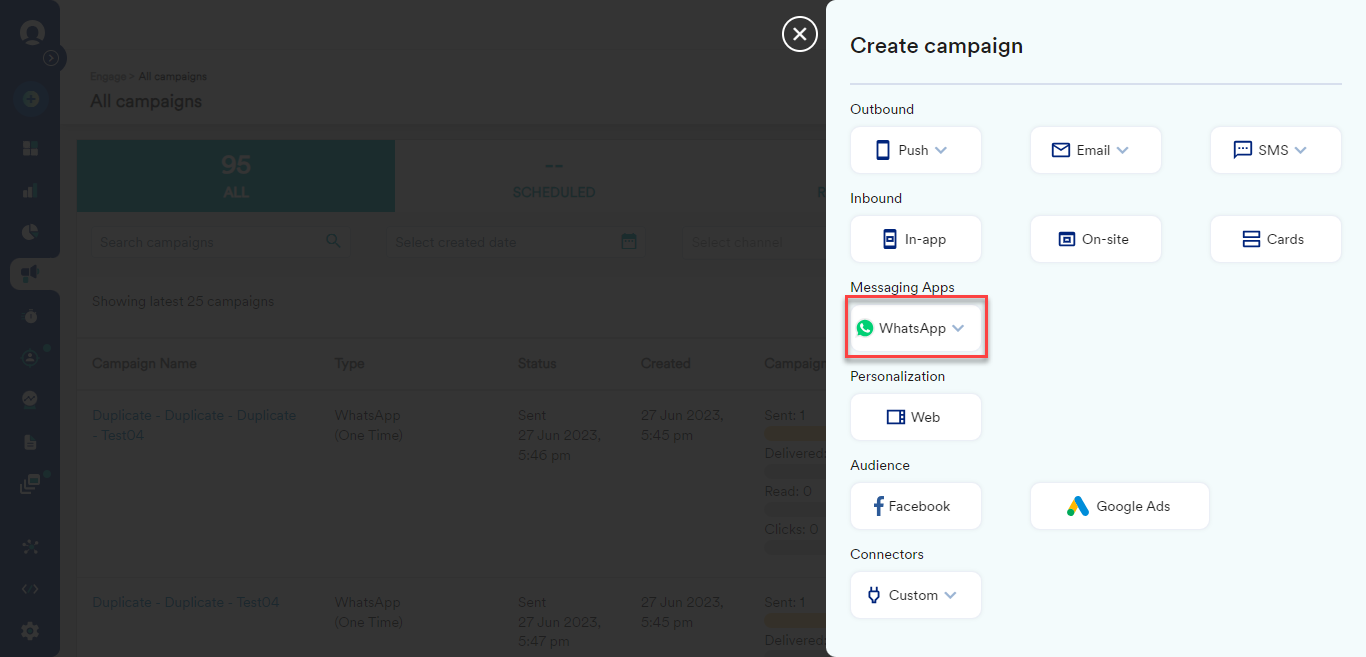
- From the Messaging Apps section, click WhatsApp to expand and view the available options.
The available options appear.
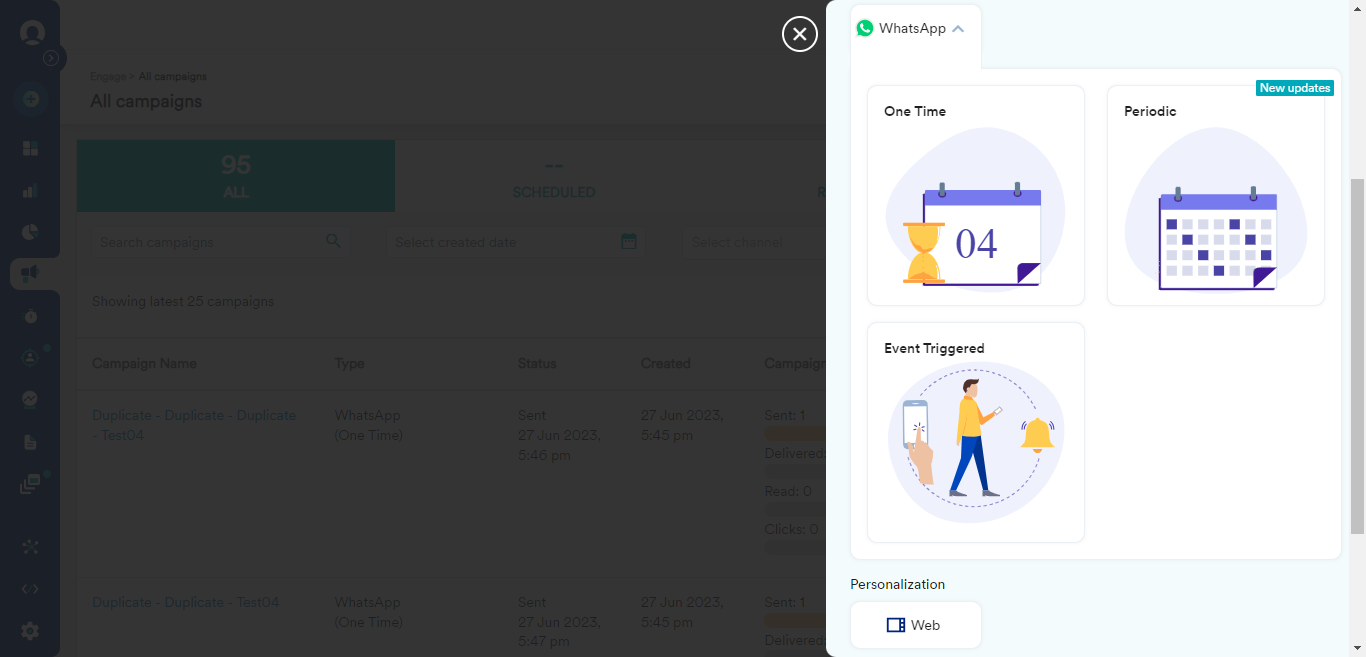
- Select one of the following options:
- One Time - To send messages once. You have the option to select either now or at a scheduled time. For now, let us select One Time.
- Periodic - To send messages regularly at a defined frequency.
- Event Triggered - To send messages that are triggered based on different user action events tracked on the application or server.
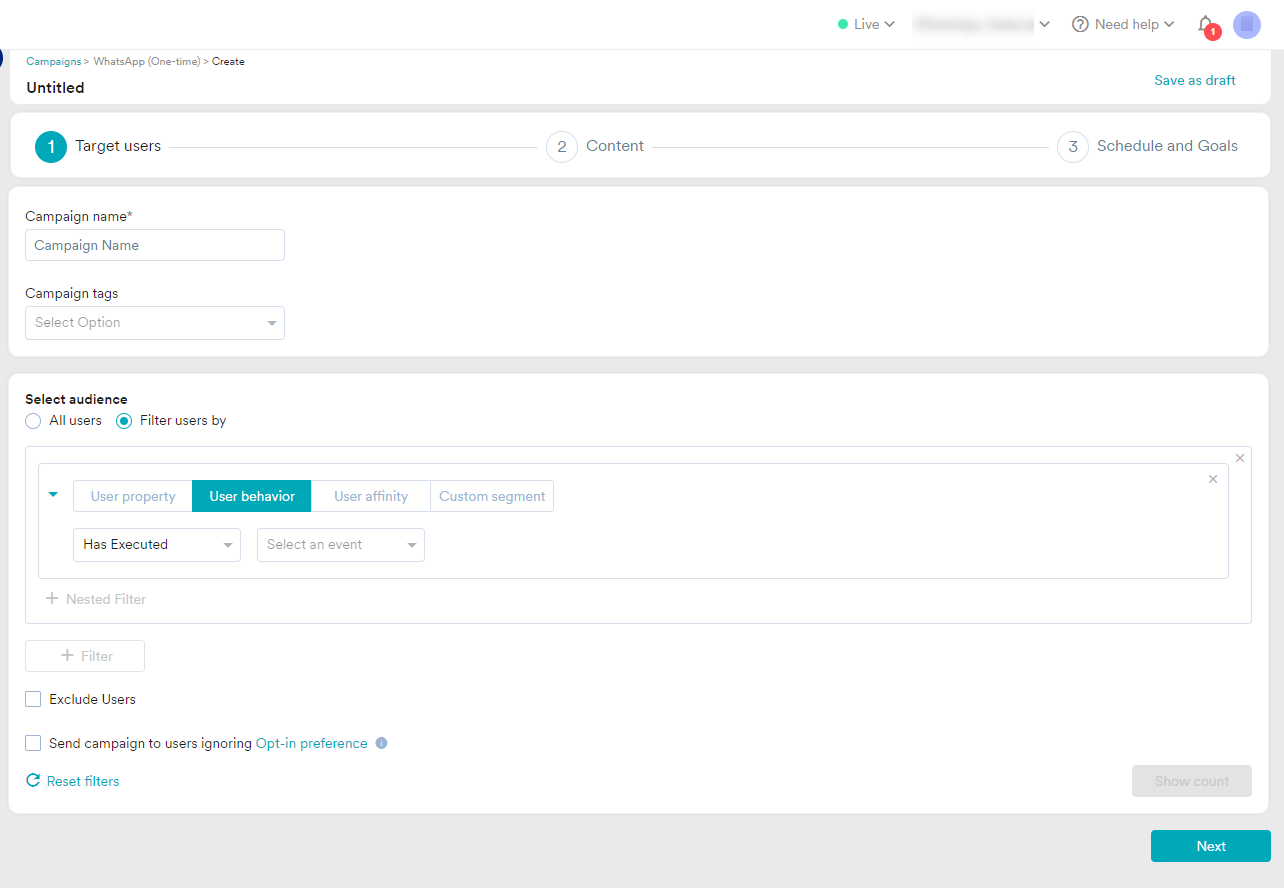
- In Target Users, perform the following steps:
- In the Campaign name field, enter the campaign name. The campaign name should be unique.
- (Optional) The Campaign tags allow you to add more context to your campaigns. Context can be descriptive names or campaign themes such as onboarding, retention, country, all users, and so on. The campaign tags allow you to filter campaigns or identify the behaviors of users who received these campaigns. In the Campaign tags field, click the arrow next to campaign tags, a list of options appears, and then select the campaign tags.
- Select one of the following options from the Select audience:
- All users - To select all the imported users' lists.
- (Default) Filter users by - to filter the users from the imported users' lists. You have the option to filter the users based on User property, User behavior, User affinity, or Customer Segment and then enter the required details.
- Click Show count to verify the recipient numbers. After you click Show count, then the Reachability section appears.
- Verified recipient numbers are reachable or not you can view them in the Reachability section.
- Click Next. The Content field appears.

- In Content, perform the following steps:
- In the Select template section, perform the following steps:
- In the Select sender field, click the arrow next to the Select sender, and then select one of the senders from the configured sender list for Kaleyra.
- In the Select template field, click the arrow next to the Select template, and then select one of the templates from the configured template list for Kaleyra. Based on the selected template the Content section automatically gets updated.
- (Optional) You can test your WhatsApp campaign message instantly before launching the campaign. To send the test message over a number, you must enable Marked as test user for such a number. In the Test Campaign section, perform the following steps:
- Click the arrow next to Select Option and select one of the options from the list. For example, Mobile Number (Registered with MoEngage).
- Based on the selected option, enter the details as required. For example, for Mobile Number (Registered with MoEngage) selected option, enter 9182XXXXXXXX.
- Click Test. The Test campaign stats pop-up appears. Click Done.
- Click Next. The Schedule and Goals field appears.
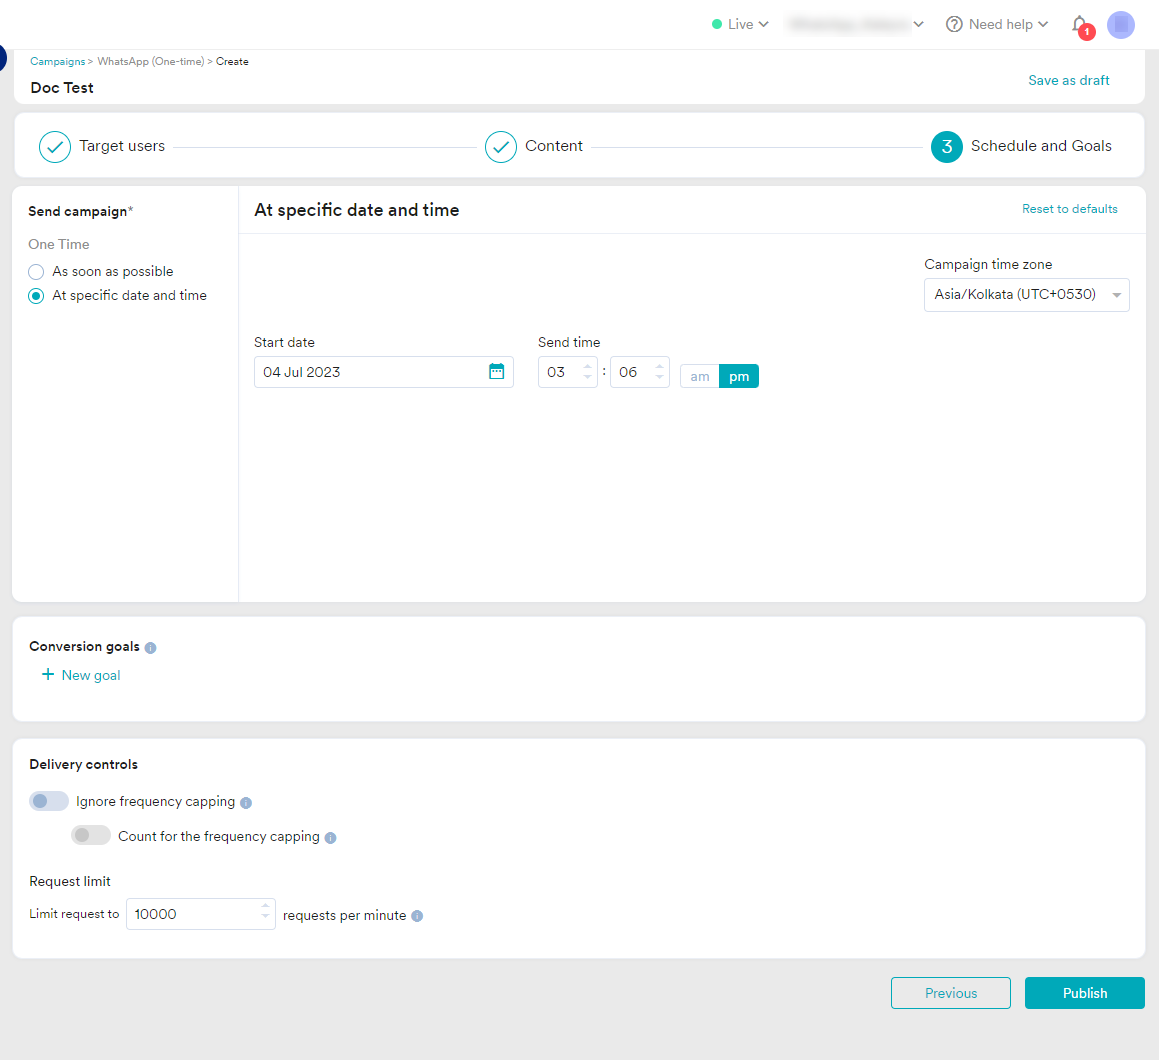
- In Schedule and Goals, perform the following steps:
- From Send campaign, select one of the following options:
- As soon as possible - To trigger the WhatsApp campaign immediately.
- At specific date and time - To trigger the WhatsApp campaign based on the date and time.
- You have the option to add Conversion goals and Delivery controls.
- Click Publish. A confirmation message Are you sure you want to publish this campaign? appears.
- From Send campaign, select one of the following options:
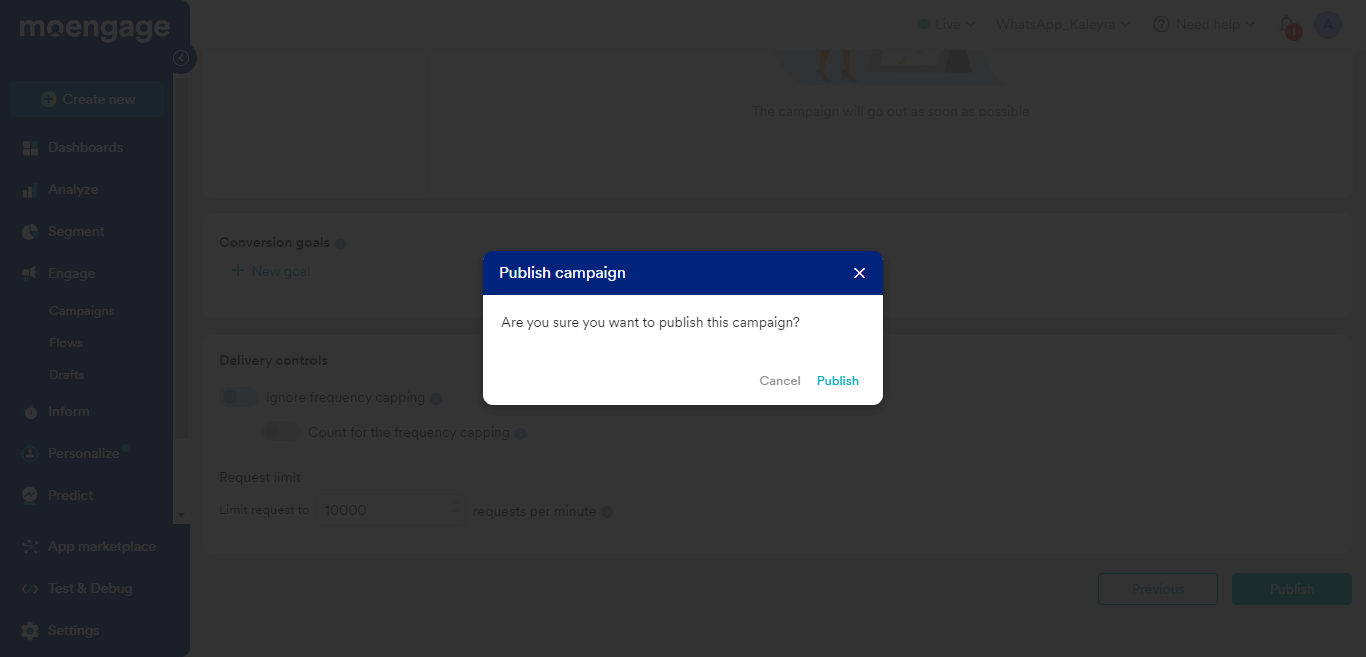
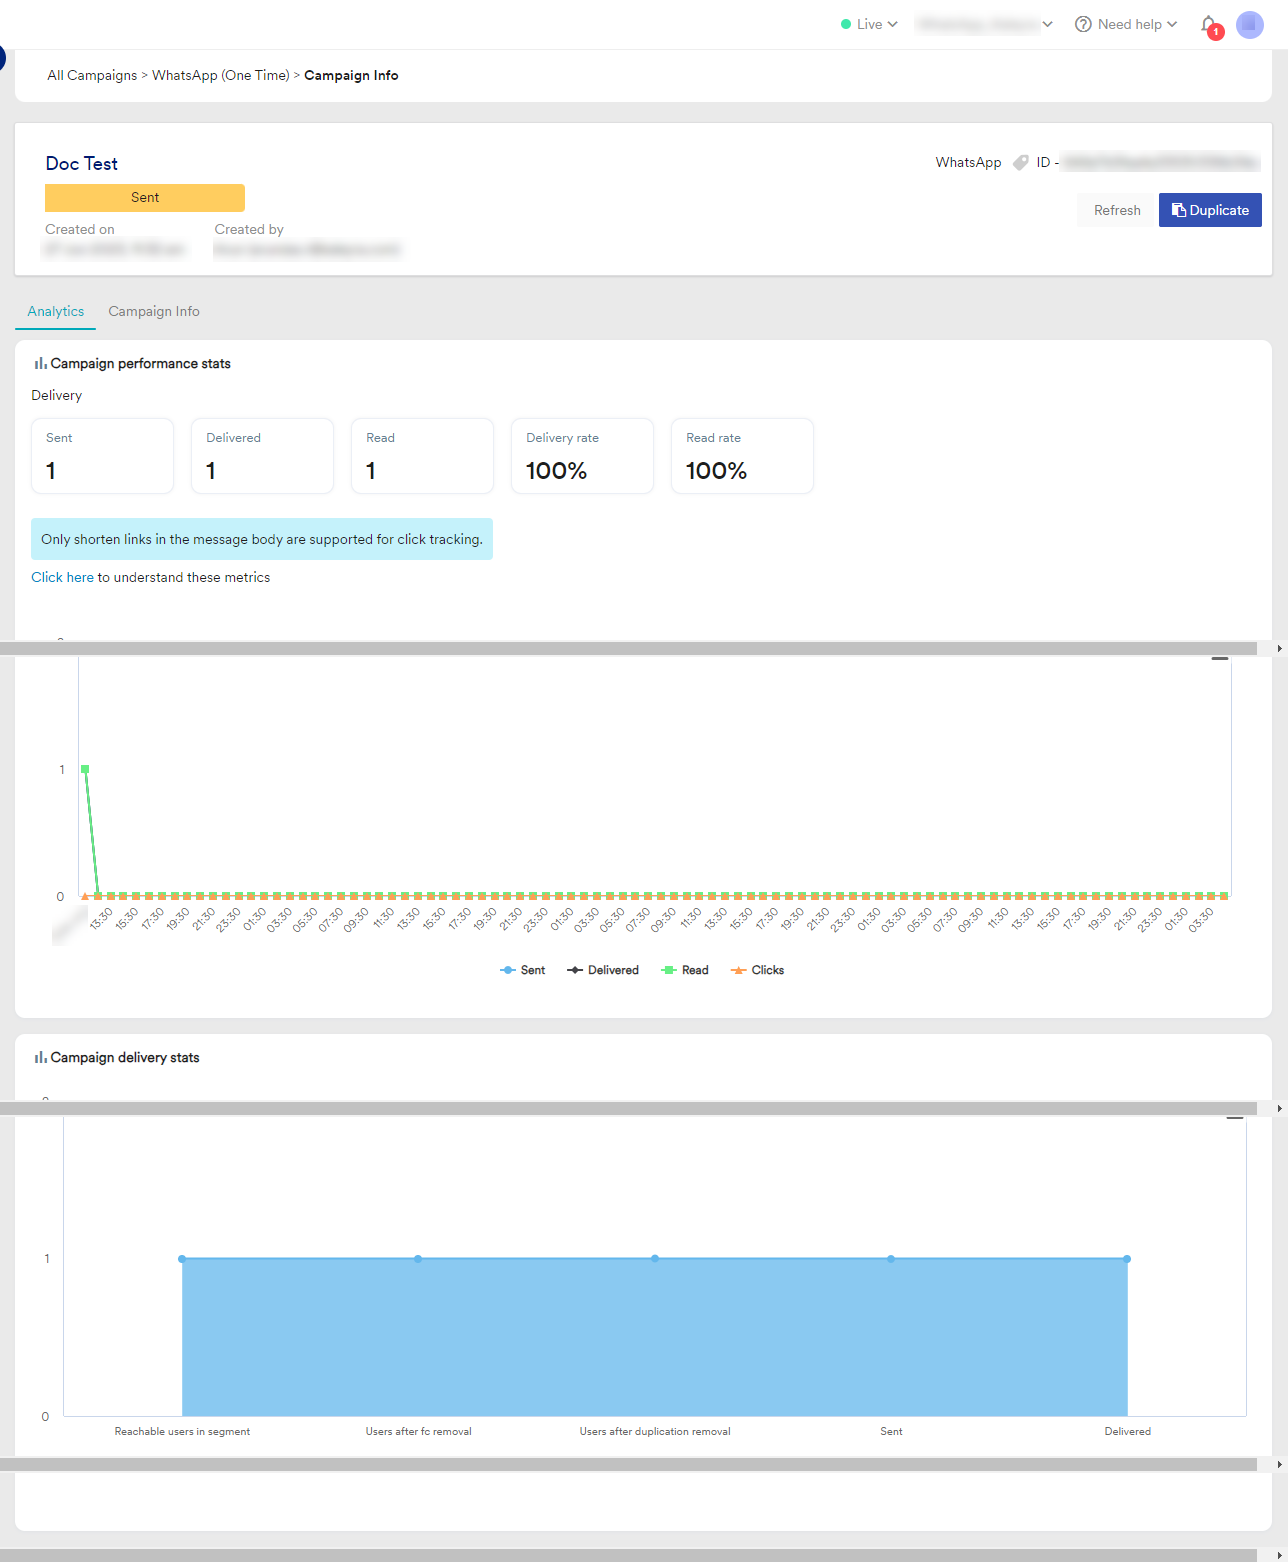
- Click Publish. A confirmation message appears and you will be redirected to the Campaign Info page. You can view the Analytics and the Campaign Info details.
Notes:
- You can click the Refresh button on the right side of the campaign name to update the campaign WhatsApp messages details.
- If the WhatApp template details do not match with the approved WhatsApp template, an error message appears towards the end of the Analysis details.
Updated about 1 year ago
Did this page help you?