Create Chatbot with Advanced Features
You can create and publish chatbot flows with advanced features. It's important to define intents for your advanced chatbot and set up the questions to collect user information.
To create an advanced chatbot, perform the following steps:
- On the Kaleyra.io home page, from the left pane, click Chatbot.
The Overview page appears.
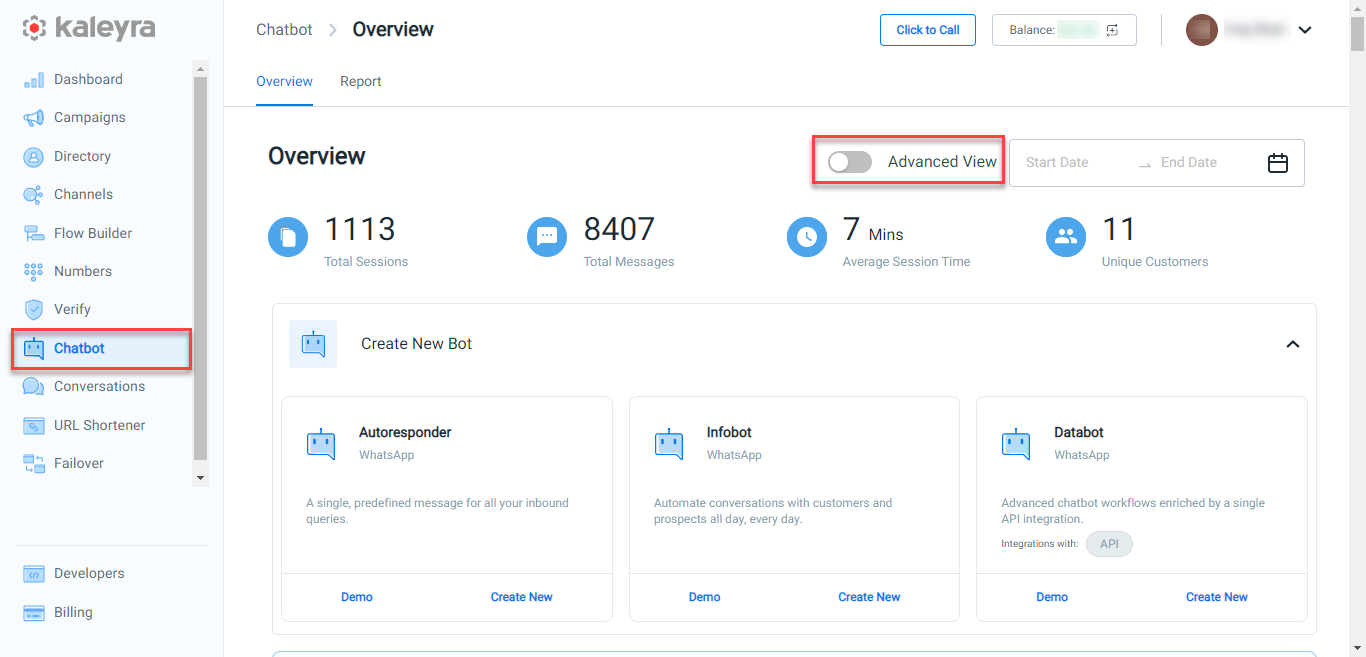
- Click the toggle button to enable the Advanced View.
The Chatbot Overview page appears
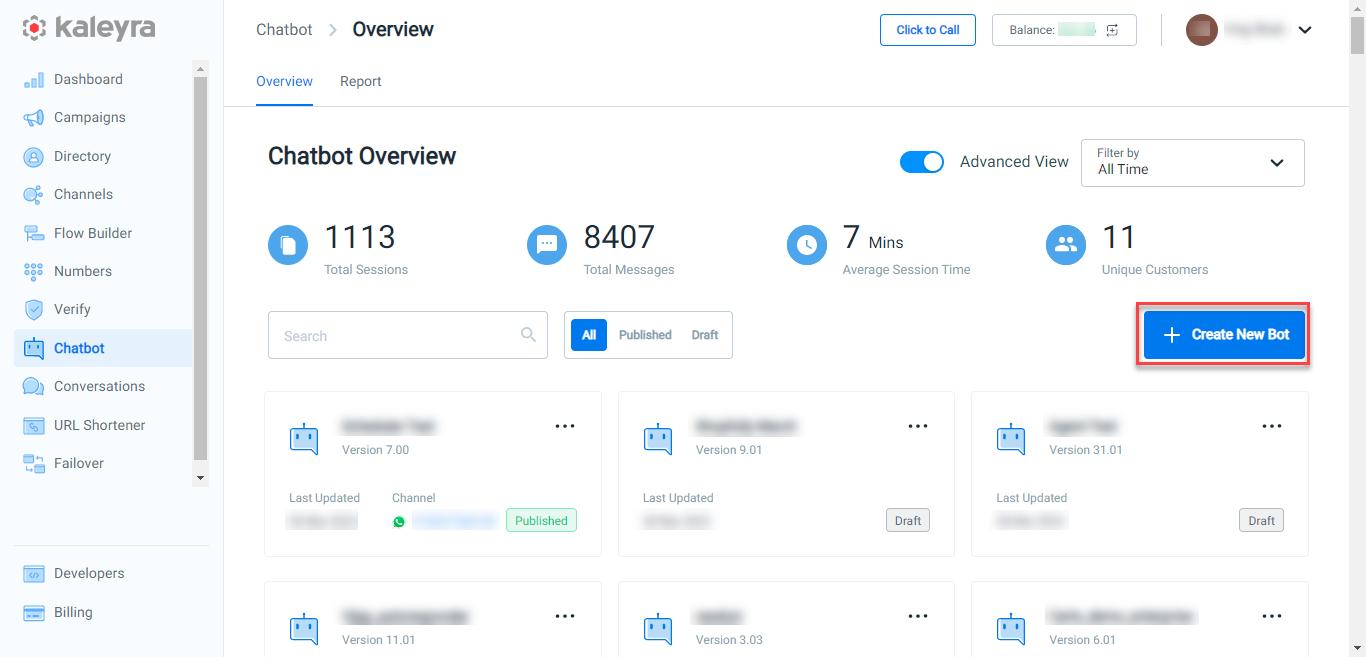
- Click Create New Bot.
The Create New Chatbot pane appears on the right side of the page.
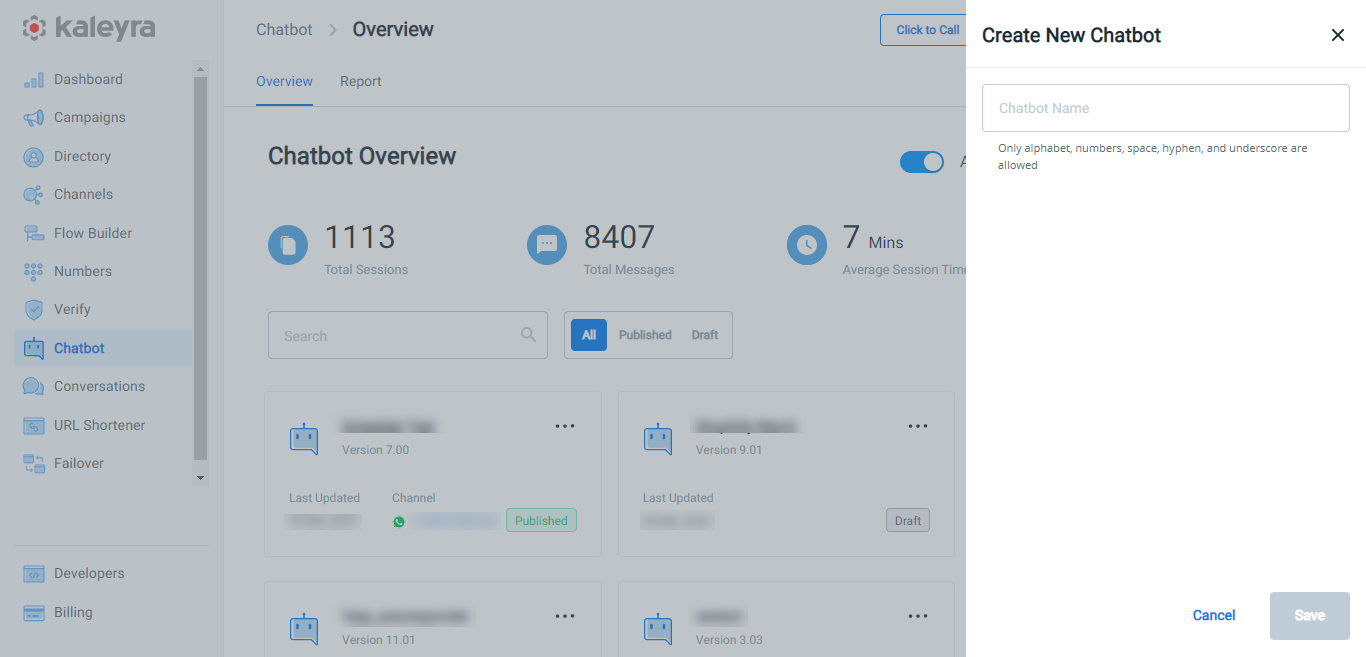
Note:The chatbot name can only include alphabets, numbers, spaces, hyphens, and underscores.
- In the Chatbot Name field, enter the chatbot name.
- Click Save.
The chatbot page to add the new questions appears.
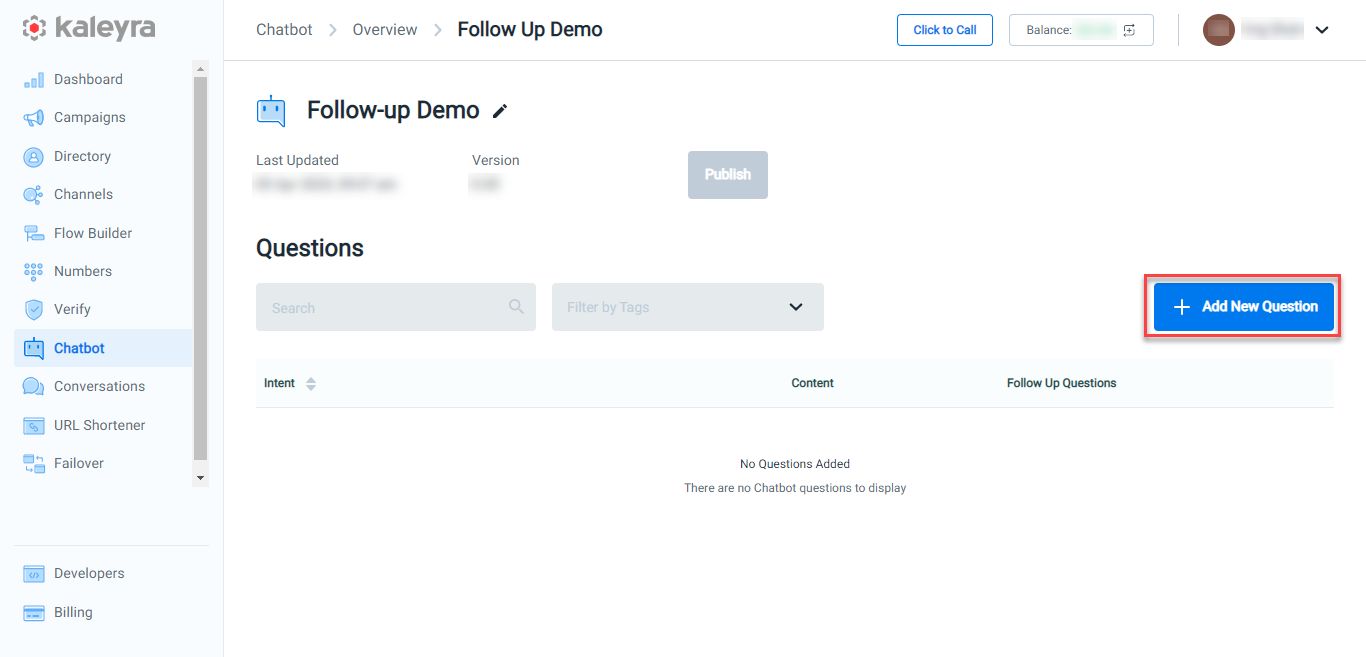
- Click + Add New Question.
The Add Question page appears.
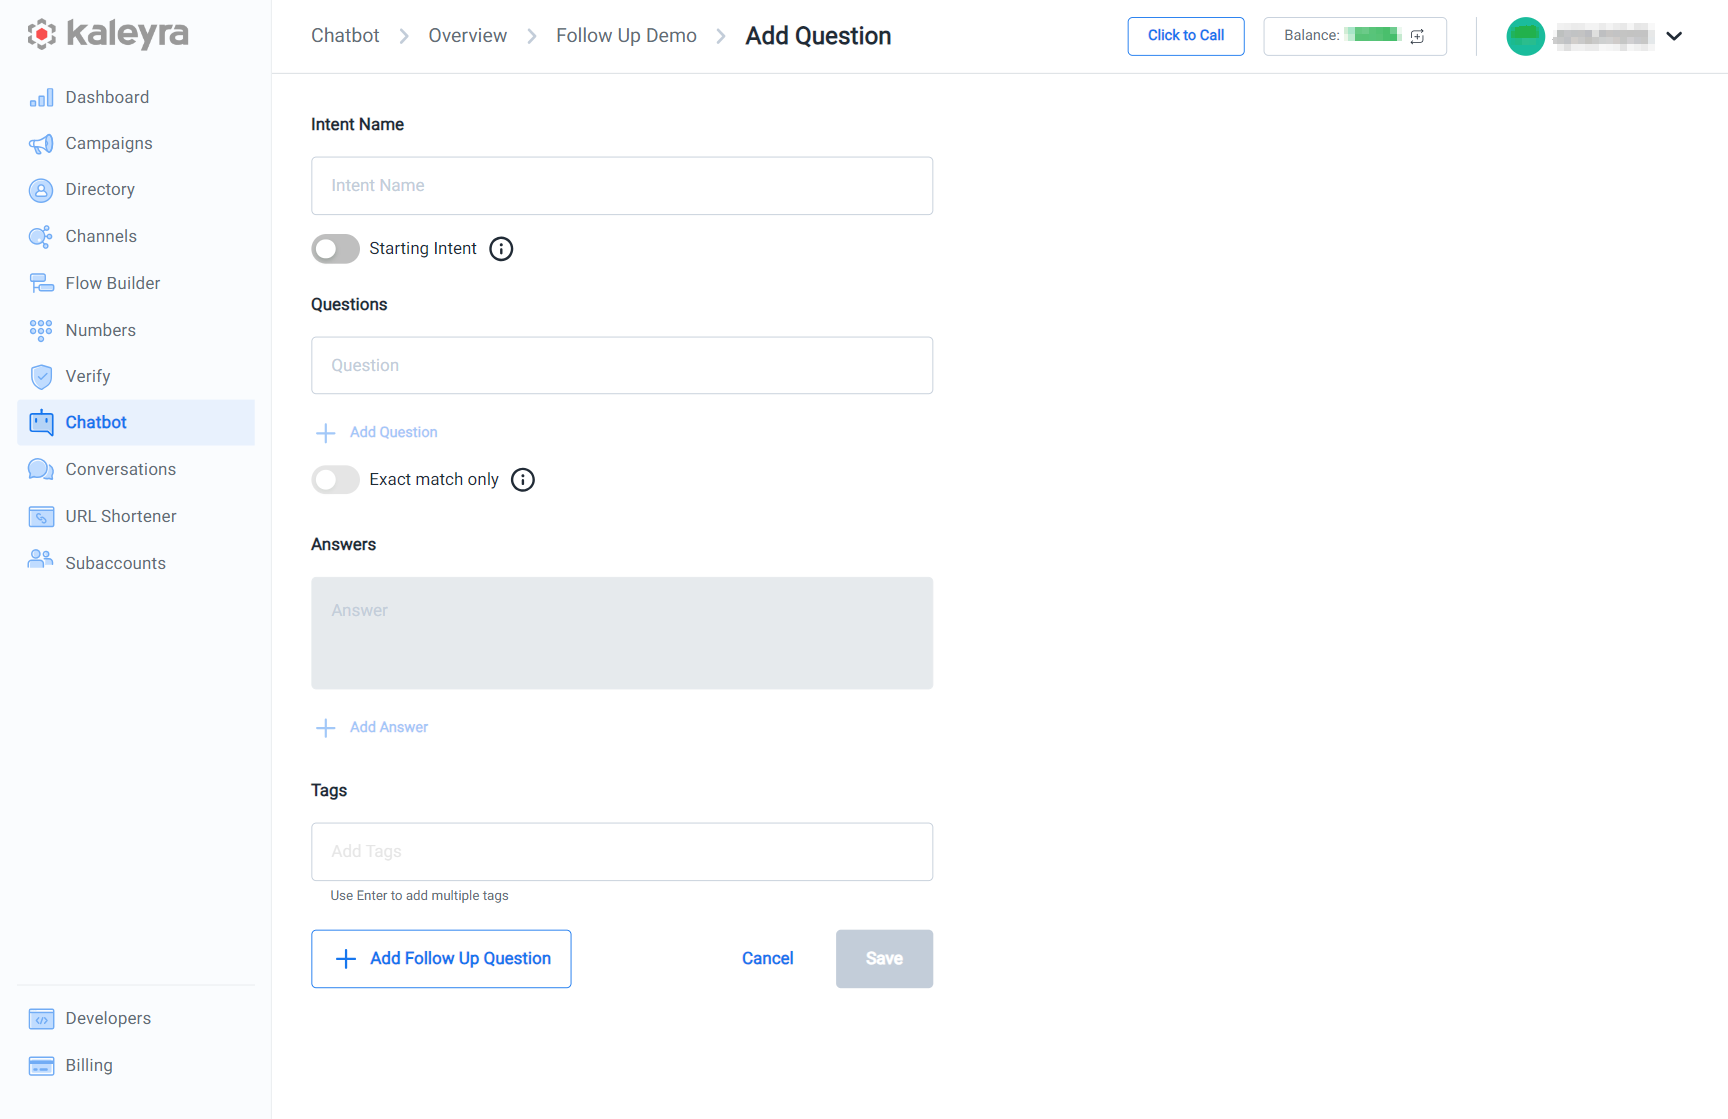
- Perform the following steps:
- In the Intent Name field, enter the intent for your chatbot. An intent is the goal that the end user has in mind when typing a question or comment. The intent name is only for your reference and will not be visible to the end users.
- In the Question field, enter the question that you are expecting the end user to send in relation to that intent. You have the option to edit the question as well as add new questions. To add more questions click + Add Question, and enter your questions.
- In the Answer field, configure the message you want the bot to send when the intent is triggered. You have the option to edit the answers as well as add new answer. To add more answers click + Add Answer, and enter your answer. When multiple answers are available, each time the intent is triggered, the bot will randomly choose one to send.
- In the Tags field, enter the tags you wish to associate with the Intent. Tags can help you quickly find an intent from the intent list. You can enter more than one tag by pressing ENTER after each tag.
Notes:
- Toggle Starting Intent option if you want the intent to always activate in response to any user input at the beginning of a Chatbot session. After the Starting Intent is triggered for the first time, it behaves like any other intent. Moreover, when an intent is flagged as the Starting Intent, it is possible to store the initial user input in a named variable when it is first triggered. This enables the use of the initial incoming message to split the flow later. Each bot can have only one Starting Intent.
- Toggle the Exact match only option in the Questions subsection if you want the intent to activate only when the entire user message matches one of the questions set in the intent. You have the option to choose between case-sensitive and case-insensitive matching.
- You can add more than one intent in a chatbot.
- If you add more than one intent then the chatbot will try to match the end user's questions with one of the intents (through Kaleyra's AI-based automated system) and answer accordingly.
- Select one of the following:
- Add Follow Up Question - To add follow-up questions in the chatbot. For more information see, Create Follow-up Questions.
- Cancel - To cancel the drafted intent.
- Save - To save the drafted intent. You can add follow-up questions to any intent. For more information see, Create Follow-up Questions.
Updated 3 months ago