Publish an Advanced Chatbot
After you have created a new advanced chatbot flow or you have unpublished an existing advanced chatbot flow, you can publish it, while publishing it, the following options are provided:
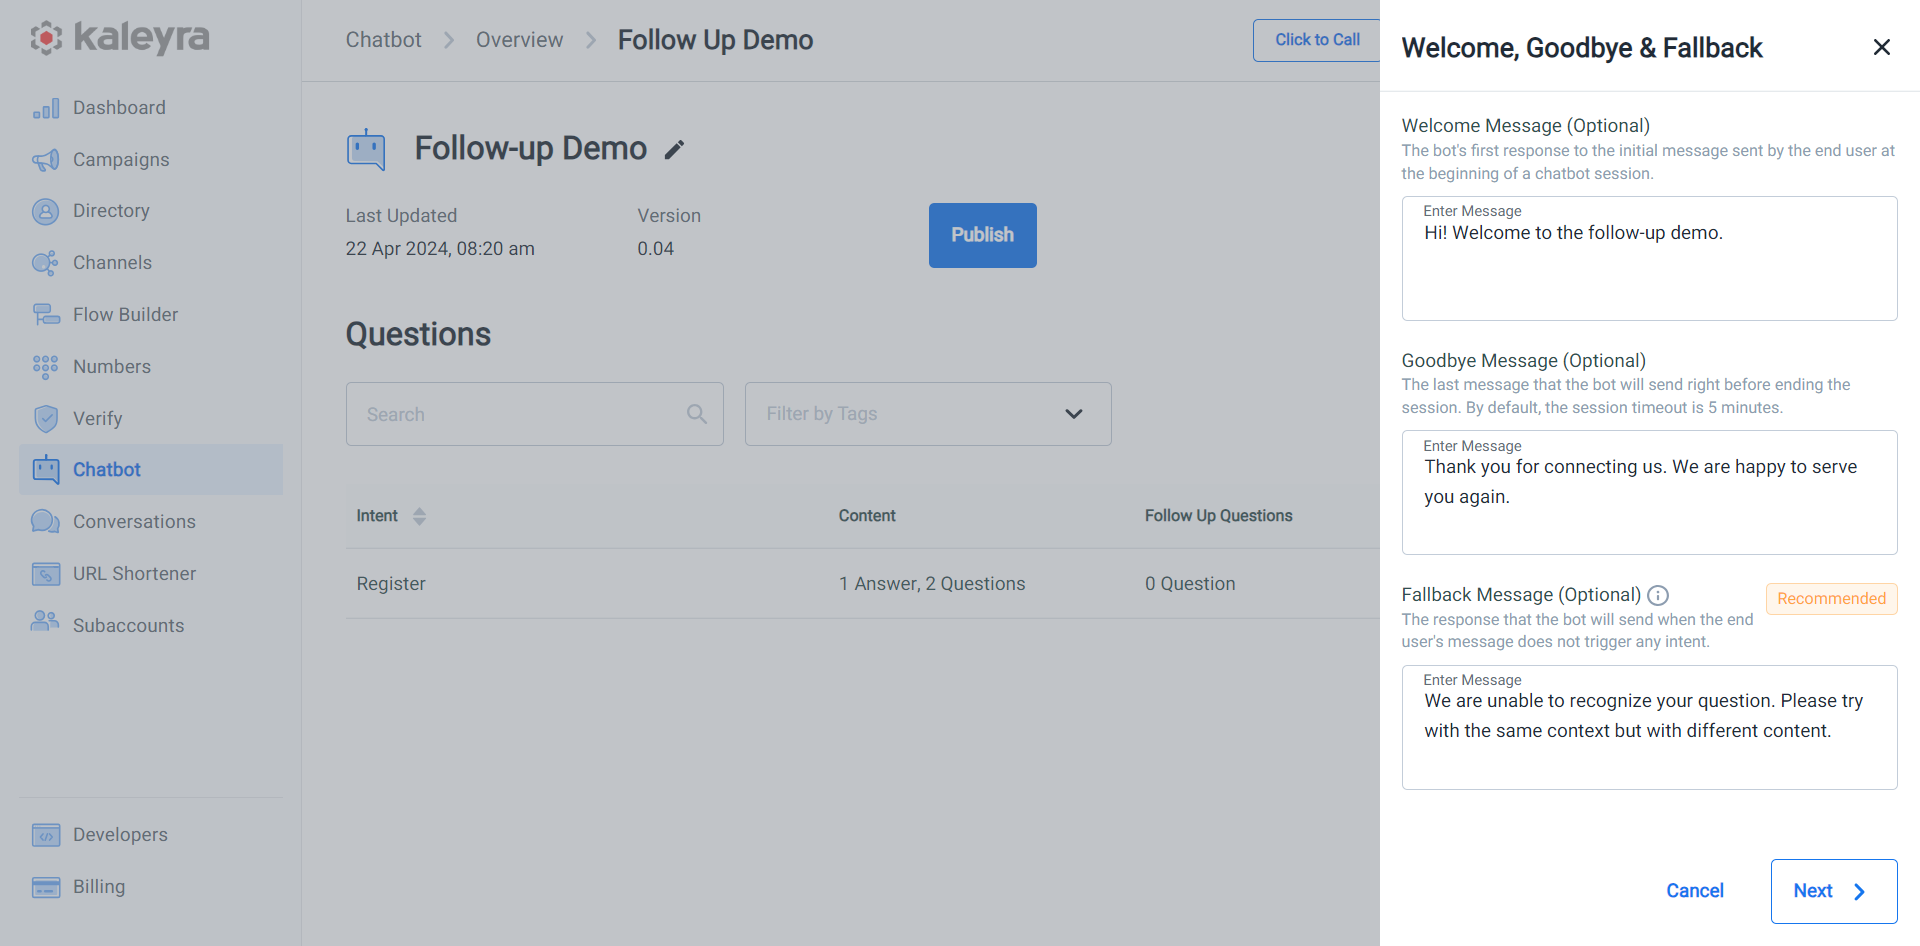
- Edit the utility messages (Welcome Message(Optional), Goodbye Message(Optional), and Fallback Message (Optional)).
- Change the senders' numbers.
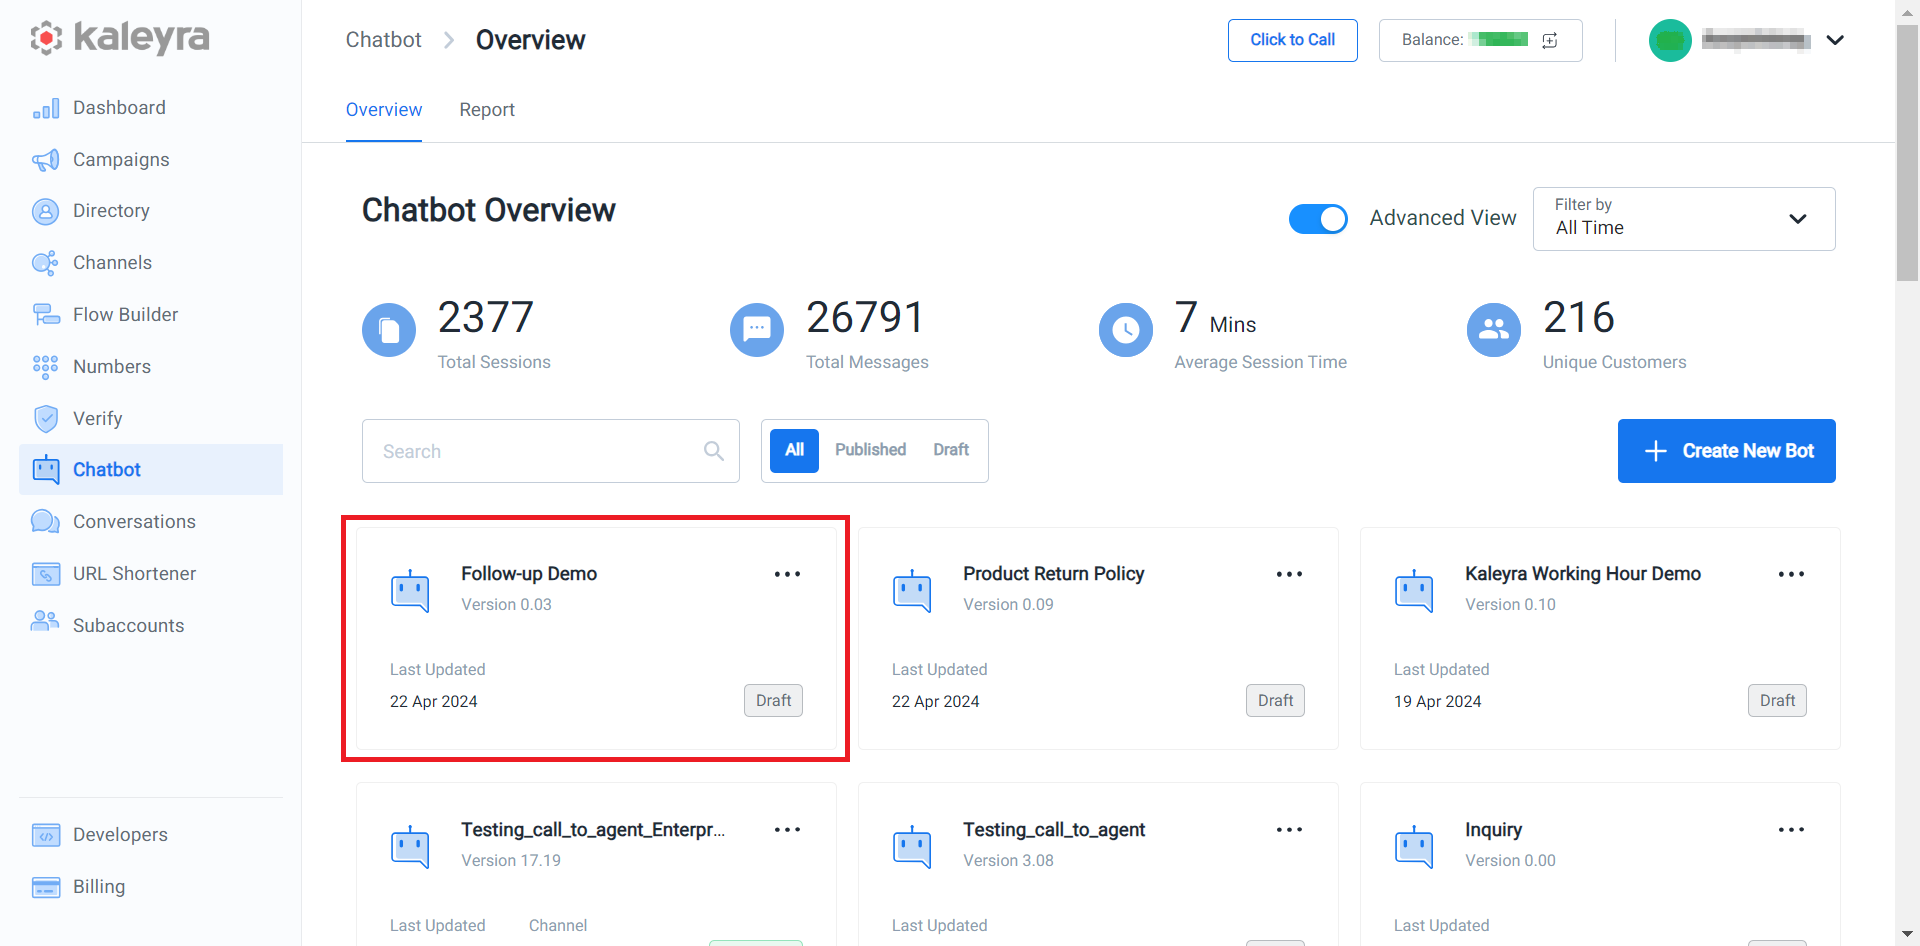
Note:You can also publish the advanced chatbot flow from the Overview page. Hover over the unpublished Advanced chatbot flow, click the ellipsis, and a list of available options appears. Select the Publish Chatbot option and then follow the instructions from step 2 of this section.
To publish an advanced chatbot, perform the following steps:
- From the Chatbot's Overview page, click and open the advanced chatbot flow you want to publish.

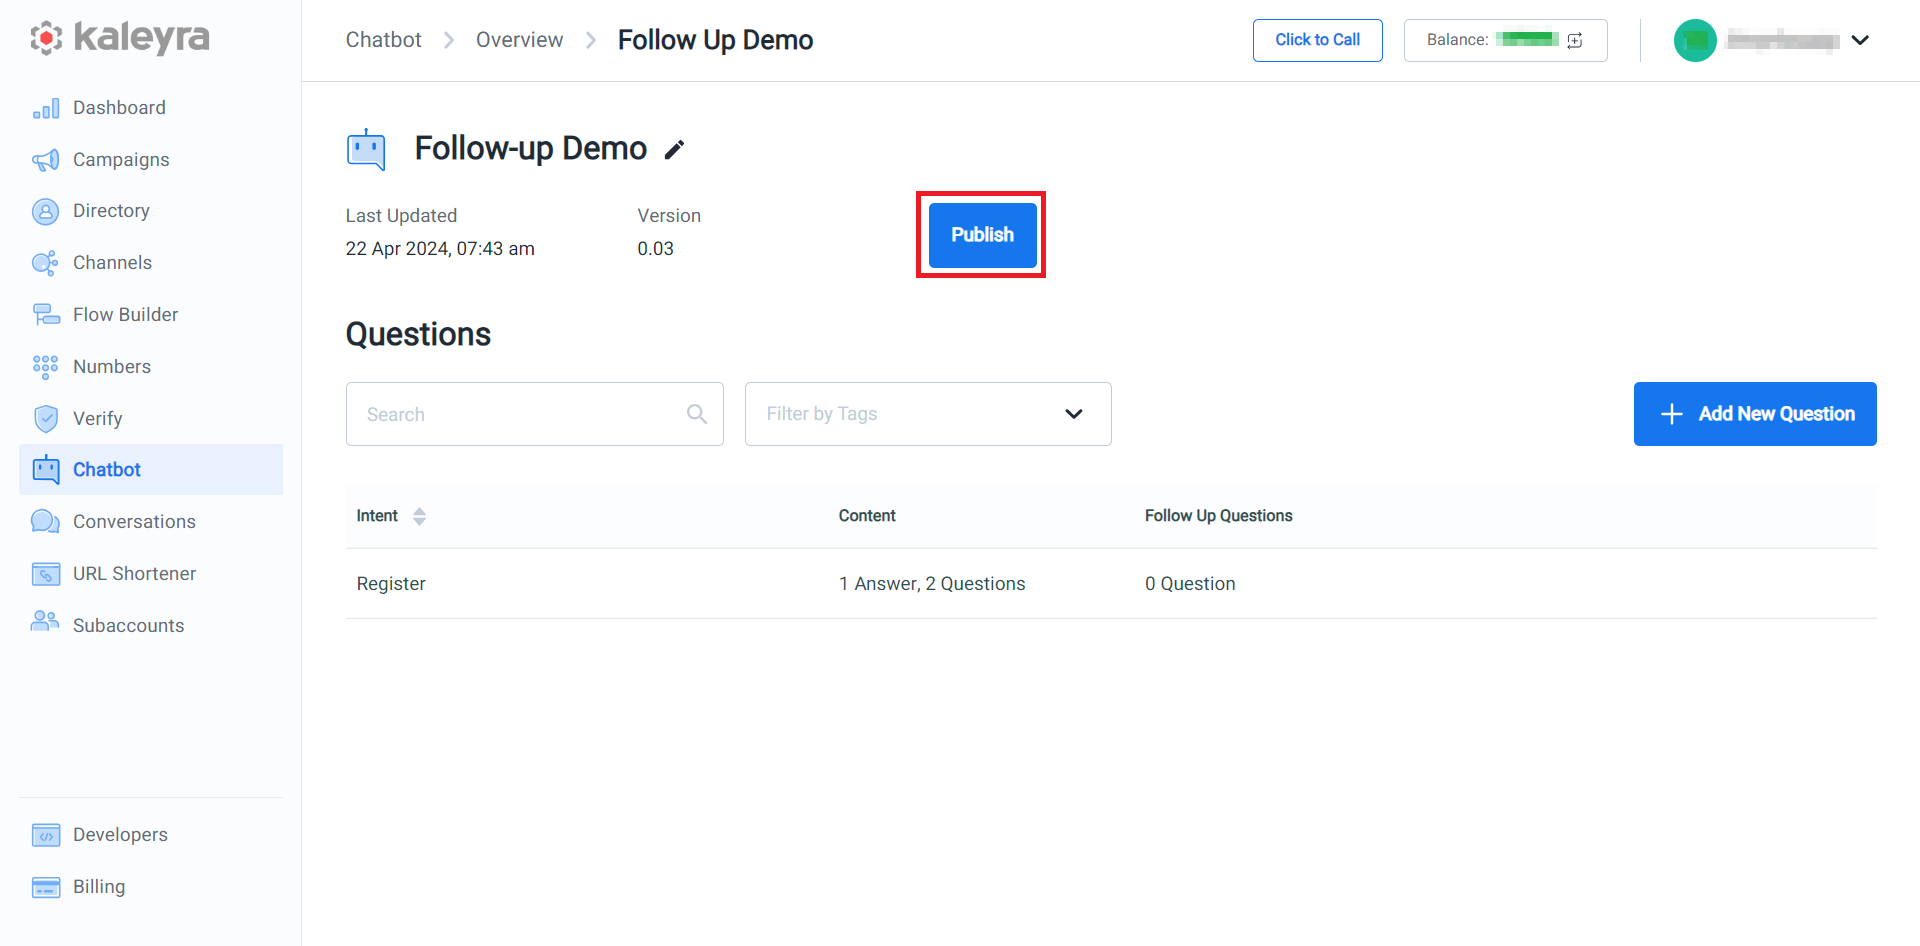
The Advanced Chatbot details appear.

- Click Publish.
The Welcome, Goodbye & Fallback pane appears on the right side of the page.

- If you want to edit the message, click the field edit the message and then click Update.
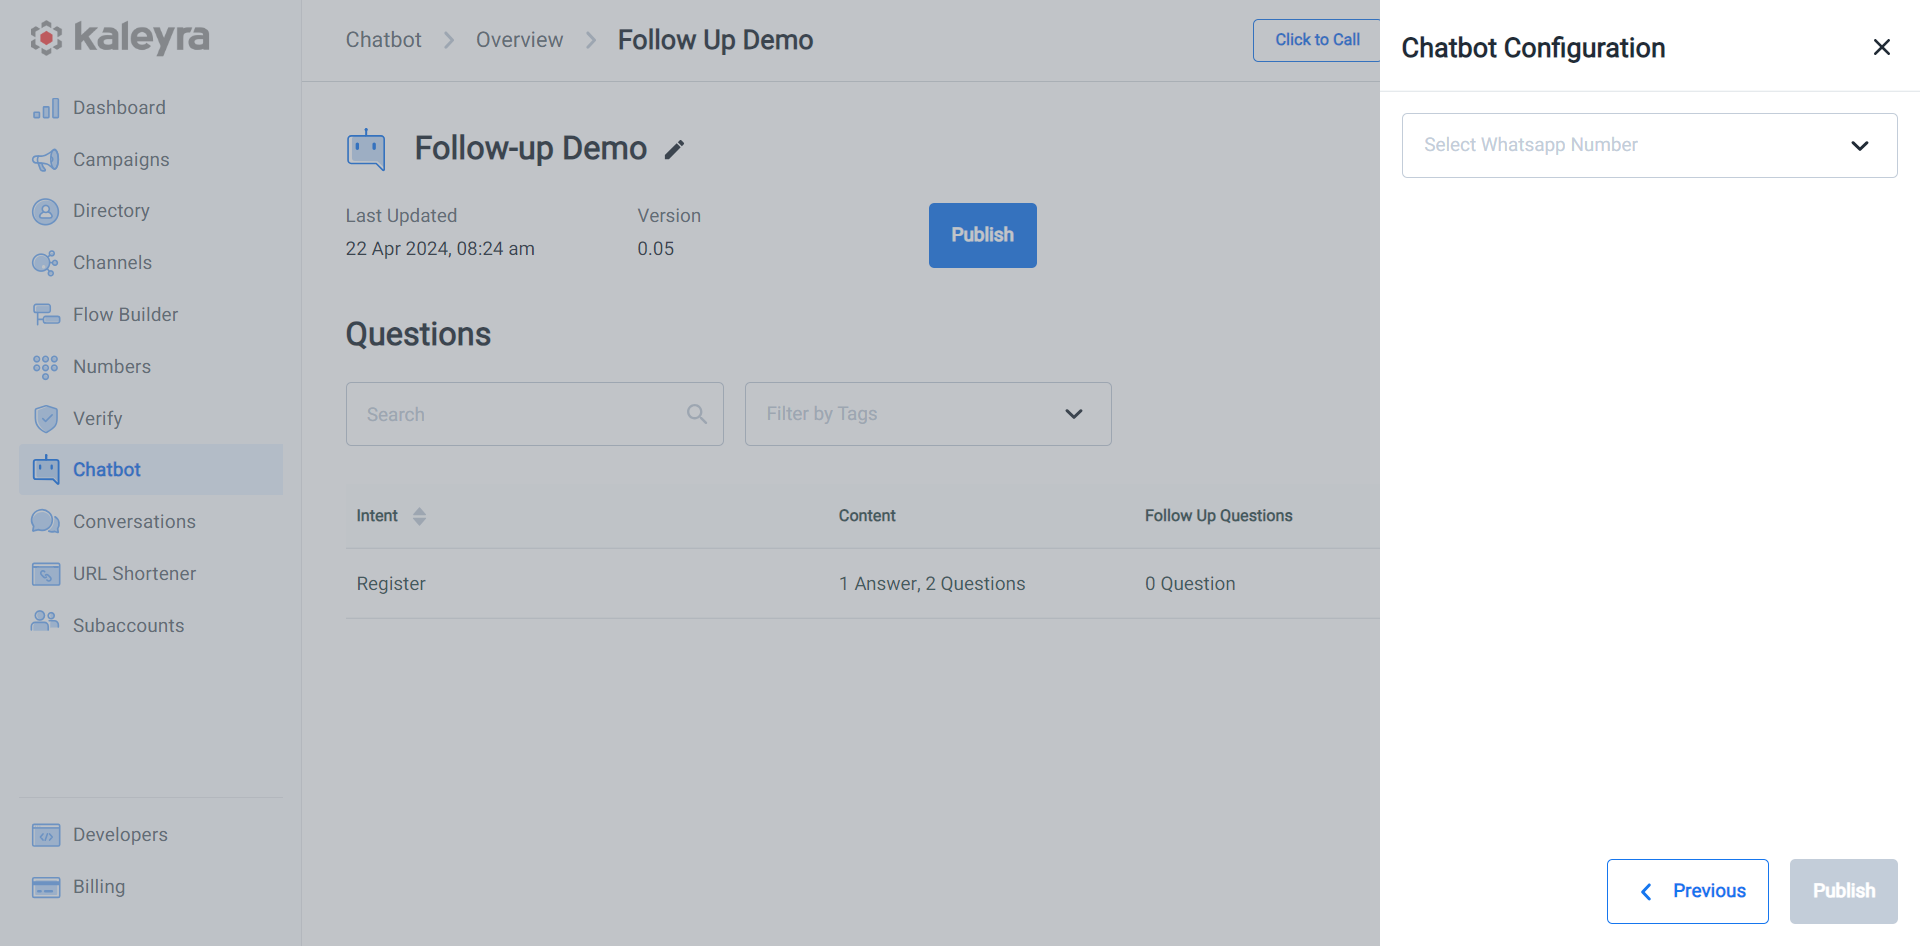
The Chatbot Configuration appears on the right pane of the page.

- In the Chatbot Configuration pane, click the arrow in the Select WhatsApp Number field, and a list of approved WhatsApp number list appears. Select the sender number from the dropdown field. This is the number to which your advanced chatbot will be connected. For more information about how to add a WhatsApp number, see Adding WhatsApp Number.
- Click Publish.
Updated 7 months ago
