Import Tags for your Contacts in Bulk
Import tags allow you to add tags to existing Directory contacts in bulk. This is achieved by exporting the existing Directory contact into a .csv file, adding a new Tags column, and re-uploading the updated .csv file into the Directory.
The following sections explain the procedure of downloading the .csv file from kaleyra.io, updating the tags for contacts, and then uploading the .csv file to update the tags for contacts.
Prerequisite:
- The tags values that you want to add via bulk import must already exist or be created first in Directory > Tags. For more information on how to create tags, see Tags.
Notes:
- Tags are case-sensitive. It is recommended to use all lowercase letters to mitigate any human error.
- All tags must be created in the Directory before being used in a .csv file import. Any non-existing tags used in a file will not be mapped to the Directory service and therefore, will not be mapped to the associated number.
This topic contains the following sections:
- Download and update the tags for contacts
- Upload the updated tags for contacts
- Filter contacts based on tags
Download and update the tags for contacts
You can download the .csv file containing contact details and then update the tags for the contacts in bulk.
To download and update the tags for contacts, perform the following steps:
- Sign in to your Kaleyra.io account.
- From the left menu bar, click Directory.
The Contacts page appears.
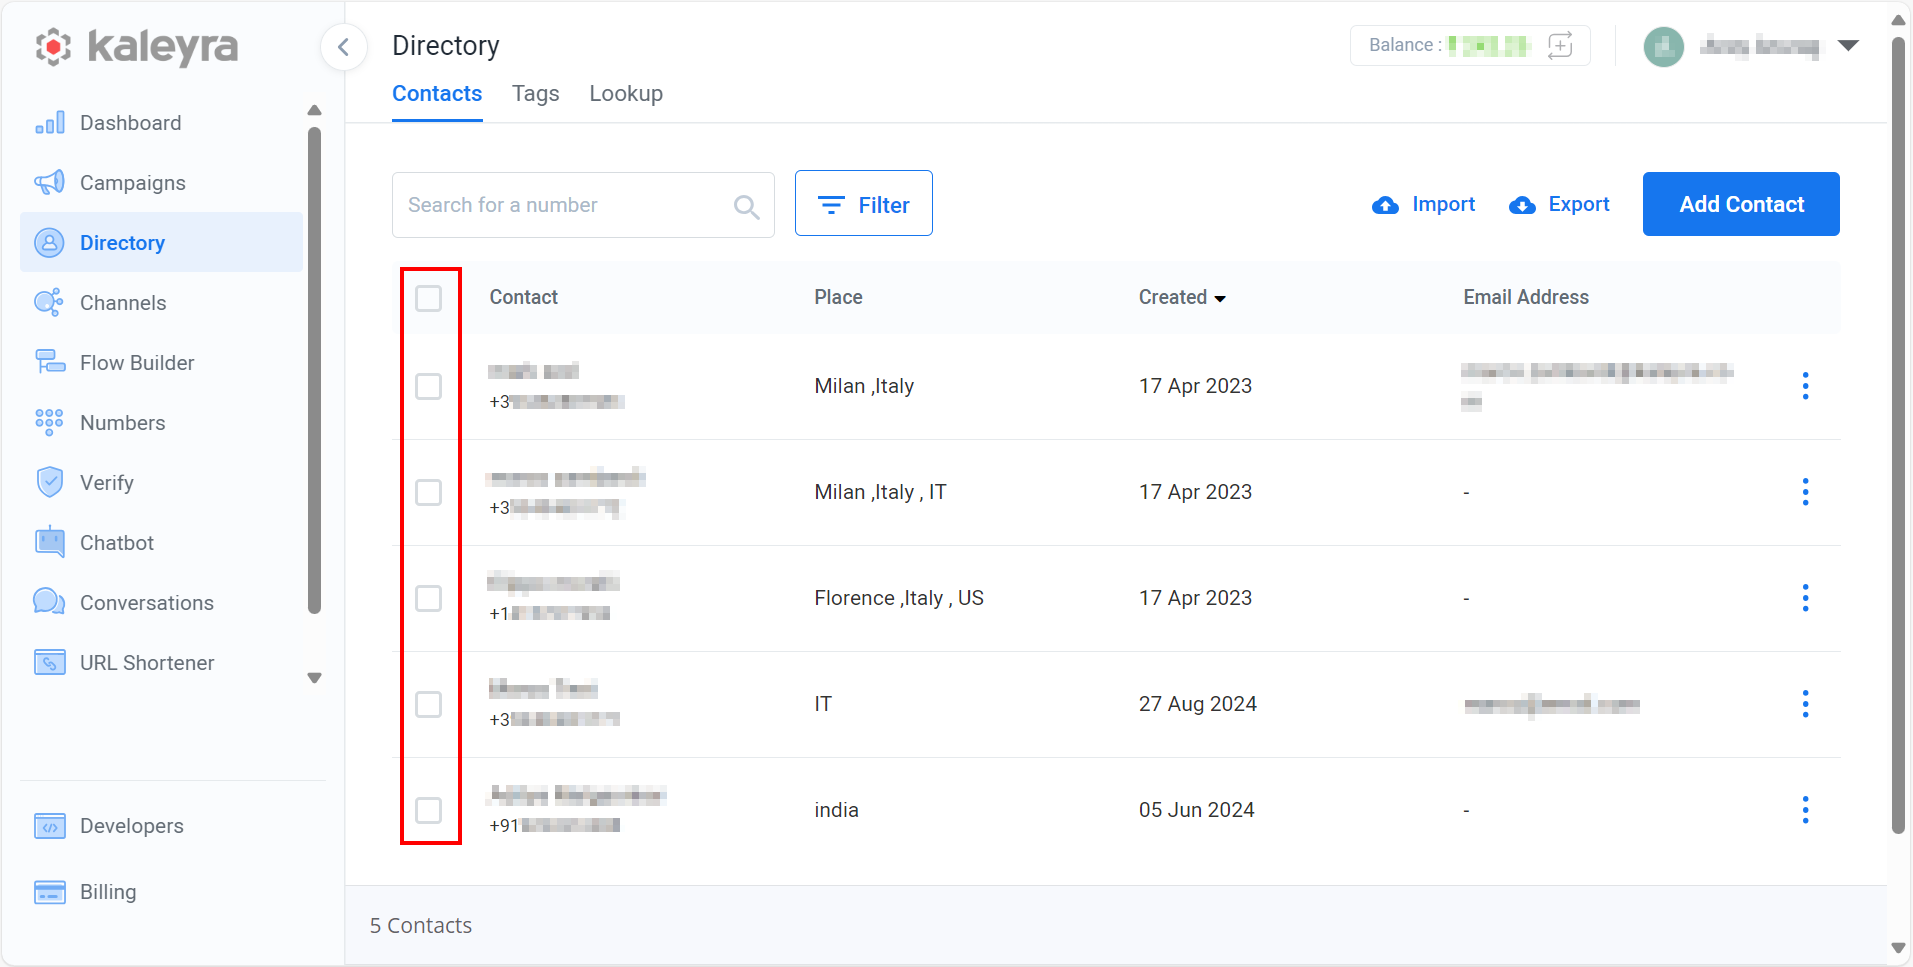
- Select the contacts for which you want to add the tags. If you want to select all the contacts listed on the page, select the checkbox before the Contact column name.
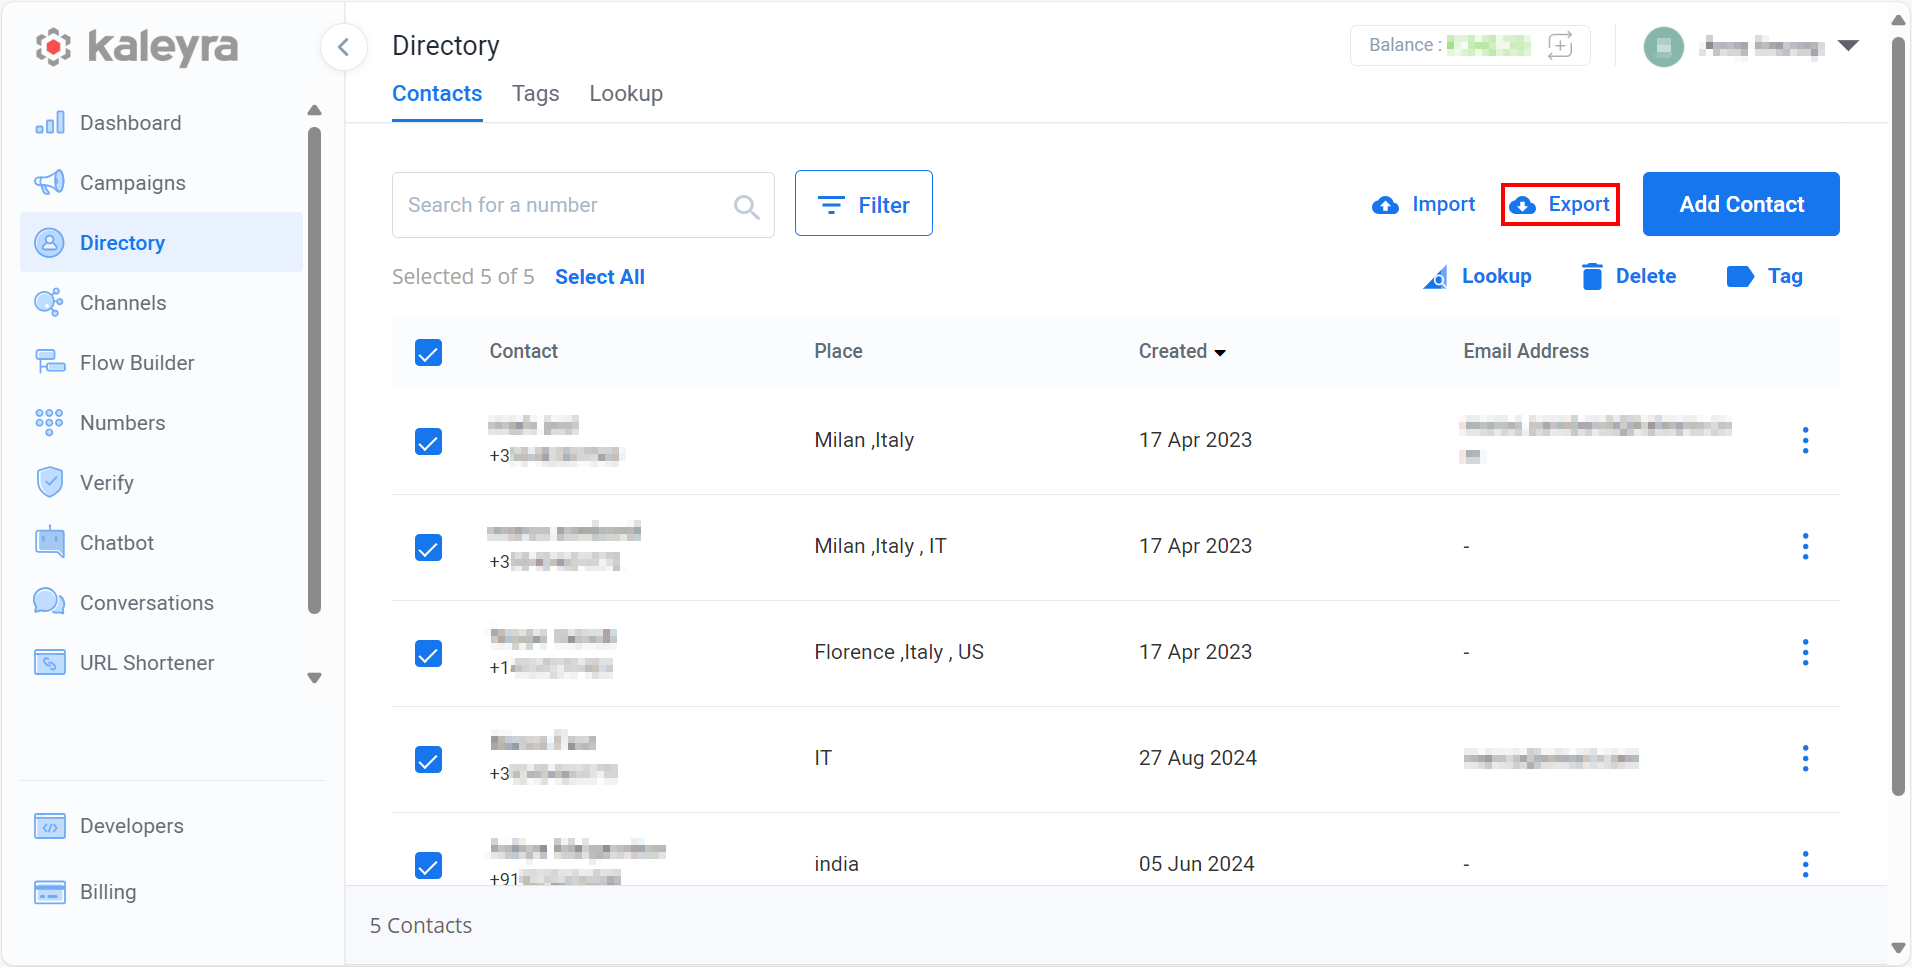
- Click the Export. The file gets downloaded in the Downloads folder.

- Open the downloaded file and add a column with the column heading
tags.

- Update the tags for the contacts. The rows in the tags column can have multiple tag values using comma-separated values. In this case, test-tag and demo tags have been used.
- Save the .csv file with the updated tags.
Upload the Updated Tags for Contacts
You can upload the .csv file with the updated tags for your contacts and then the tags specified in the file will be added to the related contacts.
To upload a file with the updated tags, perform the following steps:
- Sign in to your Kaleyra.io account.
- From the left menu bar, click Directory.
The Contacts page appears.
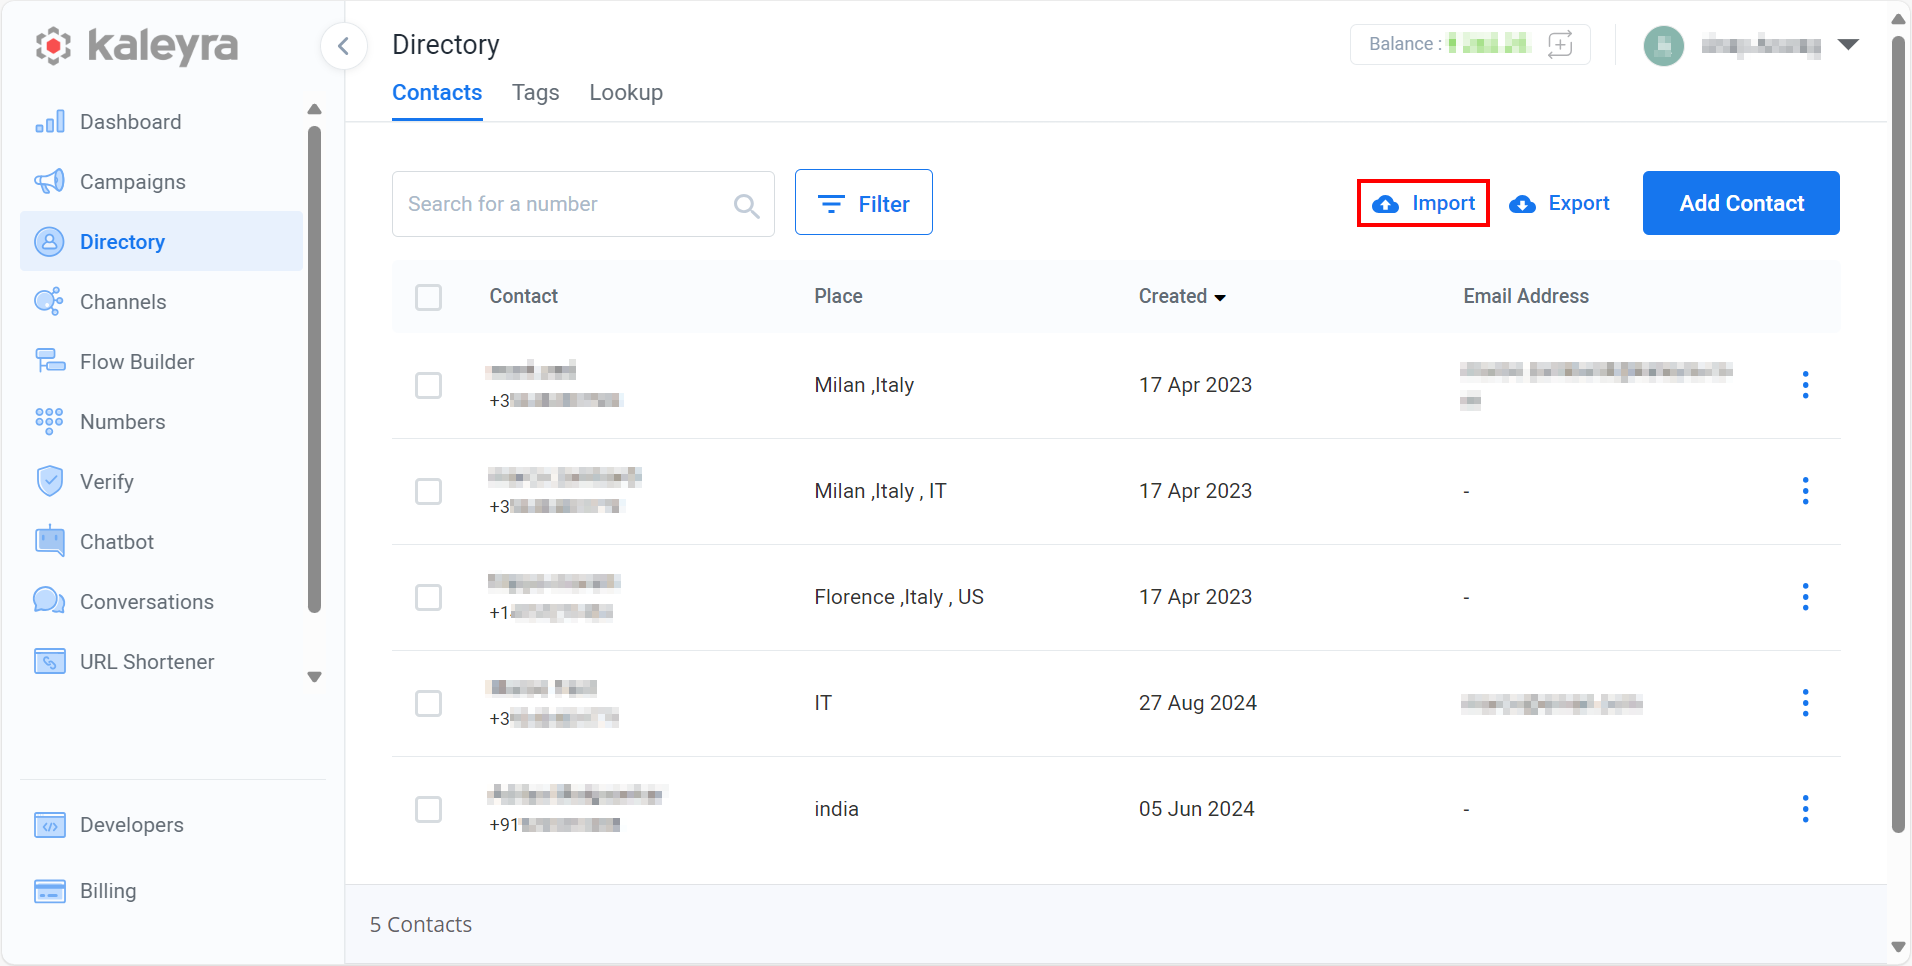
- Click the Import.
The Import Contacts pop-up appears.
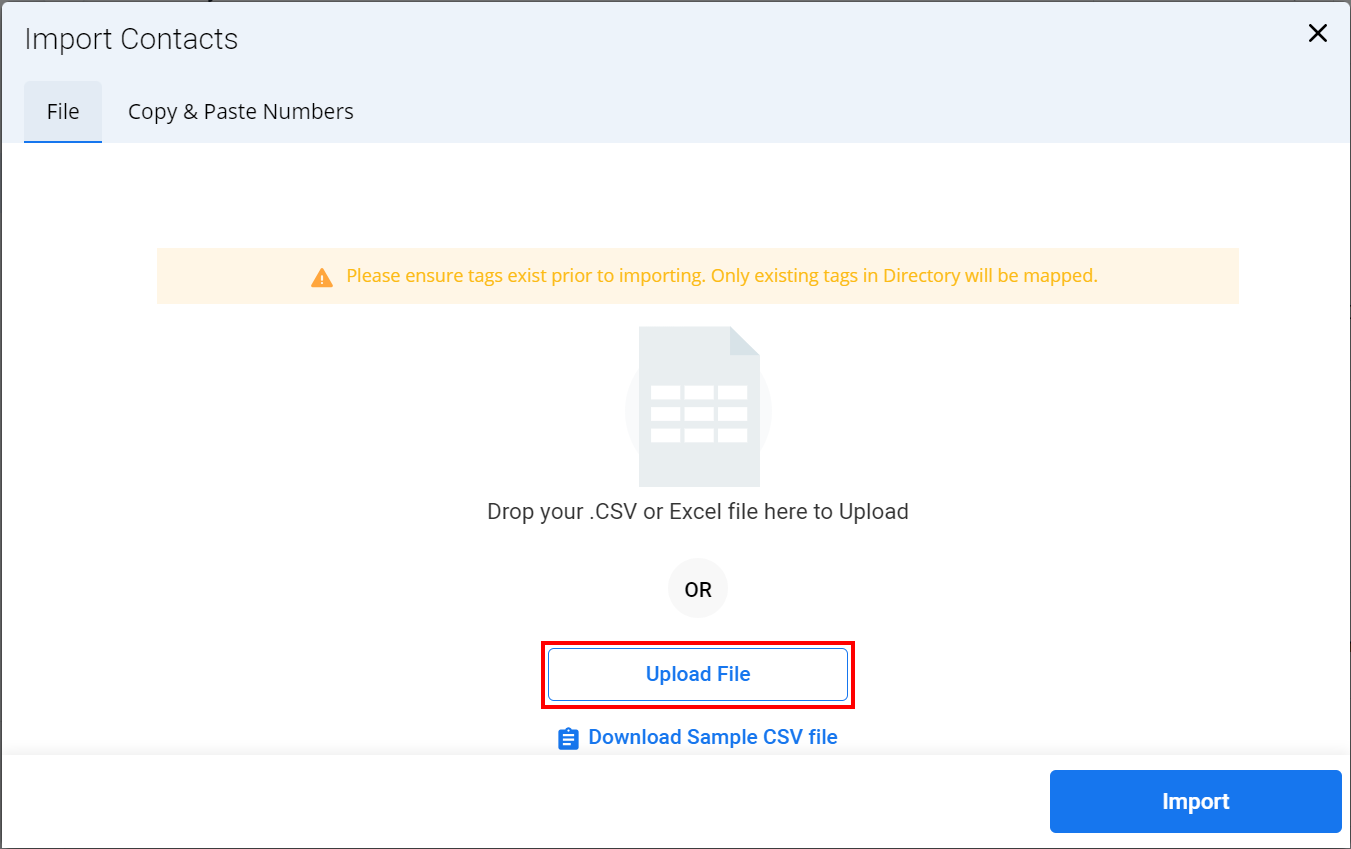
- Click the Upload File and select the updated file.
The confirmation message File Uploaded Successfully appears with the number of columns, contacts, and duplicate counts.
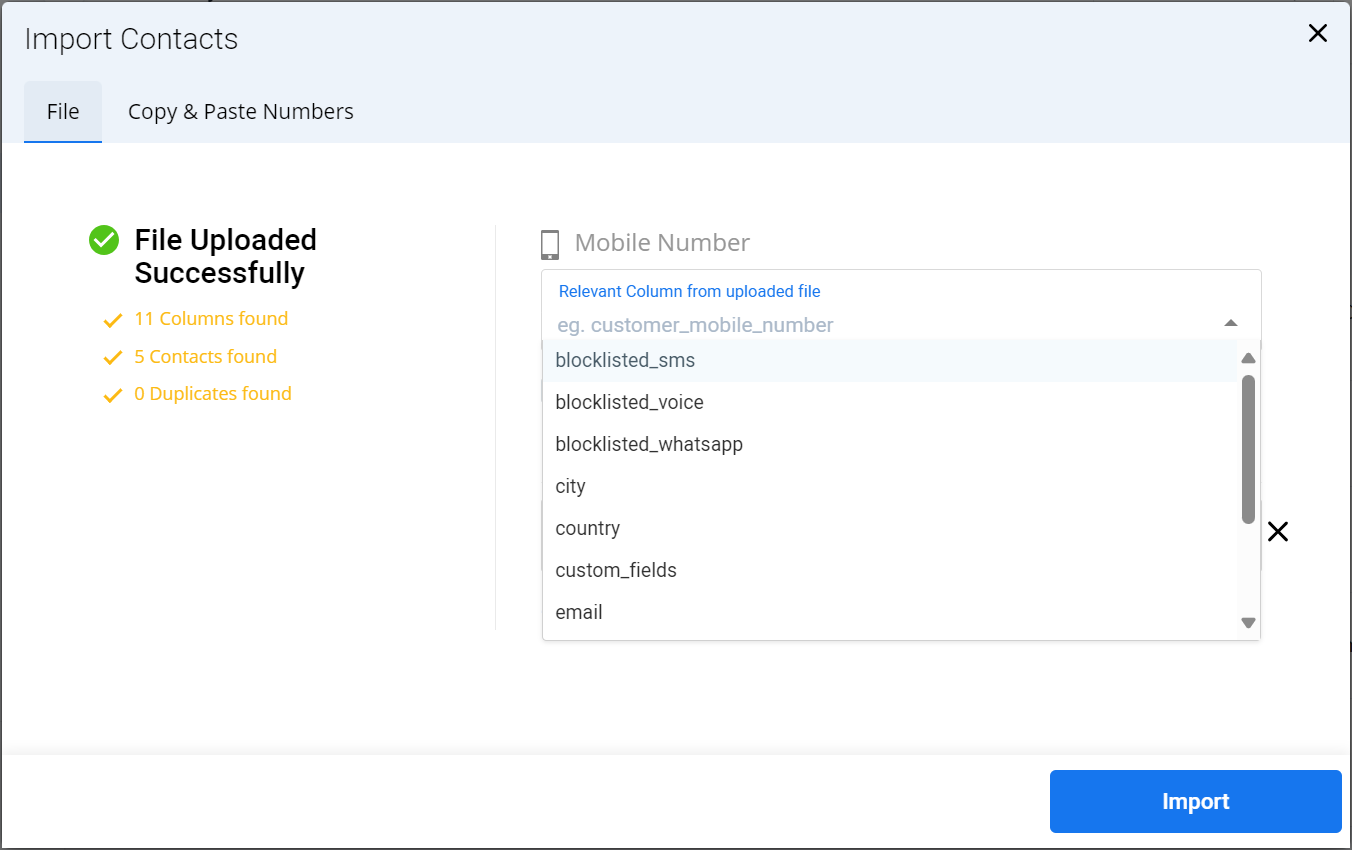
- In the Relevant Column from uploaded file field, select the columns name. For example, mobile.
The Map the column data to profile fields appear to map the profile with the file data.
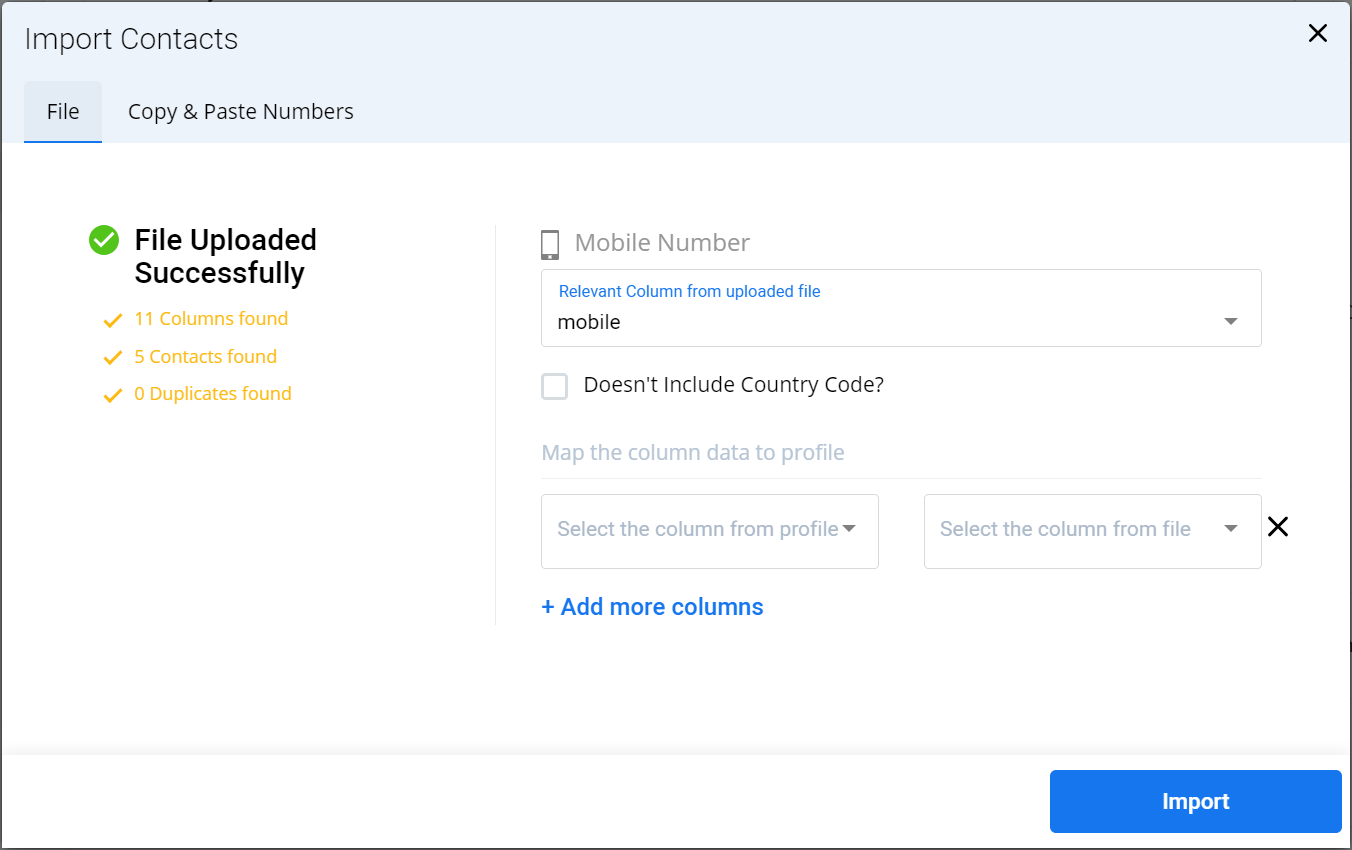
- Perform the following:
- Click the arrow next to the Select the column from profile and the list of current profile attributes appears. Select the one you want to map to a column in the file.
- Click the arrow next to the Select the column from file and the list column available in the uploaded file appears. Select the one you want to map to the profile attribute you selected in the previous step. The value written in the file for the selected column will be added to the mapped profiled attribute. For non-tags attributes, any existing value in the profile will be overwritten by the value in the file.
Notes:
- To bulk import the updated tags from the uploaded file, select the profile attribute called “tags” in the left pane and the file column where the updated tags are in the right pane.
- You can also add more columns to map data from the file and profile attribute. To add more columns to map the column data to the profile click the Add more column and repeat the steps above.
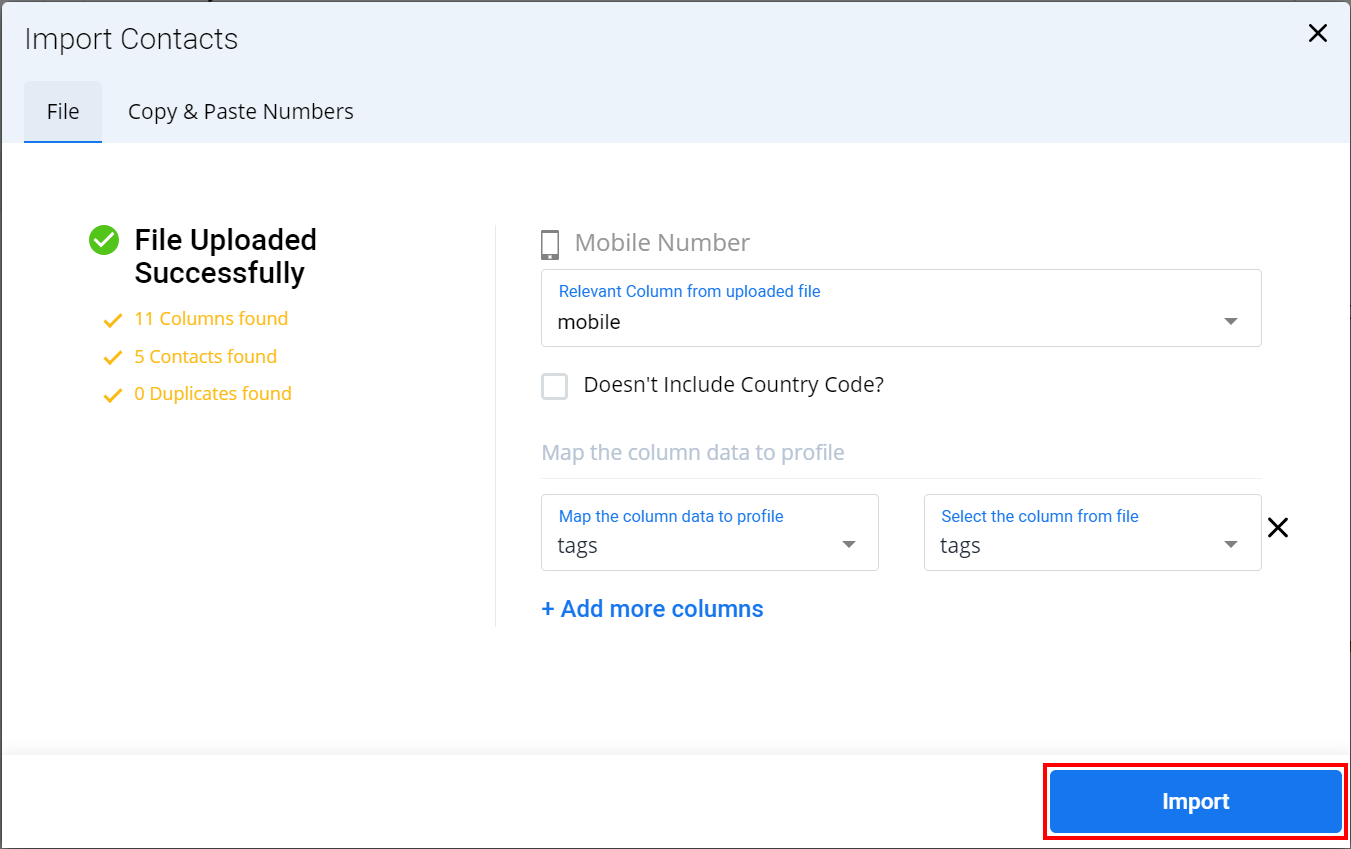
- Click Import.
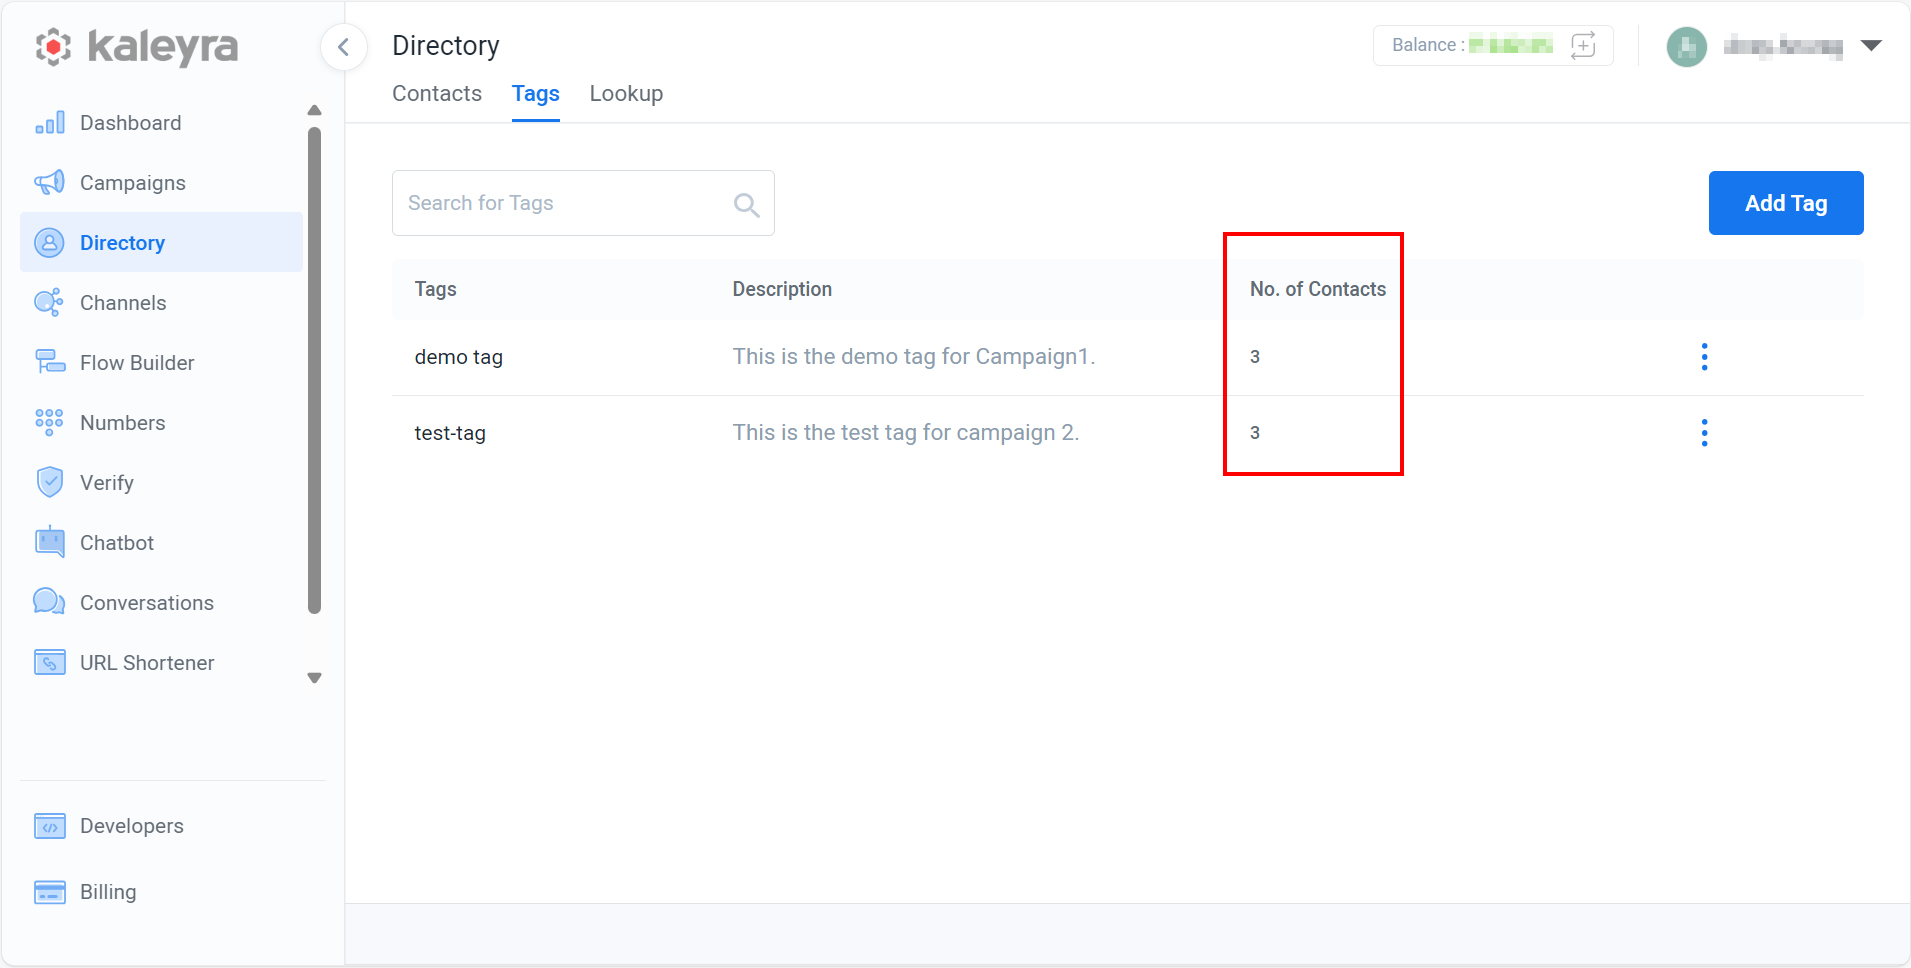
The confirmation message Contact(s) Upload Successful appears listing all of the different values used as tags in your directory and for each the number of contacts with that tag.
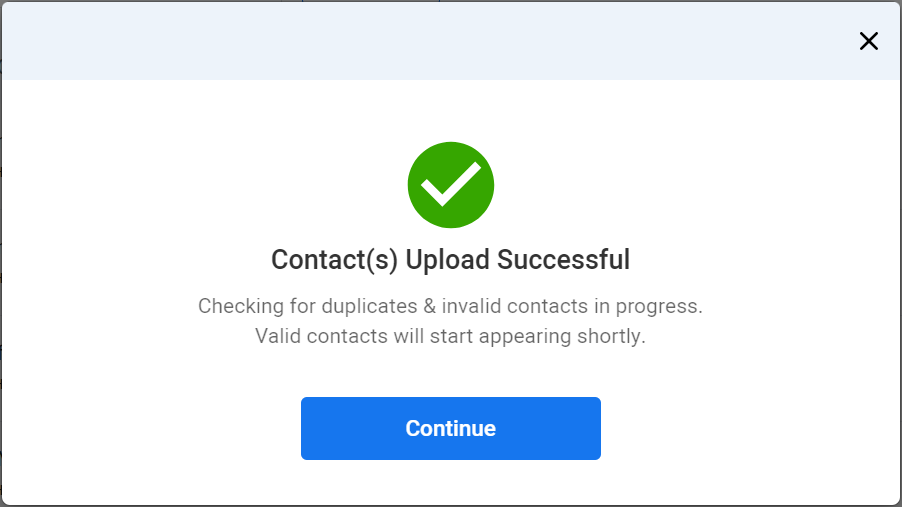
- Click Continue.
The Contacts page appears.
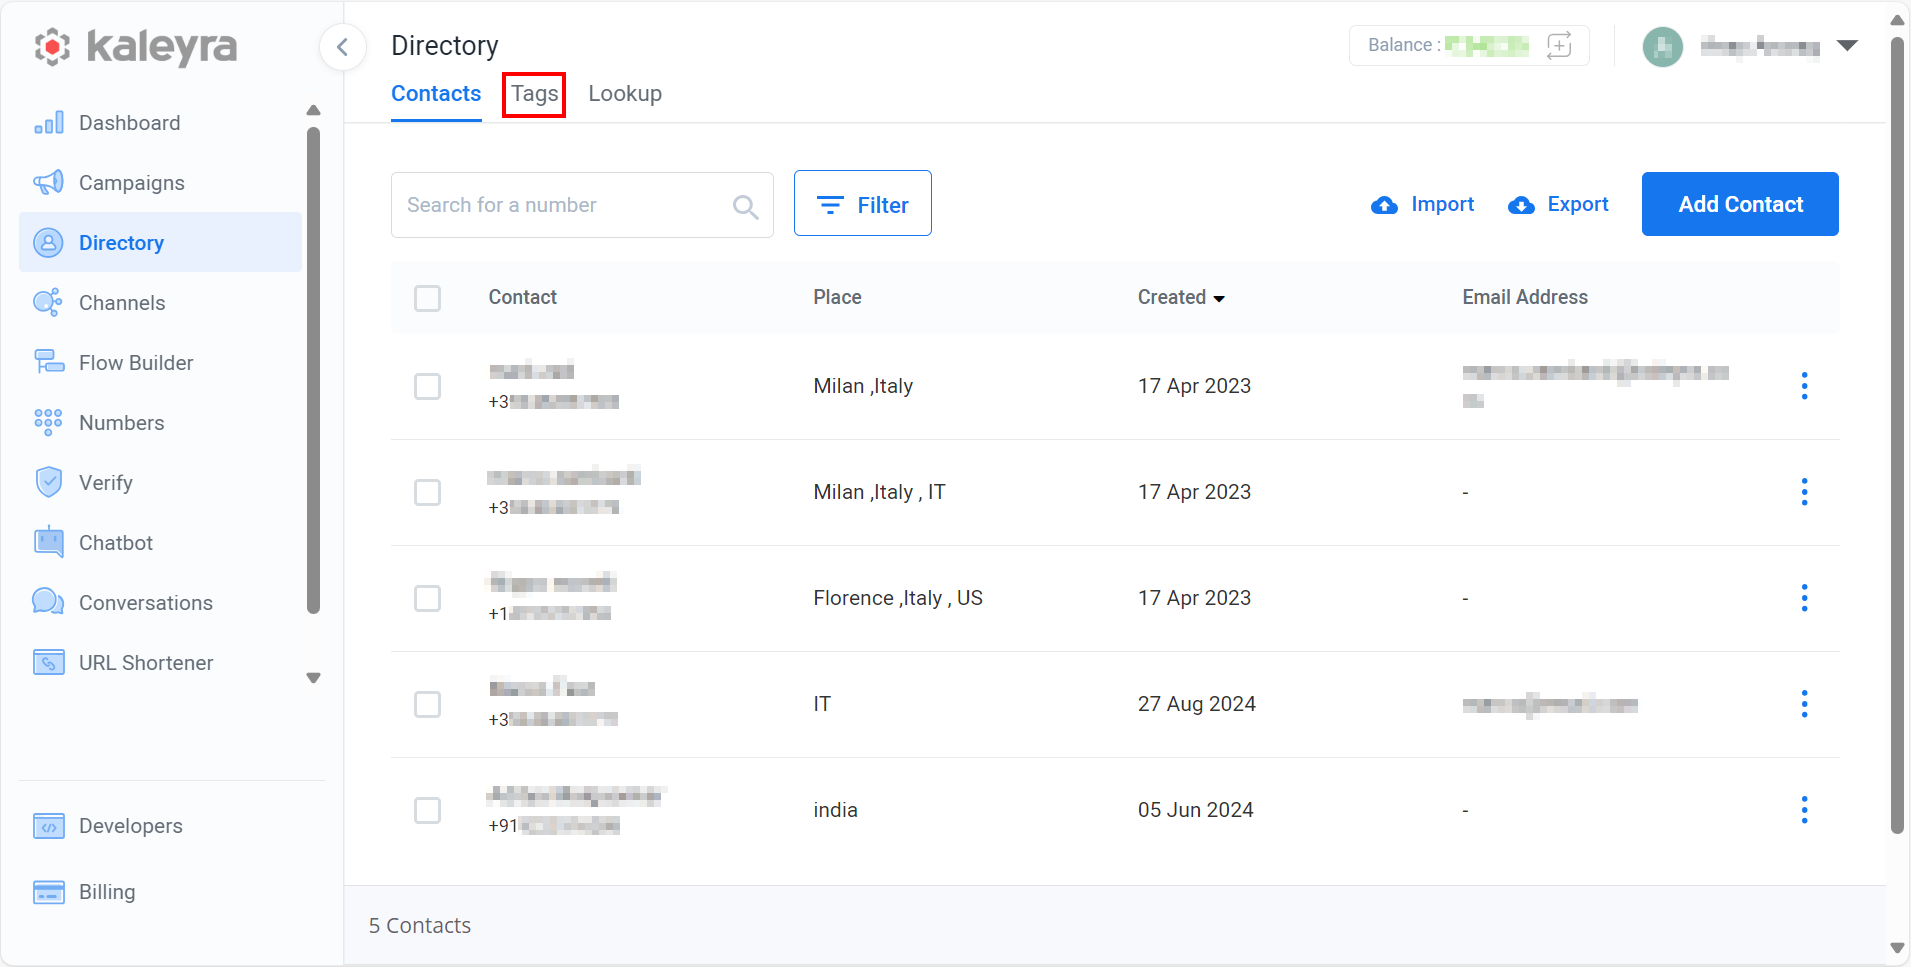
- Click the Tags tab.
The Tags page appears with the number of contacts that gets tagged.
Filter contacts based on tags
You can filter the contacts based on tags by selecting only one tag at a time and viewing the filtered contacts based on the selected tag.
To filter the contacts based on tags, perform the following steps:
-
Sign in to your Kaleyra.io account.
-
From the left menu bar, click Directory.
The Contacts page appears.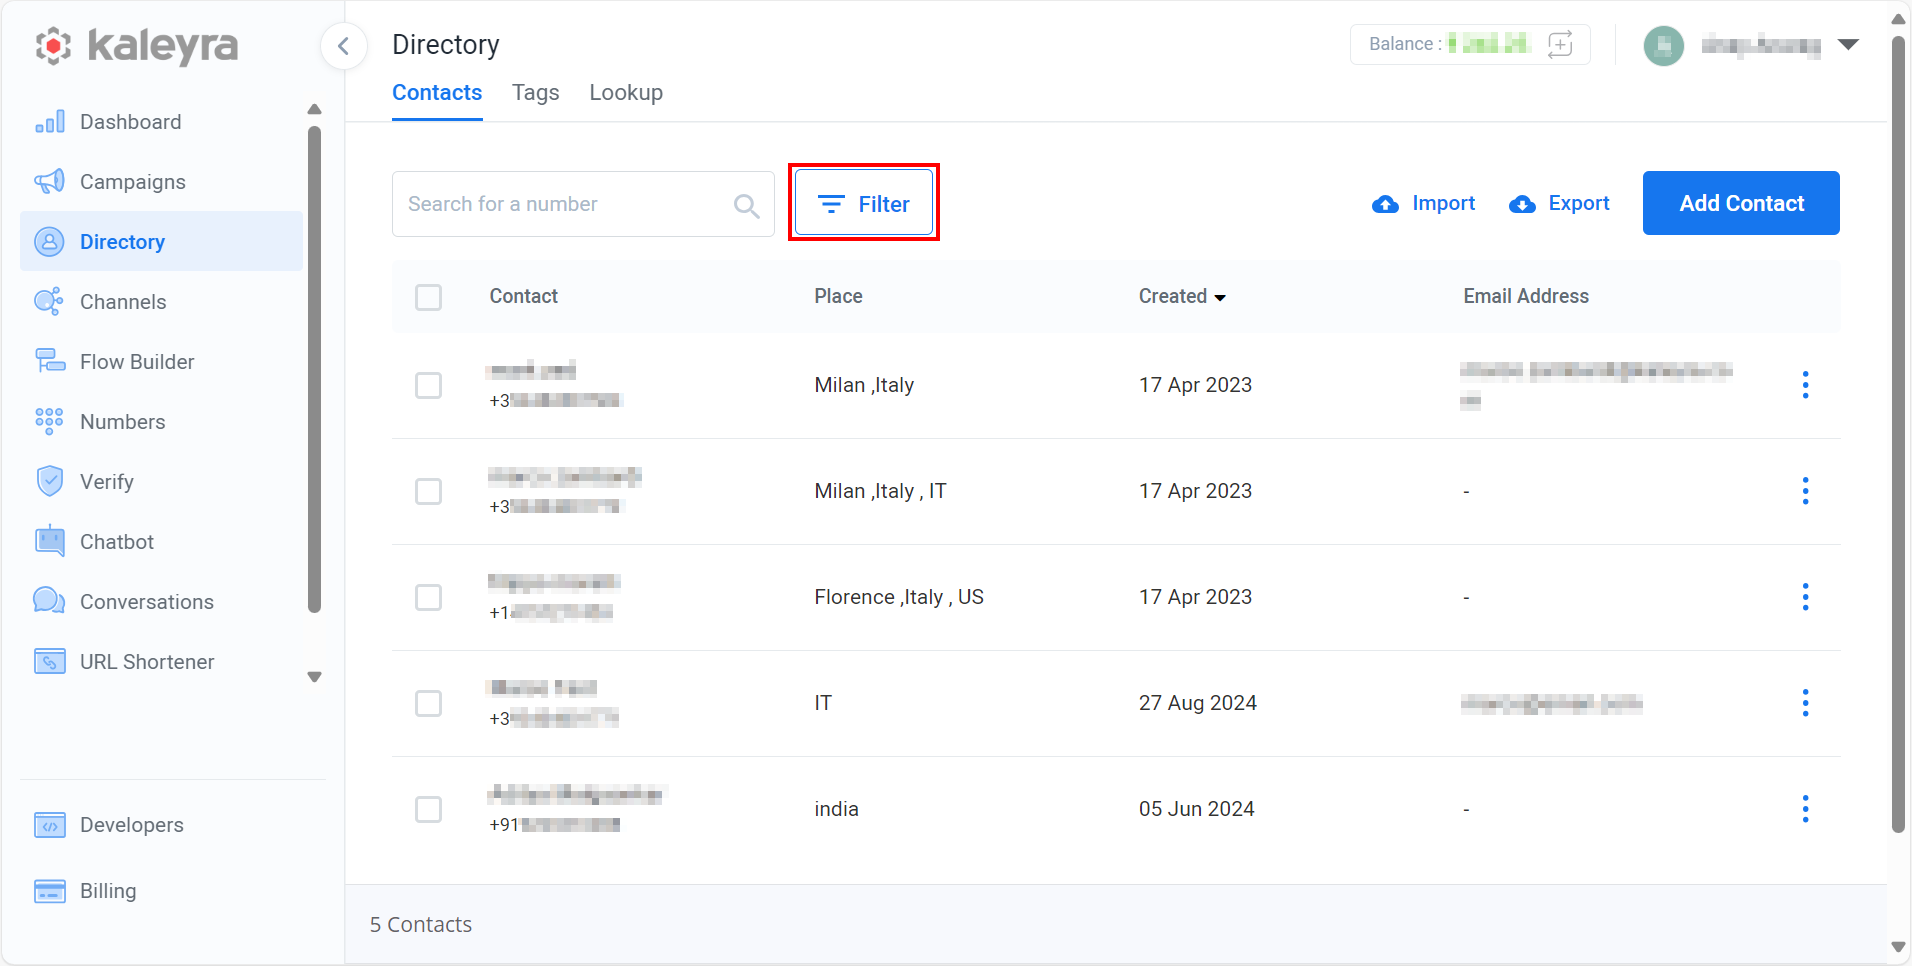
-
Click the Filter.
The options to filter the contacts appears.
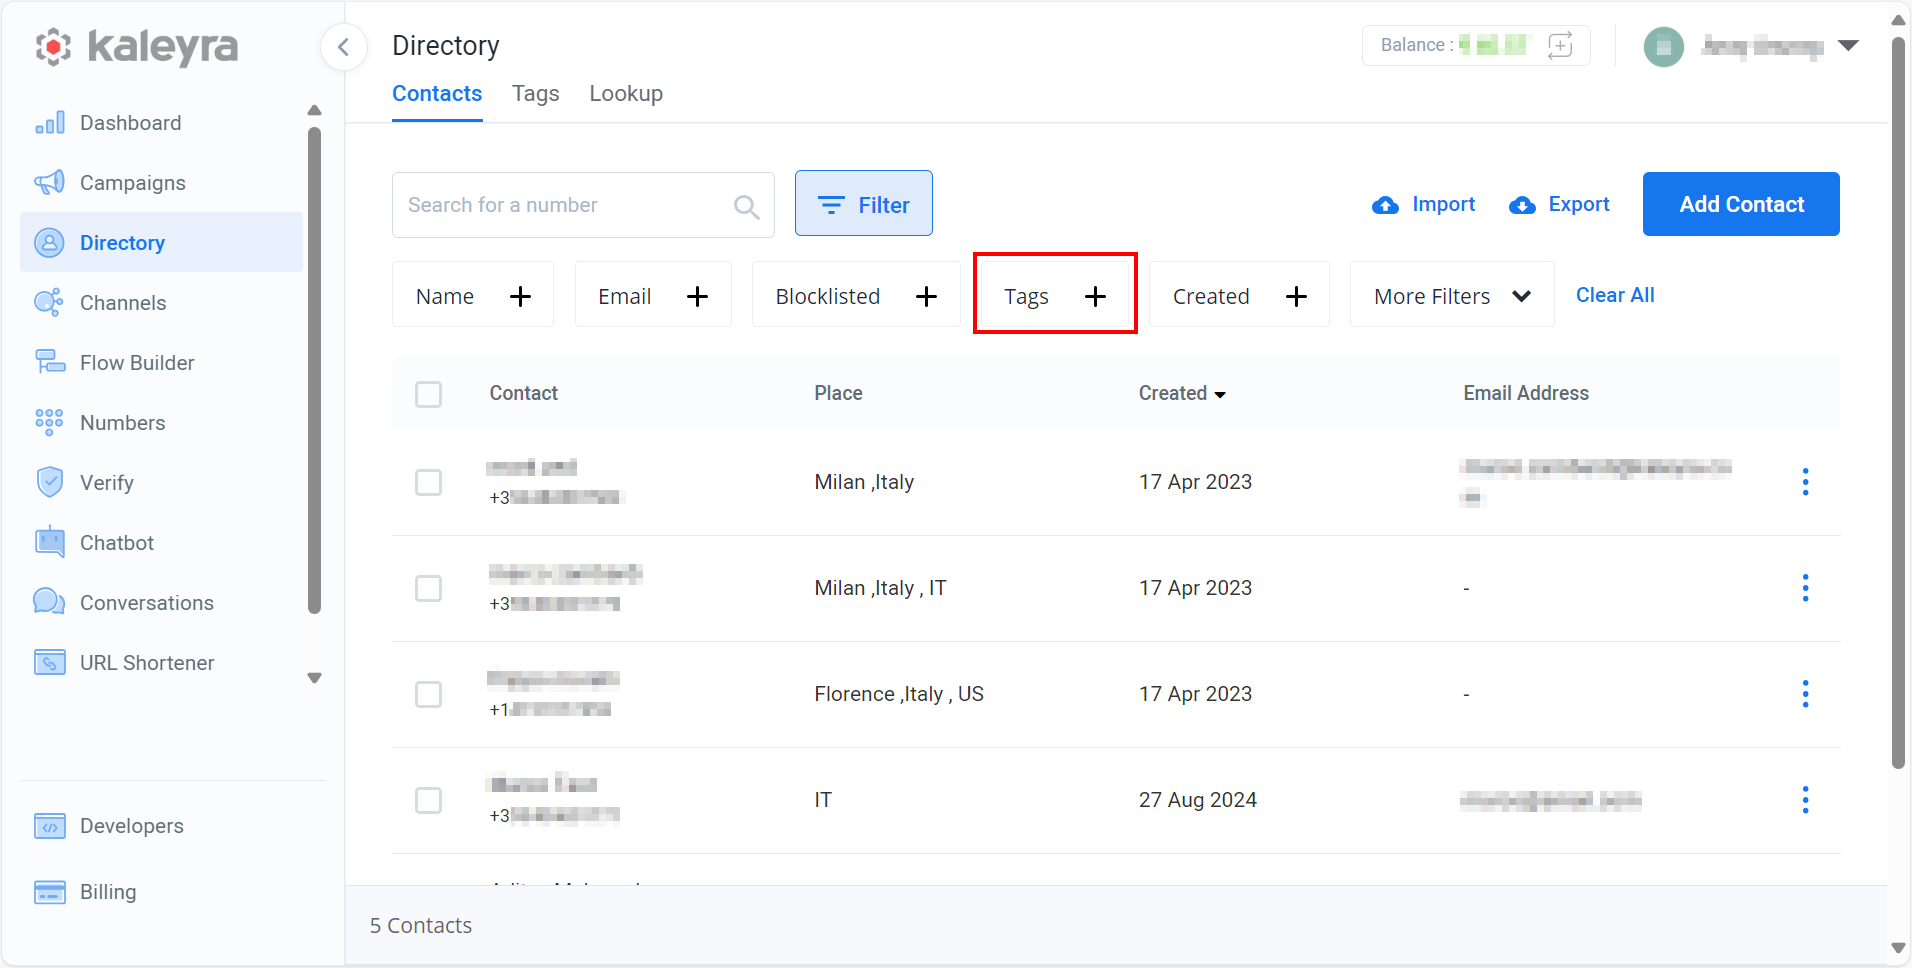
- Click the Tags +.
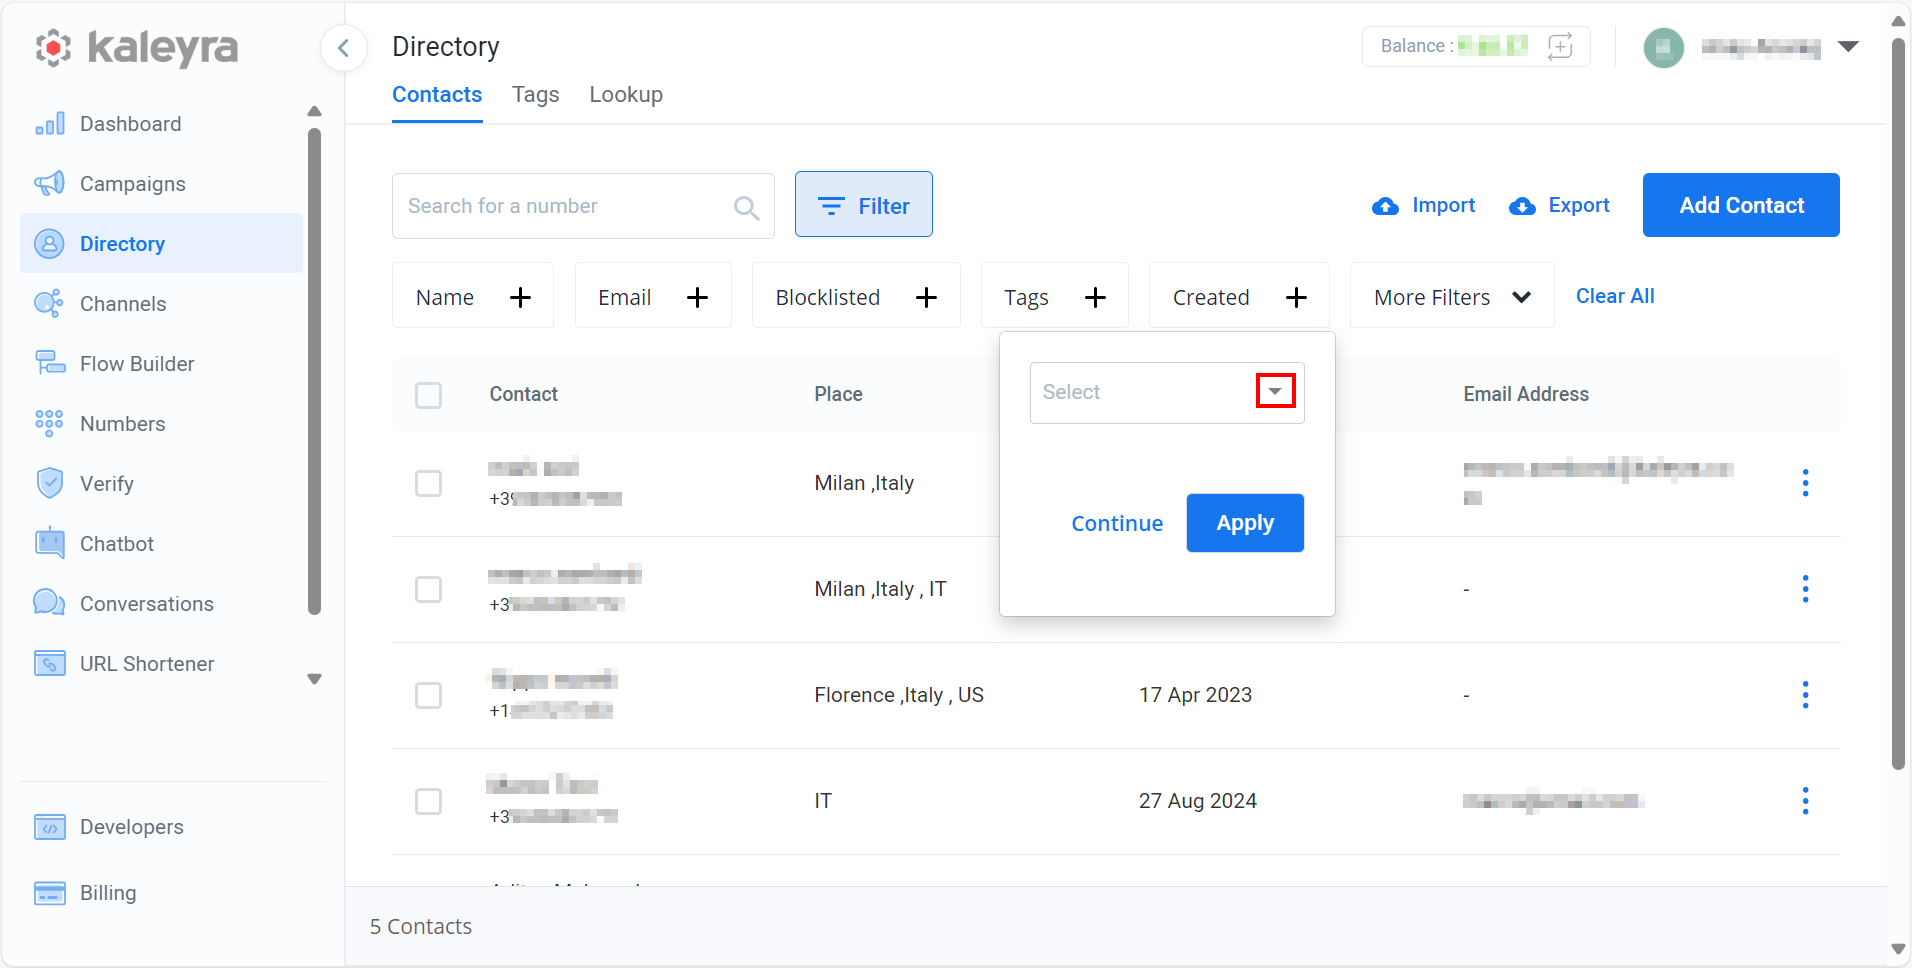
- Click the arrow next to Select tags.
A list of added tags appears.
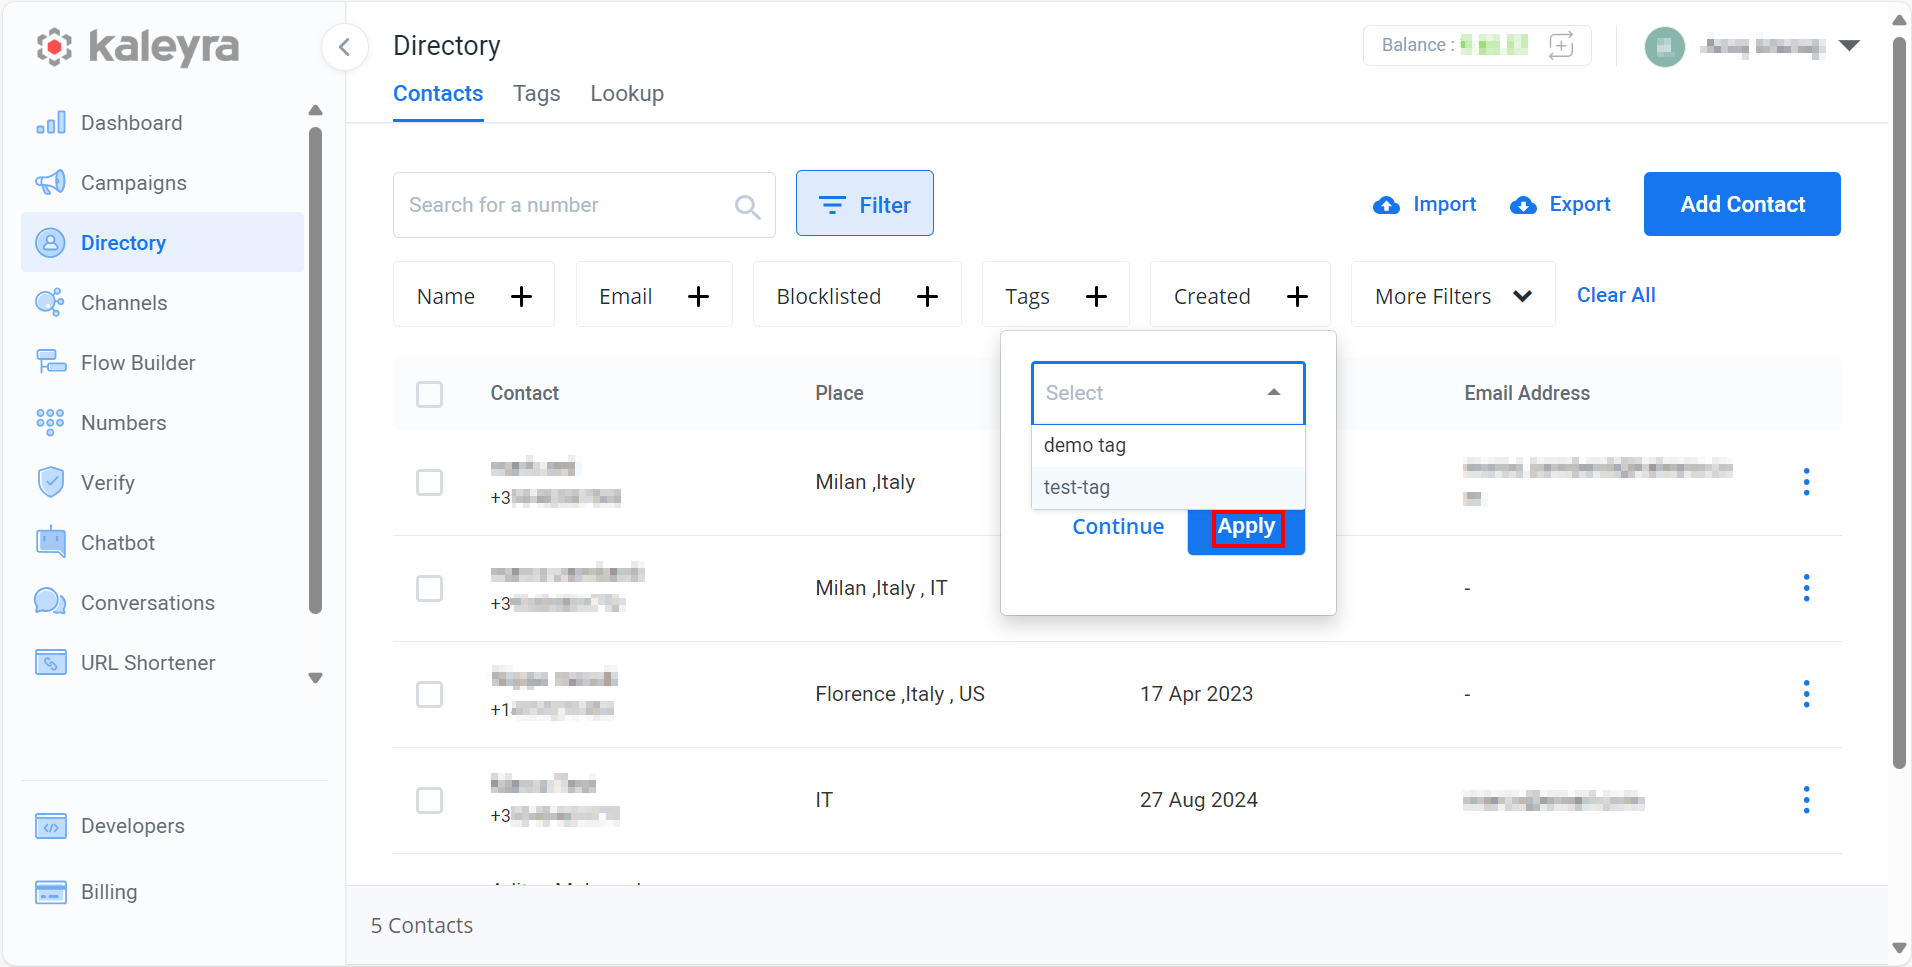
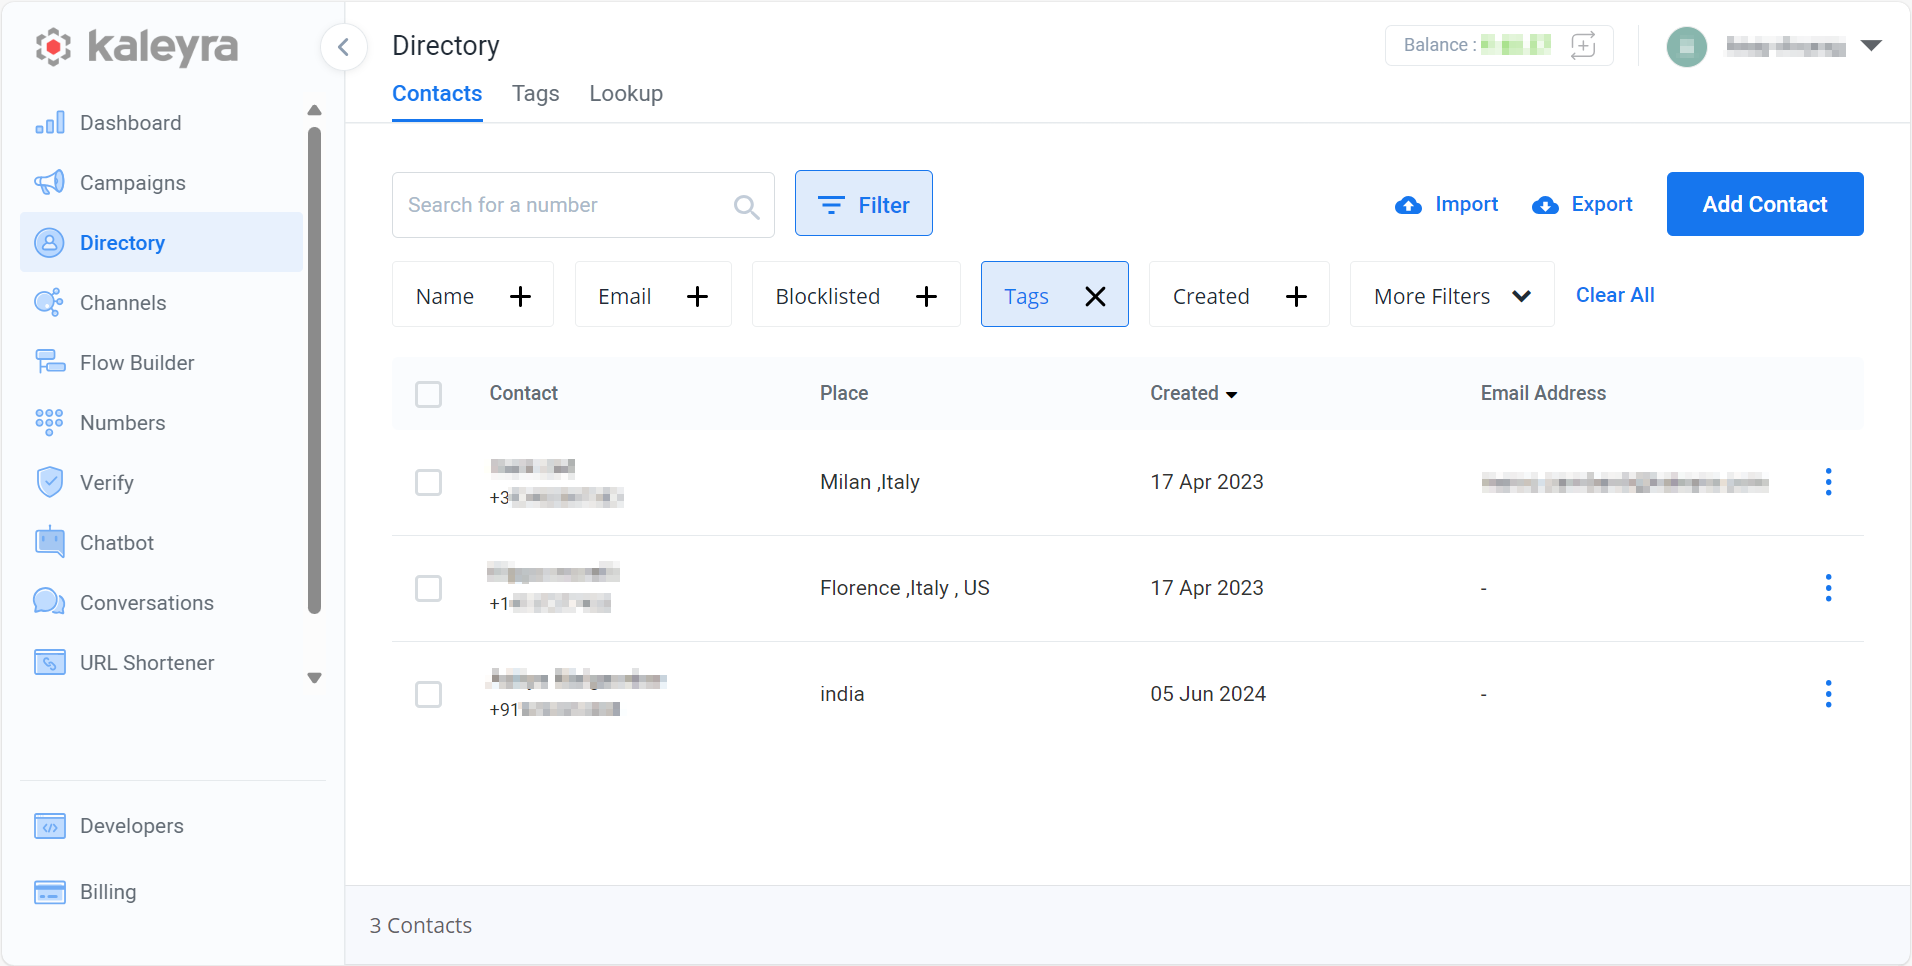
- Select the tag. For example, test-tag. Click Apply.
The tagged contacts for the selected tag appear.
Updated 7 months ago
