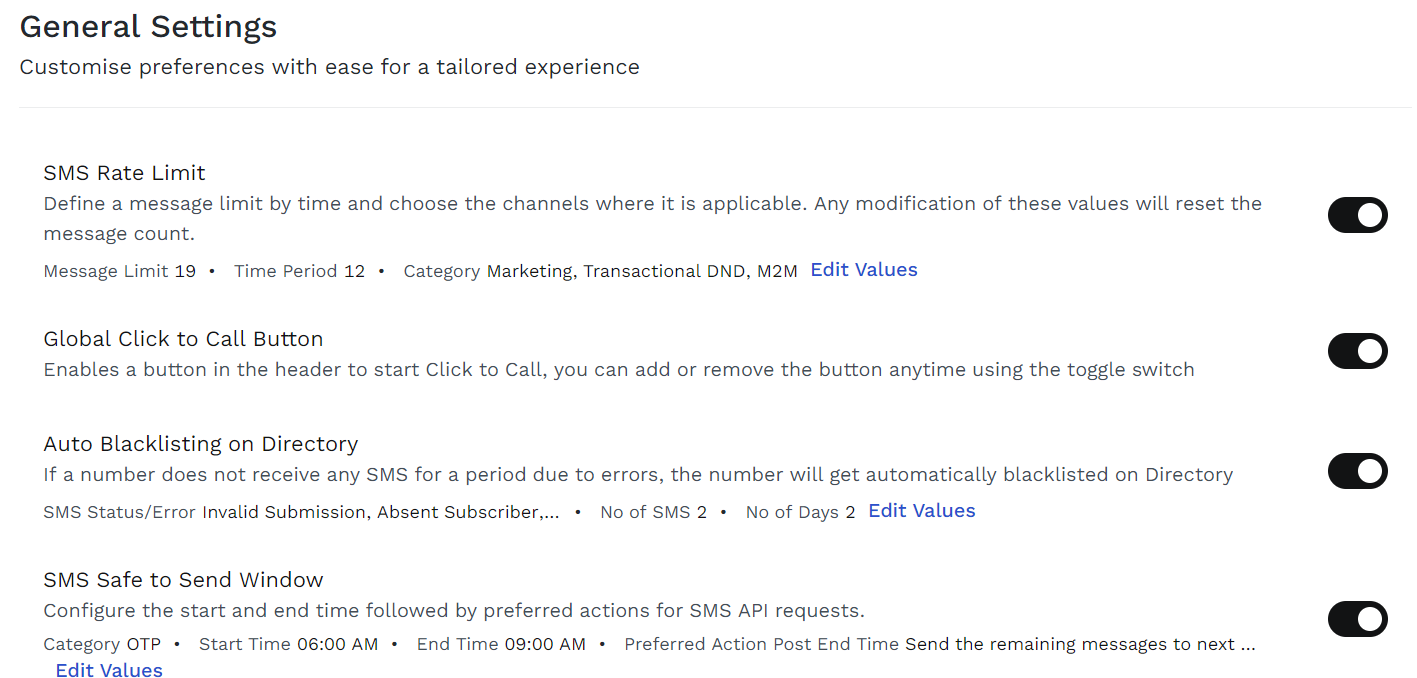
General Settings
The General Settings page provides the following sections for you to define a few account-related settings.
- SMS Rate Limit
- Global Click to Call Button
- Auto Blacklisting on Directory
- Safe to Send Window
- Enable WhatsApp Callback URLs
SMS Rate Limit
The SMS Rate Limit option allows you to specify a maximum number of SMS that can be sent in a given amount of time on a given route.
To edit the setting, click on the Edit Values link in the SMS Rate Limit section.
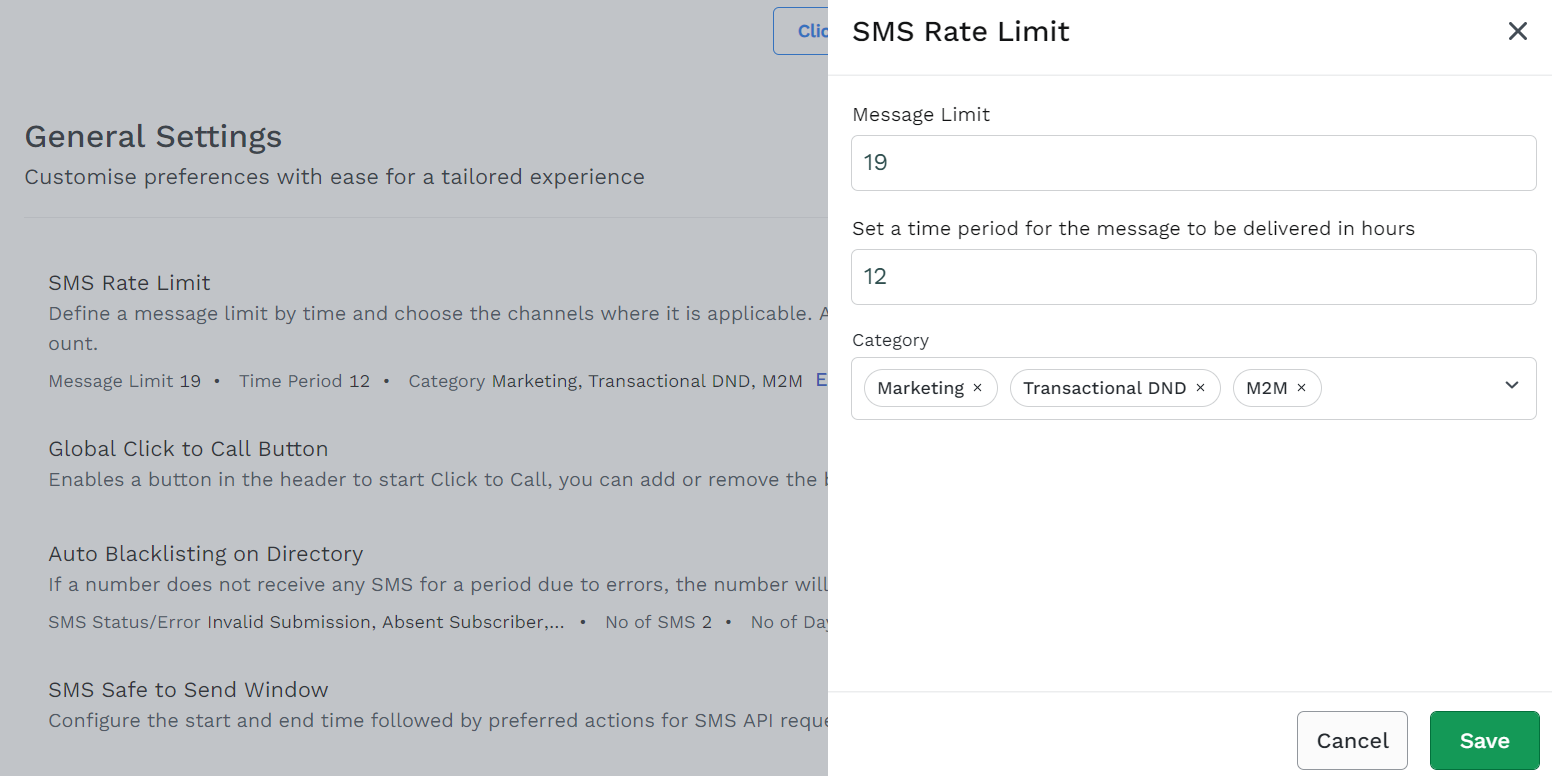
- Message Limit—Enter the number of messages that you want to set as the maximum number of messages that can be sent within the set time.
- Set a time period for the message to be delivered in hours—Enter the number of hours during which the specified number of messages can be sent. Only integer numbers are allowed, and you cannot specify fractions of an hour
- Select the OTP, Marketing, and/or Transactional check boxes to indicate on which route(s), the Message Limit applies.
- Click Save.
Global Click to Call Button
On the Settings page, turn on the Global Click to Call Button toggle button. Once this setting is turned on, when navigating to any other UI page, the Click to Call button is displayed next to the account current balance indicator.
Click on the button to start a new Click to Call session.
For a detailed information on Click to Call button feature, see: Click to Call.

Auto Blocklisting on Directory
You can automatically blocklist a contact number in your directory, if the recipient does not receive any SMS for a specified period due to errors.
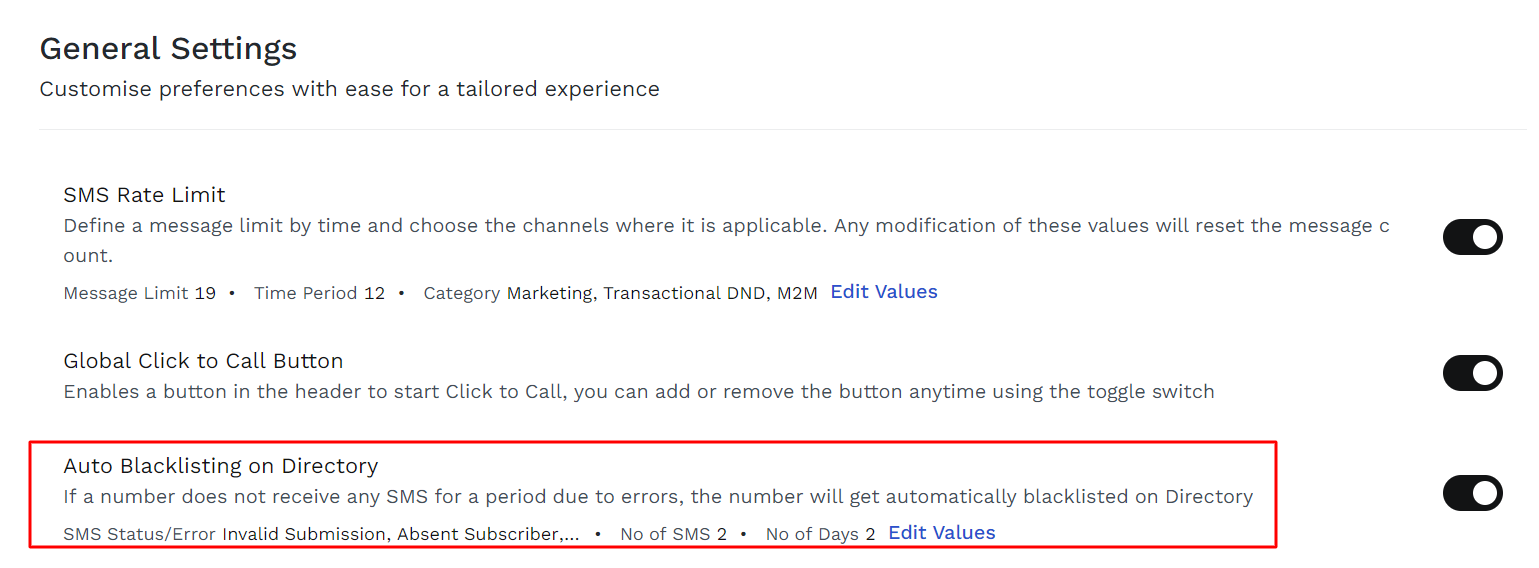
To enable automatic blacklisting feature:
- Scroll down on the Settings page to the Auto Blocklisting on Directory section.
- Enable the Auto Blocklisting on Directory feature using the toggle button.
To edit the fields related to the blacklisting feature, click Edit Values.
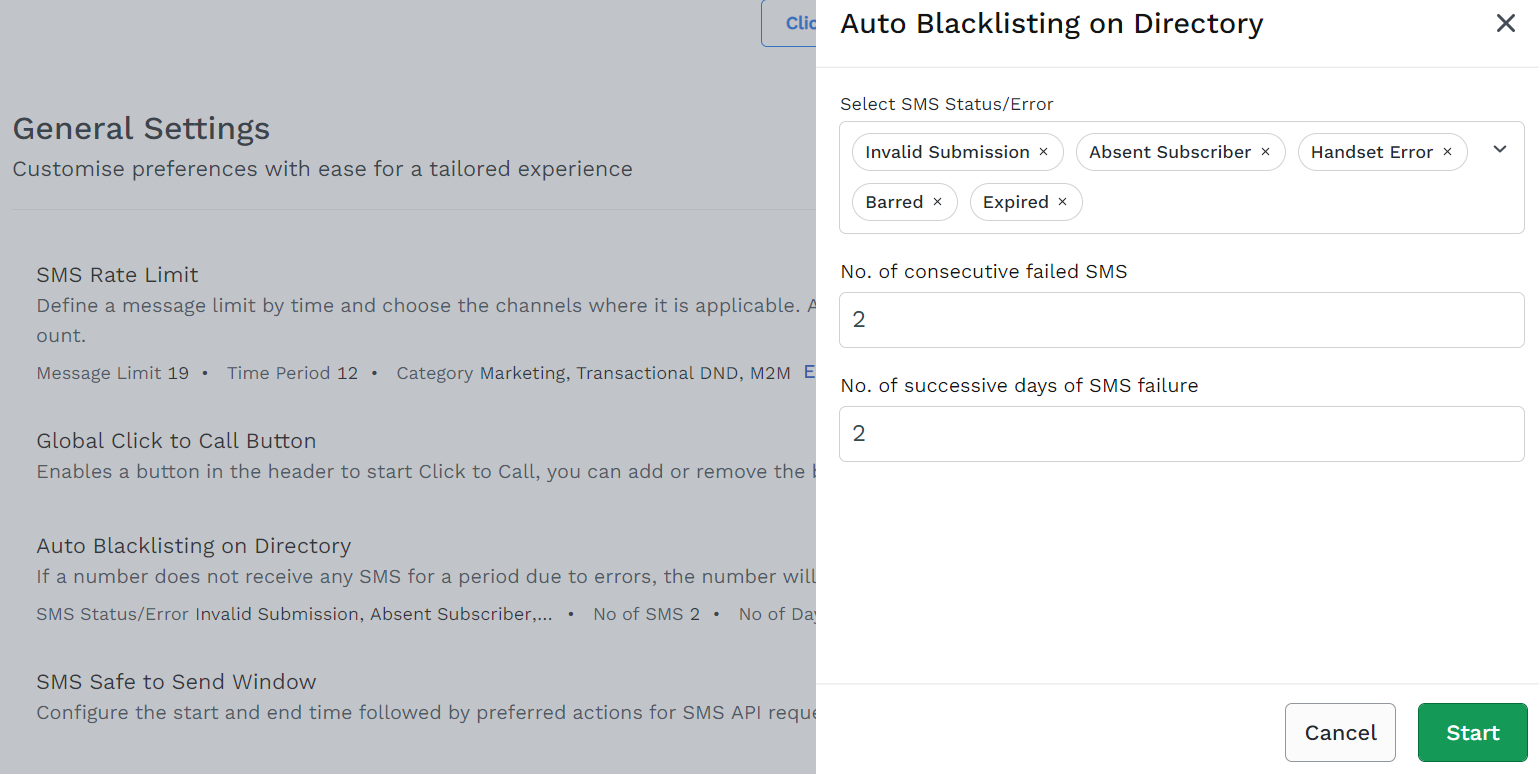
- From SMS Status/Error drop-down, select all the applicable errors for which you want to blacklist the customer contact numbers.
The statuses/errors that you select appear in a comma separated list as shown. - Enter a value in the No. of consecutive failed SMS field. This is a mandatory field.
- Enter a value in the No. of successive days of SMS failure field. This is a mandatory field.
- Click Start to enable the feature.
Note:The contact numbers that satisfy either one of the conditions specified in No. of consecutive failed SMS or No. of successive days of SMS failure fields, get blacklisted.
For example,
Suppose, No. of consecutive failed SMS field is set to 5 and No. of successive days of SMS failure field is set to 3 days.
A contact number that does not receive the SMS, when a customer sends 4 SMS on day 1 and one more SMS on day 2 is blacklisted (because the condition 1 is satisfied).
A contact number that does receive the SMS, when a customer sends 3 SMS on three different days, is blacklisted (because the condition 2 is satisfied).
SMS Safe to Send Window
The SMS Safe to Send Window option lets you define a time frame for the SMS to be sent or scheduled using API or UI for example, 9:00 AM to 6:00 PM. The SMS Safe to Send Window feature ensured that the SMSs would be sent only in this timeframe and not outside it.
To configure the SMS Safe to Send Window option:
- On the Settings page, enable the SMS Safe to Send Window option.
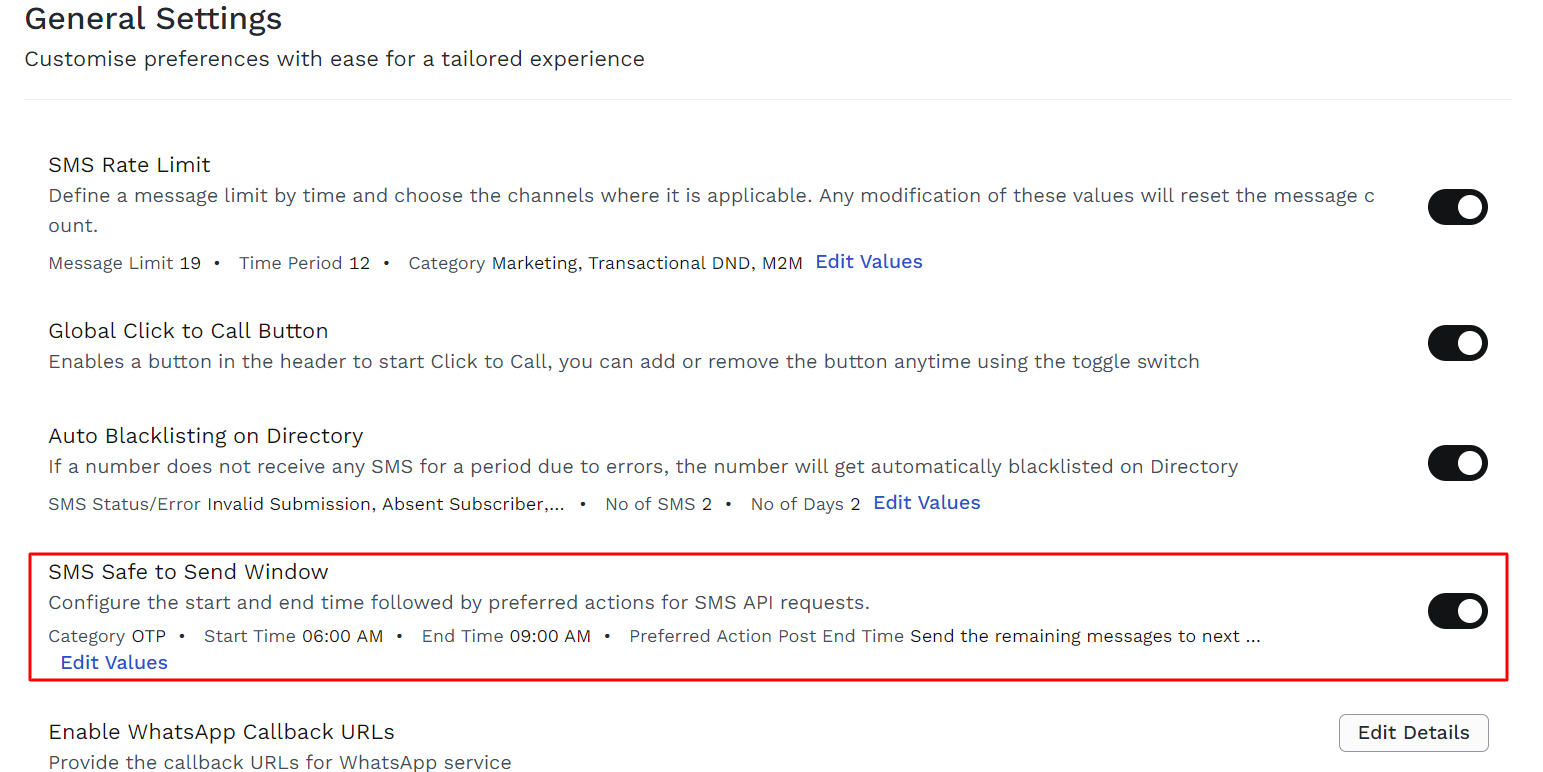
The Configure Time Window pop-up appears.
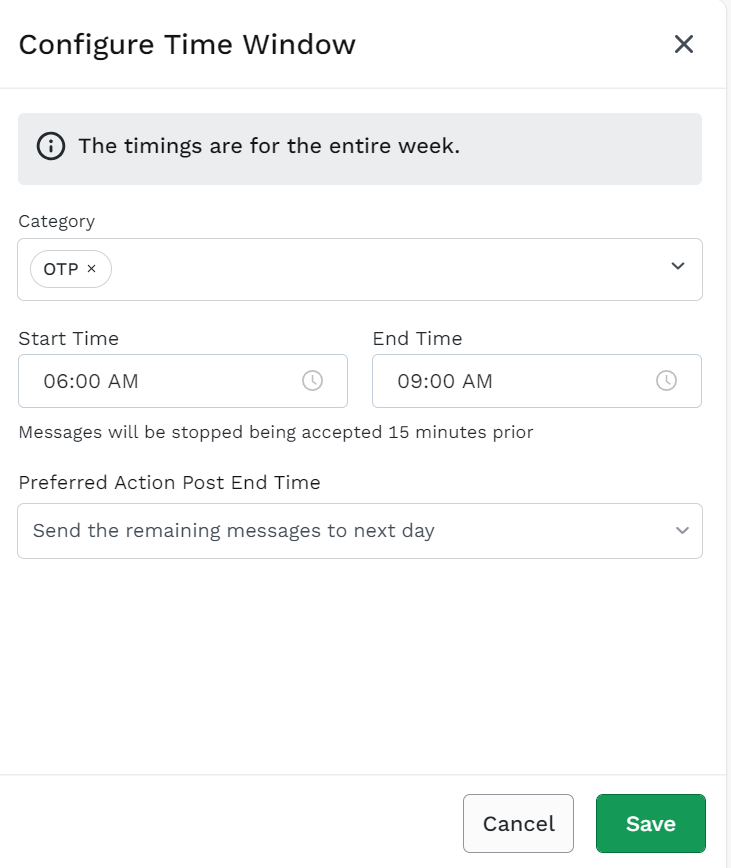
Note:The configured SMS Safe to Send Window is applicable for the entire week.
- Select the SMS message Category,
Note: The options are different based on the user’s location.
For more information, see: SMS Route Types (kaleyra.io) - Set the safe to send the Start Time and End Time.
- For the messages scheduled to be sent outside the configured time, you can choose to:
- Discard messages scheduled from both the UI and API—the status of such SMSs will be Not Sent with the description “Message was attempted outside of safe-to-send window”.
- Send the remaining message to the next day—this setting puts the SMSs on a queue to be sent the following day, during the configured time window.
- Click Save.
Note:
- You will not be charged for the messages that failed with the status Not Sent and the description, “Message was attempted outside of safe-to-send window”.
- This feature works at the time of scheduled delivery, not while scheduling; that is, you can safely create and save your scheduled campaigns even outside the safe-to-send windows.
Enable WhatsApp Callback URLs
You can enter 'callback URLs' for WhatsApp service to know, if a WhatsApp message is sent successfully. You can add multiple URLs separated with a comma. Callback URL must be reachable over the internet.
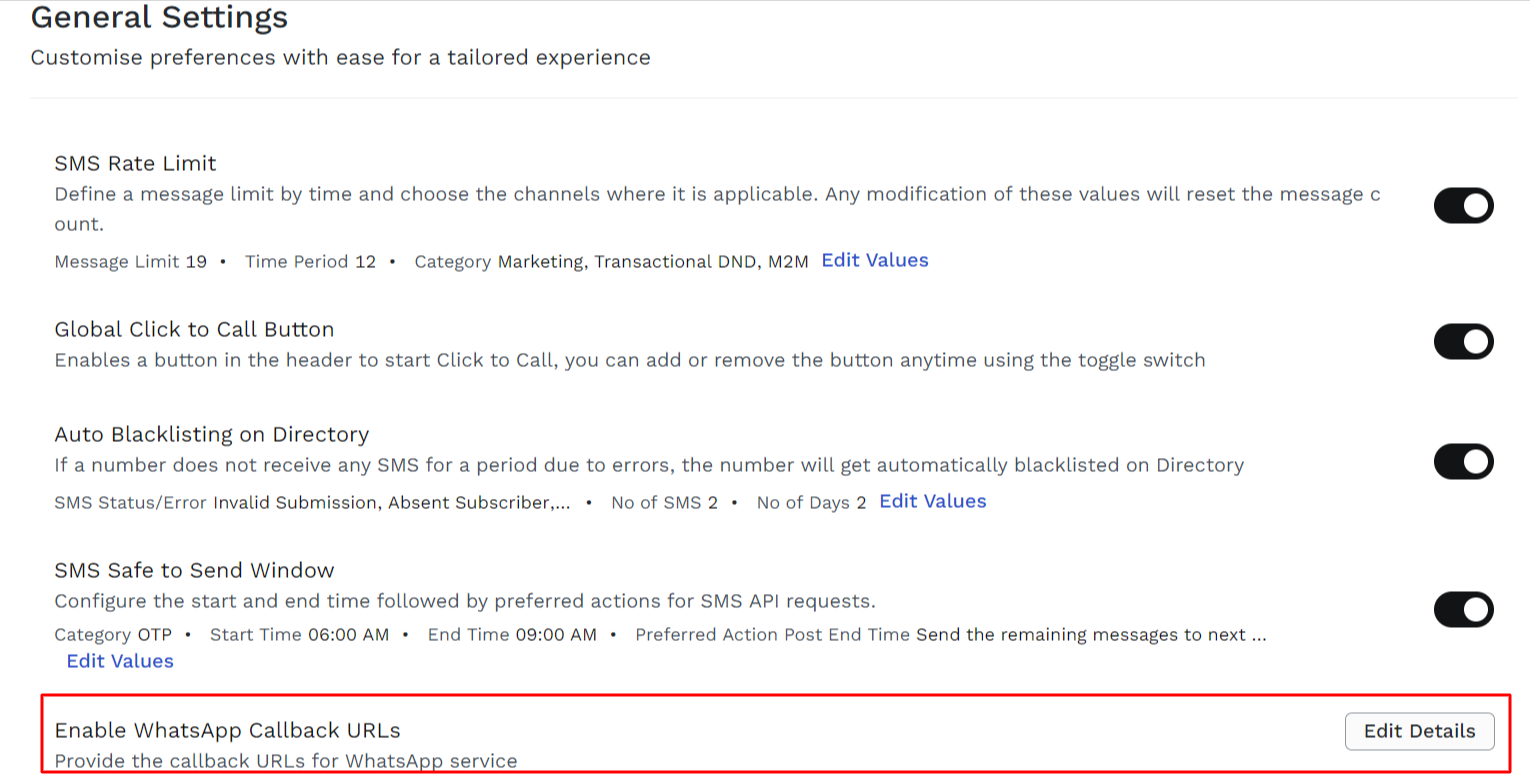
- To add the callback URLs, click Edit Details. The WhatsApp Callback URLs pop-up appears.
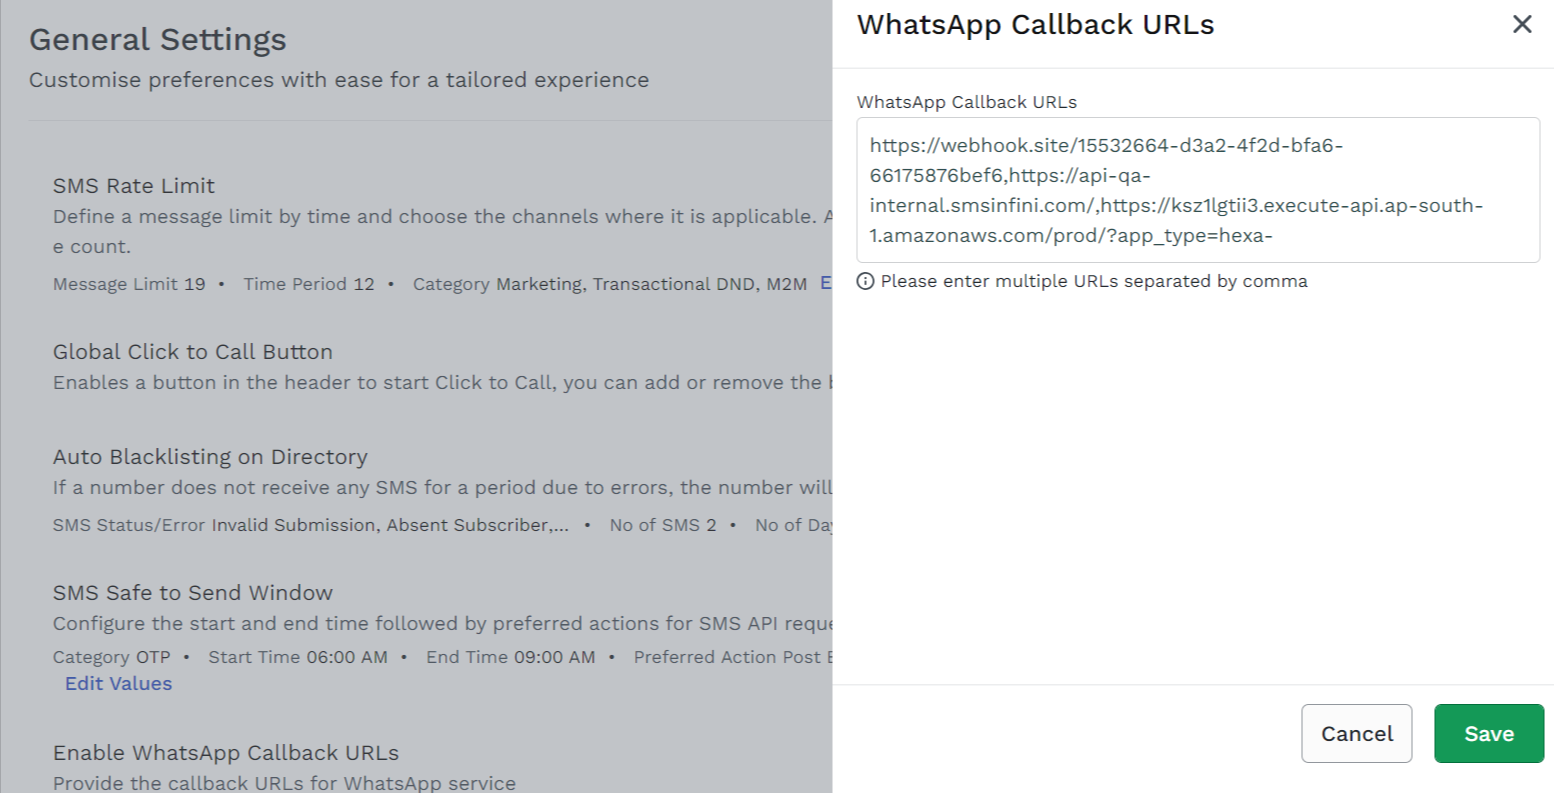
- Add the Callback URLs for the WhatsApp channel.
- Click Save.
Updated about 2 months ago