Edit a Published Fallback
You can edit Fallback workflows in the Published state using the Edit button. You can click on it to make changes and either publish them immediately or save them in Draft status. To know more about editing a drafted fallback, see the Edit a Drafted Fallback topic.
To edit a published fallback, perform the following steps:
- Follow step 1 to step 3 of the Navigate Fallback page.
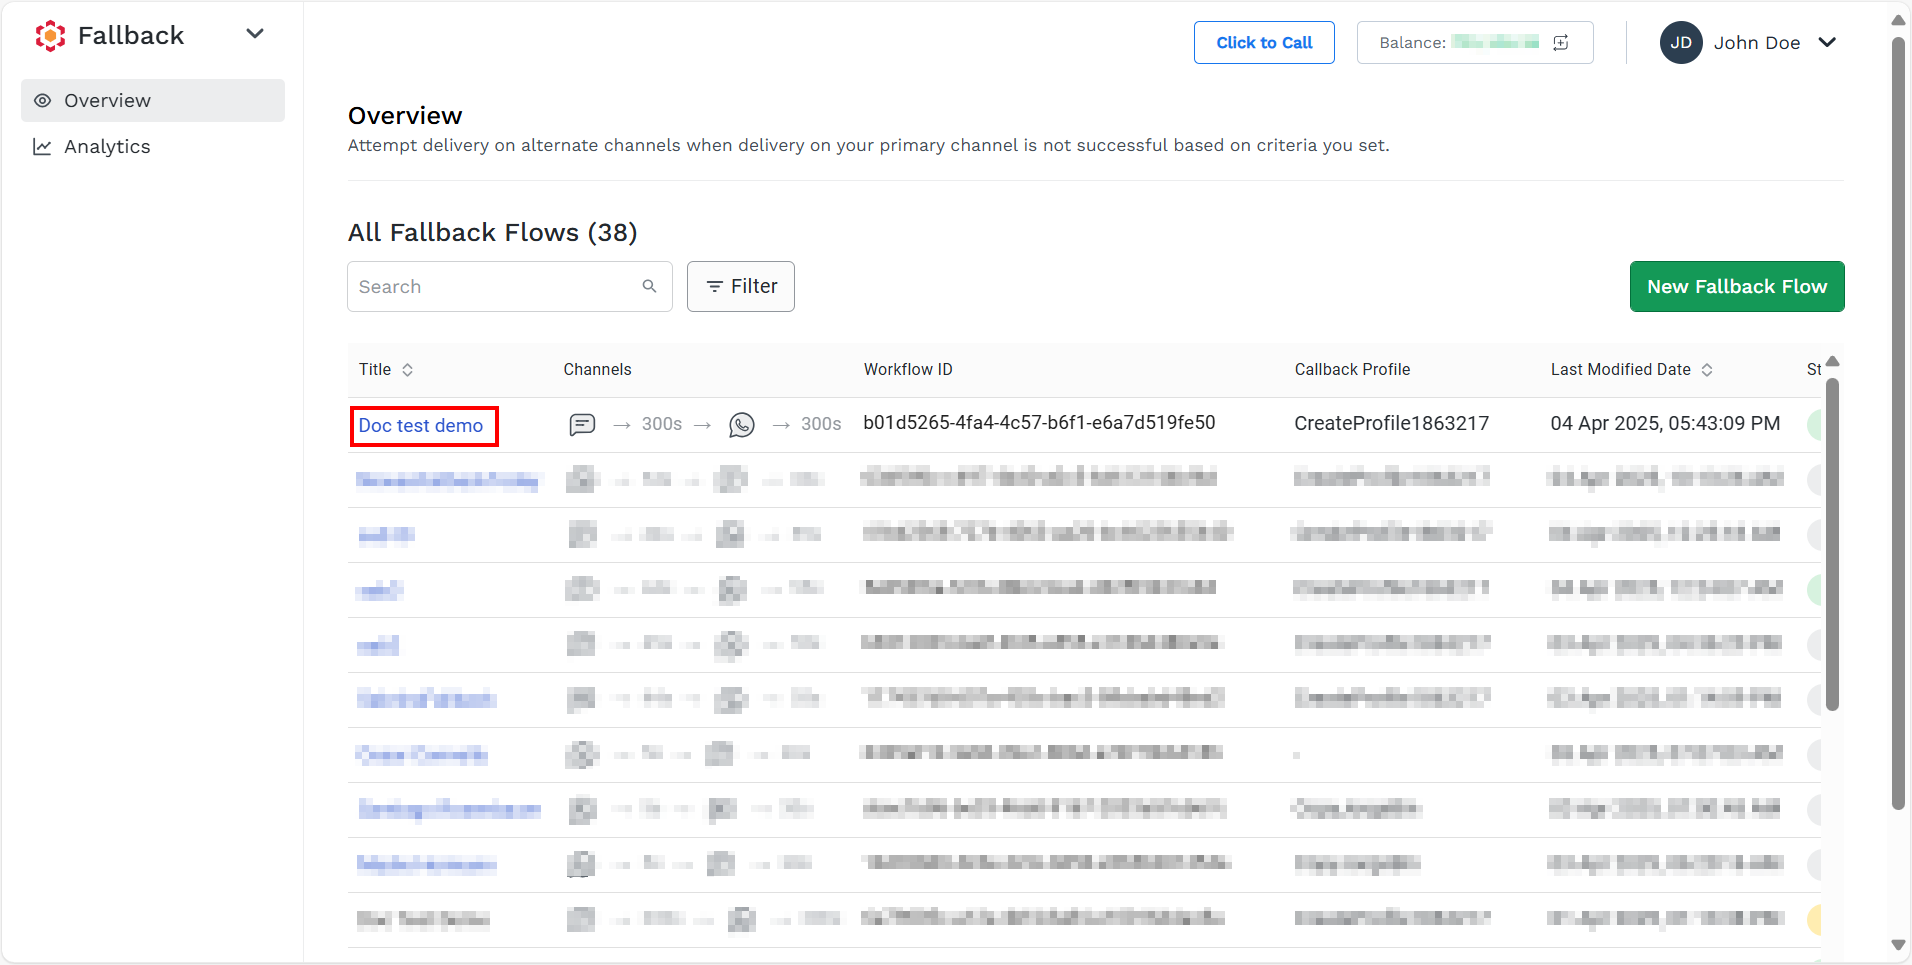
The Overview page appears.
- Perform any one of the following:
-
Edit through Title page.
- Click the Fallback's Title name from the published fallback. The published fallback Preview page appears.
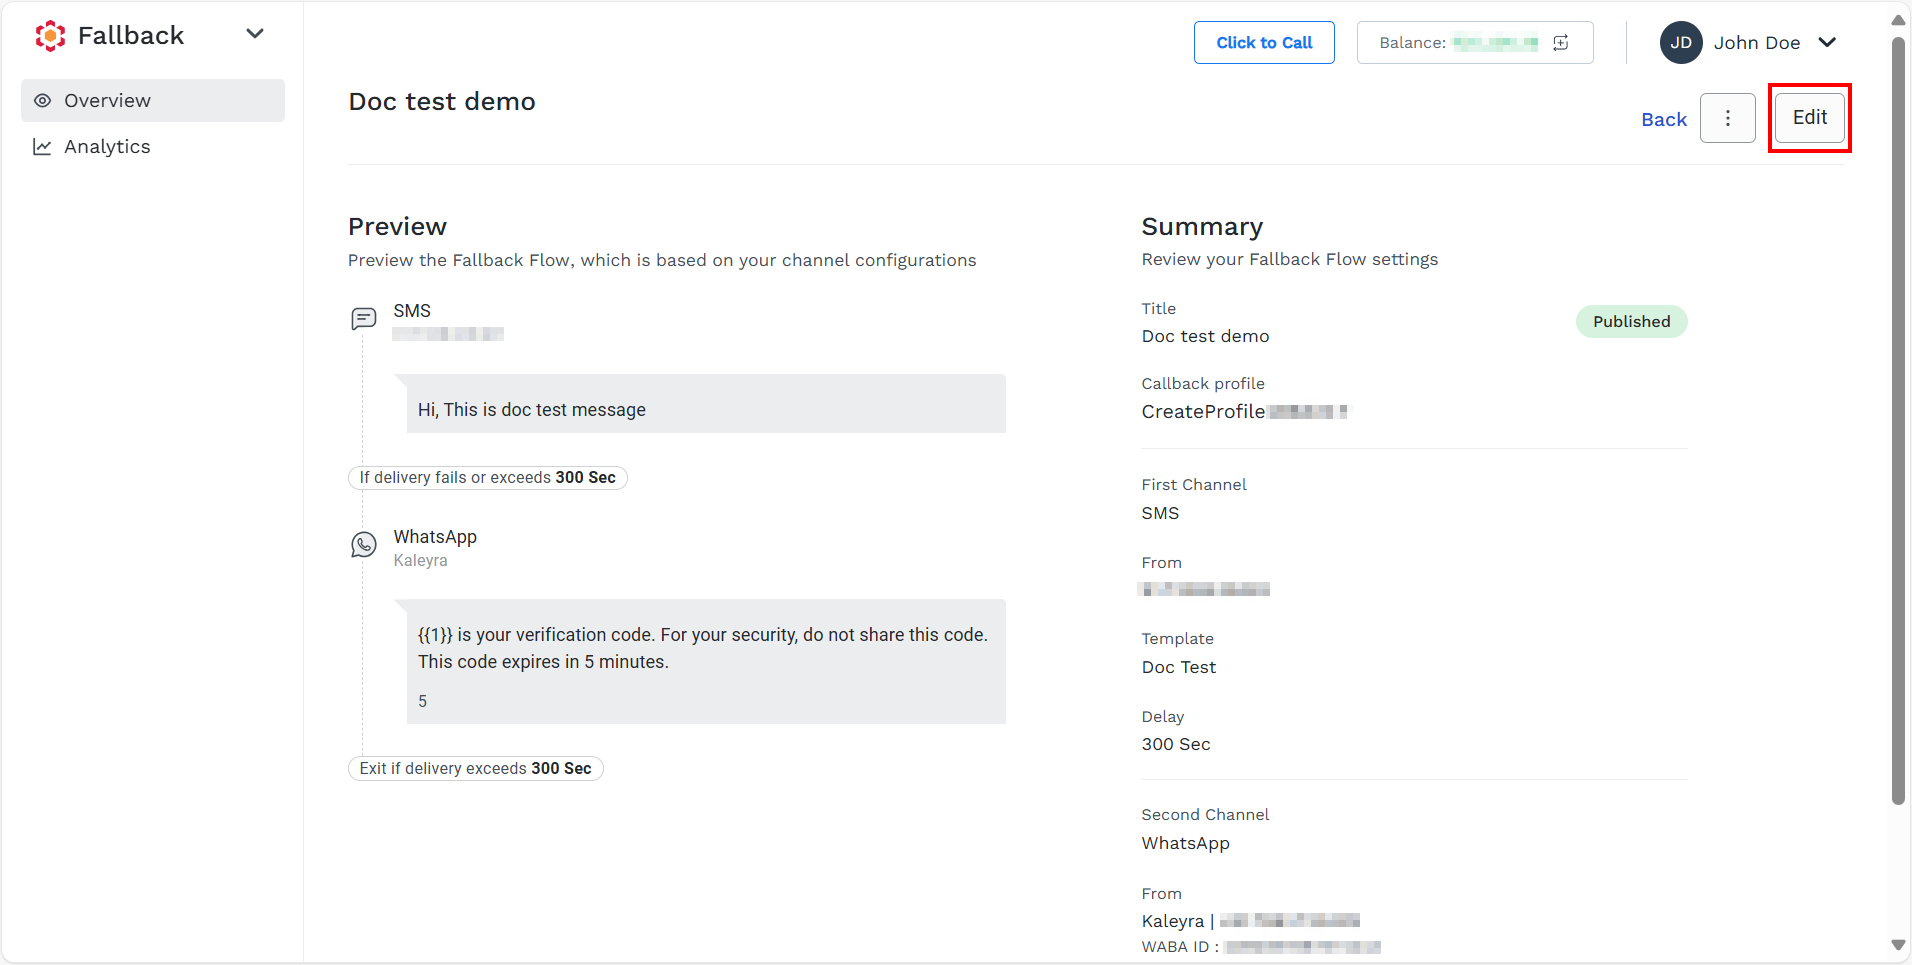
- On the top-right side click Edit.
The published fallback Basic Information page appears.

-
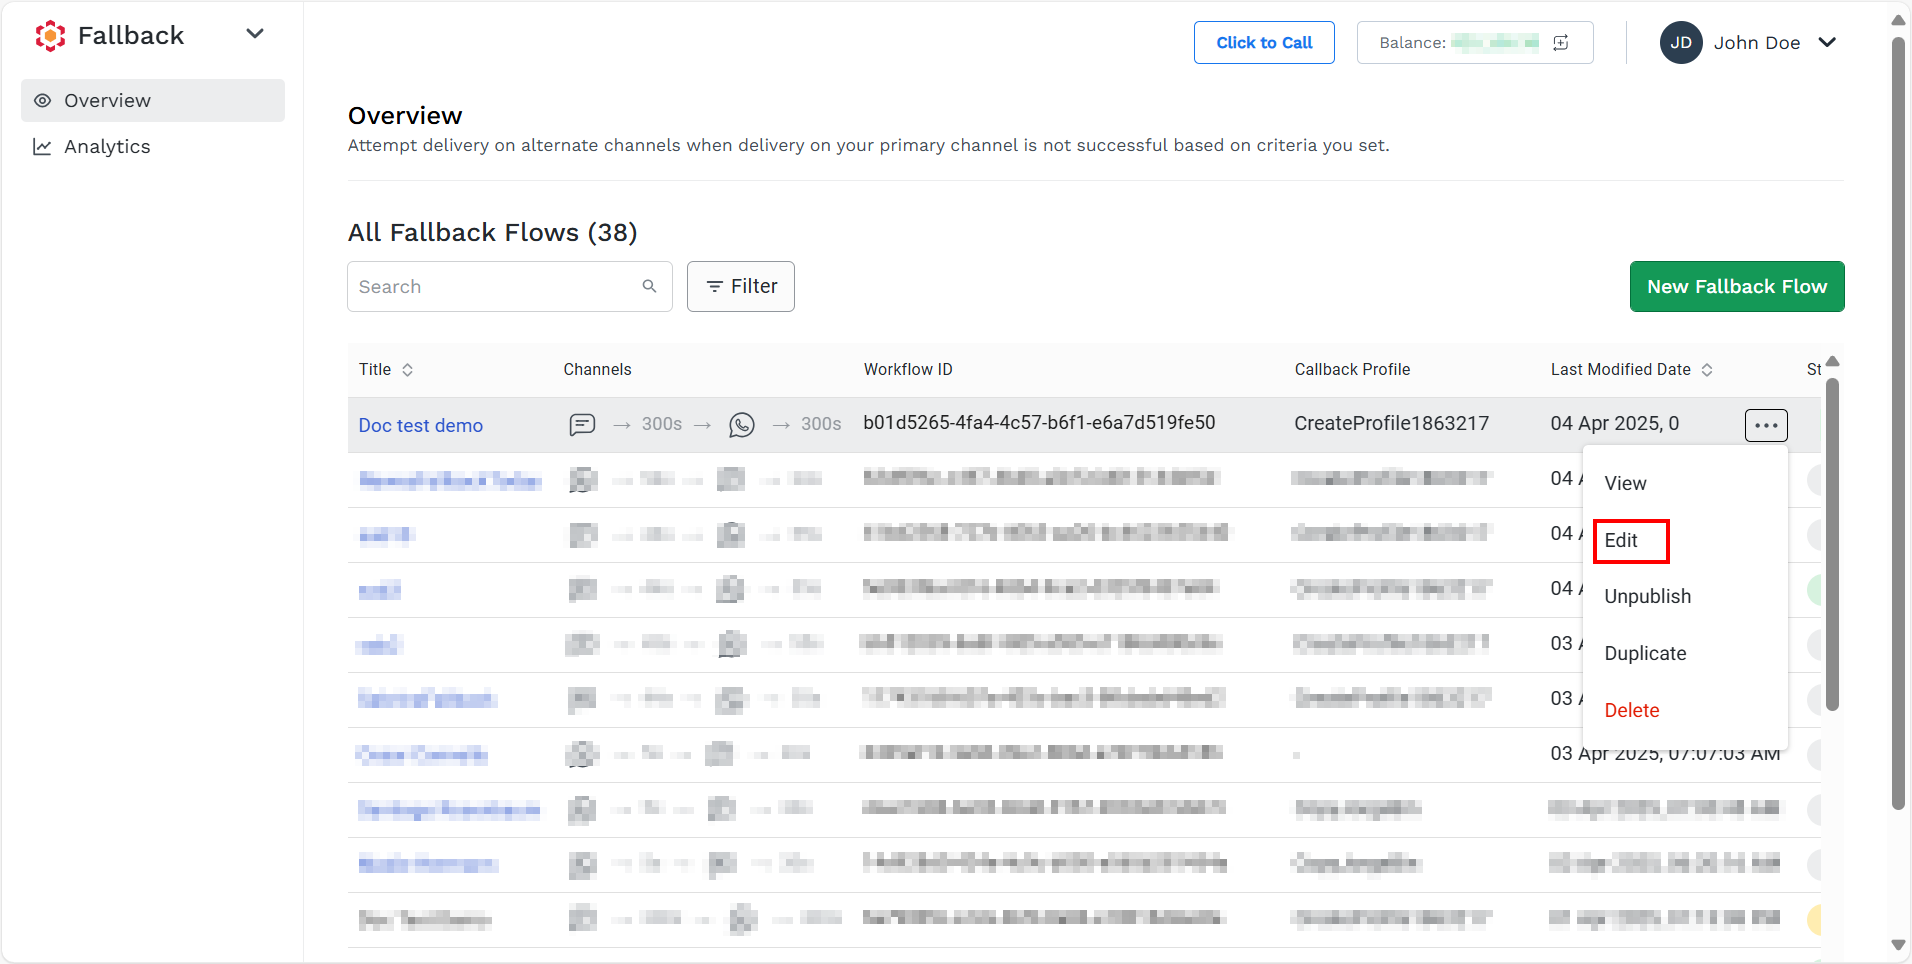
Edit through Ellipsis icon.
-
Hove over right side of the published fallback and the ellipsis icon will appear.
-
Click the ellipsis icon and select the Edit option.
The published fallback Basic Information page appears.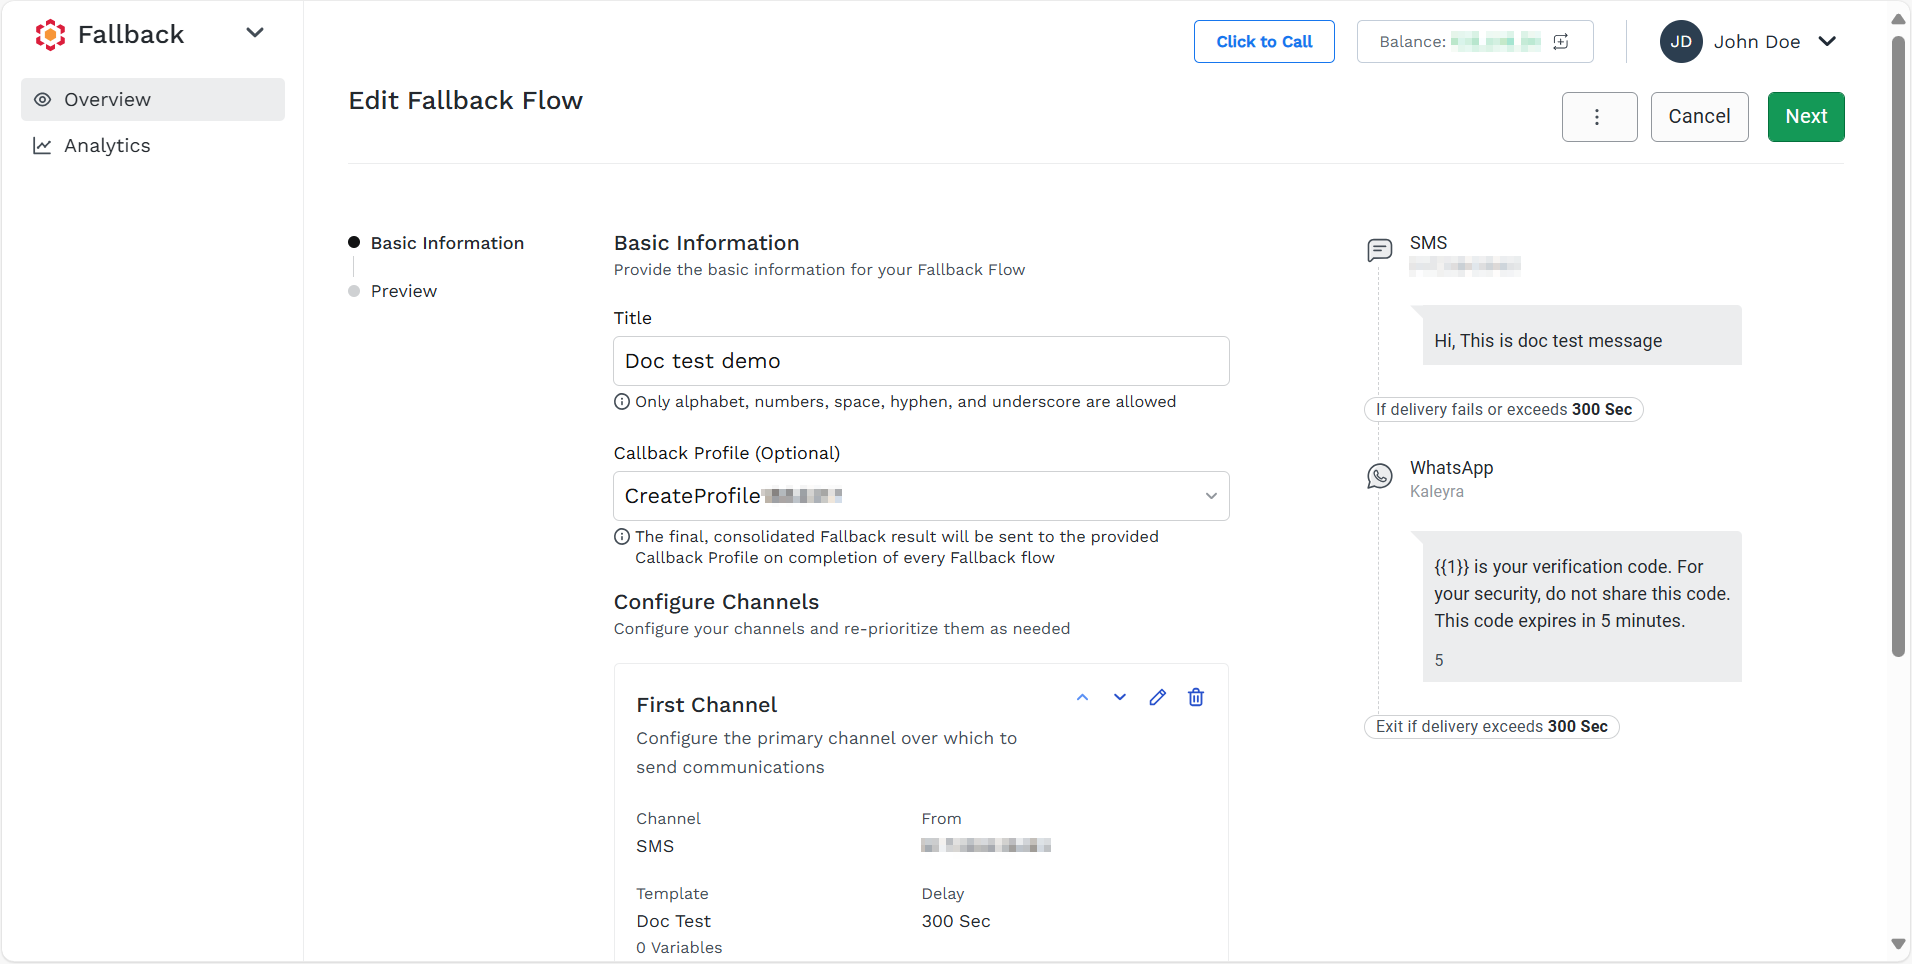
-
-
You can edit the following details:
-
Title - You can edit the title of the fallback. In the Title field, edit the title for the fallback flow. The Fallback flow title must be unique within the account. No other active or inactive flow in the same account can share the same title.
-
(Optional) Callback Profile - You can select a Callback Profile ID to receive the results of each Fallback flow. To edit the callback profile, click the arrow next to the Callback Profile, and a list of configured callback profiles appears. Select the callback profile. If you do not want a callback profile, you can keep it blank.
-
Configure Channels - You can edit the configured channels.
- To edit the configured channel, on the right-hand side of the configured channels, click the pencil icon.
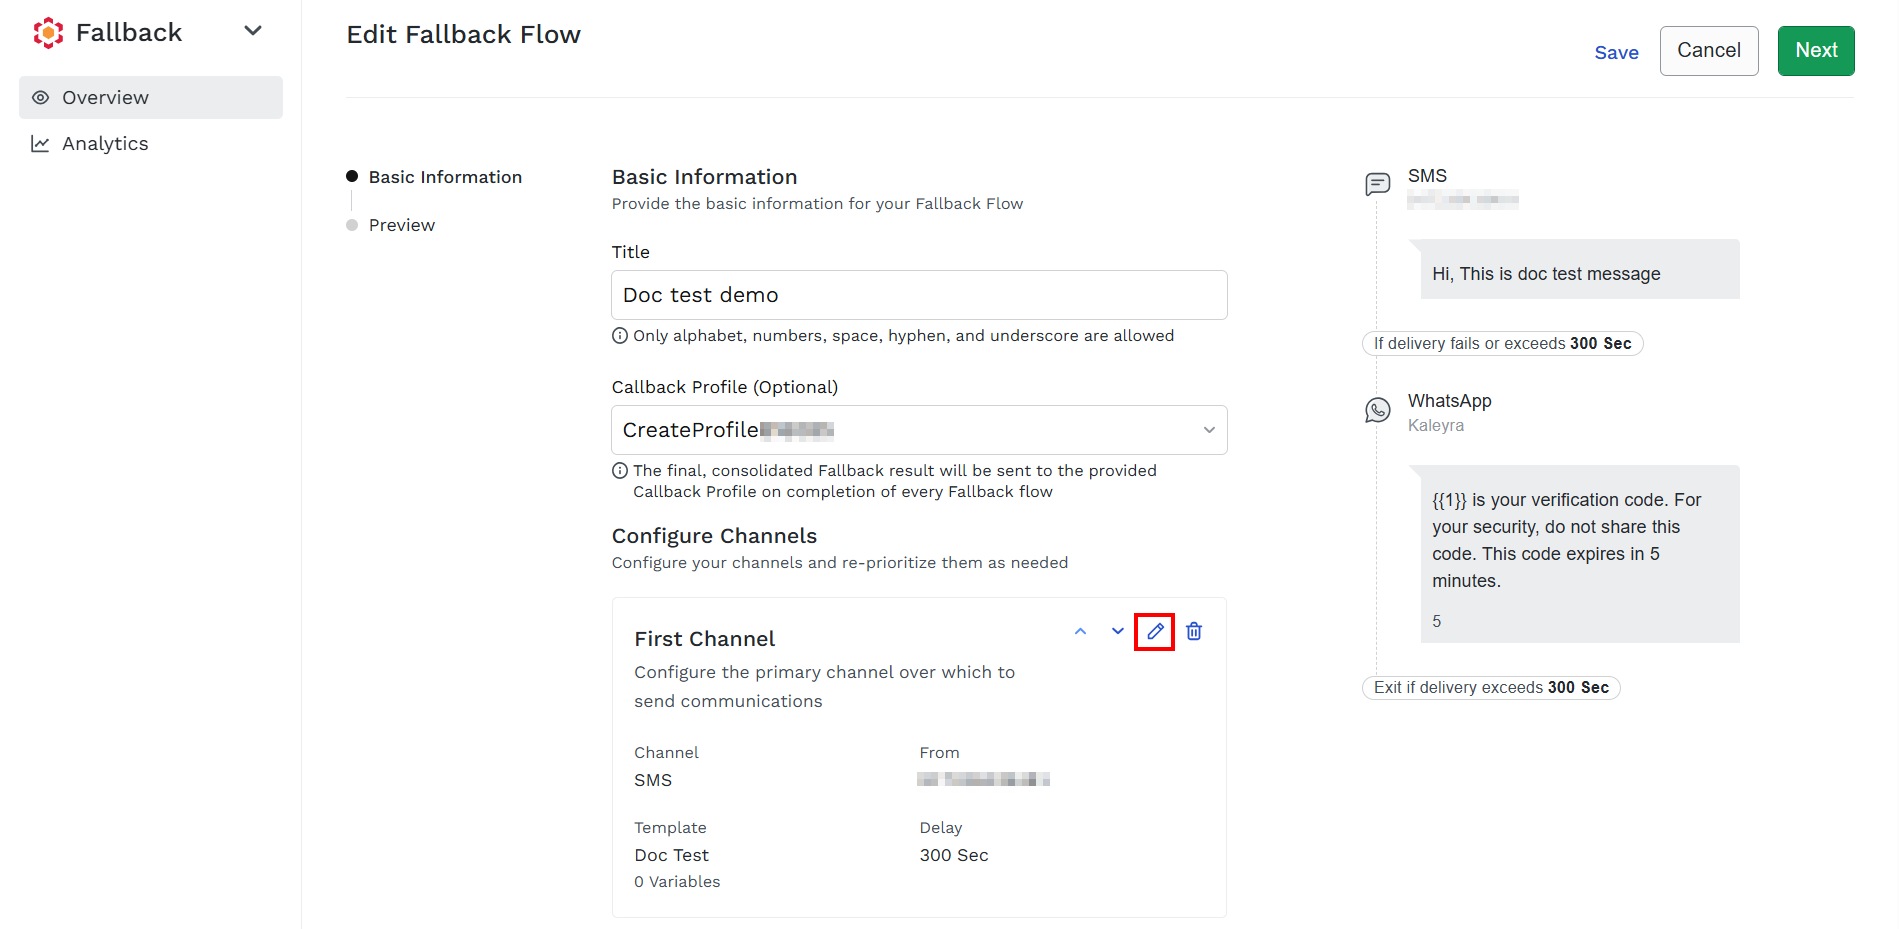
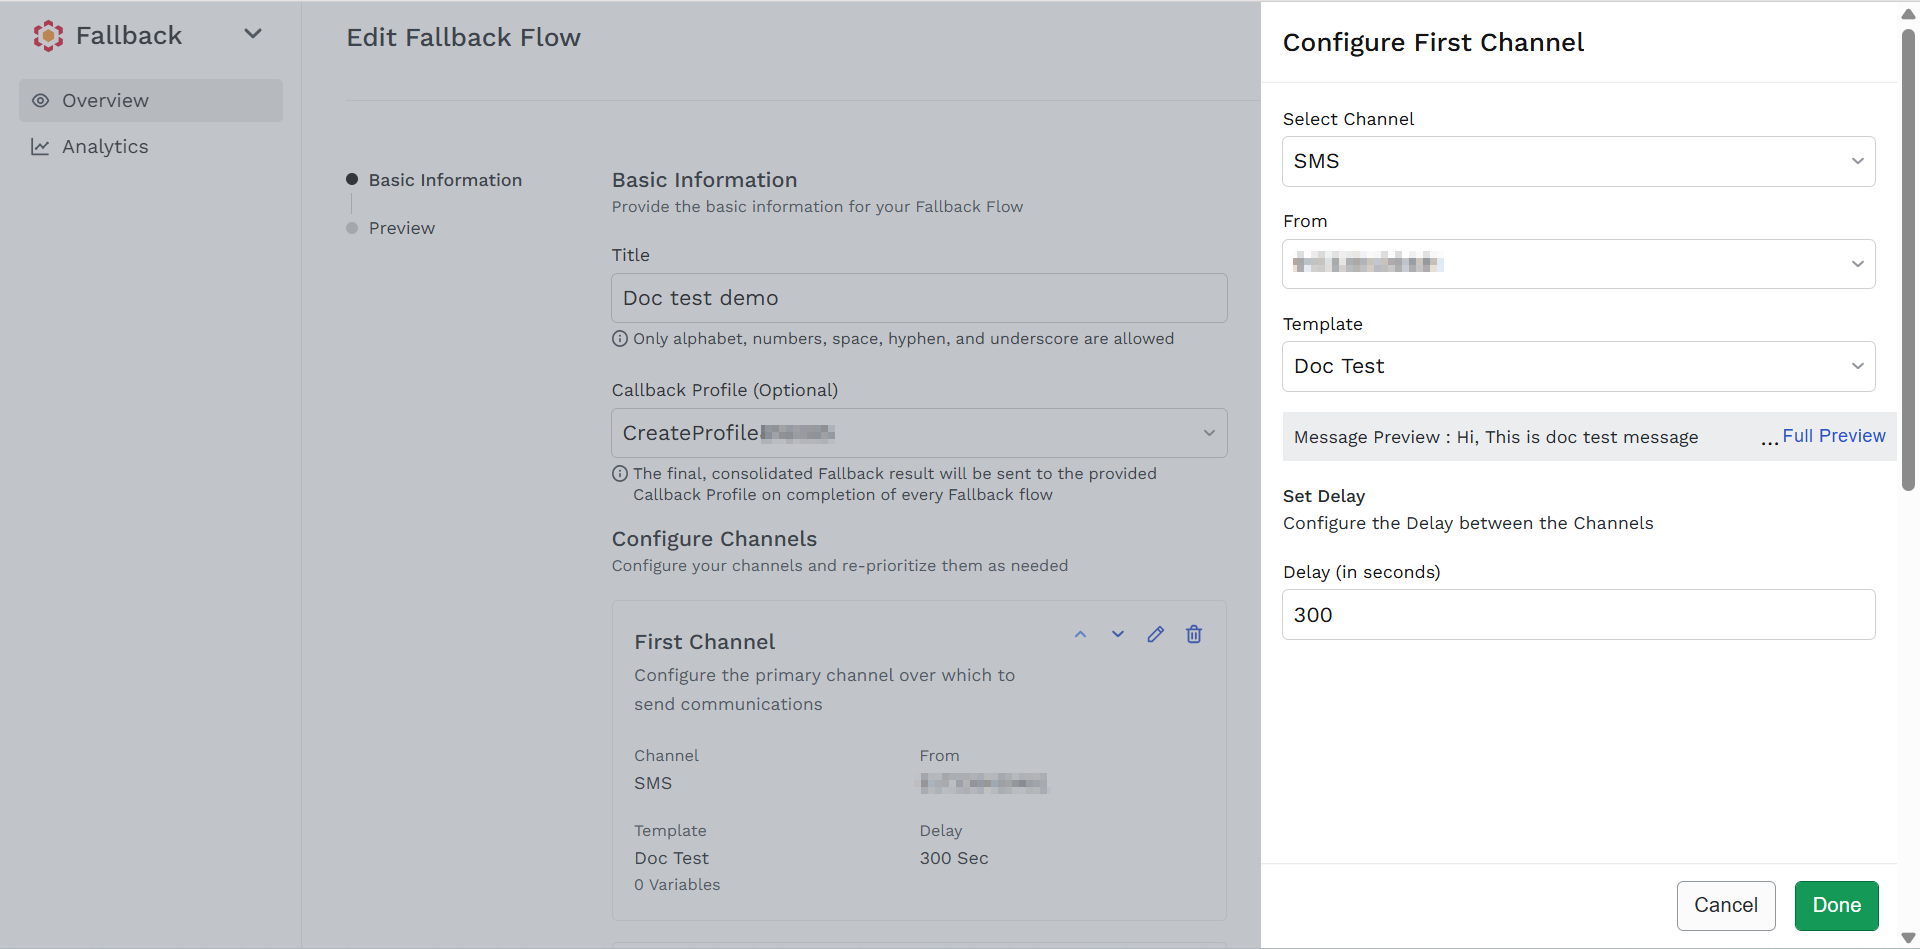
The Configured First Channel pane appears on the right-hand side of the page.
 Note:
Note:To edit the channel, you must delete the second configured channel, then only you can change the channel. For more information on how to delete the configured channel, see Delete a Configured Channel.
- On the From, click the arrow next to the Select field, and a list of subscribed numbers appears. You can edit the number to send the SMS.
- On the Template, click the arrow next to the Select field, and a list of approved templates appears. You can edit the SMS template you want to send. The message preview will appear when a template is selected.
- In the Delay field, you can edit the time interval in seconds between the two channels and between the final channel and the completion of the Fallback flow. The minimum delay time is 5 seconds (five seconds) and the maximum delay time is 900 seconds (15 minutes).
- Click Done.
-
-
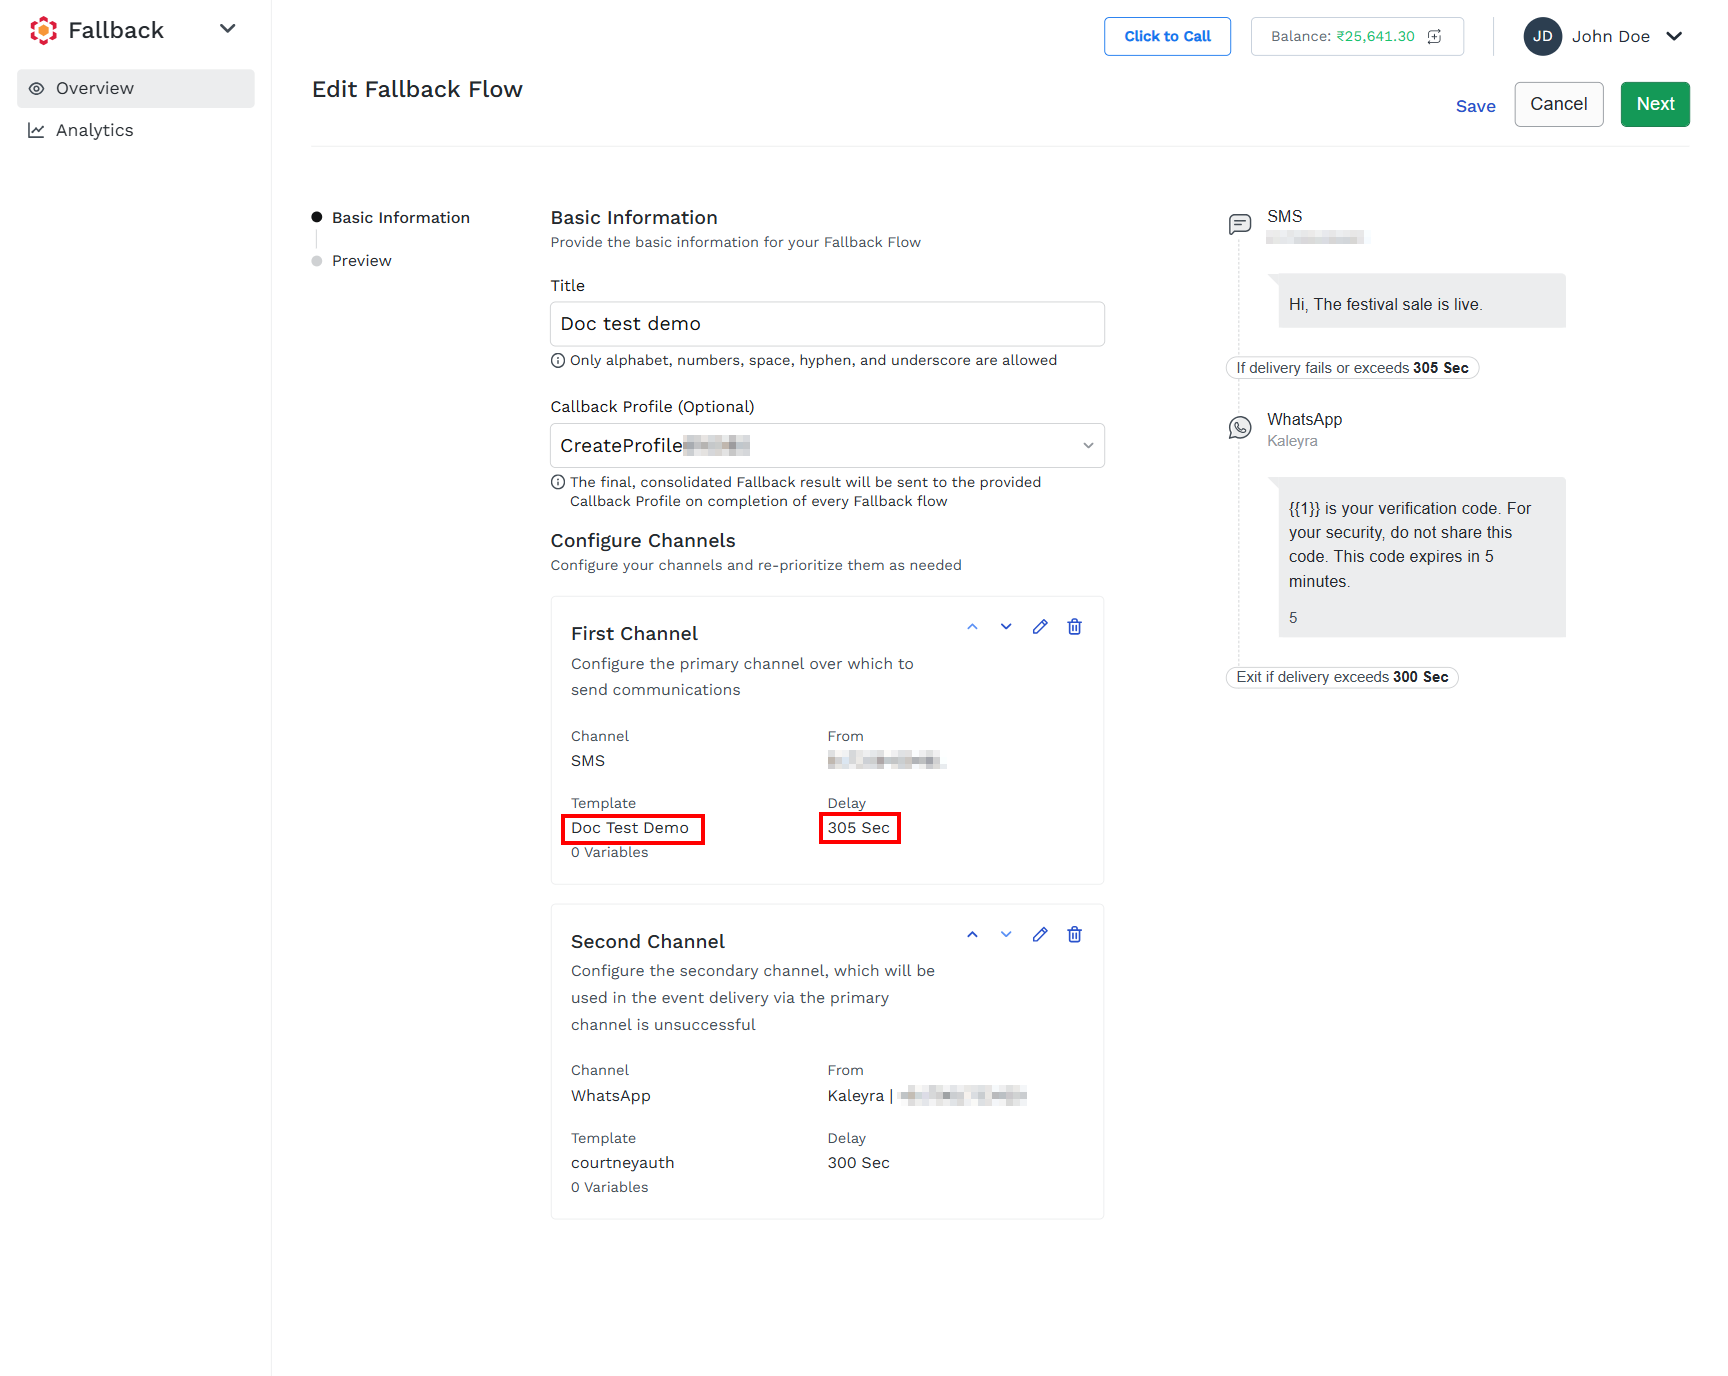
You can perform any one of the following:
- Save - To save the fallback without publishing the changes, click Save.
- Next - To proceed with the options to preview, publish, return to the edit page, or save the edited fallback, click Next.