Automation use case: Add Customers
You can add customers using the automation flow.
To add customers using the automation workflow, perform the following steps:
- Login to the Shopify account.
- Go to Customers tab and click Add customer.

You can navigate to the New customer page.
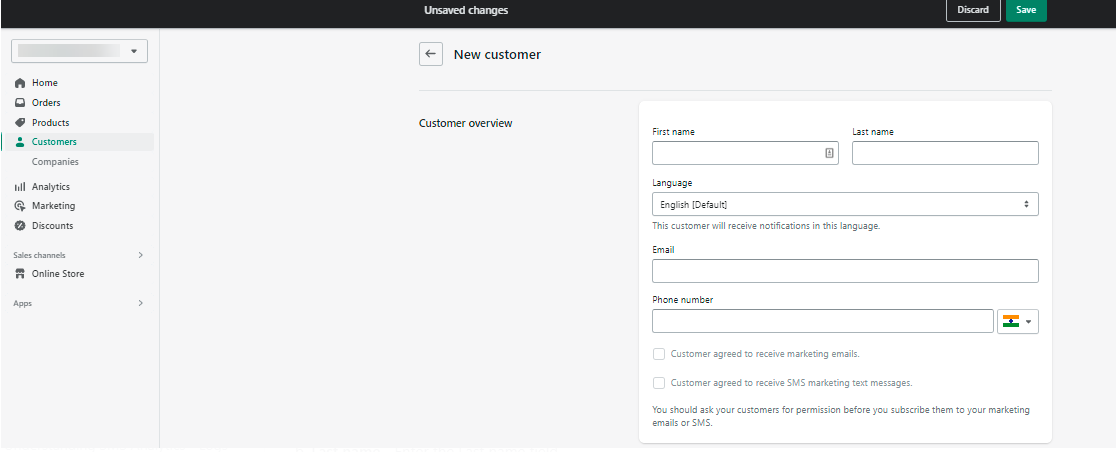
Enter the Customer overview details:
a. First name - Enter the First name field.
b. Last name - Enter the Last name field.
c. Language - Enter the Language field. English is the default language.
d. Email - Enter the email address.
e. Phone number - Click the arrow next to the Phone number field to view the list of country. Select as appropriate and enter the phone number.
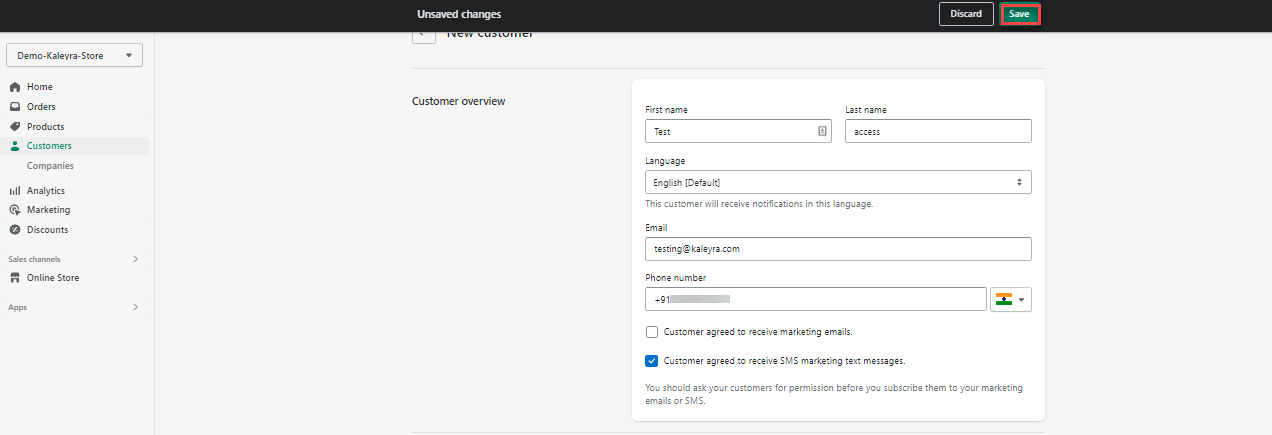
- After entering all the mandatory details, click Save. The New customer is created.

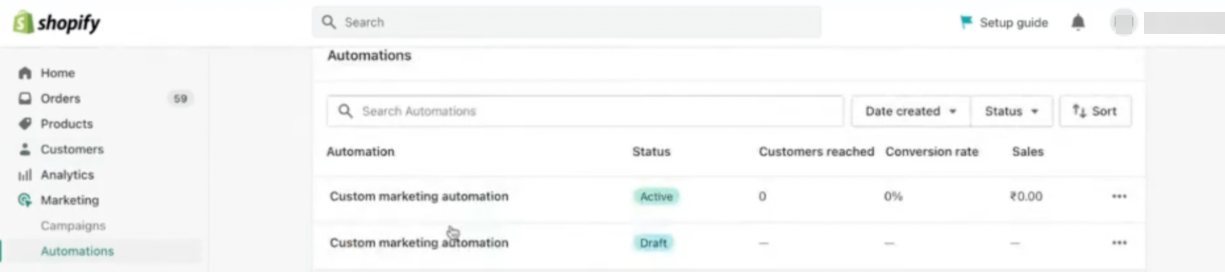
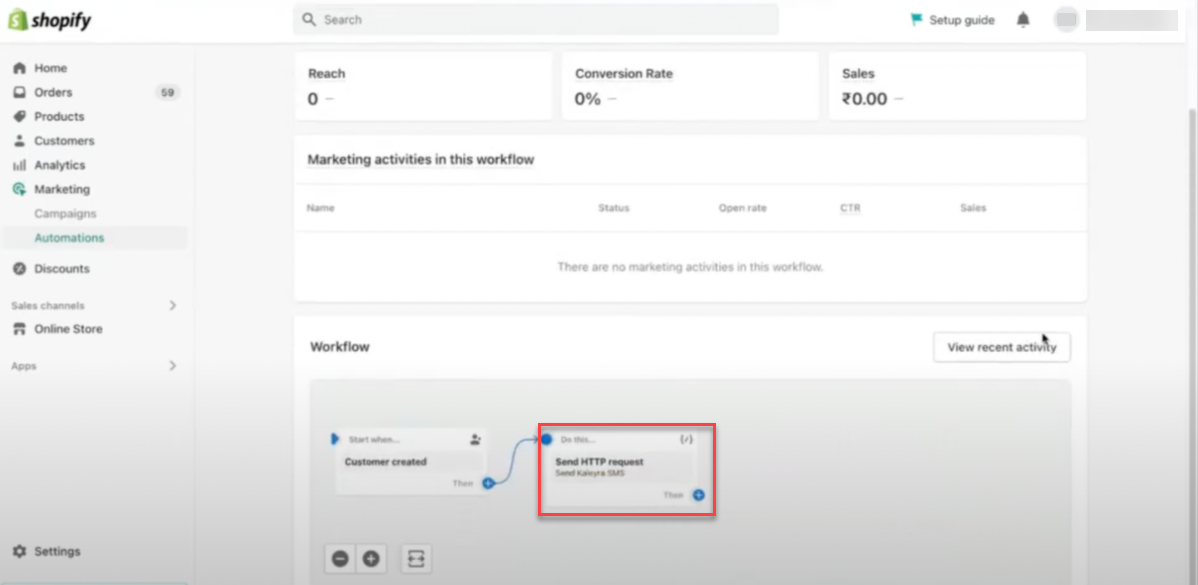
- Go back to Automations page and click Automations, you can view the recent activity (the status of the new automation created).
- Click the recently created Custom marketing automation with the status "Active". The Automations details page appears.
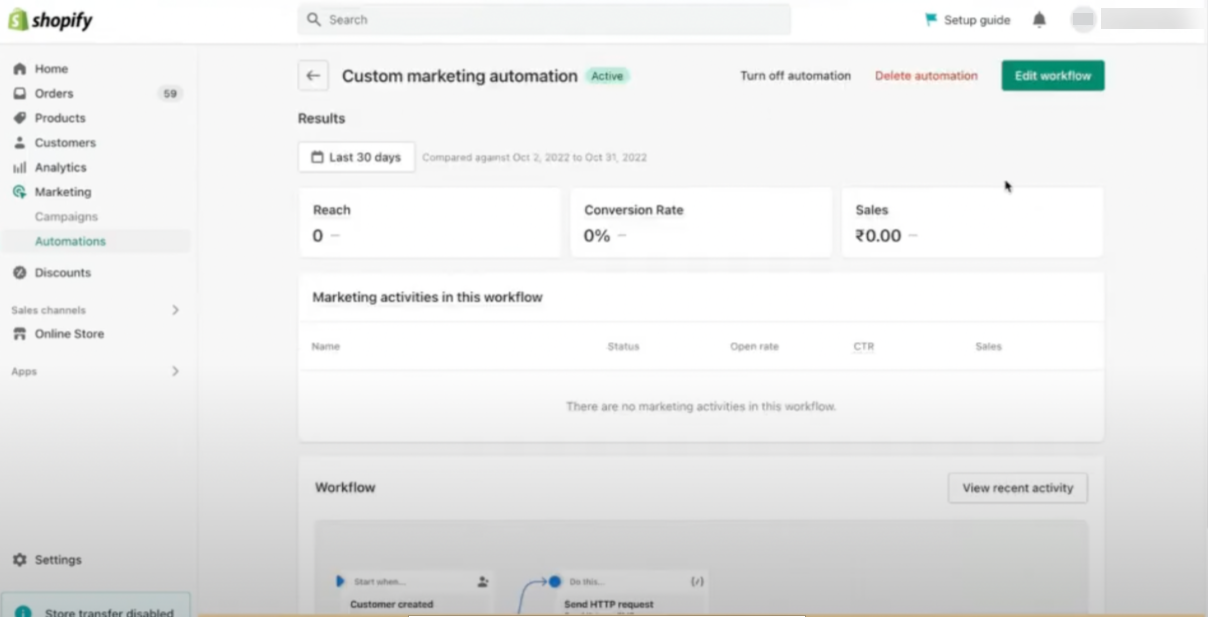
- Scroll down until Workflow, and then click Send HTTP request.
The "Send HTTP request Succeeded" message appears.
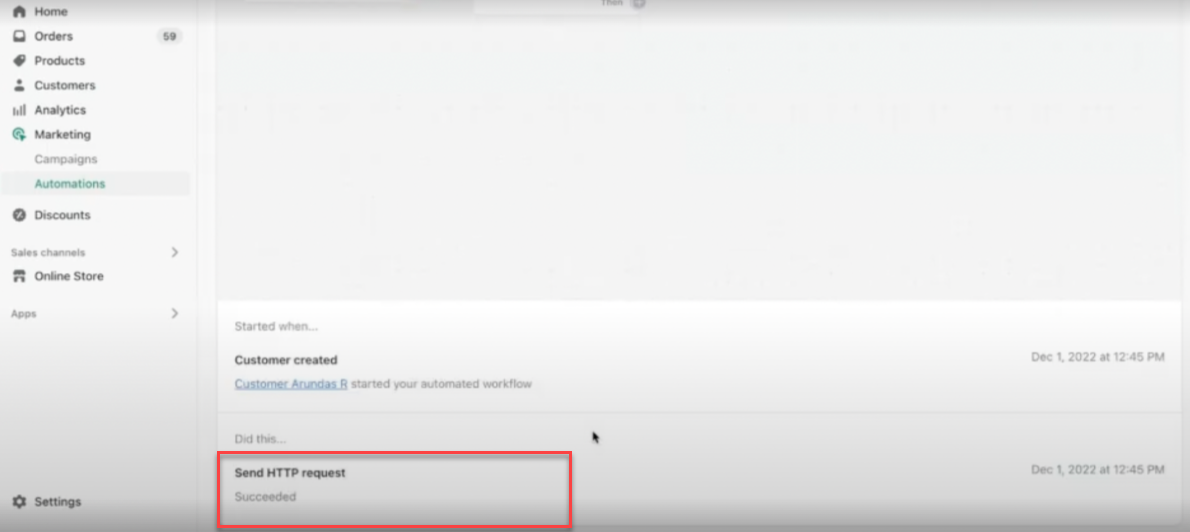
- Once the HTTP request message is succeeded, you can view the Custom marketing automation triggered SMS under Channels> Analytics of the Kaleyra.io page.