Create a Zap to send an SMS
This section describes the steps to create a zap using a trigger app and an action app (Kaleyra) on Zapier platform.
This page covers the following topics:
The following example creates a zap that triggers when new information is added to the trigger app and sends an SMS to one or more customers along with a shortened URL.
To create this zap:
- Define a trigger to start the zap, whenever new information is added to the trigger app.
- Define two different actions, one to shorten a URL and another to send an SMS to Kaleyra along with the shortened URL.
Define a trigger
Define a trigger in the trigger app.
Google Sheets app is considered as the trigger app in the following screenshots. Adding a new row in Google Sheets is the trigger event.
To create a trigger:
- On the Zapier dashboard, click the My Apps menu.
- On the Apps page, click Create Zap.
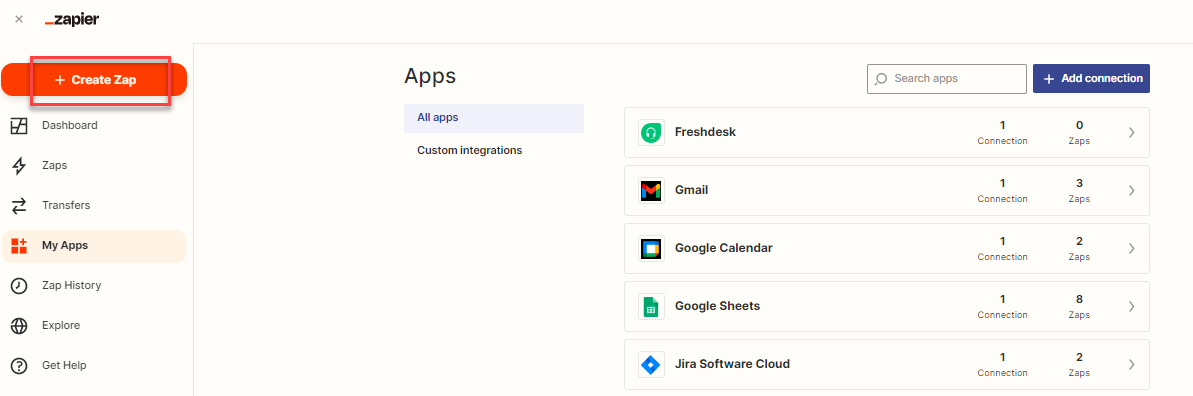
The Trigger page appears, where you can define the trigger by selecting an app.
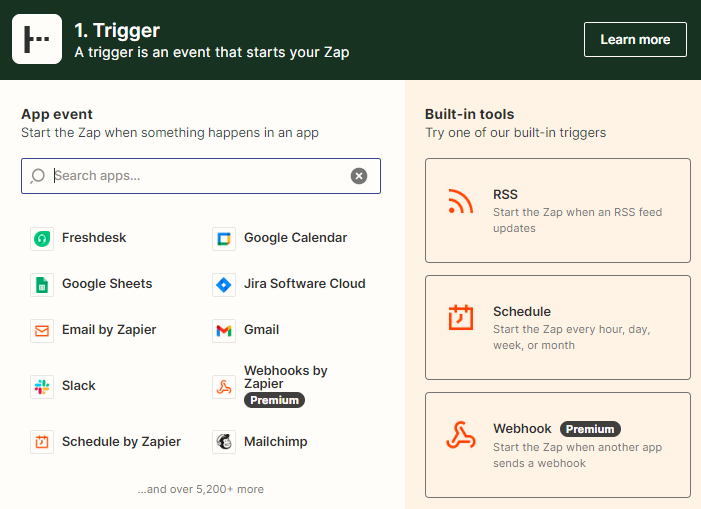
- Enter a name for the zap.
- Select Google Sheets to define a trigger.
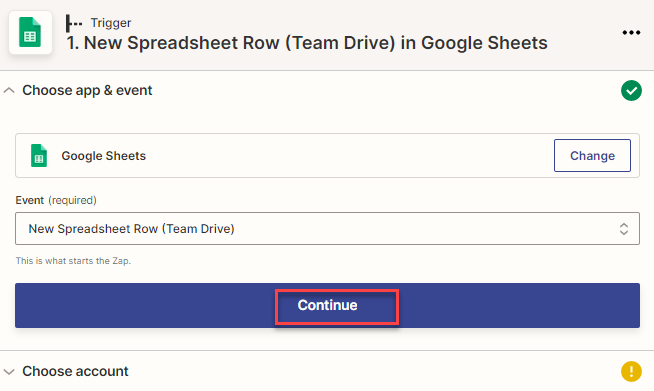
The Choose app & event section appears.
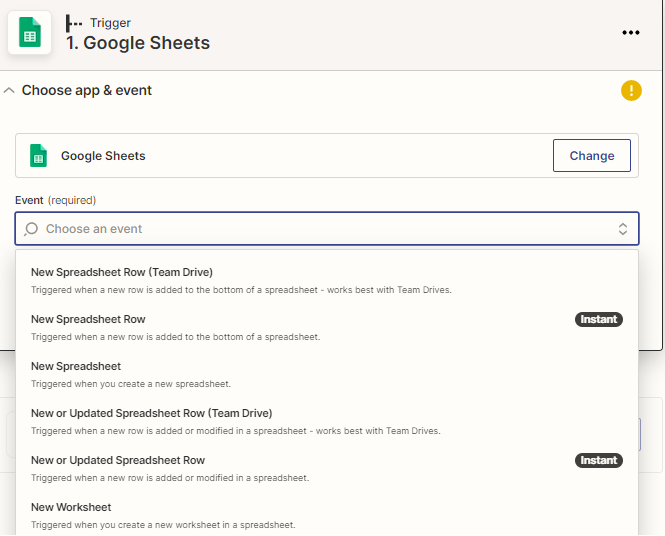
- In the Event list, select the 'New Spreadsheet Row (Team Drive)' option.
- Click Continue.
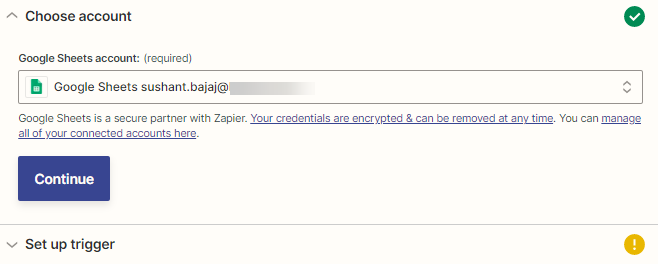
- Select the Google Sheets account.
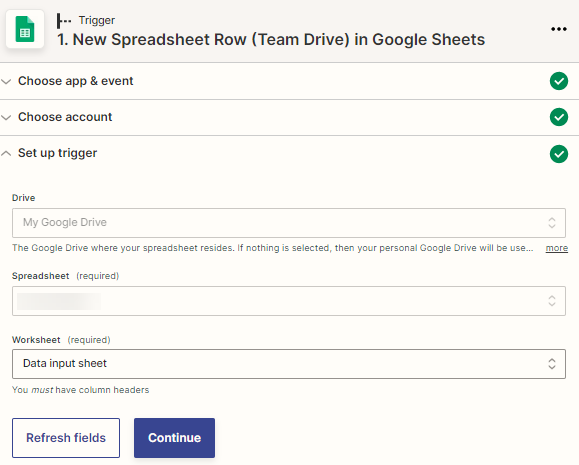
- Under the Set up trigger section, select Drive, Spreadsheet, and the Worksheet.
These three parameters specify the location of the Google sheet, the name of the spreadsheet, and the worksheet in which the new rows get added (trigger event).
- Click Continue and then click on the Test trigger section.
- In the Test trigger section, click Test trigger.
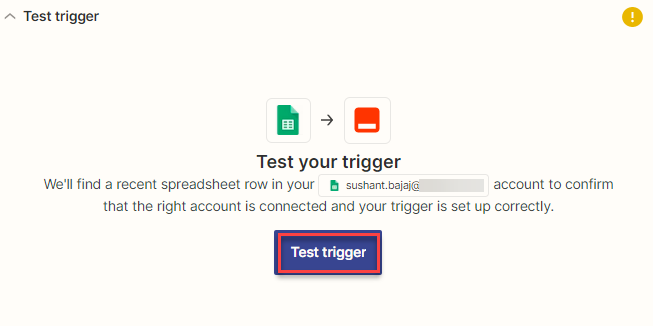
The following page appears if the test for the trigger is successful.
This completes defining a trigger for the zap.

- Click Continue to define the action steps.
Define actions
Note:If you want to use Kaleyra shortened URL in your message body then use the Shorten URLs to define an action when the triggering event occurs.
To define an action for Shorten URL:
- In the App event section, search for the Kaleyra app.
After selecting Kaleyra in the app, the list of available action events from the Kaleyra app appears. - Select the Shorten URLs option from the list.
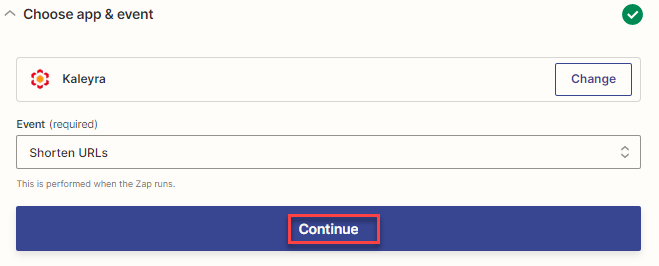
- Click Continue. The Set up action page appears.

- Enter the URL in the Add the complete URL field.
- Click Continue. The Test action page appears. The shortened URL is shown as highlighted on the page.
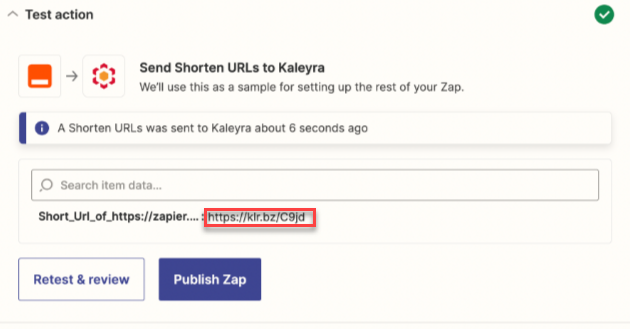
- Click Publish Zap. The Ready to publish your Zap? page appears.
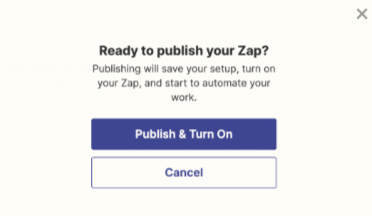
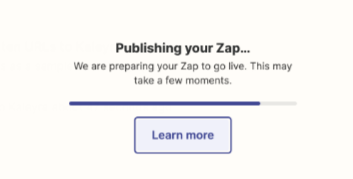
- Click Publish & Turn On. The Publishing your Zap..page appears.
To define an action to SMS to one or more mobile numbers when the trigger event takes place.
- To define another action from the Kaleyra app, click the plus (+) icon.
- In the App event section, search for the Kaleyra app.
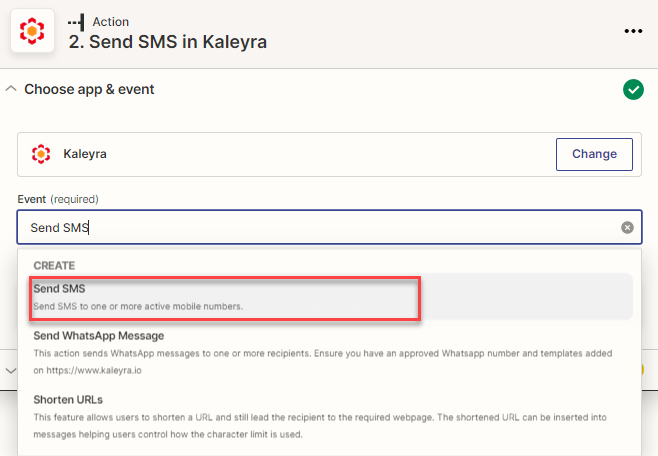
After selecting Kaleyra in the App event, the list of available action events from the Kaleyra app appears. - Select the Send SMS option from the list.
- Click Continue.
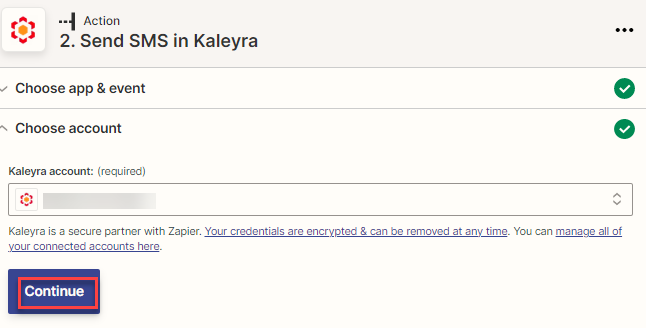
- On the Choose account section, select the Kaleyra account that you have set up and click Continue.
The Set up action section appears.
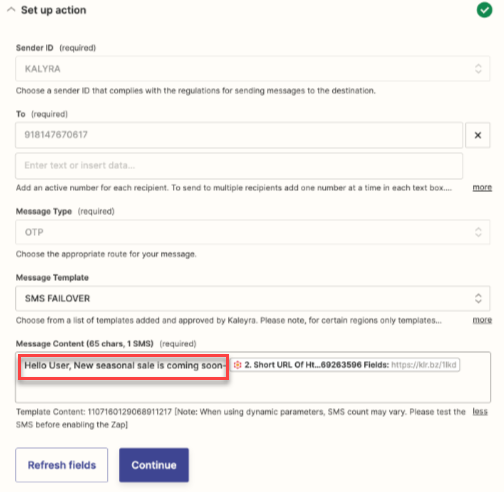
- In the Set up action section, enter/select values in the following fields:
a. Sender ID - Select the Sender ID that you have created in your Kaleyra account.
b. To - Enter the phone number(s) to which you must send the SMS when the trigger takes place. You can add multiple phone numbers.
Note:Ensure that the country code is prefixed to the number. For example,1202XXXXXXX.
c. Message Type - Select a Message Type.
d. Message Template - Select a corresponding template from your Kaleyra account for the SMS.
Note:Choose from a list of templates added and approved by Kaleyra. Please note, for certain regions only templates messages that have been registered with the operator and approved by Kaleyra are permitted.
e. Message Content (0 chars, 0 SMS) - Enter the message that you want to send as SMS.
Note:When using dynamic parameters, the SMS count may vary. Please test the SMS before enabling the Zap.
You must copy and paste the message from the message template into the Message field.
In the following screenshot, the highlighted text is from the selected template. You must add the template text into the Message field.
In the Message field, you can customize and also add dynamic fields to fetch values.
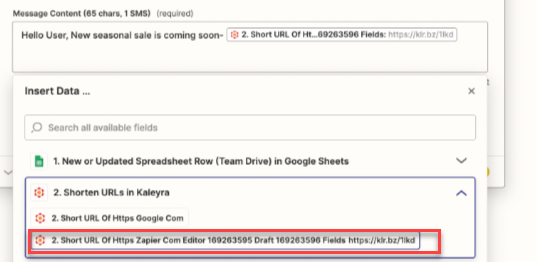
To add the shortened URL from the first action defined in this example, from the Insert Data section, select the Shorten URLs in Kaleyra option.
- Click Continue.
The Test action with all the specified details for the SMS appear in this section.
In the Message text, you can see the message that you have added and also the shorted URL that you have obtained from the first action defined.
- Click Test & Continue.

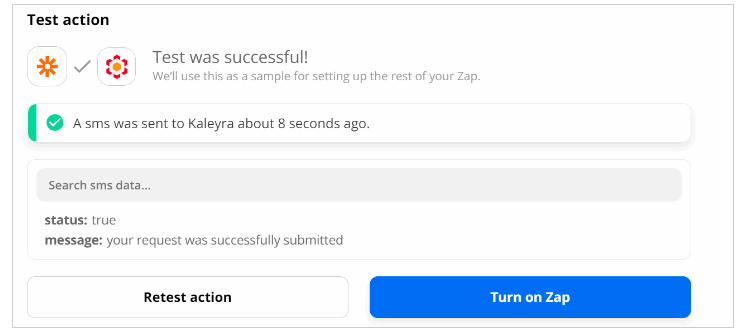
If all the specified SMS details are correct, a message Test was successful is shown.
If there are errors in sending the SMS, a message 'The SMS could not be sent to Kaleyra.' is shown.
Make the necessary changes by editing the erroneous step and re-test the action.
The zap creation is complete.
To turn on the Zap for real-time use, click Turn on Zap.
View SMS sent by Zapier on Kaleyra.io
You can view the SMS sent by Zapier on Kaleyra.io.
To view the SMS sent by Zapier:
- Sign in to the Kaleyra.io account.
- Go to Channels and select the Manage SMS option.
- Select the Analytics tab.
The recently sent SMS by Zapier is shown.