Send Automated SMS
Kaleyra offers an automation feature that allows you to send automated SMS for:
- An order-related activity.
- When any order is created, canceled, and refunded.
- A customer-related activity.
- When a new customer is added to the store or an existing customer is deleted.
- Customer account disabled or Customer abandoned checkout.
To use the automation feature you need to configure Kaleyra with Shopify. For more information, see Kaleyra with Shopify and Configure Kaleyra Settings with Shopify.
To automate order-related SMS, perform the following steps:
- Login to the Shopify account.
The Home page appears.
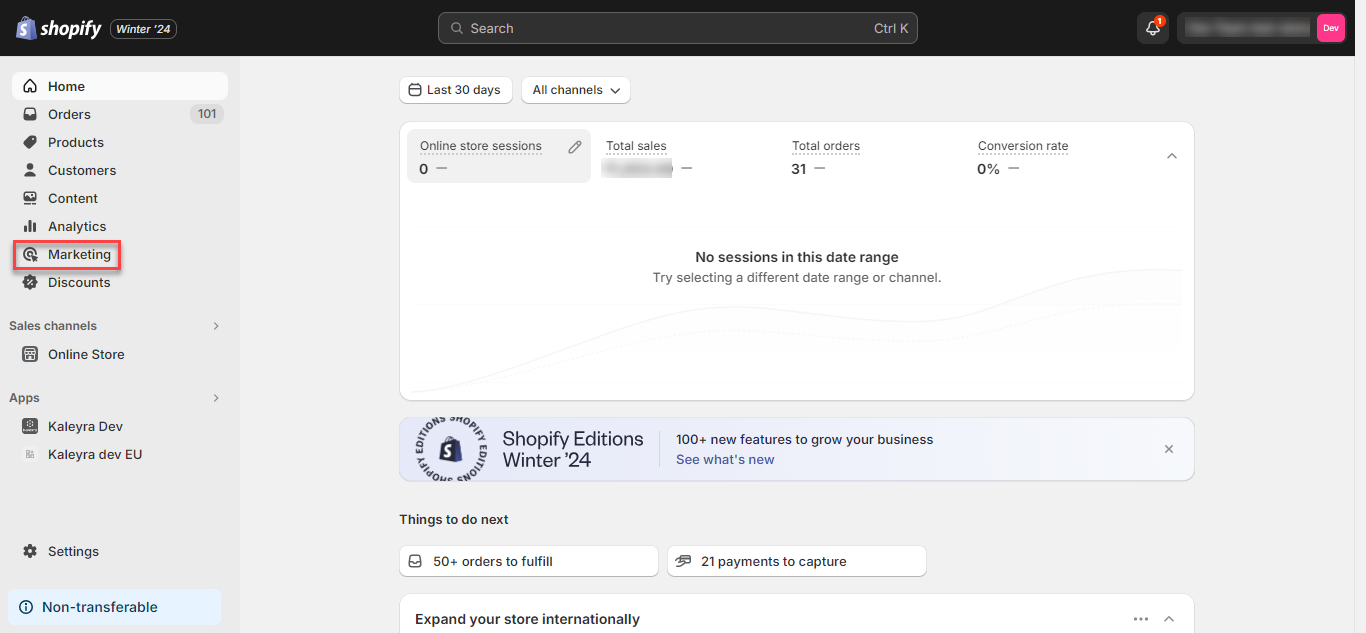
- On the left pane, click Marketing.
The available options appear.
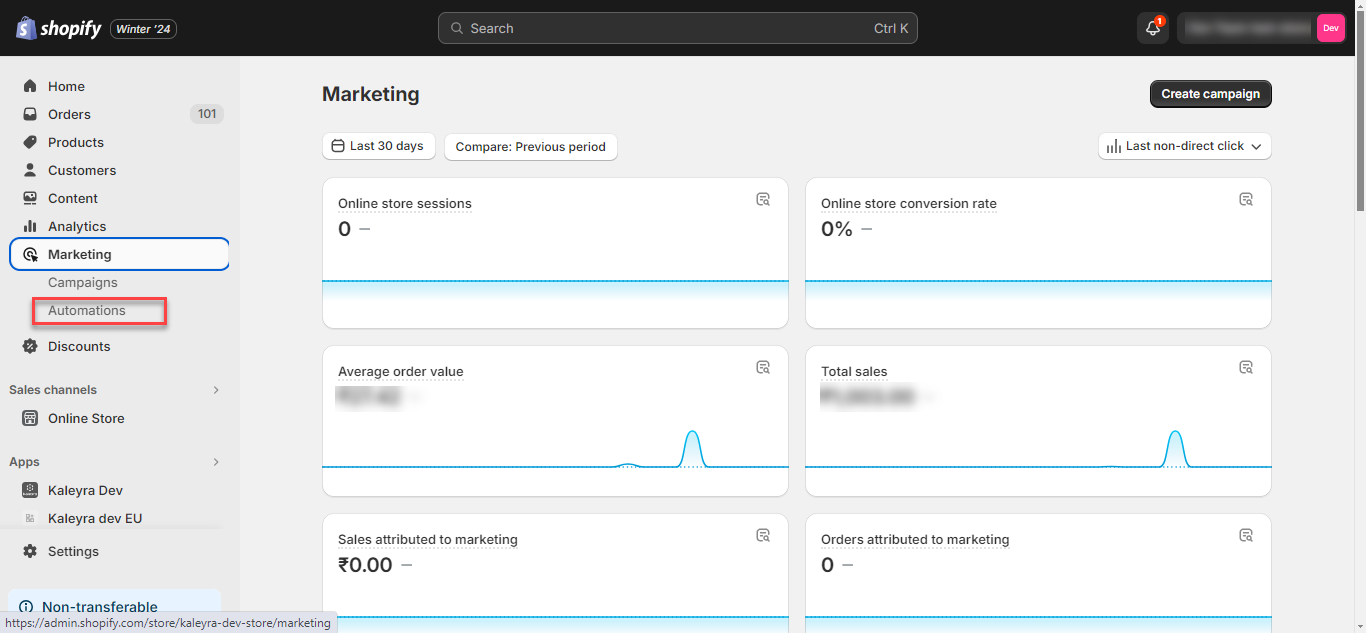
- Click Automations.
The Automations page appears
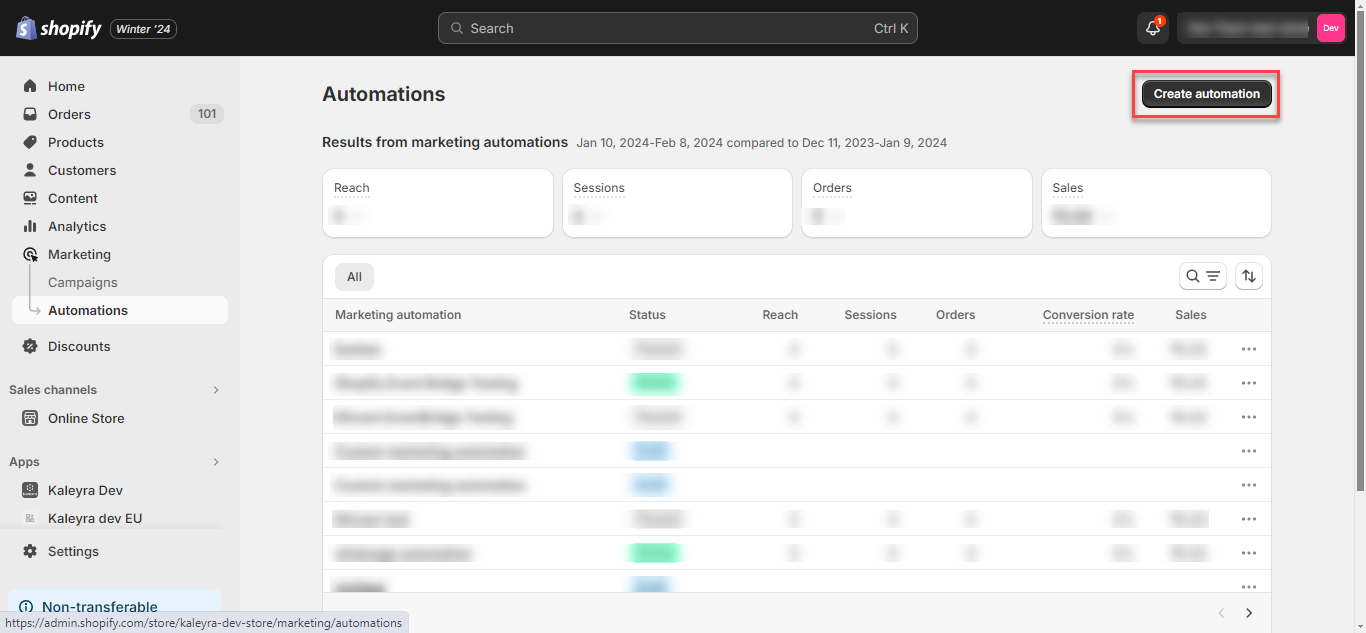
- On the right side of Automations page, click Create automation.
The Automation templates page appears.

- On the right side of Automation templates, click Create custom automations.
The Custom marketing automation workflow page appears.
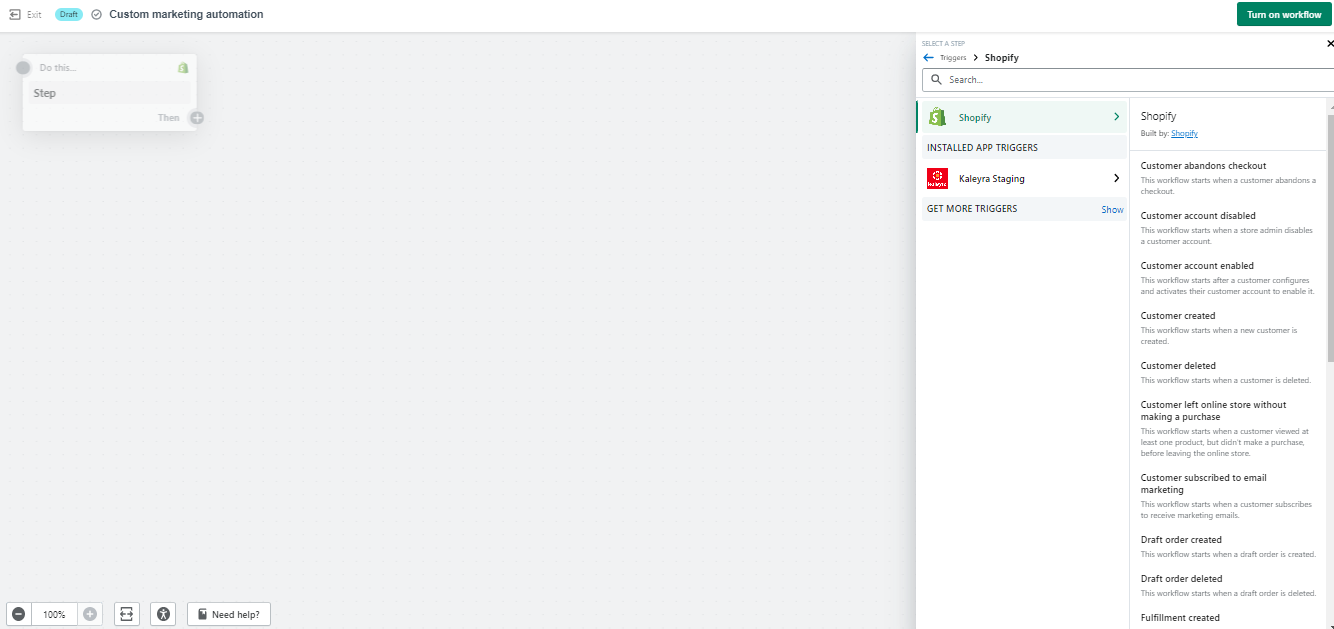
The workflow has the following three nodes:

- Trigger - Specifies the event that starts a workflow.
- Condition - Specifies the rule that determines that the action should be taken.
- Action - Specifies the task that is completed when the conditions are met.
For example, workflow to Send an SMS when the customer is created.
- Select a step to start the workflow, from the following screen Customer created is selected.
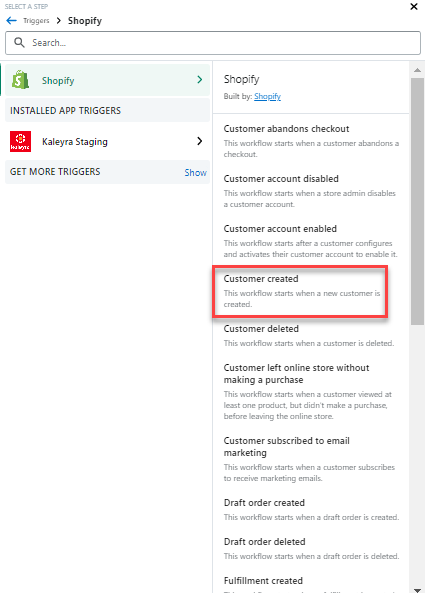
- Click Customer created from the Shopify list. This workflow starts when a new customer is created.
- Click the + icon. There are two options, you can set the Condition or Action.
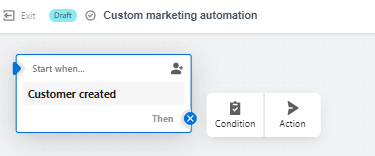
- Click Condition to select a condition.
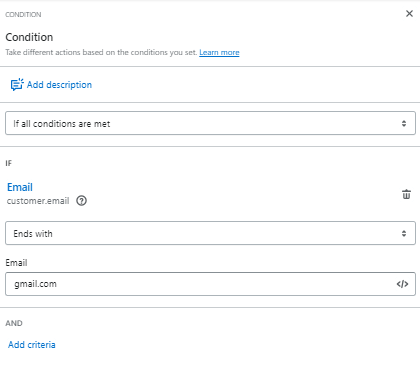
- From the Condition section, click Add criteria to select the condition. Email address "Ends with gmail.com", is selected as an example.
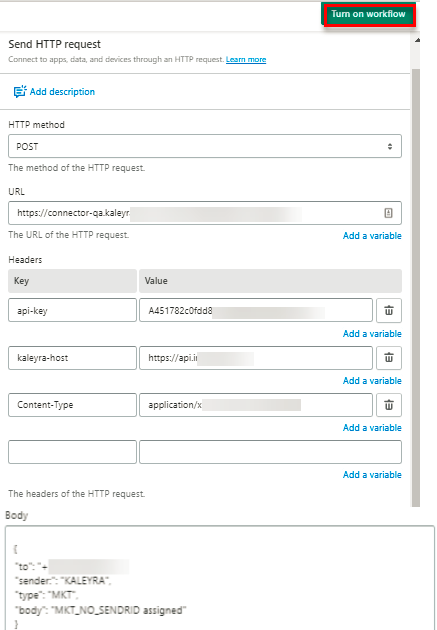
- Click Action to send the SMS. Select Send HTTP Request from the Shopify list.
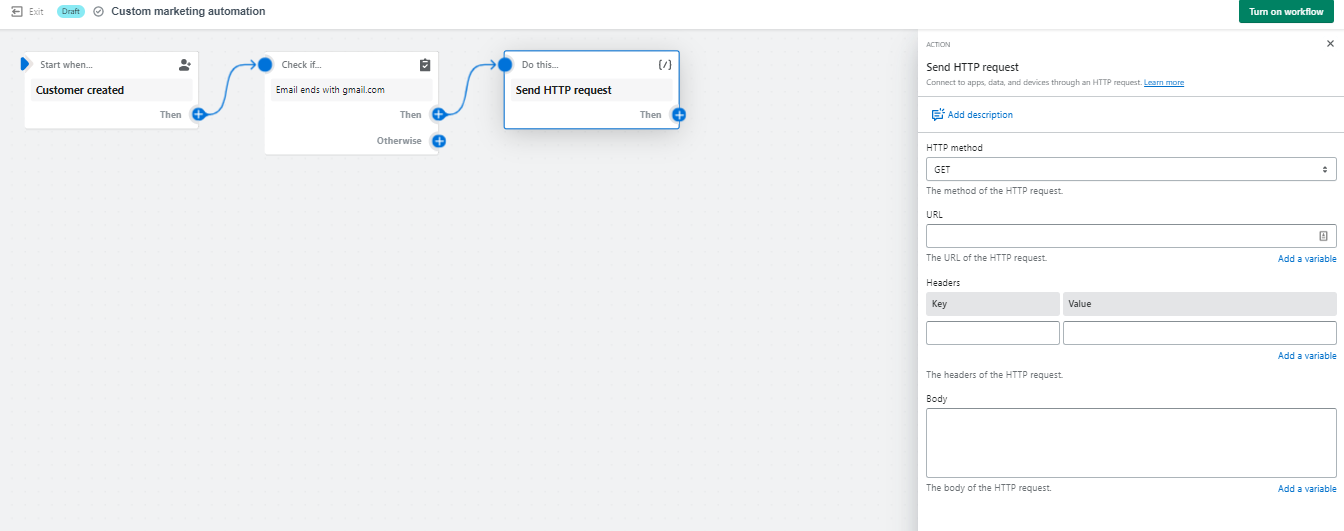
Enter the following in the Send HTTP request page:
a. HTTP Method - Enter the method of the HTTP request. The supported method is POST.
b. URL - Enter the base URL in the text box.

For more information on the curl request, see Request Format page.
Use the SID from the key generated on https://kaleyra.io/.
c. Headers - In the Headers section, add the following key and their corresponding value.
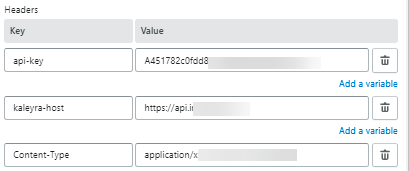
api-key - Enter the alphanumeric key in the text box.
Use the key generated on Kaleyra.io. For more information, see Generating an API Key . To view the API Key and the SID, see View API Key and SID.
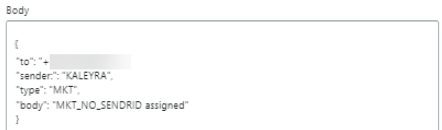
d. Body - Enter the body of the HTTP request.
To create a body of the HTTP request, perform the following steps:
- to - Enter the Recipient mobile number.
- sender ID - Enter the approved sender ID by Kaleyra.io. For more information, see Creating Sender ID page.
- type - Enter the Route type. Supported types are Marketing, Transactional, OTP, and default.
- body - Enter the message content. For example, This is the test message from Kaleyra.
- To start the automation, click on Turn on workflow.
Note:If you exit the workflow before turning it on, then it will save as a draft. You can return to this automation at a later time by selecting it from the Custom marketing automation page.
The "Ready to turn on your automation workflow?" pop-up appears.
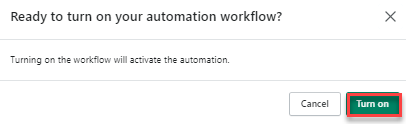
- Click Turn on. The workflow is now set to the ON state.
You can navigate to the following topics related to automation:
Updated about 1 year ago