HubSpot Automation
You can send SMS to a set of specific customers, companies, and so on, based on your requirements and configuration using the Workflow for marketing, sales, and service needs.
In HubSpot, you have the option to create or update the workflow and its properties based on your business requirements. Also, you can enroll records and take action on different contacts, companies, deals, quotes, and tickets. In addition, you have the option to update a record.
Prerequisite:You must have installed Kaleyra App for your account in HubSpot from the marketplace. For more information on how to install the Kaleyra app, see Kaleyra with HubSpot CRM.
Create Workflows
You can create workflows for contacts or companies to send SMS. The only difference is that you will have the option to select a Mobile Phone Number or Phone Number for contacts while you have the only option for Phone Number in the case of companies.
This scenario explains the steps to be followed for contacts and also actions required for companies.
To create workflows for contacts:
- Sign in to your HubSpot CRM account.
The Dashboard Library page appears.
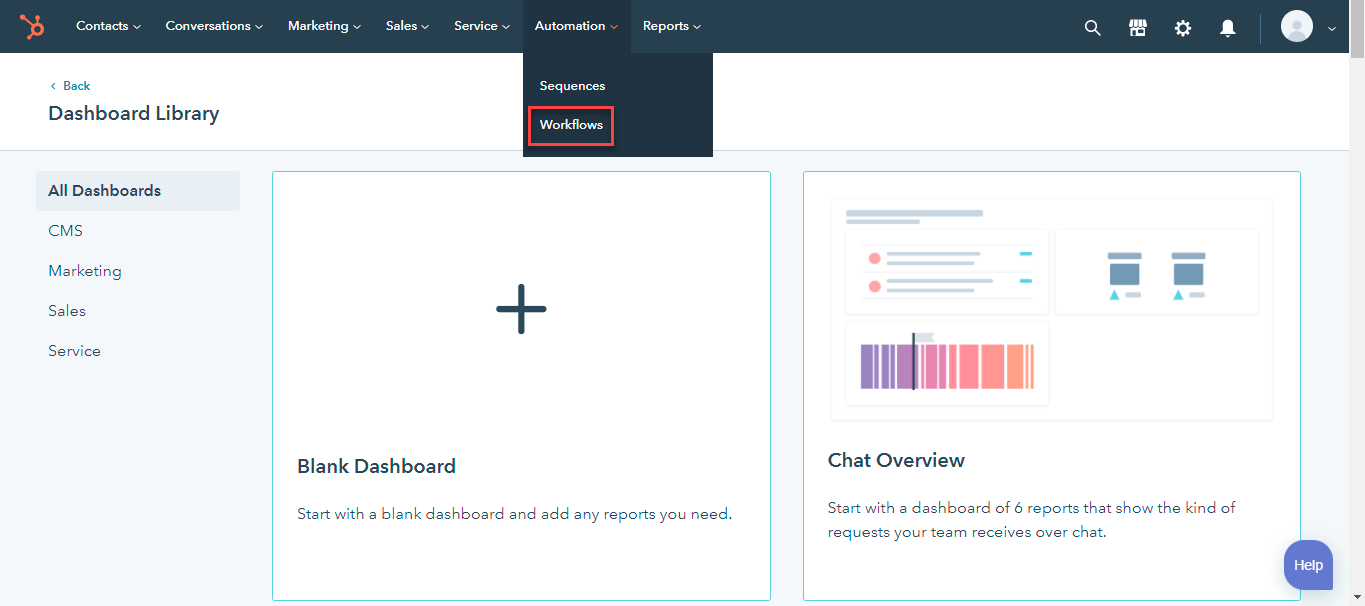
- Click Automation and then Workflows.
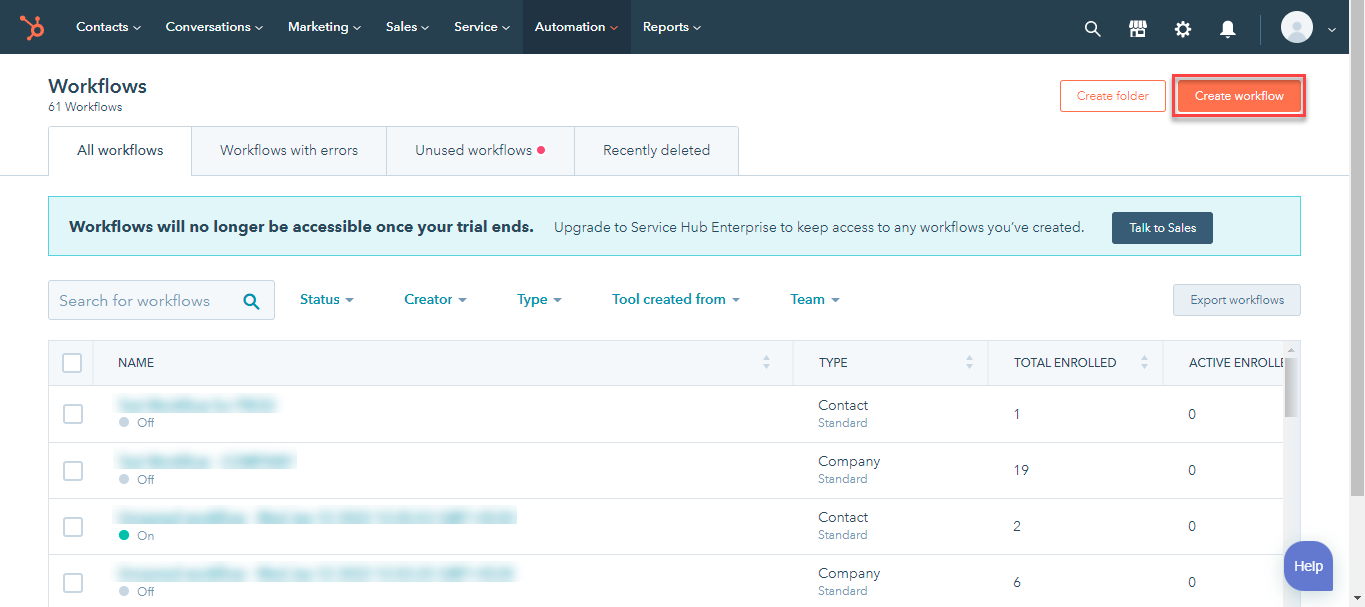
The Workflows page appears.
Notes:
- You can create workflows from inception or you can use the existing template to send SMS.
- Currently, you have the option to create workflows for contacts and companies.
- On the top-right side, click Create workflow.
The Create workflow page appears.
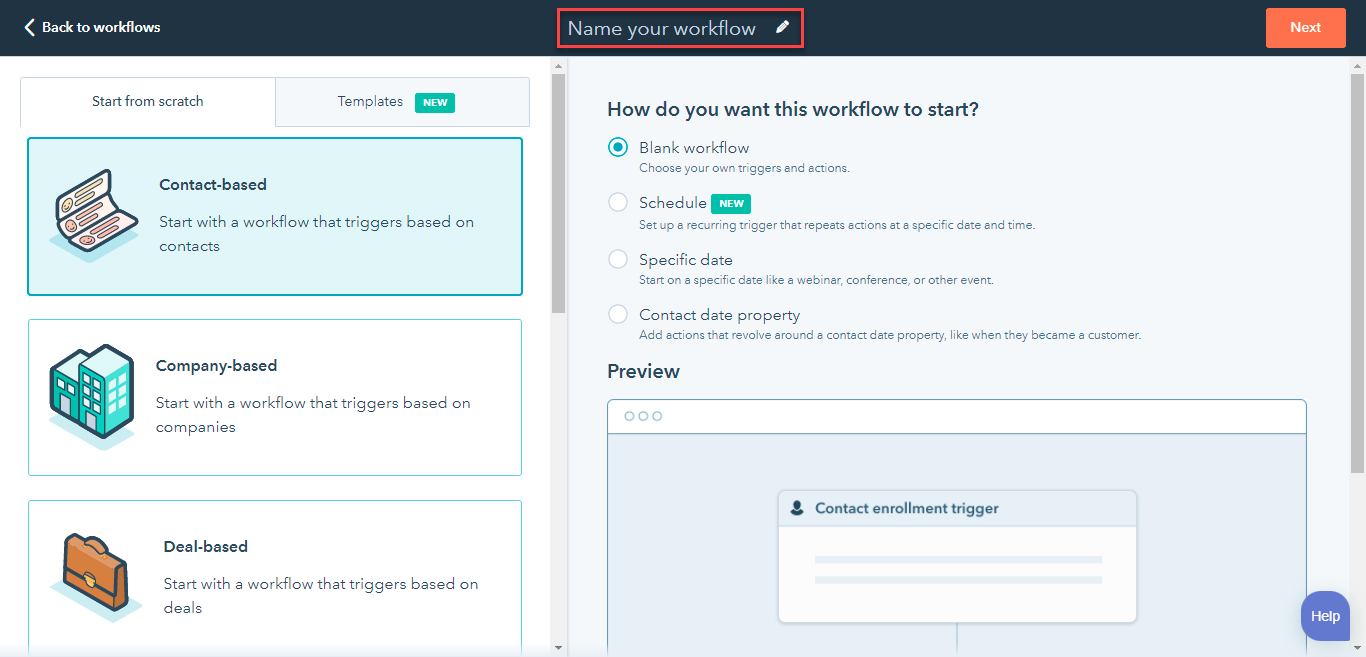
- In the Name your workflow field, enter the workflow name.
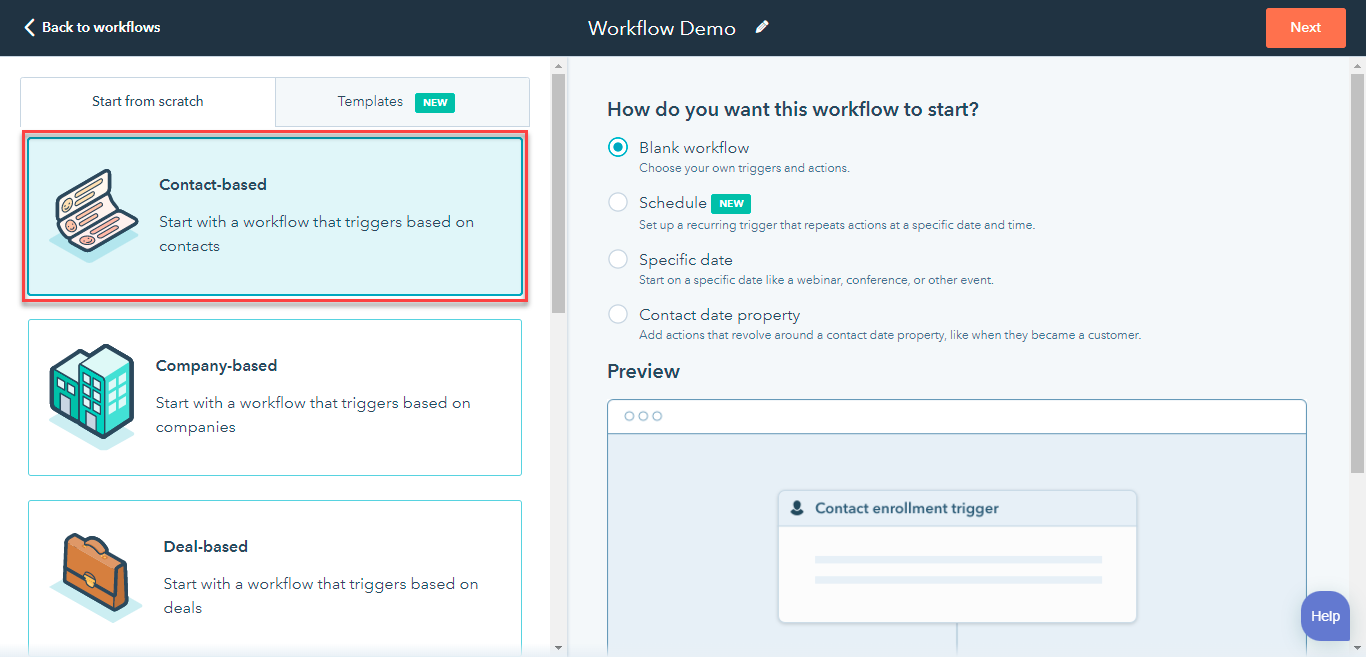
- Select one of the following workflows:
- Contact-based - create a workflow for contacts. For example, select Contact-based workflow.
- Company-based - create a workflow for companies.
- On the top right, click Next.
The Contact enrollment trigger page appears.
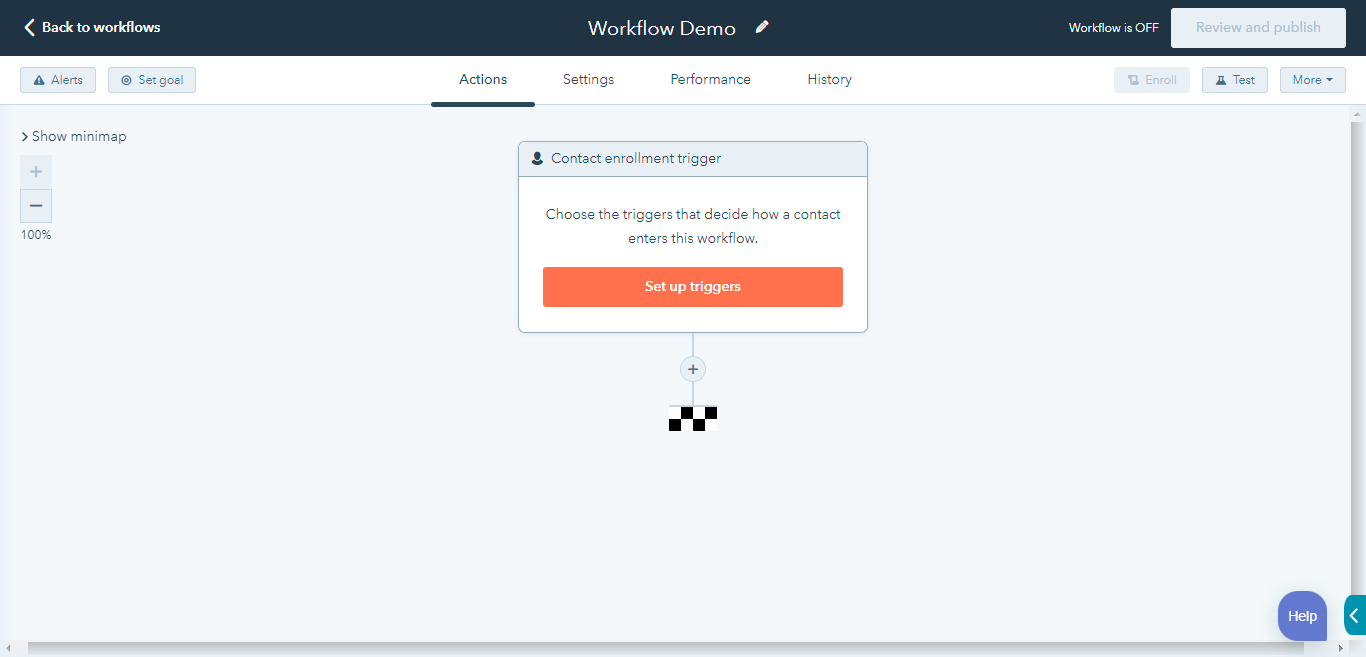
- Click Set up triggers.
The Enrollment triggers pane appears on the right side of the page.
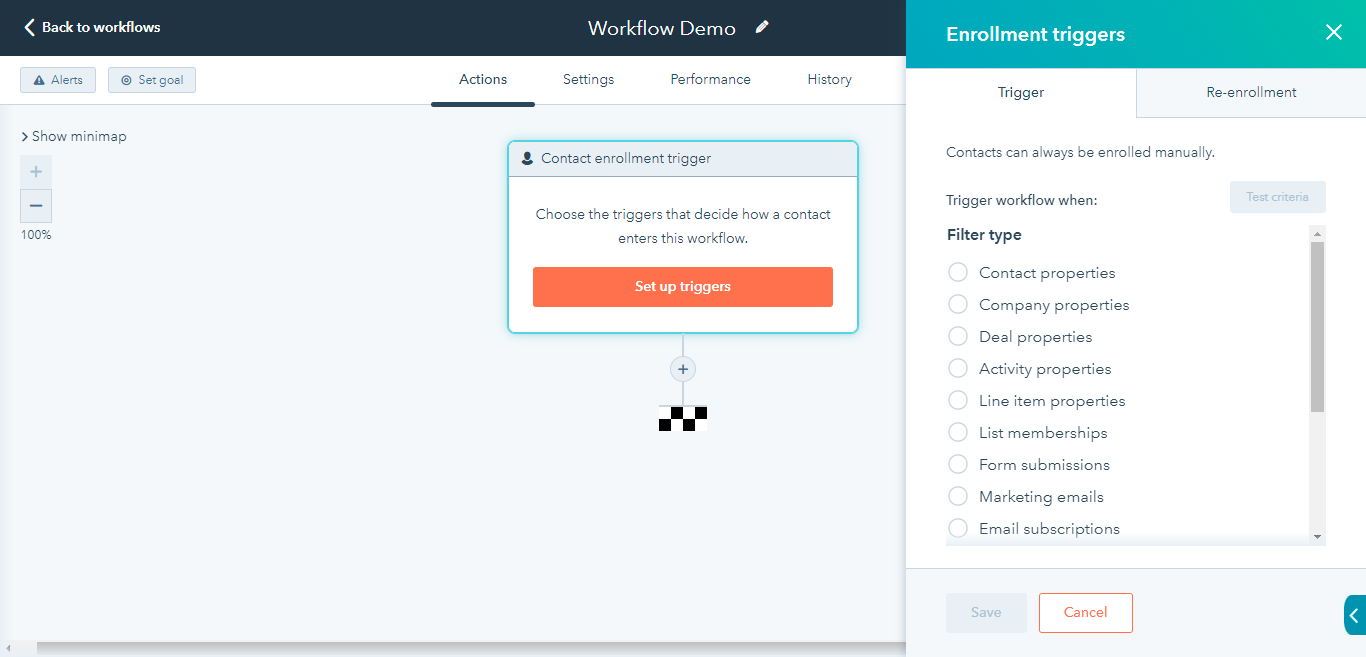
Note:You can select the properties depending on the Workflow you wish to configure.
- Select Contact Properties.
The list of contact properties appears.
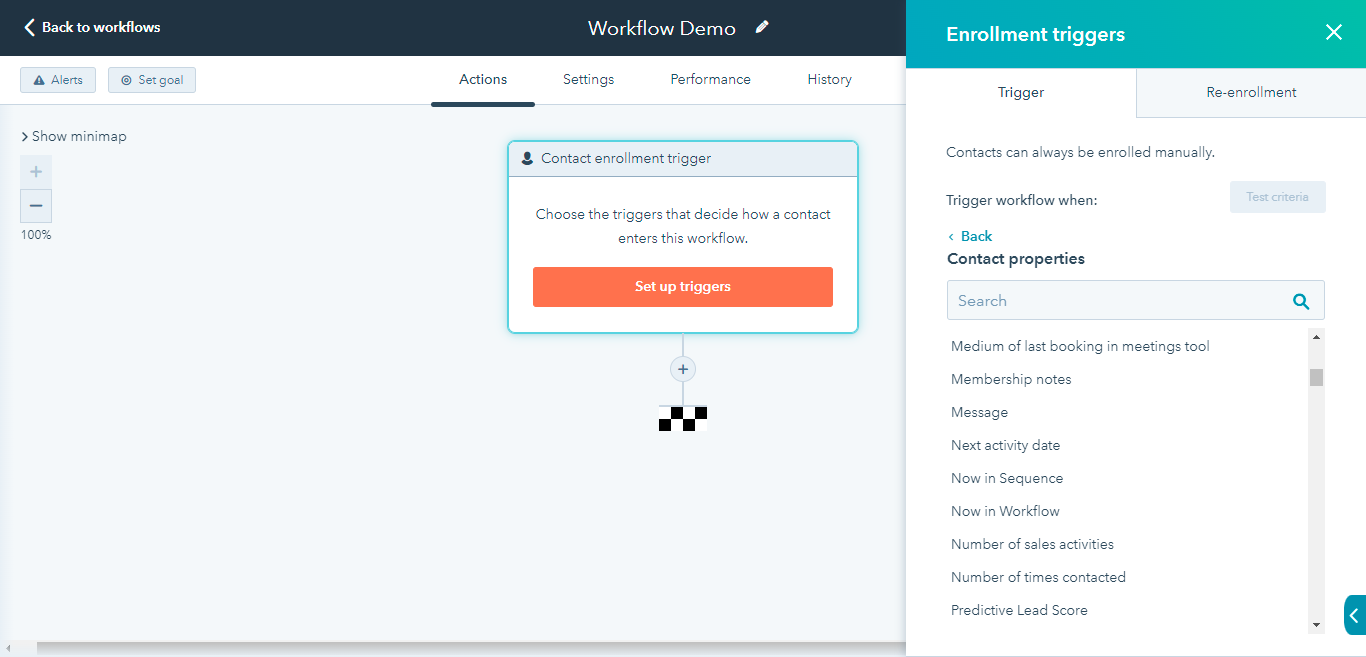
- You can search the properties or you can select from the properties list. For example, First name.
The Add values list appears.
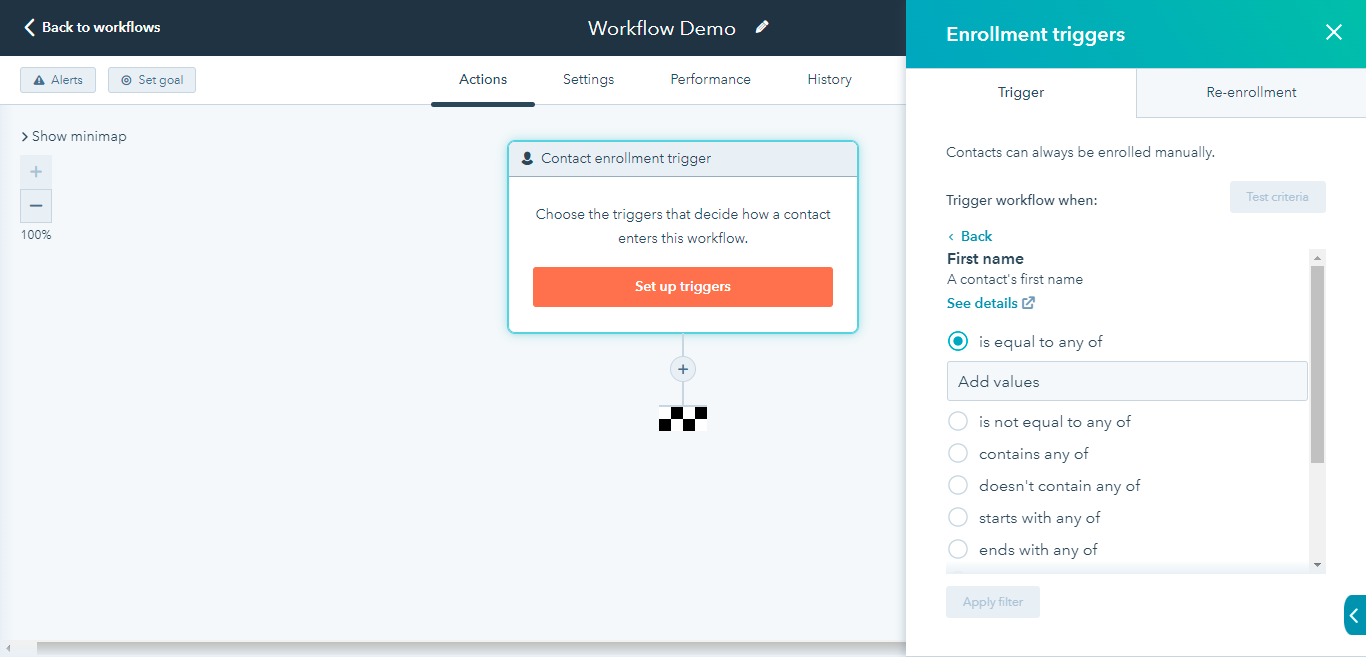
- Select the values you want to validate for the selected properties. For example, is known.
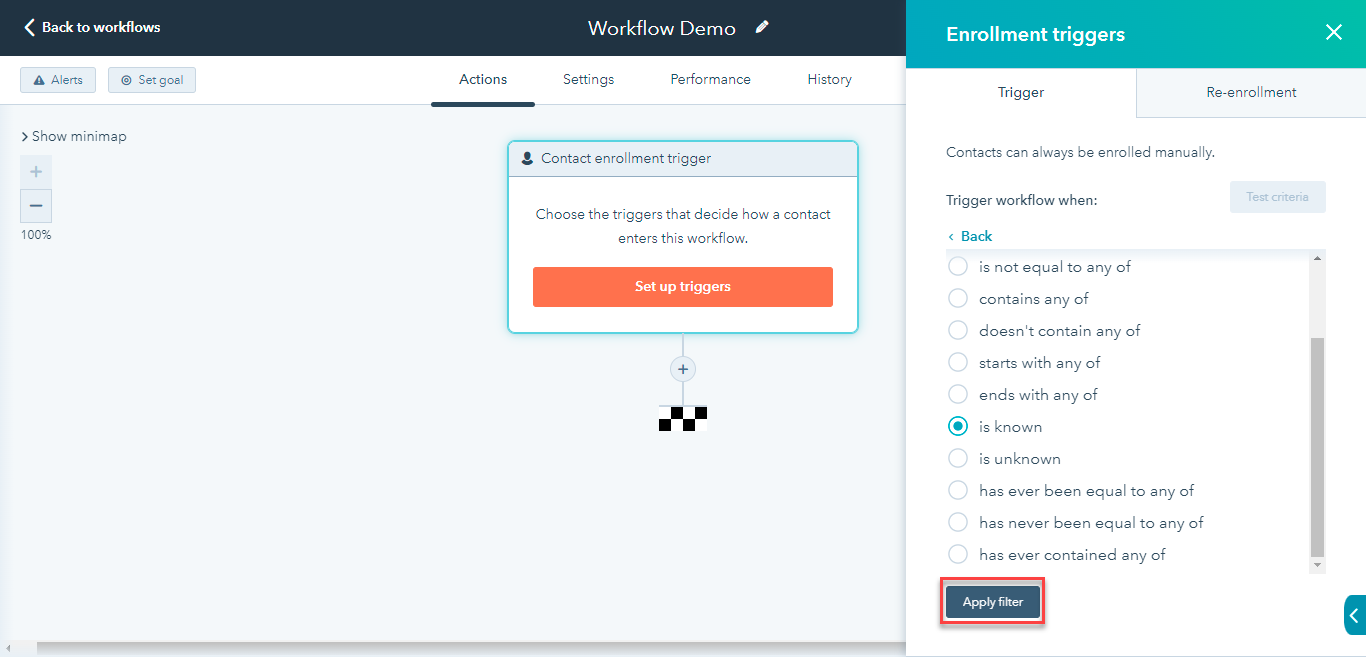
- Click Apply filter.
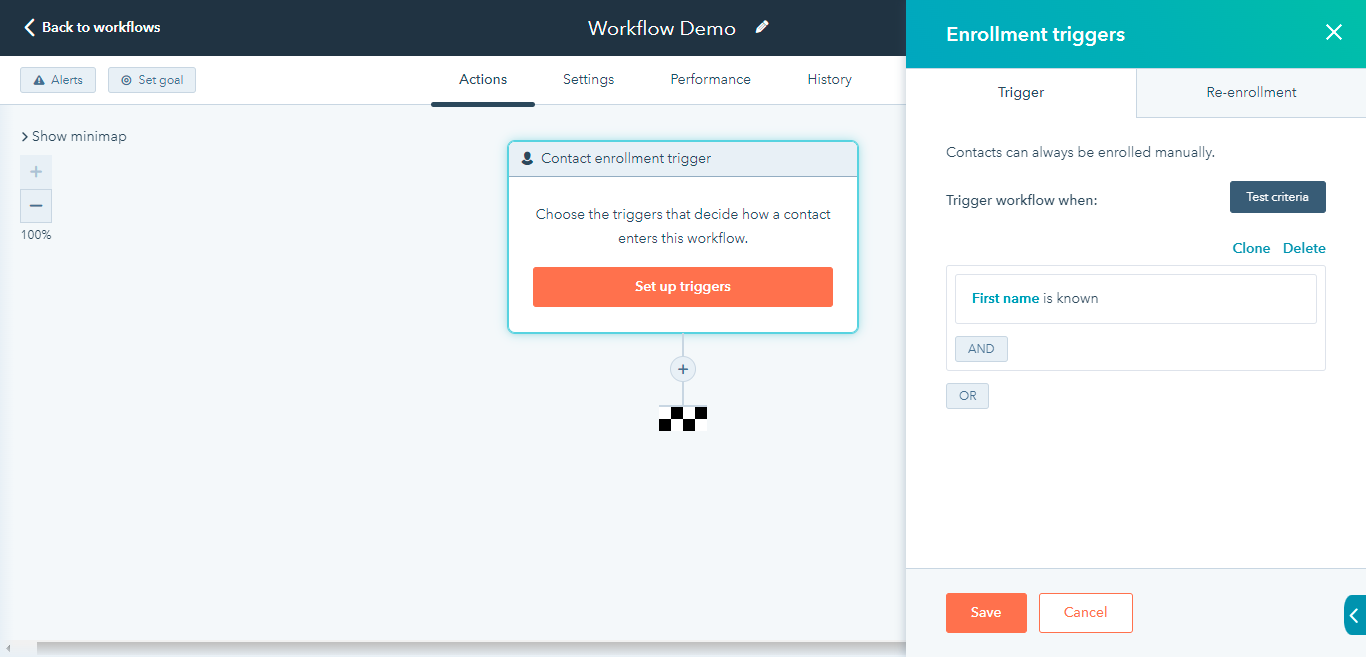
Note:You can add other filters based on your preferences using the AND or OR logic. You can use AND if you want to validate all the filters. Also, you have the option to add multiple filters using OR logic. The OR logic helps you in case the Workflow filters do not match the first configured filter.
- Click Save.
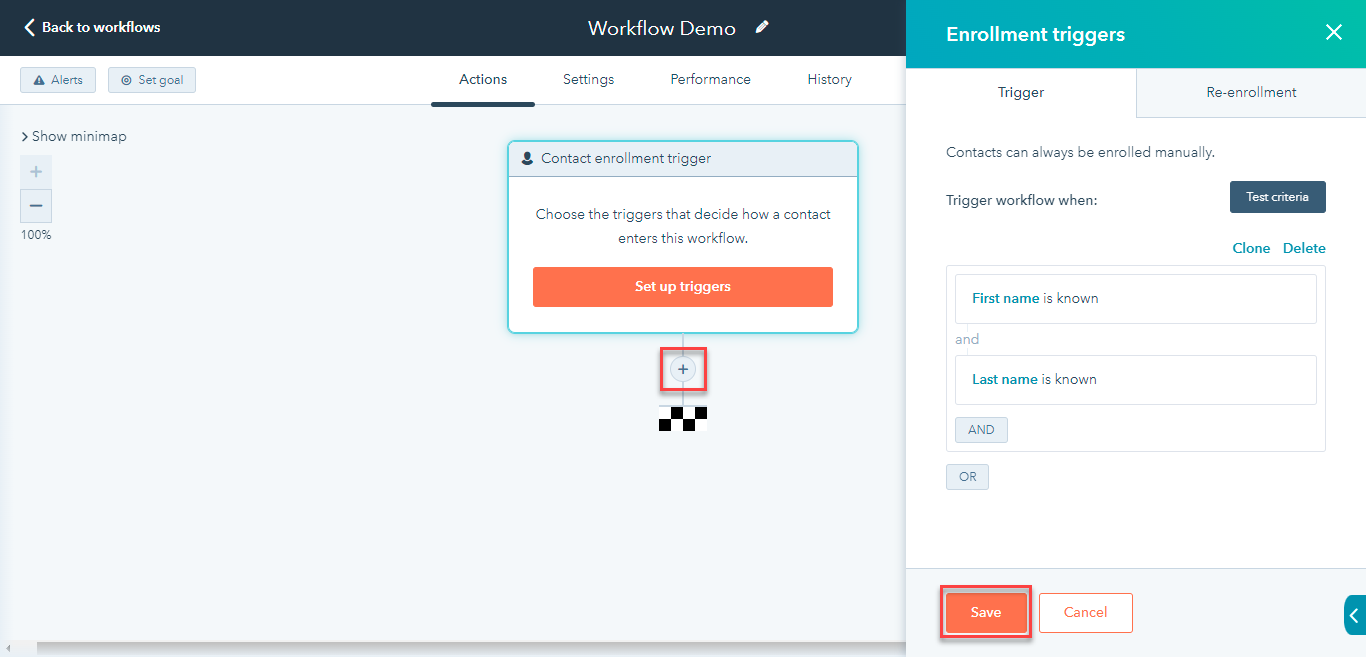
- Click the + icon below the Contact enrollment trigger to add the action for the configured trigger.
The Choose an action pane appears on the right side of the page.

- Scroll down to the Kaleyra section.
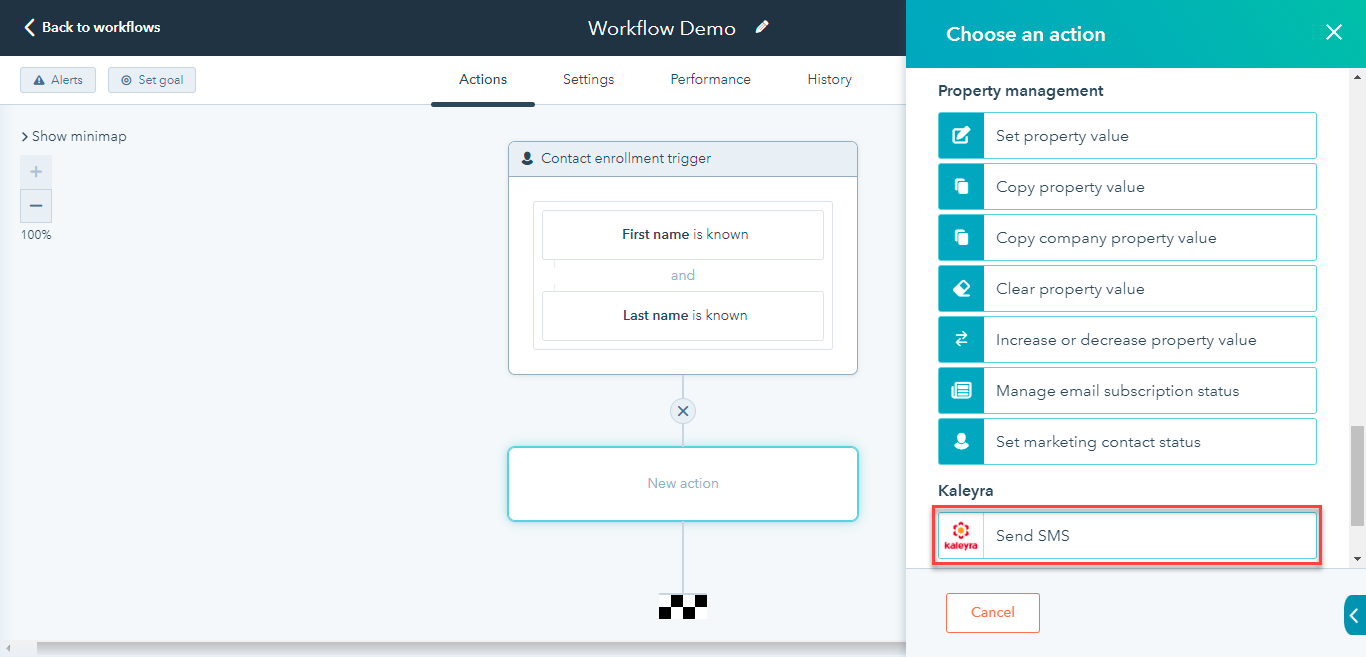
Note:You can only view the Kaleyra section and its related actions only if you have successfully installed the Kaleyra app from Marketplace. For more information on how to install the Kaleyra app, see Kaleyra with HubSpot CRM.
- Click Send SMS.
The Send SMS pane appears on the right side of the page.
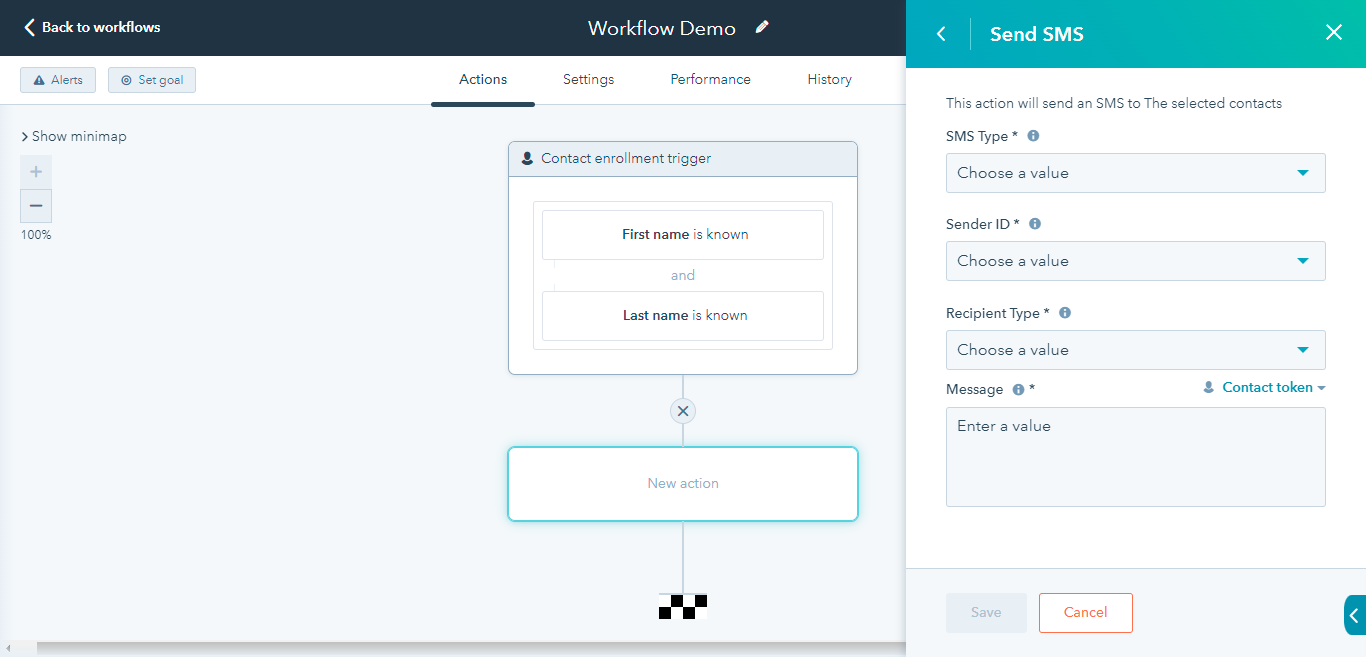
- The Send SMS has the following options:
- SMS Type - Click the arrow next to SMS Type to view the list. Select the SMS Type.
- Sender ID - Click the arrow next to Sender ID to view the list. Select the Sender ID.
- Recipient Type - Click the arrow next to the Recipient Type. For contacts, you have two types of recipient fields - Mobile Phone Number and Phone Number. Choose as required.
- Message - Enter the message you wish to send to your contacts. Click Contact token and search or select from the parameters list to insert dynamic parameters to your message content.
- Click Save.
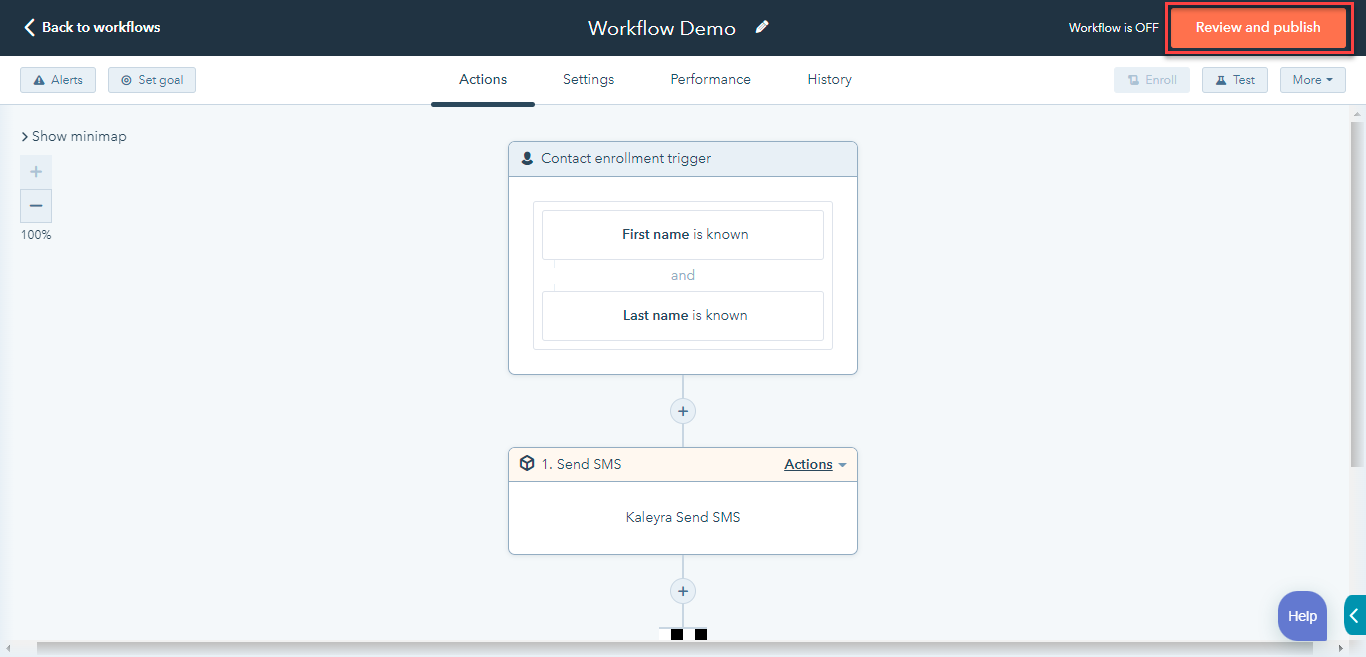
- Click Review and publish.
The Review before you turn on page appears.
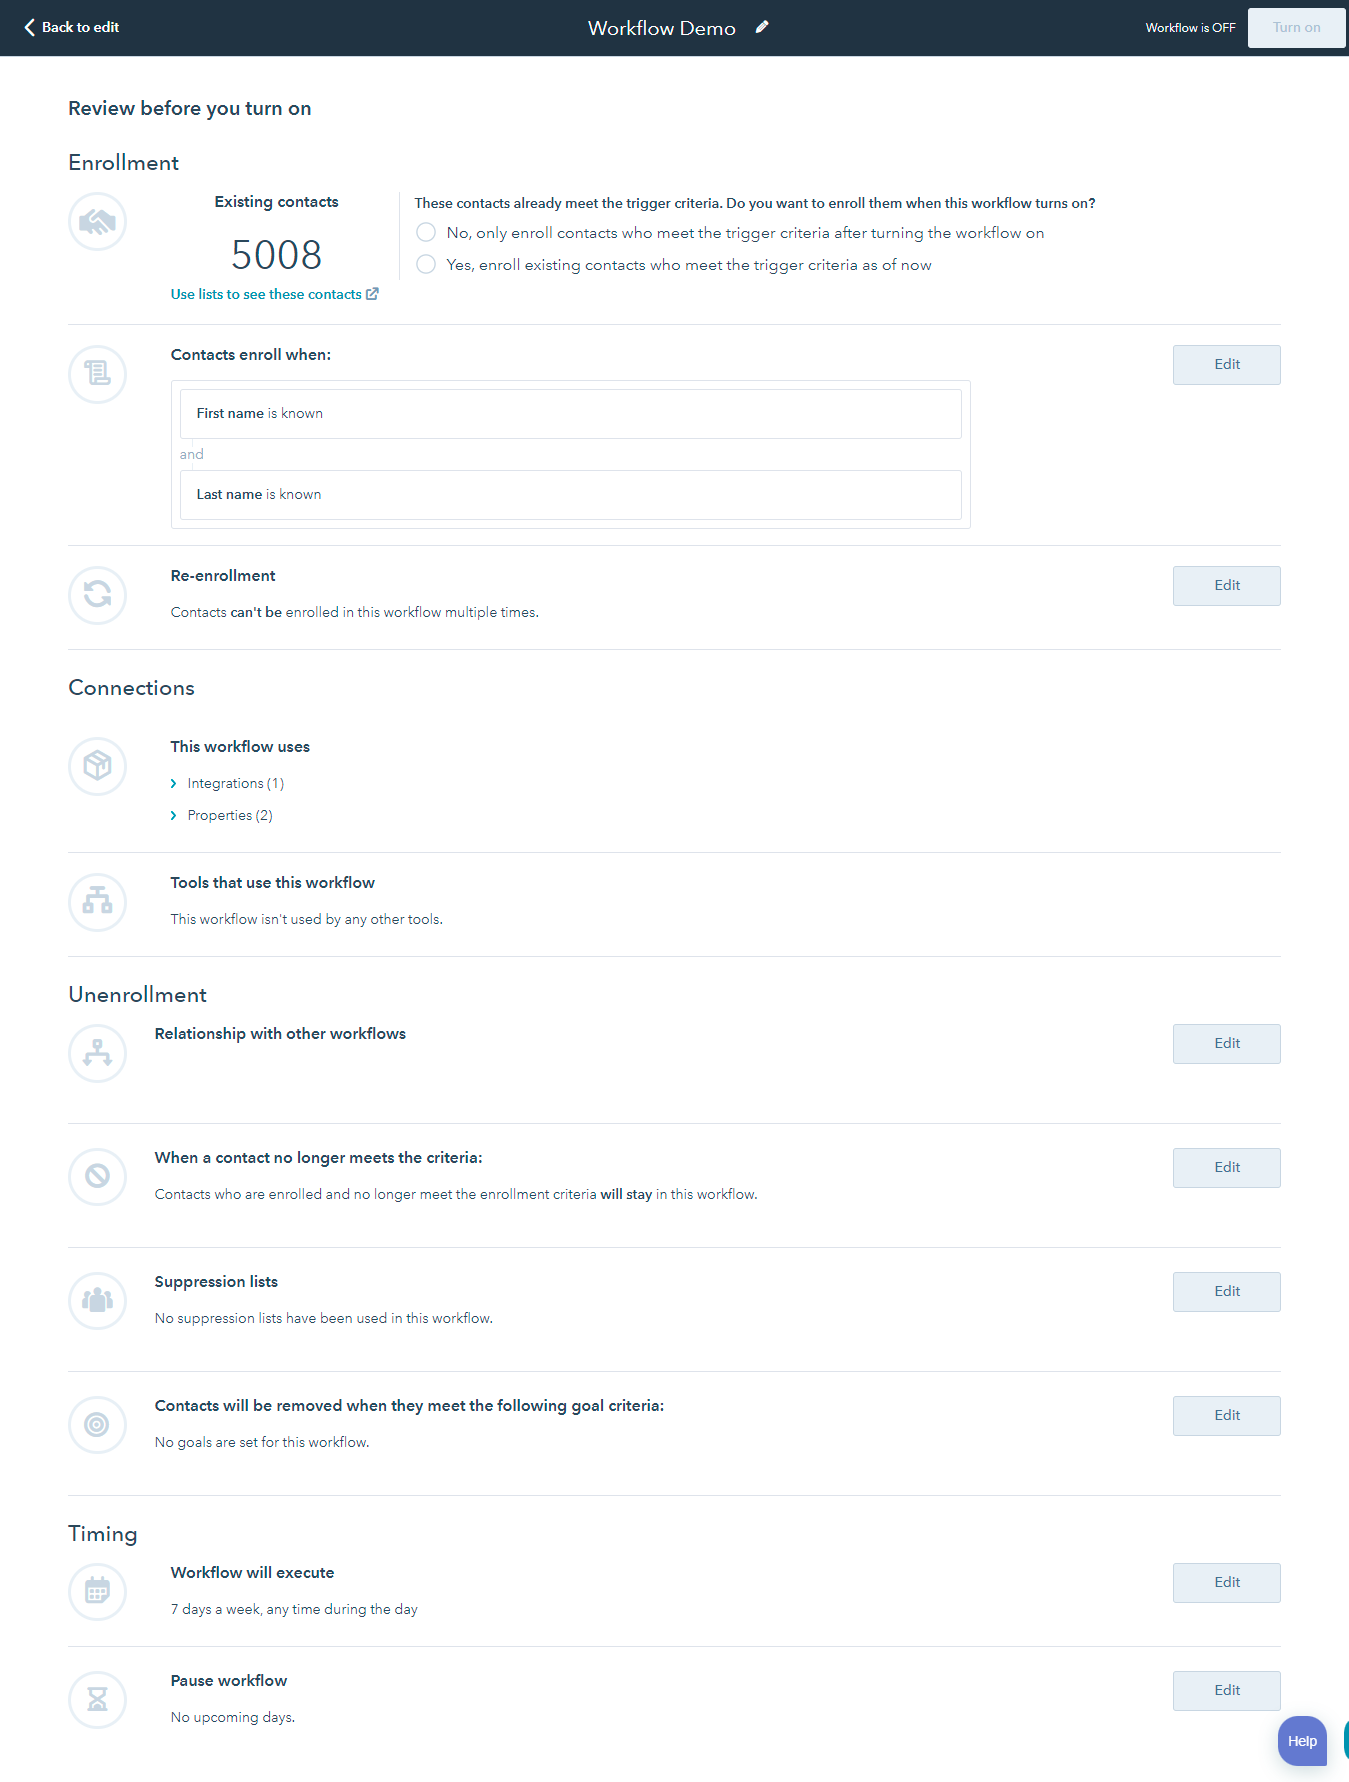
Note:The Existing contacts count indicates the customer number which matches with your workflow and they will receive the SMS when the workflow is turned on.
- Select one of the following options:
- No, only enroll contacts who meet the trigger criteria after turning the workflow on - If you wish to trigger SMS to the new users who meet the filter criteria.
- Yes, enroll existing contacts who meet the trigger criteria as of now - if you wish to trigger SMS for the existing contacts who meet the criteria.
- In the Re-enrollment section, click Edit, and then select Allow contacts who meet the trigger criteria to re-enroll when any one of the following occurs. Select the available option based on your requirements, and then click Save.
Note:You can configure other available settings based on your business requirement.
- On the top right corner, click Turn on. You can view the sent SMS logs in Kaleyra.io.
Notes:
- Once you Turn on the workflow, you have the option to turn off the workflow. Open any one of the workflows, on the top right side, toggle the Workflow is ON.
- You can schedule any of the workflows. Open the workflow, click Settings, select Specific times, select the day, from, and to timing. Select the campaign and click Save.
- You can view the performance of your workflow. Open the workflow, click Performance. You have the option to set a goal for the workflow.
- You can view the Action logs, Enrollment history, and Workflow changes. Open the workflow, click History. You have the option to add the filters to view the details in a date range, filters contacts, and many more.
Updated about 1 year ago