LeadSquared Automation
LeadSquared offers an automation feature that allows you to send automated SMS using Kaleyra Send SMS based on user activity.
To use the automation feature you need to configure Kaleyra with LeadSquared. For more information see Kaleyra Details on LeadSquared
The LeadSquared automation feature lets you automate your entire workflow using an intuitive and easy-to-use visual designer.
Here are a few examples of what you can achieve through automation:
- Send automated messages to leads and follow up based on their behavior.
- Automatically distribute leads to users/groups based on location, products, etc.
- Create tasks and notifications based on availability and send automated messages on special occasions.
Note:To start your automation for the first time, you need to Enable Automation in the Advanced Settings tab under the Configuration page. Once enabled, the connection cannot be disabled again. For more information see Kaleyra Details on LeadSquared section.
Navigation
To connect to the LeadSquared automation, perform the following steps:
- From the main menu, navigate to WORKFLOW and then click Automation.
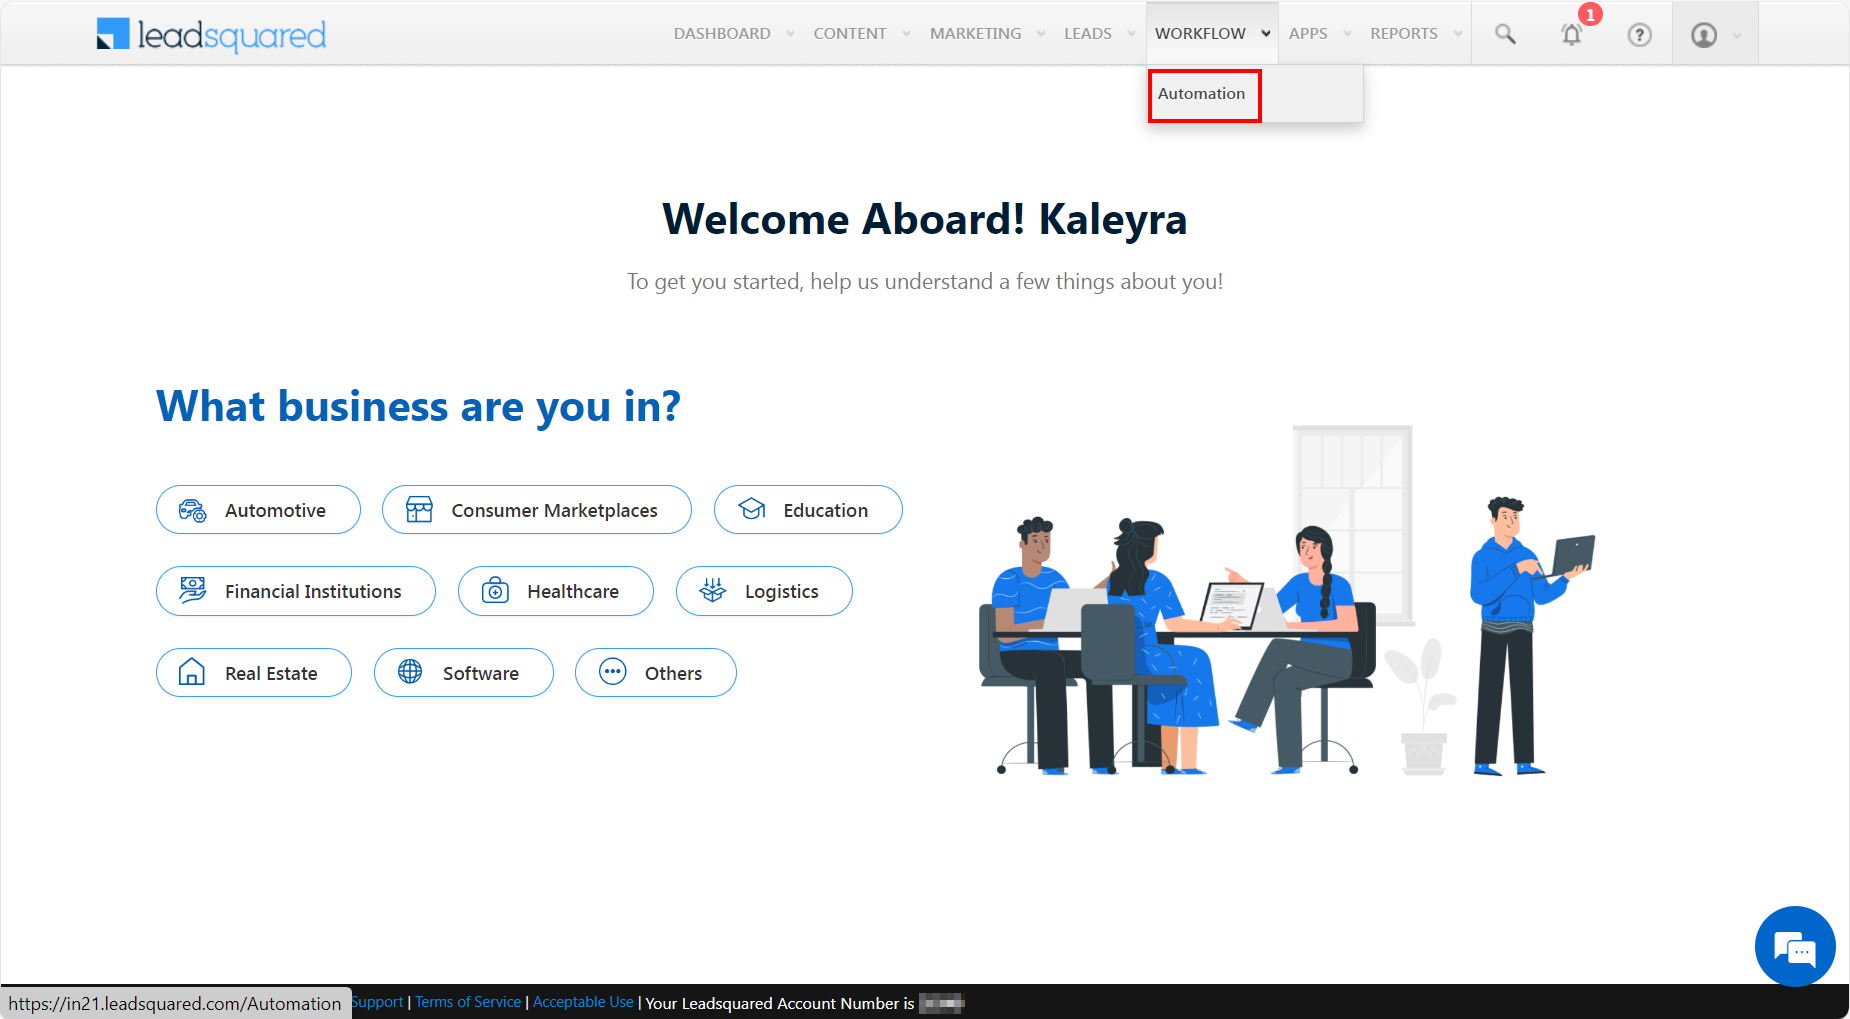
The Automation page appears.
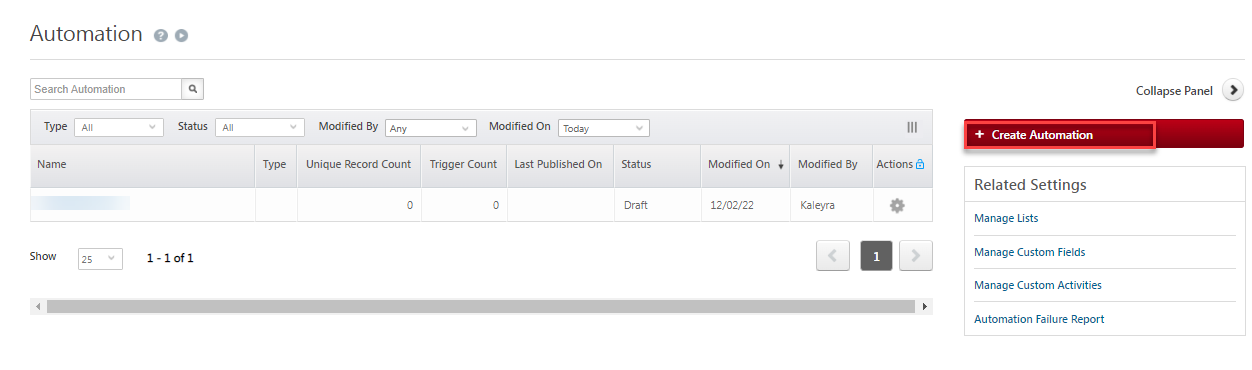
- Click the + symbol OR Create Automation.
The Choose a template to get started page appears.

- Click the Blank template. You can build automation from scratch or preset templates for common workflows. You must first select an automation trigger to build automation from scratch.
Here, the Lead Update trigger is selected as an example but would work the same with any other trigger as well. Triggers the automation when one or more lead fields are updated.

- Click Lead Update. The Automation Starts When a Lead is updated section appears.
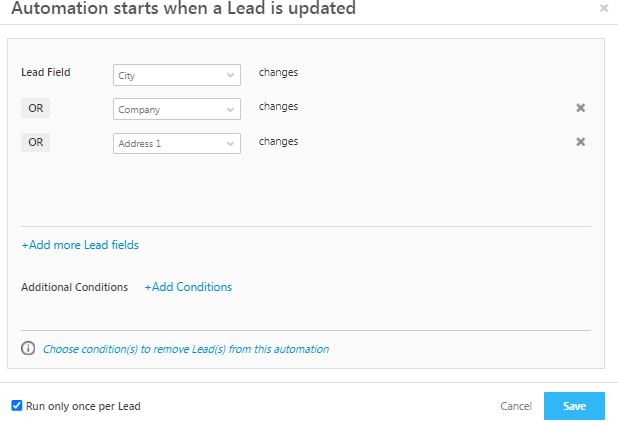
- Click the arrow next to Lead Field to view the list. Here, City is selected as an example. You can add more lead fields by clicking on the +Add more Lead fields section. Also, you can add conditions by clicking on the +Add Conditions to set the criteria.
- Click Save. The automation Workflow page appears.

- Click + button. The Choose Condition or Action section appears which allows you to add Conditions and Actions to the trigger.
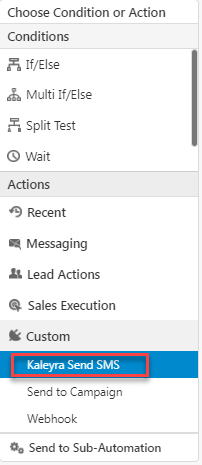
- From the Actions section, click custom and then select Kaleyra Send SMS. The Kaleyra Send SMS page appears.
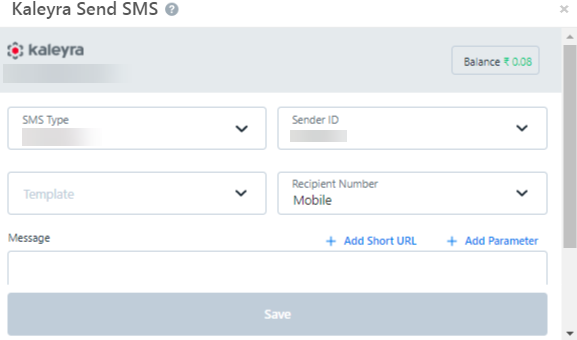
For more information on entering the Kaleyra Send SMS fields, see the Send SMS to one or more leads page.
You can add a message from the arrow next to Template field mentioned in the above screen Kaleyra Send SMS , or they can add a custom message with Parameters and a ShortURL. When automation is triggered, its message content is sent as part of the automation.
- Once you add the required conditions and actions to your automation, click Save.

The "Automation saved successfully" message appears.

- Click Publish. The Confirm page with "Are you sure you want to publish?" appears.
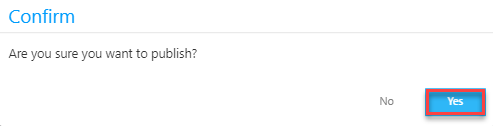
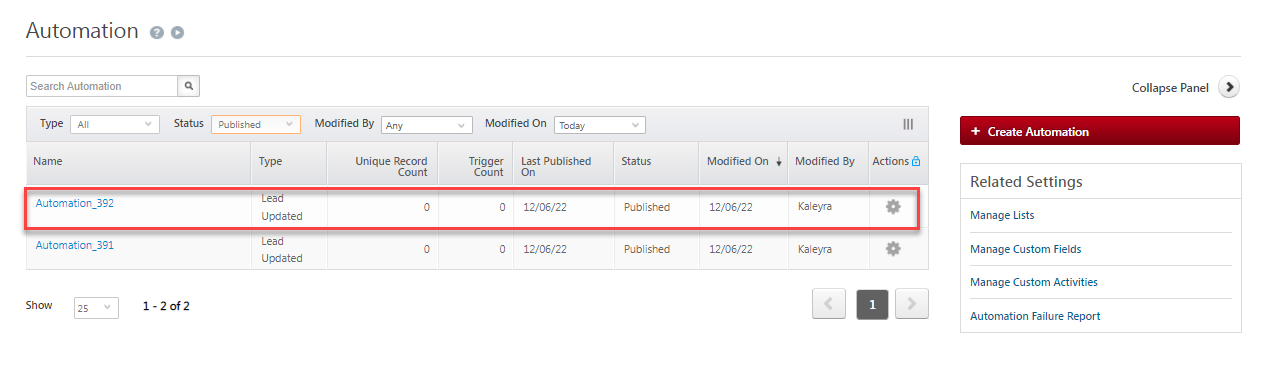
- Click Yes to confirm your decision to publish the automation. You will be redirected to the Automation page.
- On the Automation page, click on the automation name that is already published, if you want to edit or unpublish the automation.
- Click Live Edit to edit published automation.
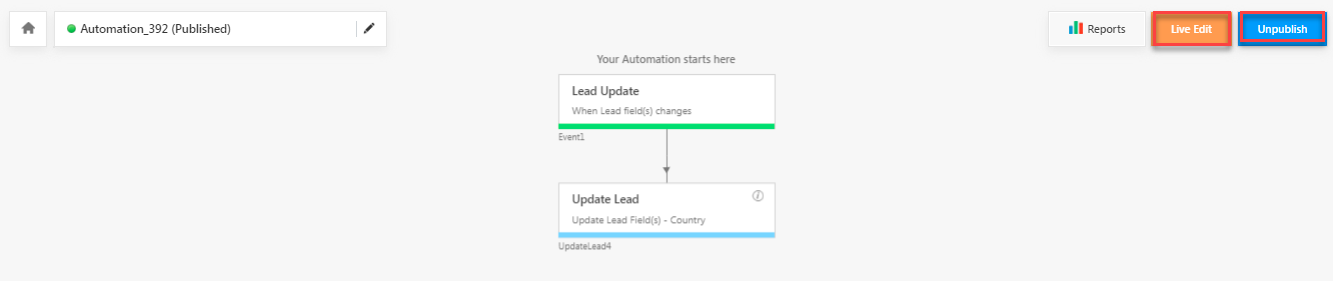
Note:You can only make changes to the content. Additional actions or conditions cannot be added.
- Click Unpublish to unpublish and stop the automation.
Updated about 1 year ago