Launch an SMS Campaign
You can launch an SMS campaign using CleverTap from the dashboard page. You can test the SMS campaigns before launching them.
To launch an SMS campaign perform the following steps:
- From the CleverTap dashboard, click Campaigns.

- Click the arrow next to the + Campaigns and then select SMS.
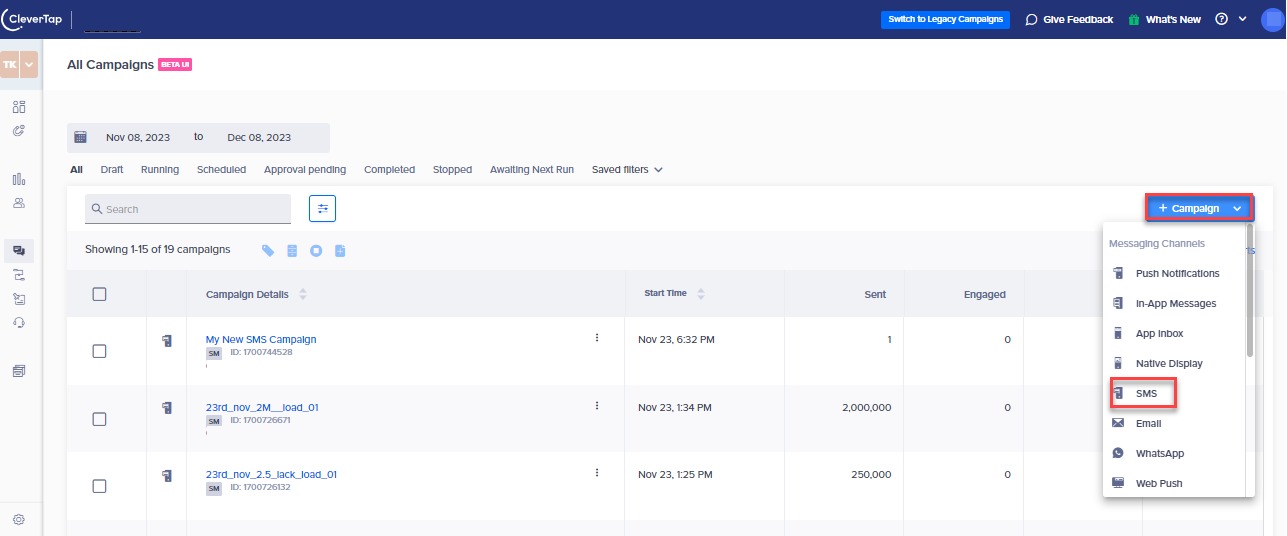
The Campaigns page appears.
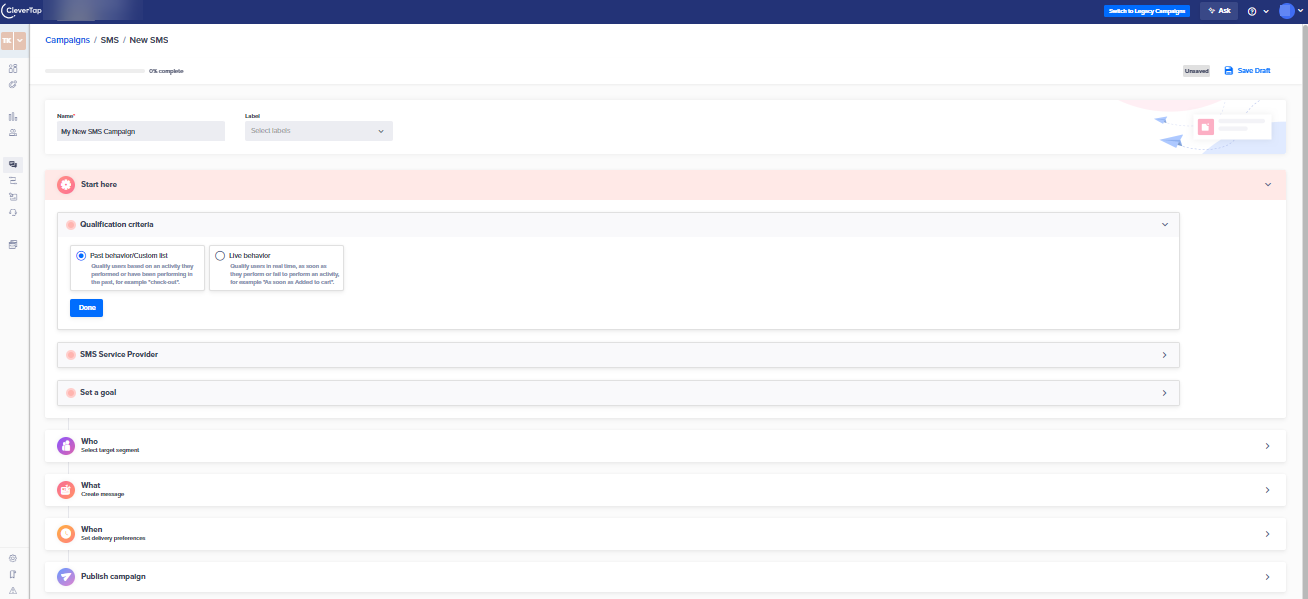
- In the Name field, enter the name of the campaign.
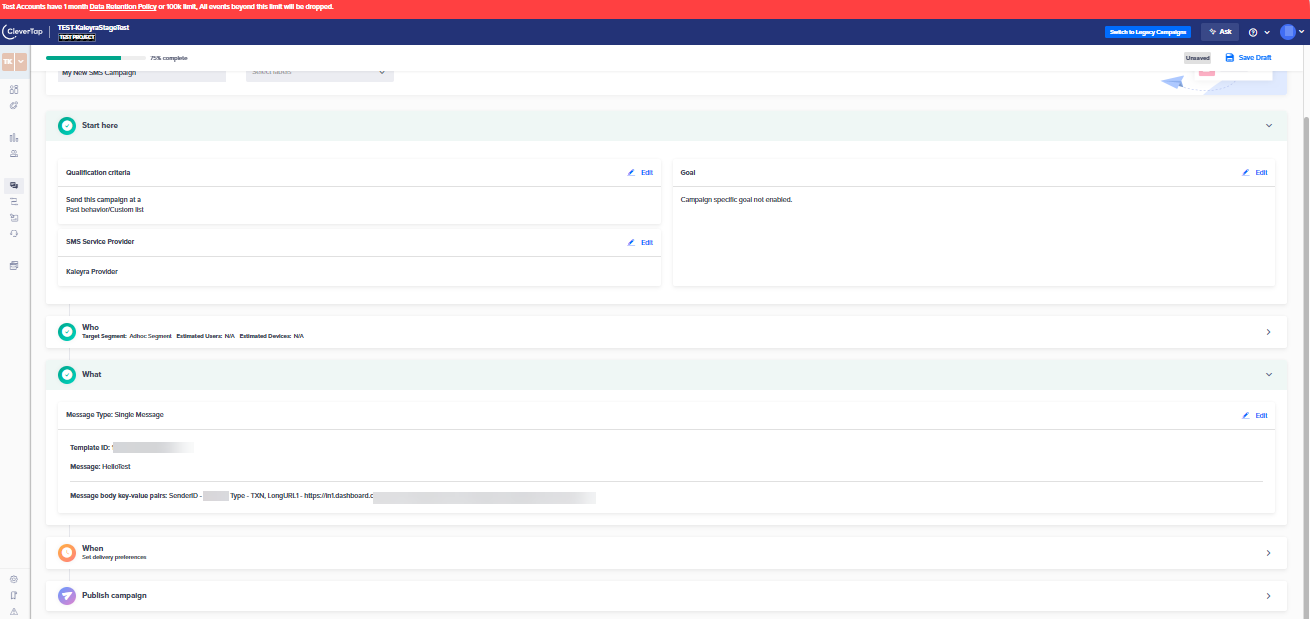
- The Start here section has the following setup information.
a. Click the Qualification criteria section to deliver the notification based on Past behavior/Custom list, or Live behavior. Select any one criteria and then click Done.

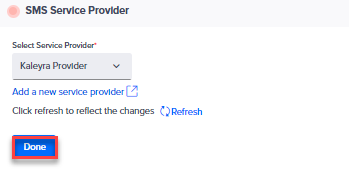
b. Click the SMS Service Provider section. From the Select Service Provider list, select Kaleyra Provider and then click Done.
c. Click the Set a Goal section and then click Done. This selection is optional. You can track your campaign conversion by setting up a goal. Setting a goal allows you to measure your campaign performance.
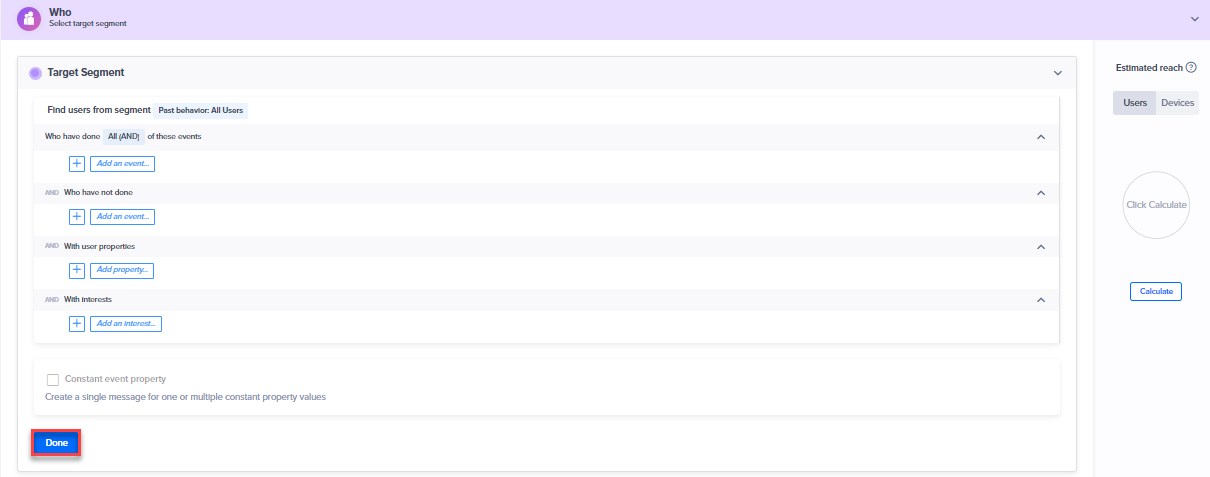
d. Click the Who section to select the target segment. You can target your SMS campaign to a new user segment by clicking on the Target segment section. Here, you can create a new ad-hoc segment or use a previously saved user segment from the segment list. By default, the target segment is set to All Users and click Done.
e. Click the What section to define the SMS content. From the Message Type, select Single Message, and then click Go To Editor to create your message.

The Create SMS Notification - Single Message page appears.

The Single Message type is good for broadcast messages and for applications that do not vary campaign communication based on differences between properties such as language, geography, or any other user properties.
Enter the following fields in the Single Message section:
a. Enter the Template ID field. You can view the same in the kaleyra.io application which is a mandatory field. Applicable for (India only -optional).
b. Enter the message in the text box. Click {{}} to add the dynamic parameters in the message body. For example, Hello {{ Profile.name | default: "Demo" }}. The message sent to the recipient's phone number will be Hello Demo. If there is no value available in the name attribute in the recipient profile, then the value that is available in the profile will be used.
c. In the Message body Key-value pair field, enter the key and corresponding value:
| Key | Value |
|---|---|
| SenderID | Alphanumeric ID. TX-SNDR1. |
| Type | Type can be either Dynamic or Constant. For Indian customers, you can use one of the following:
|
| LongURL | Add the long URL and also enter the same under the message field by adding the message text with {long_url}. The {long_url} will be replaced with the shortened URL in the message body. |
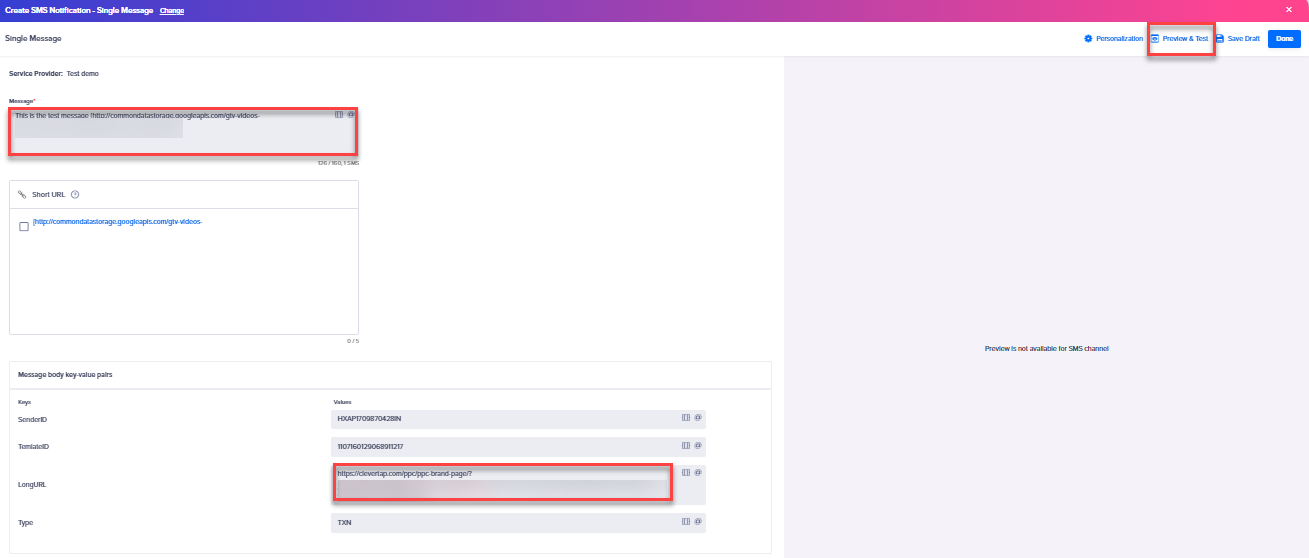
- Click Preview & Test. The Test SMS page appears.
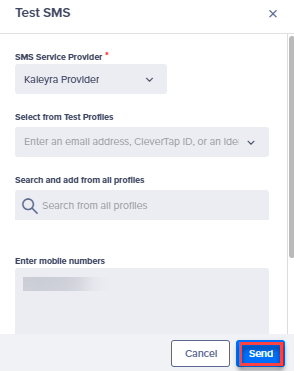
- Enter the recipient's mobile number in the Enter mobile numbers field and Click Send. A confirmation message 1 out of 1 successfully sent appears.
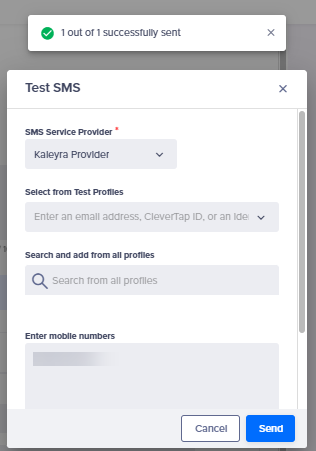
- Click Done. The Campaigns page appears.
- Click the When section. The Campaign Schedule page appears.

a. Click the Date and time section to view the campaign schedule. You can schedule a campaign using:
- Send Now - You can launch a campaign immediately.
- Schedule for later - You can schedule a campaign for a later date and time.
- Set as Recurring - You can set a recurring day for a campaign.
Select any one option and click Done.
Note:Recurring Day
If you specify a recurring day for a campaign which is the 7th of each month, then the campaign will start for the specified day and ignore the creation date. This is a precaution to avoid sending a campaign unintentionally on a prior date.
b. Click the Delivery Preferences section to view the campaign delivery preferences.
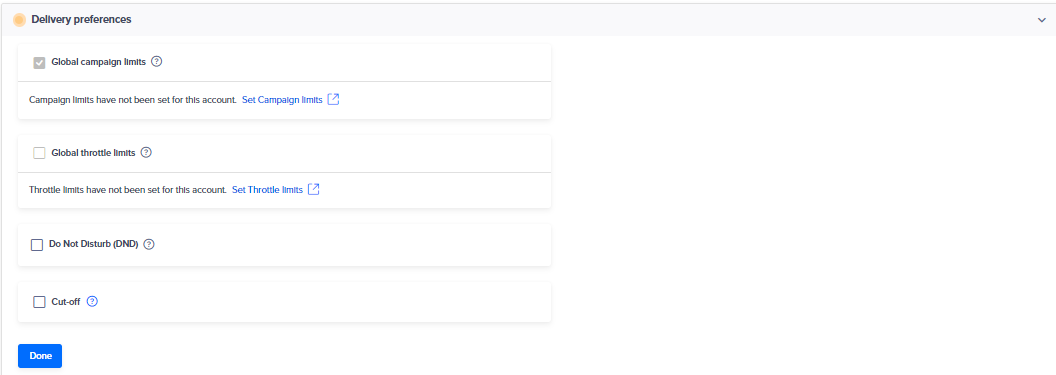
The Delivery Preferences section has the following fields.
- Global campaign limits - To control the maximum number of messages that the users receive for a given channel of communication.
- Global throttle limits - To cap the number of messages delivered every 5 minutes in a campaign.
- Do Not Disturb (DND) - Set the DND limit to avoid sending messages during certain times of the day. You can set the Do Not Disturb (DND) hours during which SMS from this campaign are prevented from going out, either by discarding them or by delaying delivery until after DND hours are completed, which is 9 PM to 9 AM.
Note:DND is set based on the respective timezone of every user by default. If the timezone is not available for any user, DND will be applied as per the account timezone.
- Cut-off - Set up the cut-off time limit for which the CleverTap will stop sending messages. Since past behavior campaigns can have scheduled times, you have the option to stop a campaign delivery after a certain cut-off time, or even deliver at the specified time in the user’s timezone. For more information, see Delivery in User’s Timezone and click Done.
- Click the Publish campaign section after previewing the appearance and finalizing your overall campaign.
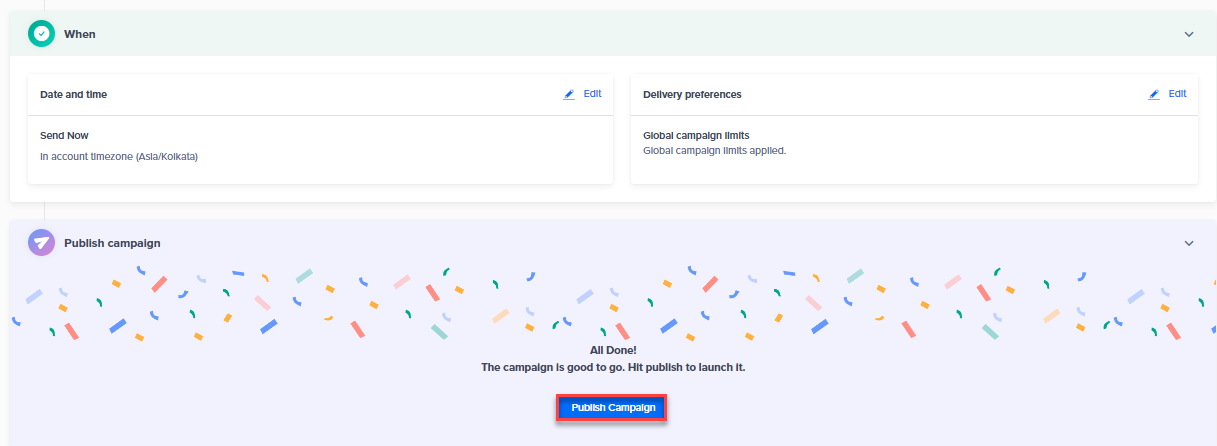
The Publish Campaign? "My New SMS Campaign" message appears.
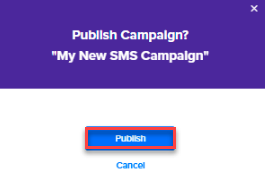
- Click Publish. The campaign is successfully launched and the Overview page appears.
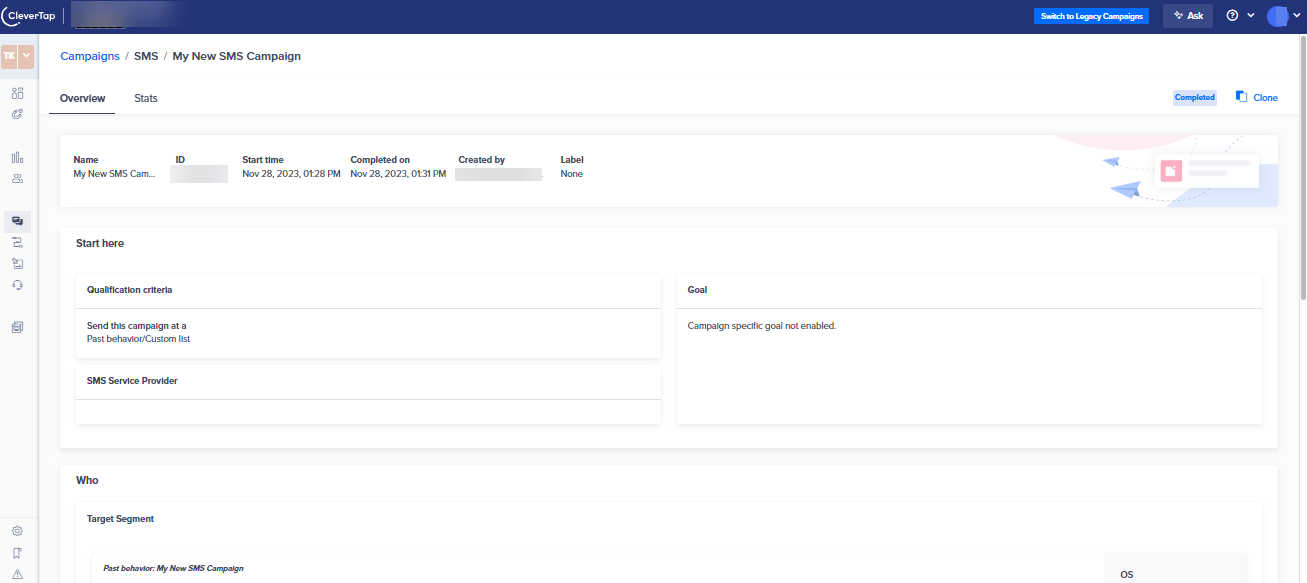
You can view the status of the campaign Sent, Delivered, Errors, and Converted users by clicking on the Stats tab.