Integrate Kaleyra with Oracle Responsys
You can integrate Kaleyra with Oracle Responsys with just a few permissions and clicks. After the successful integration, you can send MMS to your contacts from the Program Canvas.
Prerequisite
You must have an active Kaleyra account to use the Kaleyra SMS plugin with Oracle Responsys. To register a new account on K.io, contact our support team. See: Support
Installation
To request access to the Kaleyra plugin, perform the following steps:
- Sign in to your Oracle Cloud Marketplace account.
The Oracle Cloud Marketplace page appears.
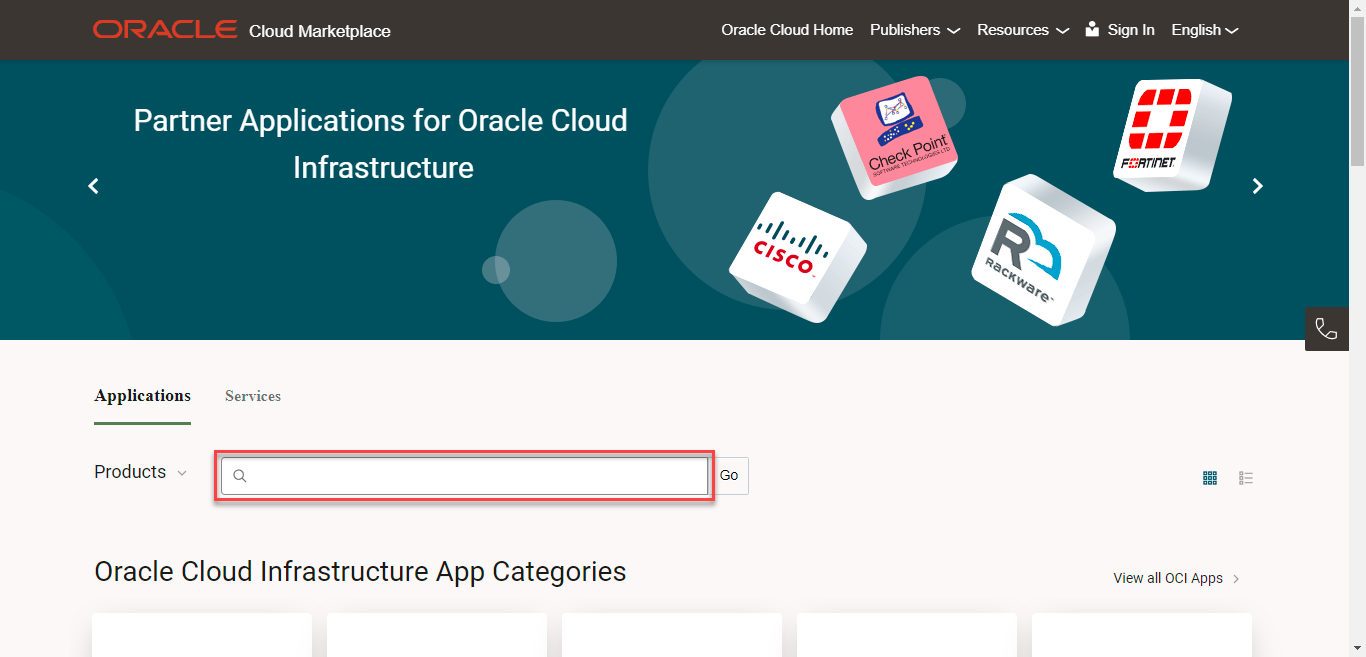
- In the search field, enter Kaleyra, and then click Go.
The Search Results page appears.
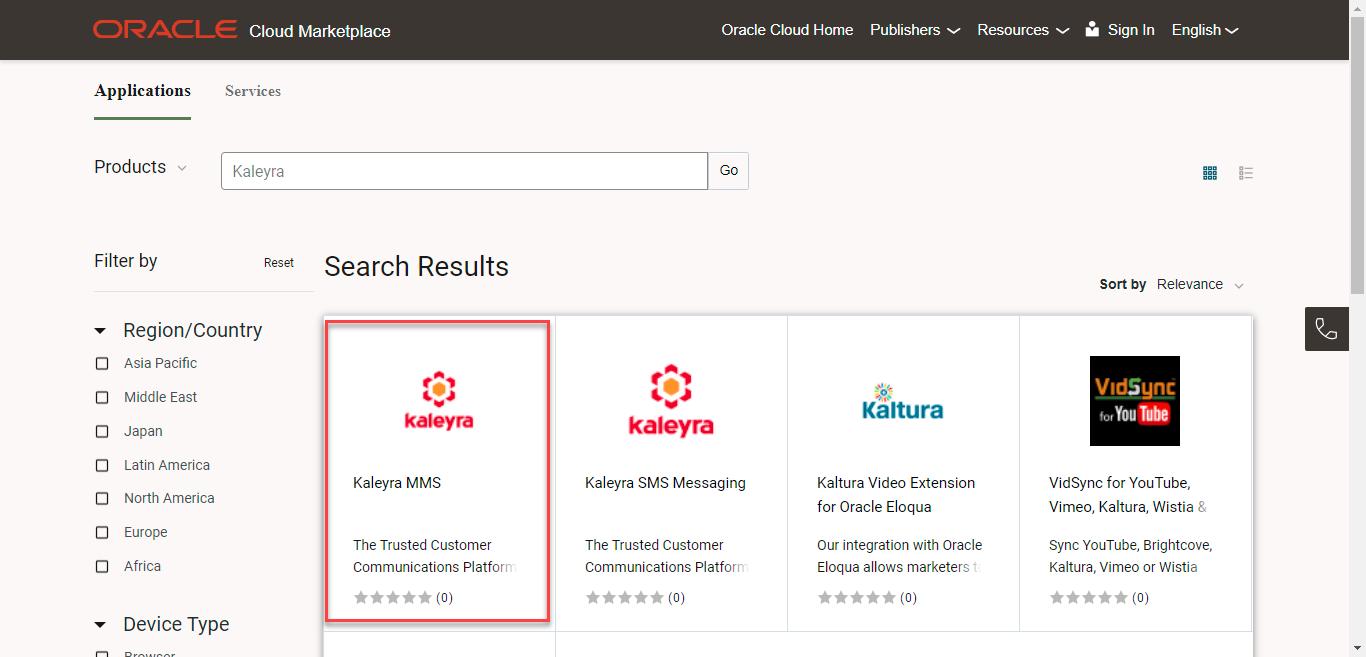
- Click Kaleyra MMS.
The Kaleyra MMS application details page appears.
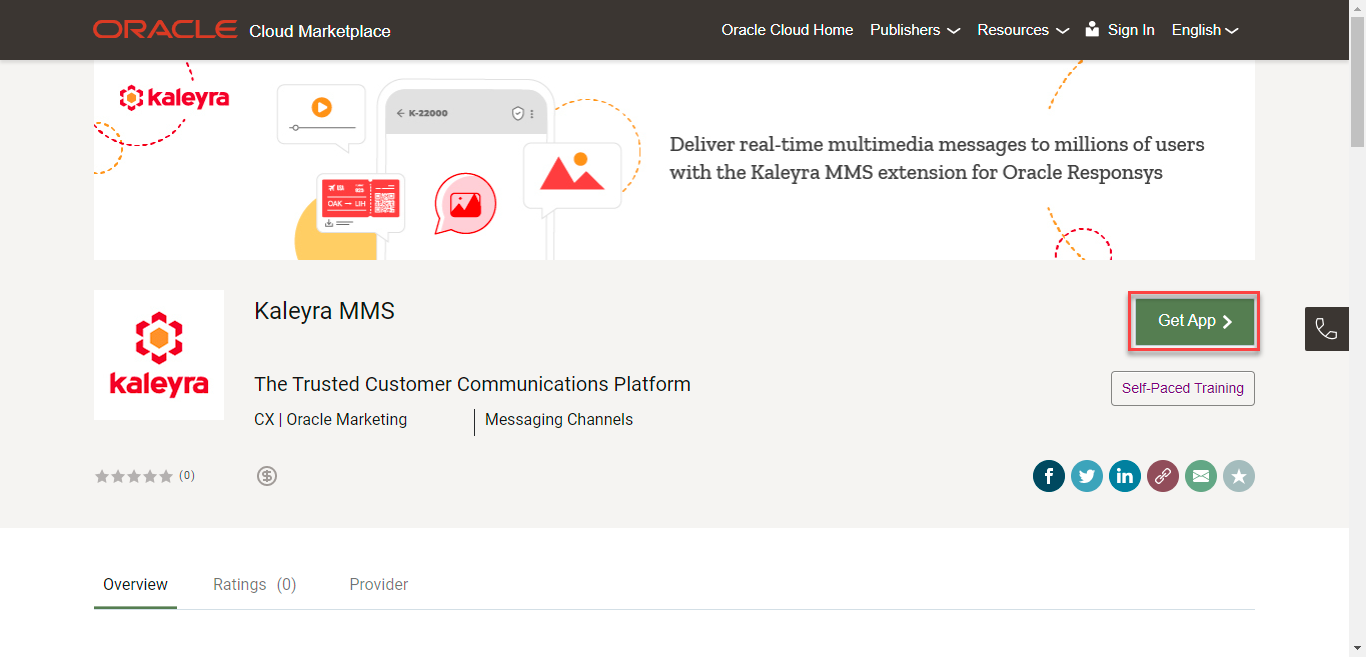
- Click Get App. Provide the required details that will allow us to get in touch with you and take you through the installation process.
View Installed App and Sign in to Kaleyra MMS Account
Once the Oracle and Kaleyra team have assisted you with the installation link, you can view the application in Oracle Responsys.
To view the installed application, perform the following steps:
- Sign in to your Oracle Responsys account.
The Responsys page appears.
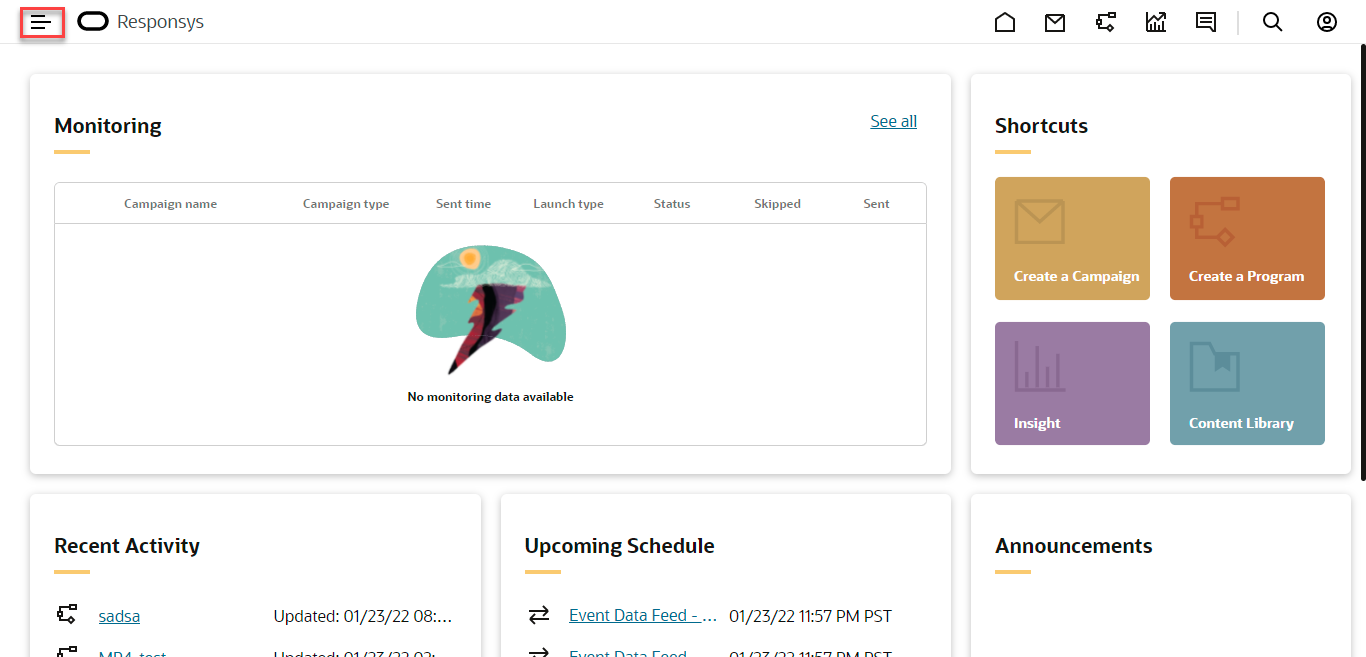
- On the left pane, click the side navigation icon.
The available functionality list appears.
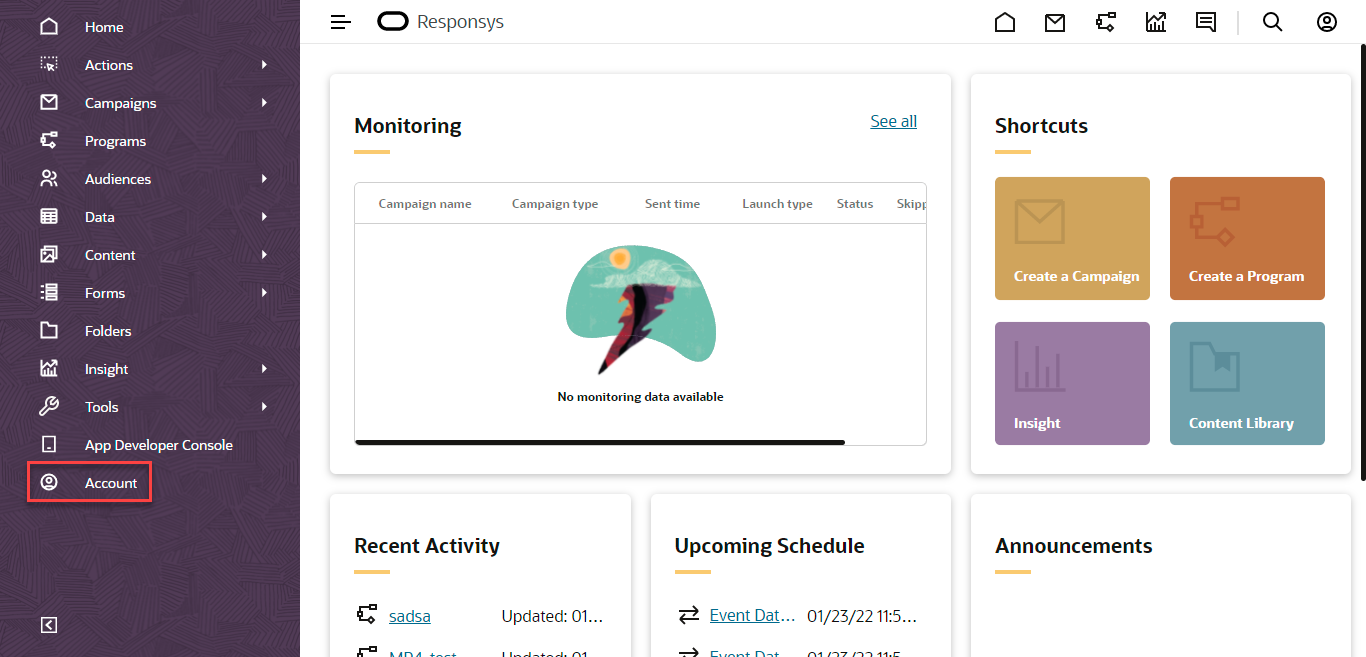
- From the left pane, click Account.
The Account Summary page appears.
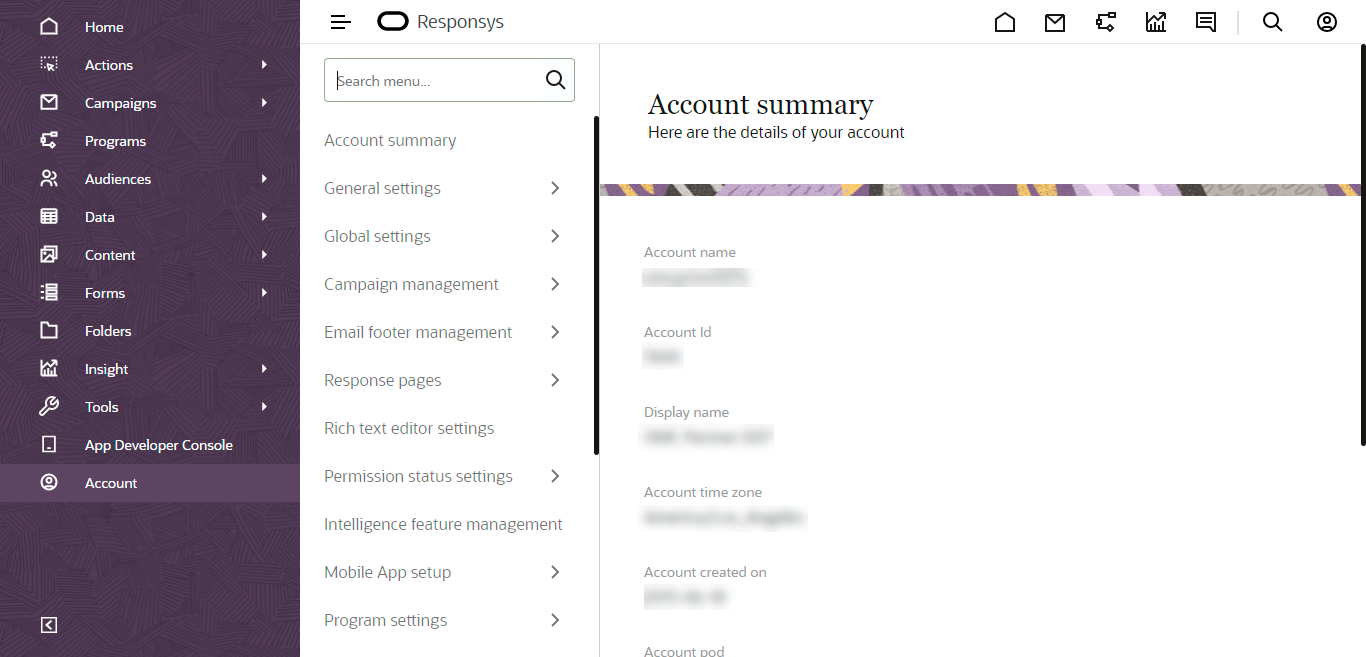
- From the list of available options, scroll down and click App management.
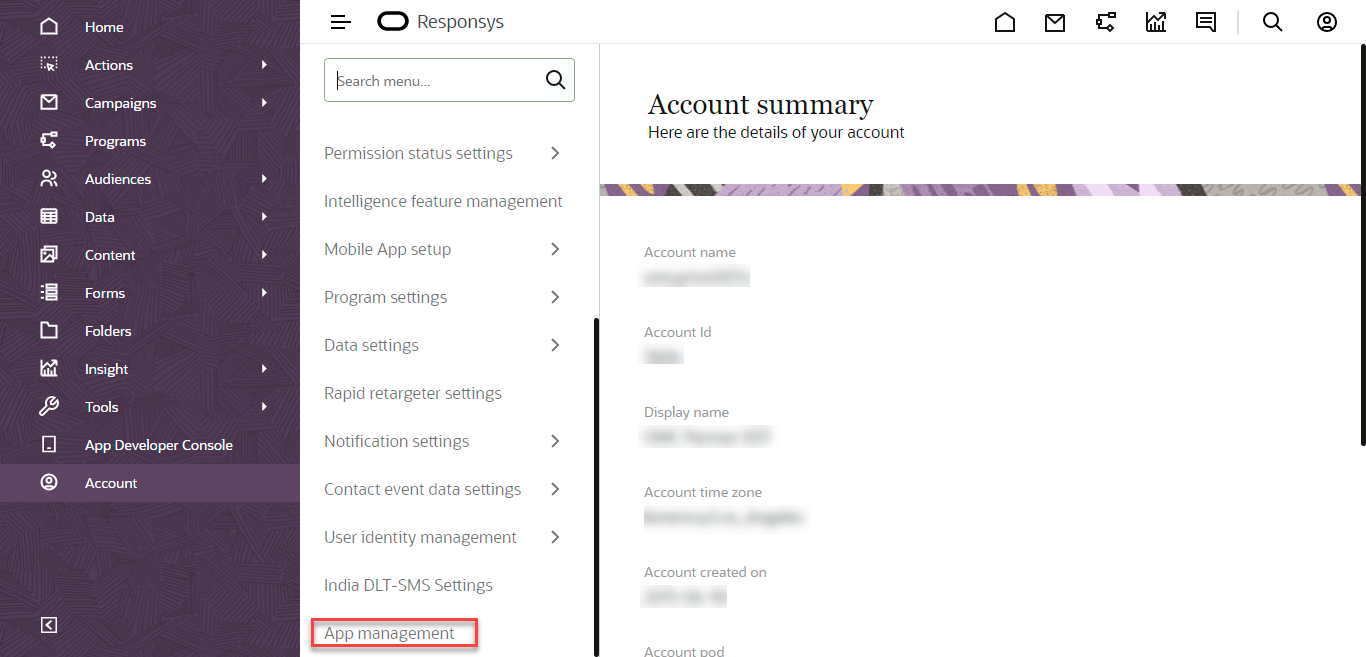
The Applications page appears.
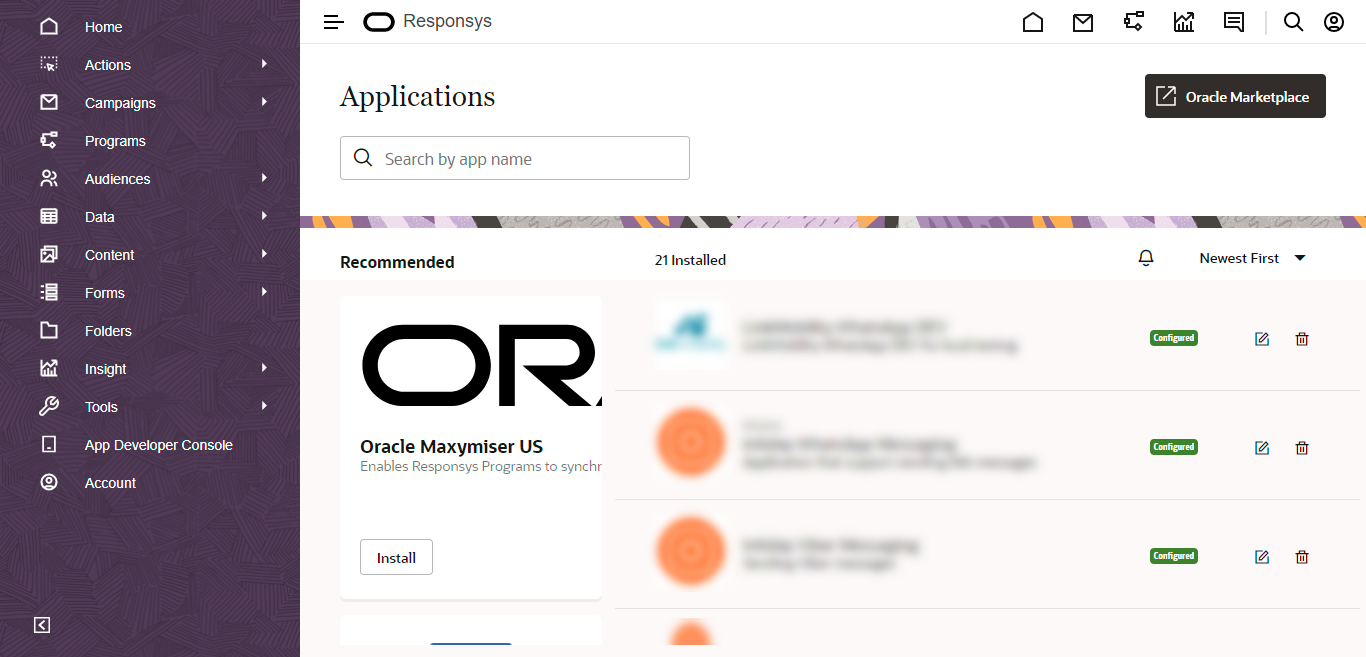
- Scroll down and then click the edit icon in Kaleyra.
The Kaleyra Authenticate page appears.
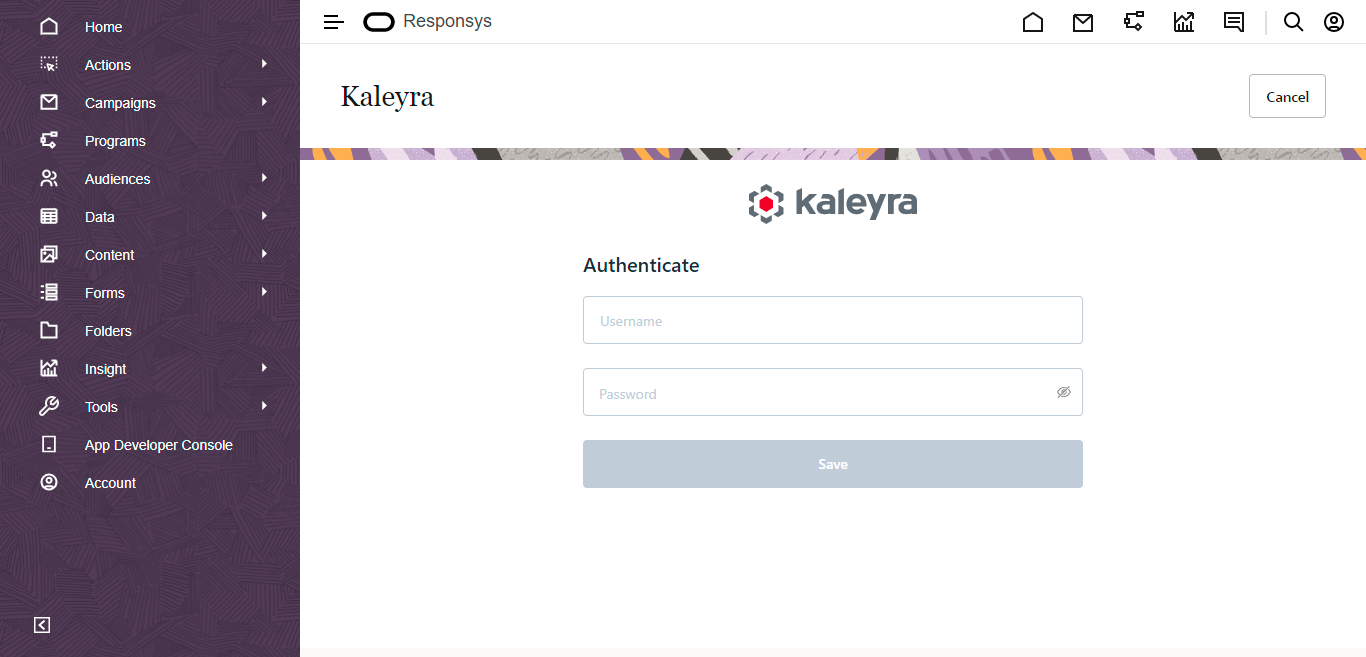
- Enter your Kaleyra MMS Username and Password provided by the Kaleyra support team, and then click Save. You will get a successful authentication message.
Note:You can sign in to your Kaleyra MMS account using the credentials provided by the Kaleyra support team.
Updated about 1 year ago