Create WhatsApp Provider
You can create a WhatsApp provider or a sender. You can use the WhatsApp provider to launch the WhatsApp campaigns.
Prerequisites
- Active MoEngage account.
- Active Kaleyra account with SID, API Key, and API Domain URL.
- A valid number associated with an active WhatsApp for Business API account to send messages.
- You need to get your Callback DLR endpoints for WhatsApp with the help of the Kaleyra Support team. This endpoint allows you to receive the callback status messages from Kaleyra.io.
To create a WhatsApp provider, perform the following steps:
- Sign in to your MoEngage account.
- From the left menu bar click Settings.
A list of available options appears.
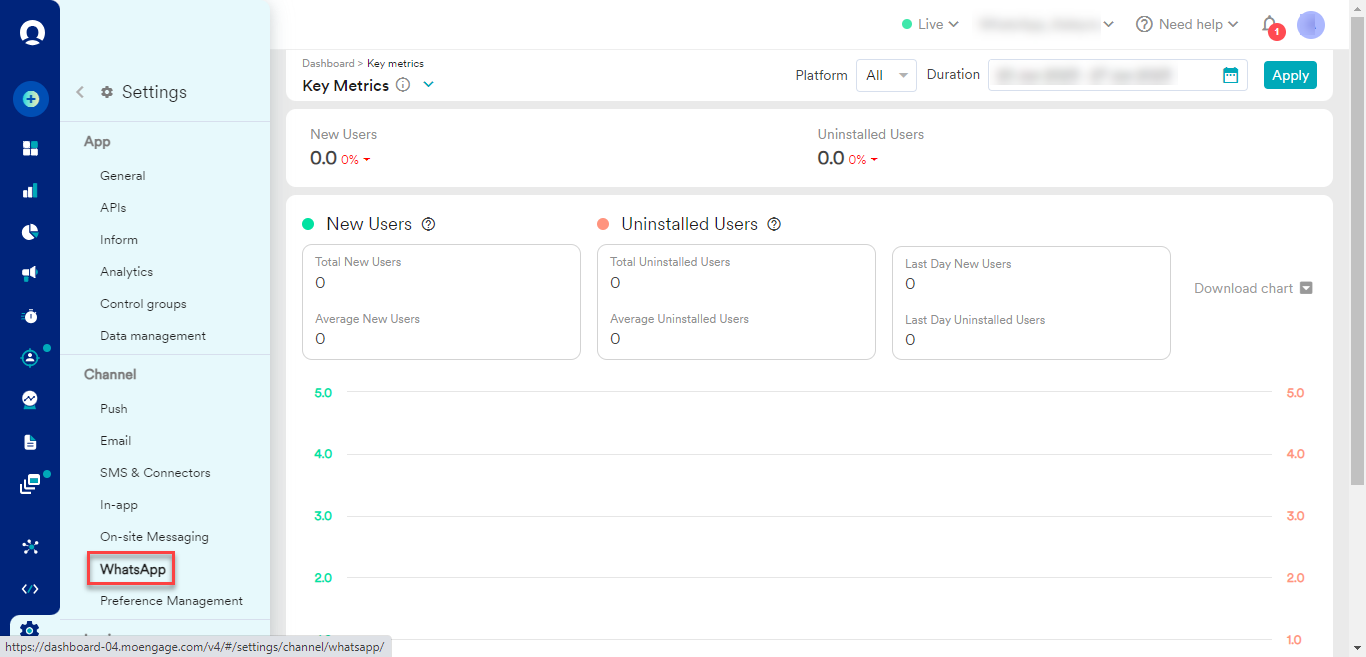
- Click WhatsApp.
The WhatsApp integration settings page appears with the Sender configuration tab details.
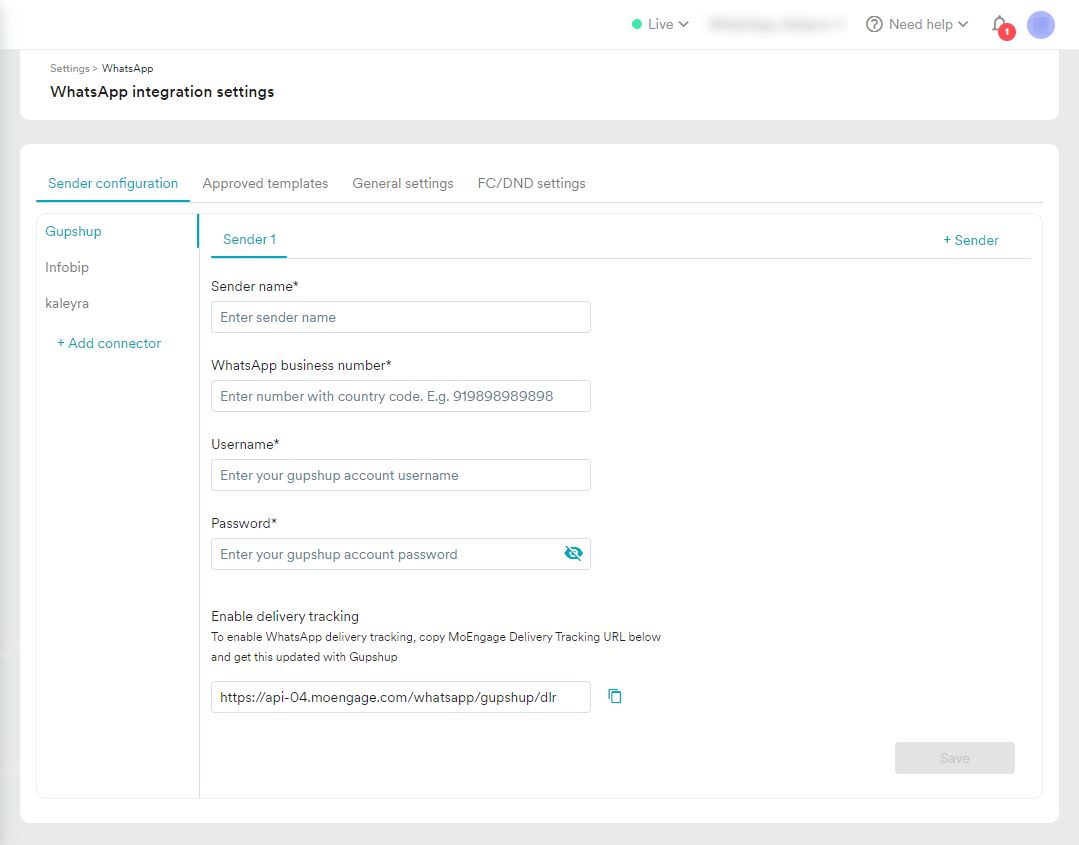
- Click Kaleyra.
The Sender 1 detail appears.
Note:To add another WhatsApp sender under the selected connector (Kaleyra), on the right side of the Sender Configuration tab details click + Sender.
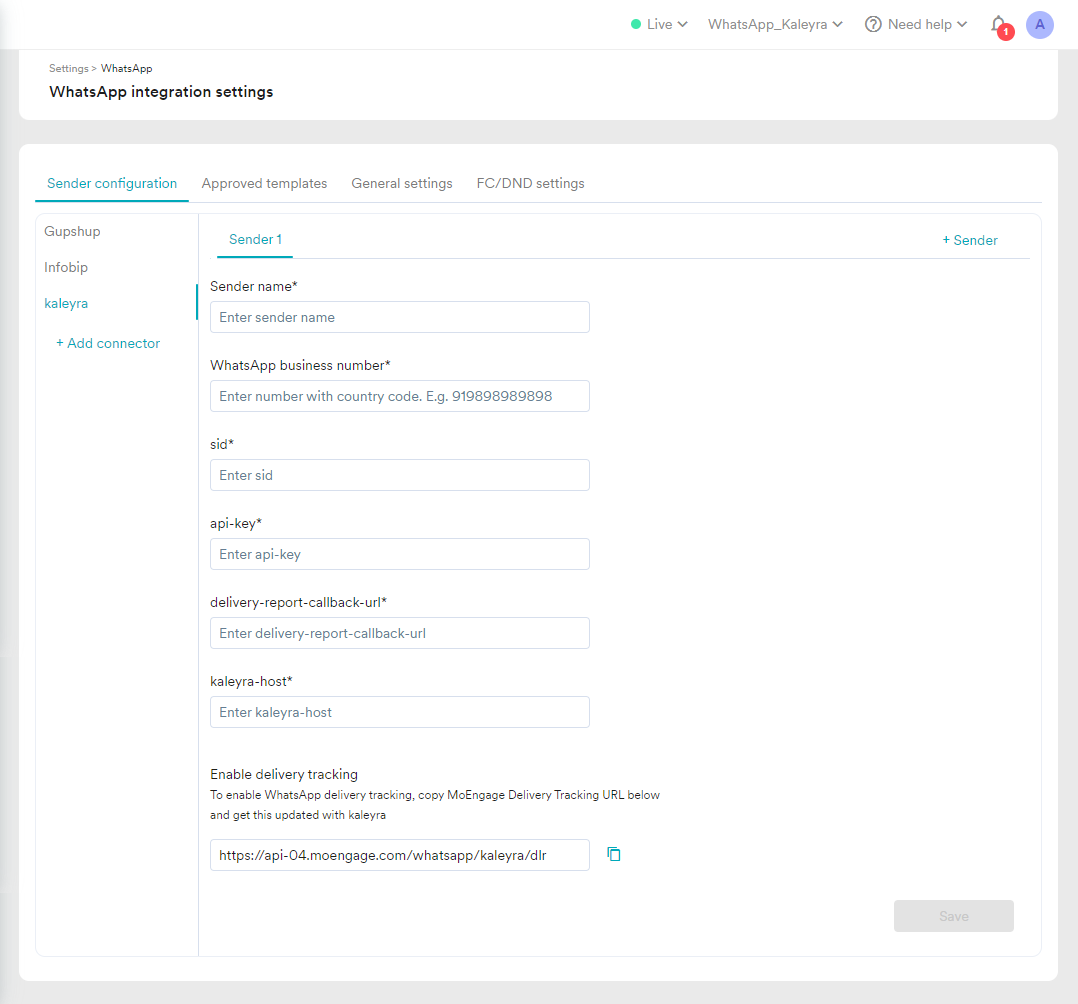
- Perform the following:
- In the Sender name field enter the provider name based on your choice.
- In the WhatsApp business number field, enter the active WhatsApp business number. You must enter the WhatsApp business number with the country code. If you are using + or any space or other special characters in between digits, it is recommended to remove them as shown in the example. Your WhatsApp business number gets verified by the WhatsApp business number field while creating the provider. An error message appears until the WhatsApp Business number is in the correct format. To view the active WhatsApp business number, follow step 1 to step 3 of Add a Number page.
- In the sid field, enter the SID from Kaleyra.io account. To view SID from the Kaleyra.io account, see View API Key and SID.
- In the api-key field, enter the API Key from Kaleyra.io account. To view API from the Kaleyra.io account, see View API Key and SID.
- The delivery-report-callback is automatically generated once you open the Sender page. It is just below kaleyra-host field. In the delivery-report-callback-url field, copy the callback URL from Enable delivery tracking (auto-generated) section and paste it. It enables WhatsApp delivery tracking.
- In the kaleyra-host field, enter the API domain from your Kaleyra.io account. For example -
https://api.in.kaleyra.io/. To view API Domain from the Kaleyra.io account, see View API Key and SID.
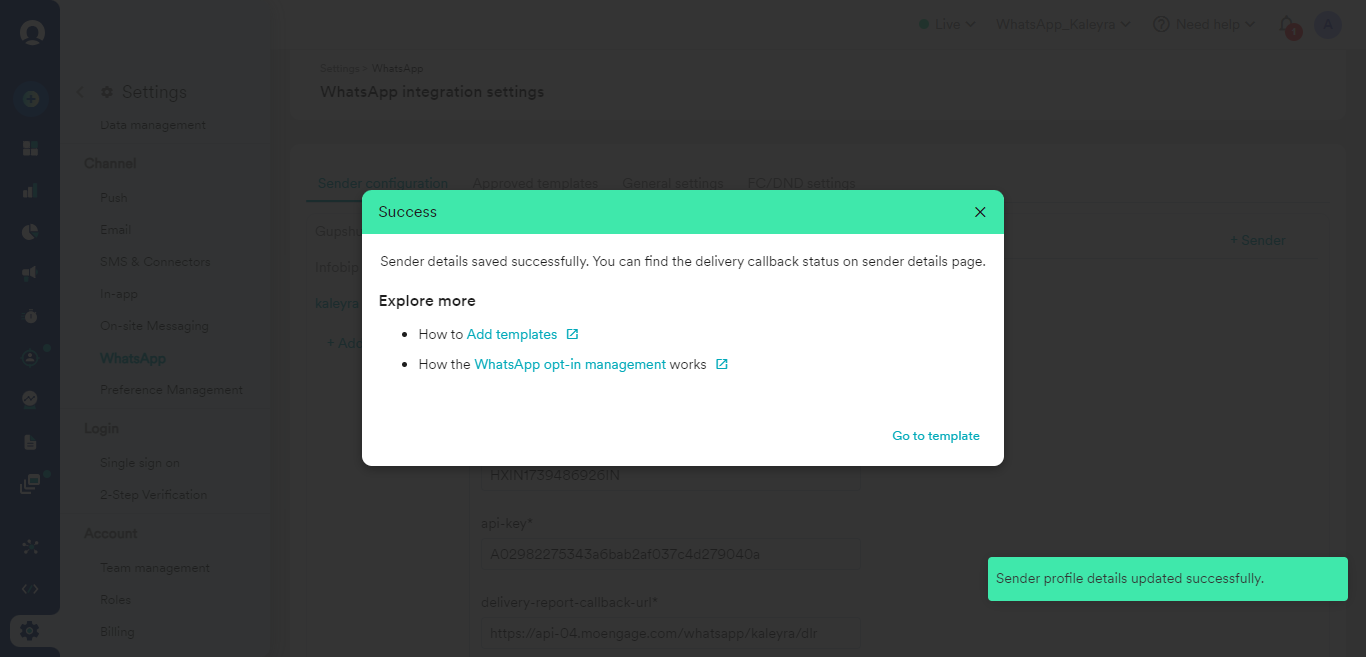
- Click Save to save the WhatsApp sender details.
A confirmation message appears.
Updated about 1 year ago
Did this page help you?