Configure SMS Settings
The Configure SMS Settings provide the customer to enable or disable the Opt-in or Opt-out feature.
Prerequisite:
- Need to have the approved Sender ID/Shortcode/SMS capability number
To configure the SMS Settings, perform the following steps:
- Sign in to Kaleyra.io account.
- On the left menu bar click Channels.
The Channels page appears.
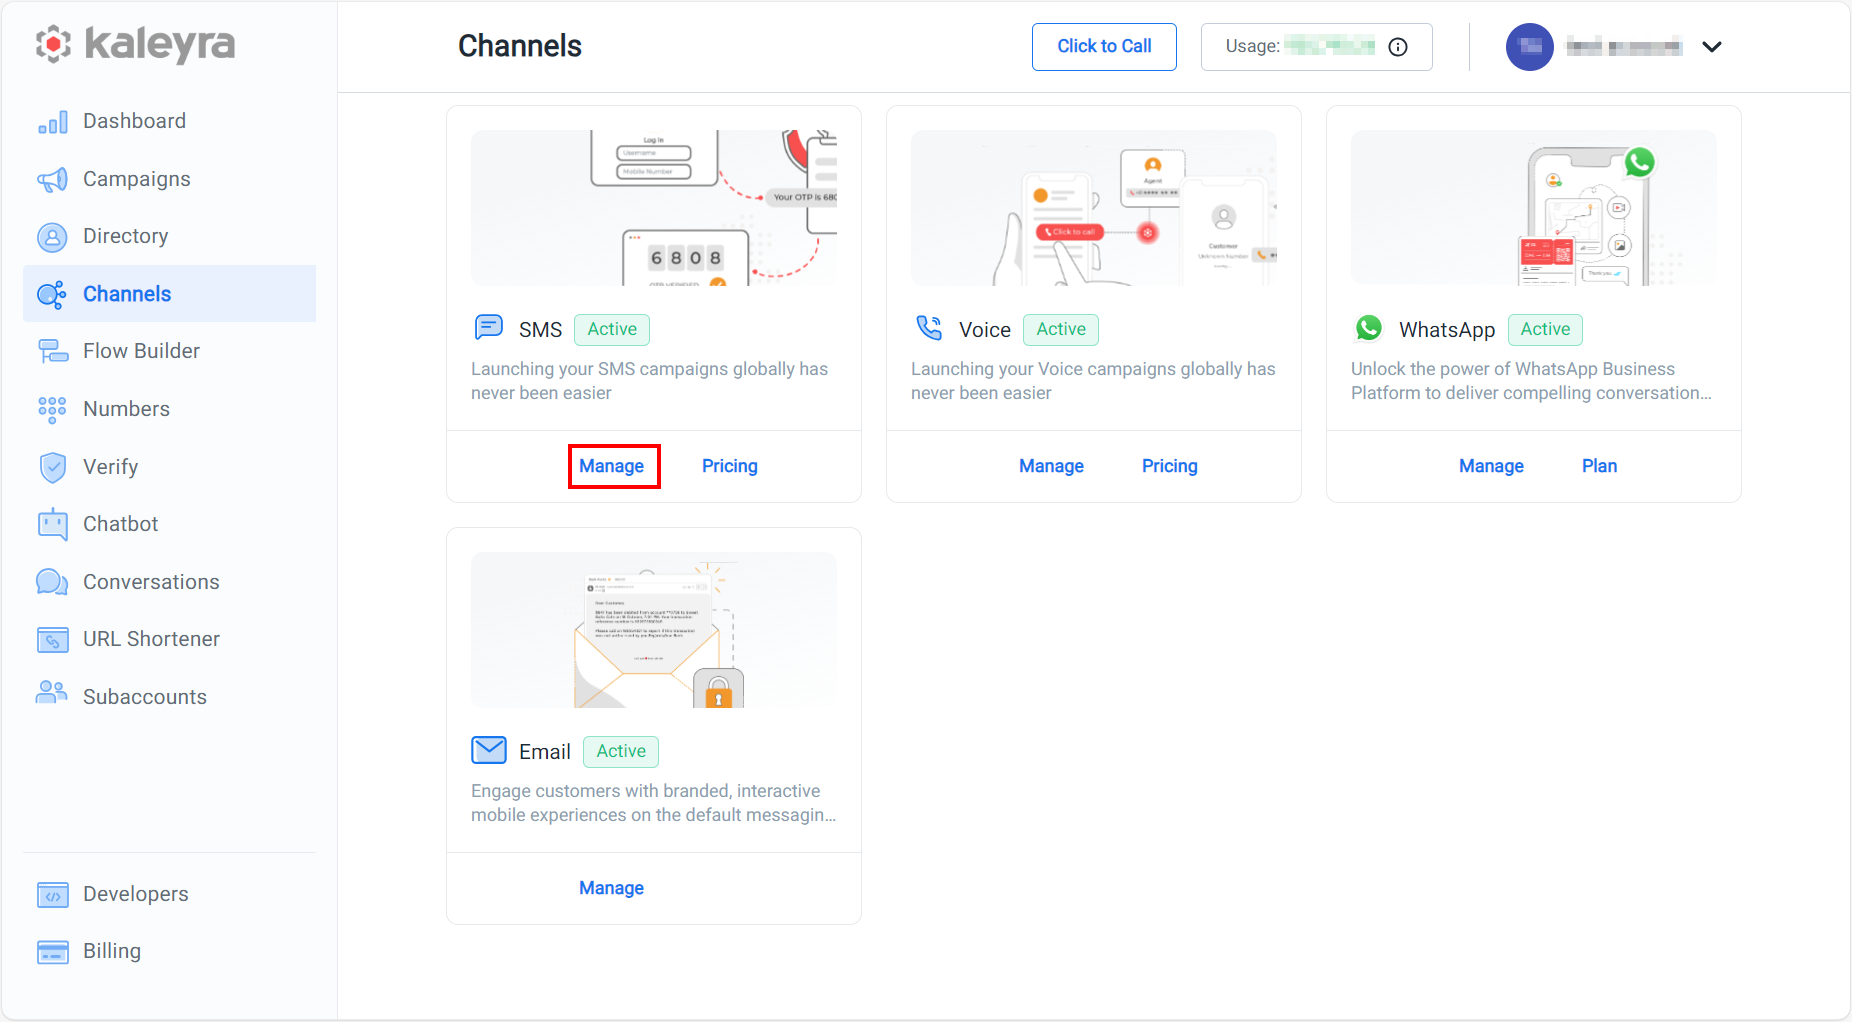
- On the SMS card, click Manage.
The Sender ID tab details appear.
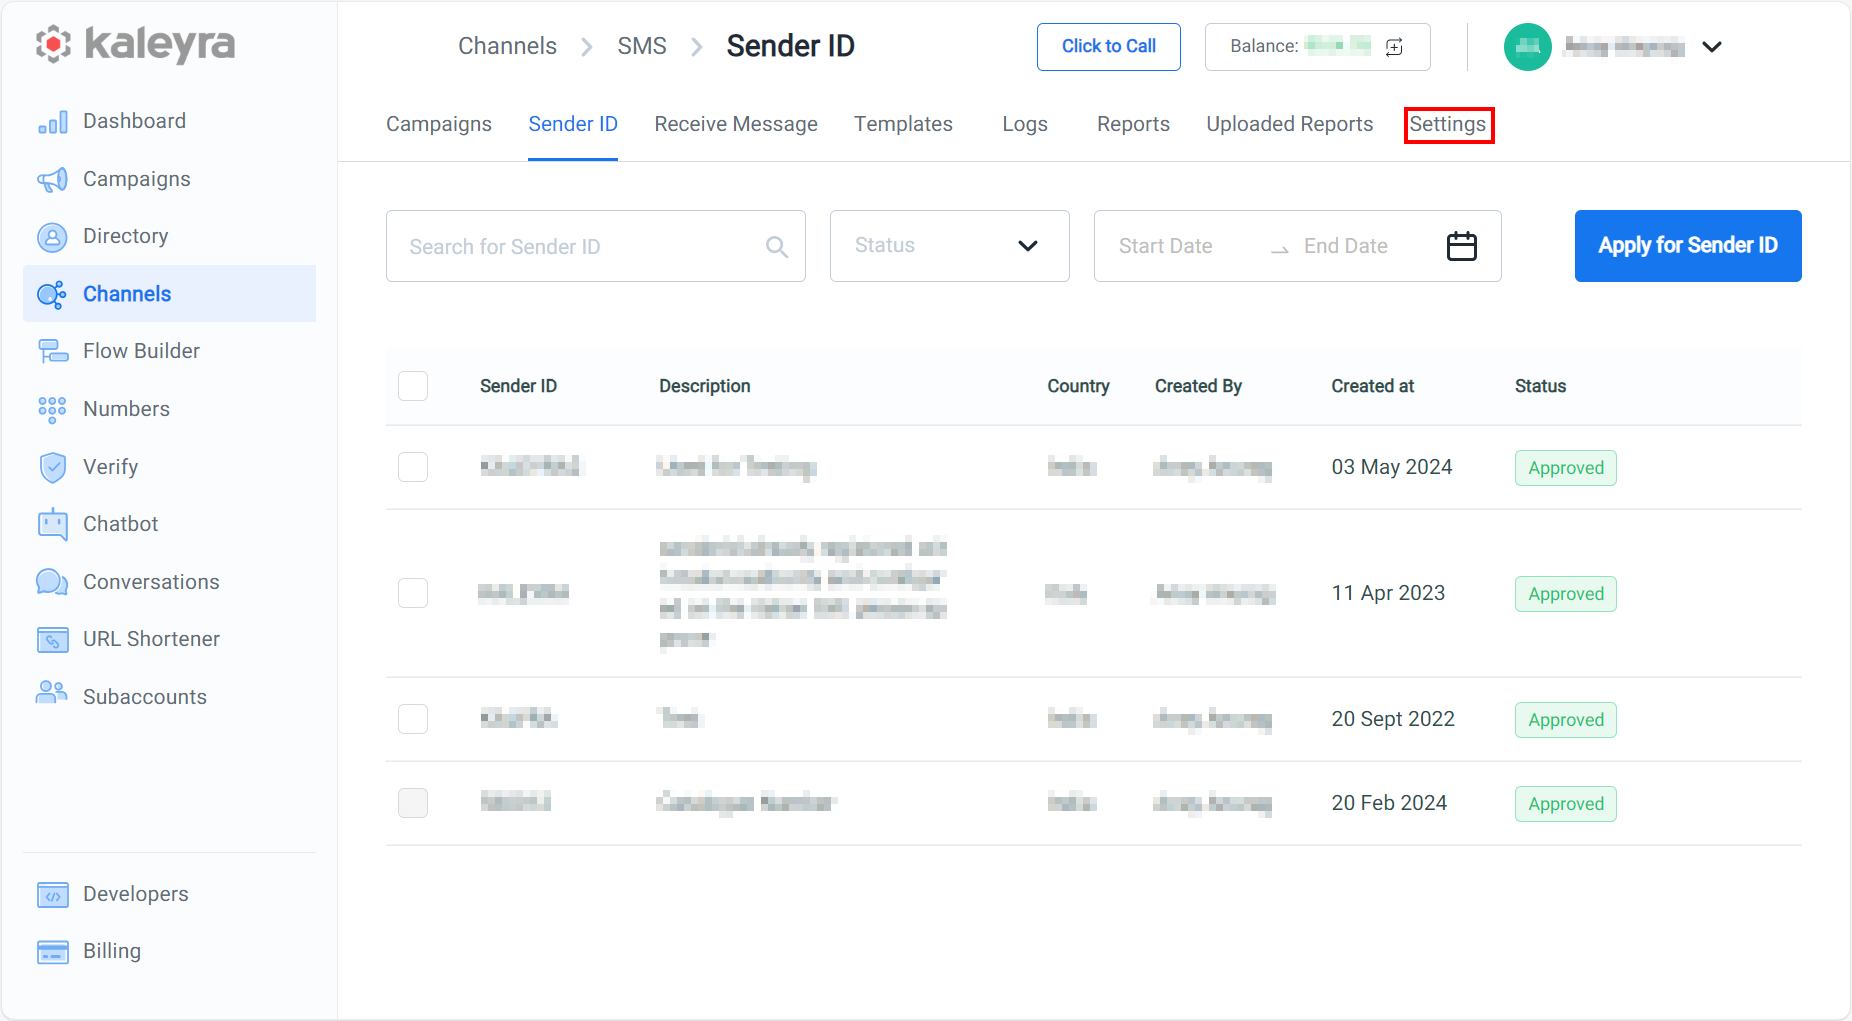
- Click the Settings tab.
The Settings page appears.
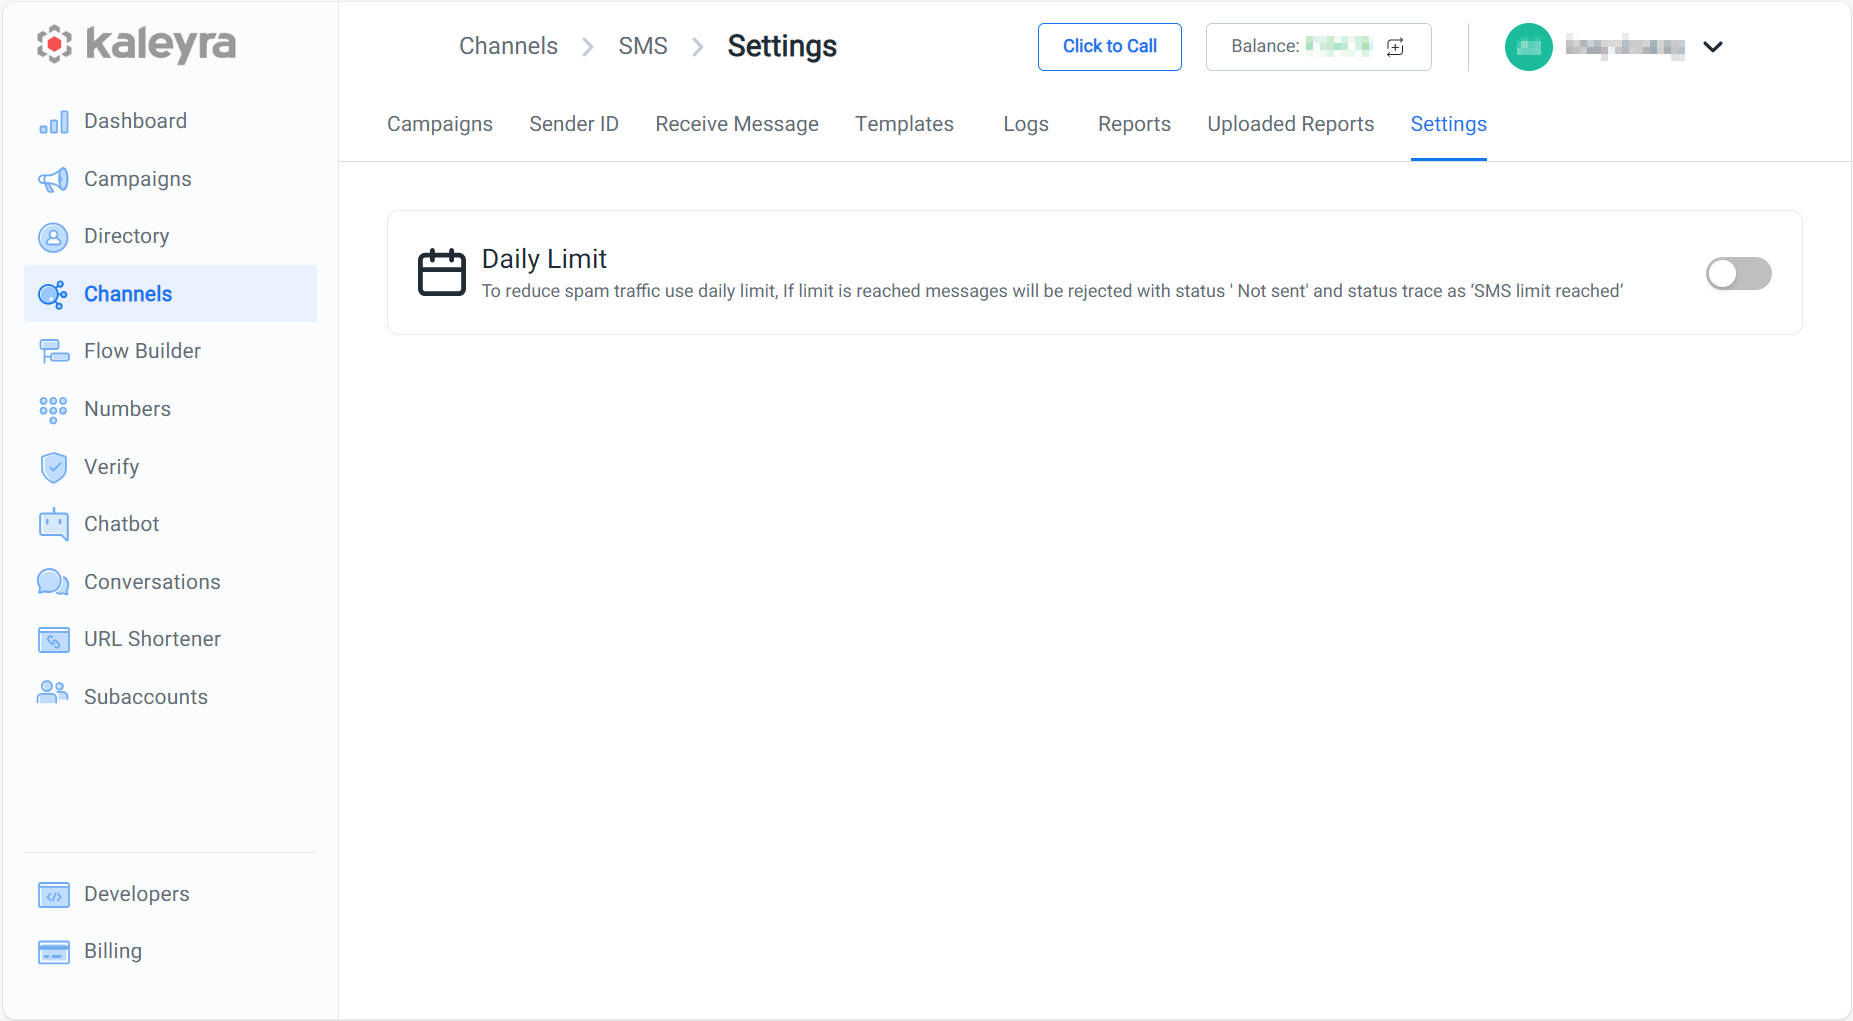
The Settings page has the following section:
Updated about 1 year ago
Did this page help you?