Verify and Launch Agent
You can submit the configured agent for verification. Once you submit an agent for verification, the status changes to Unverified. After successfully verifying an agent configuration, Google will approve the RCS agent.
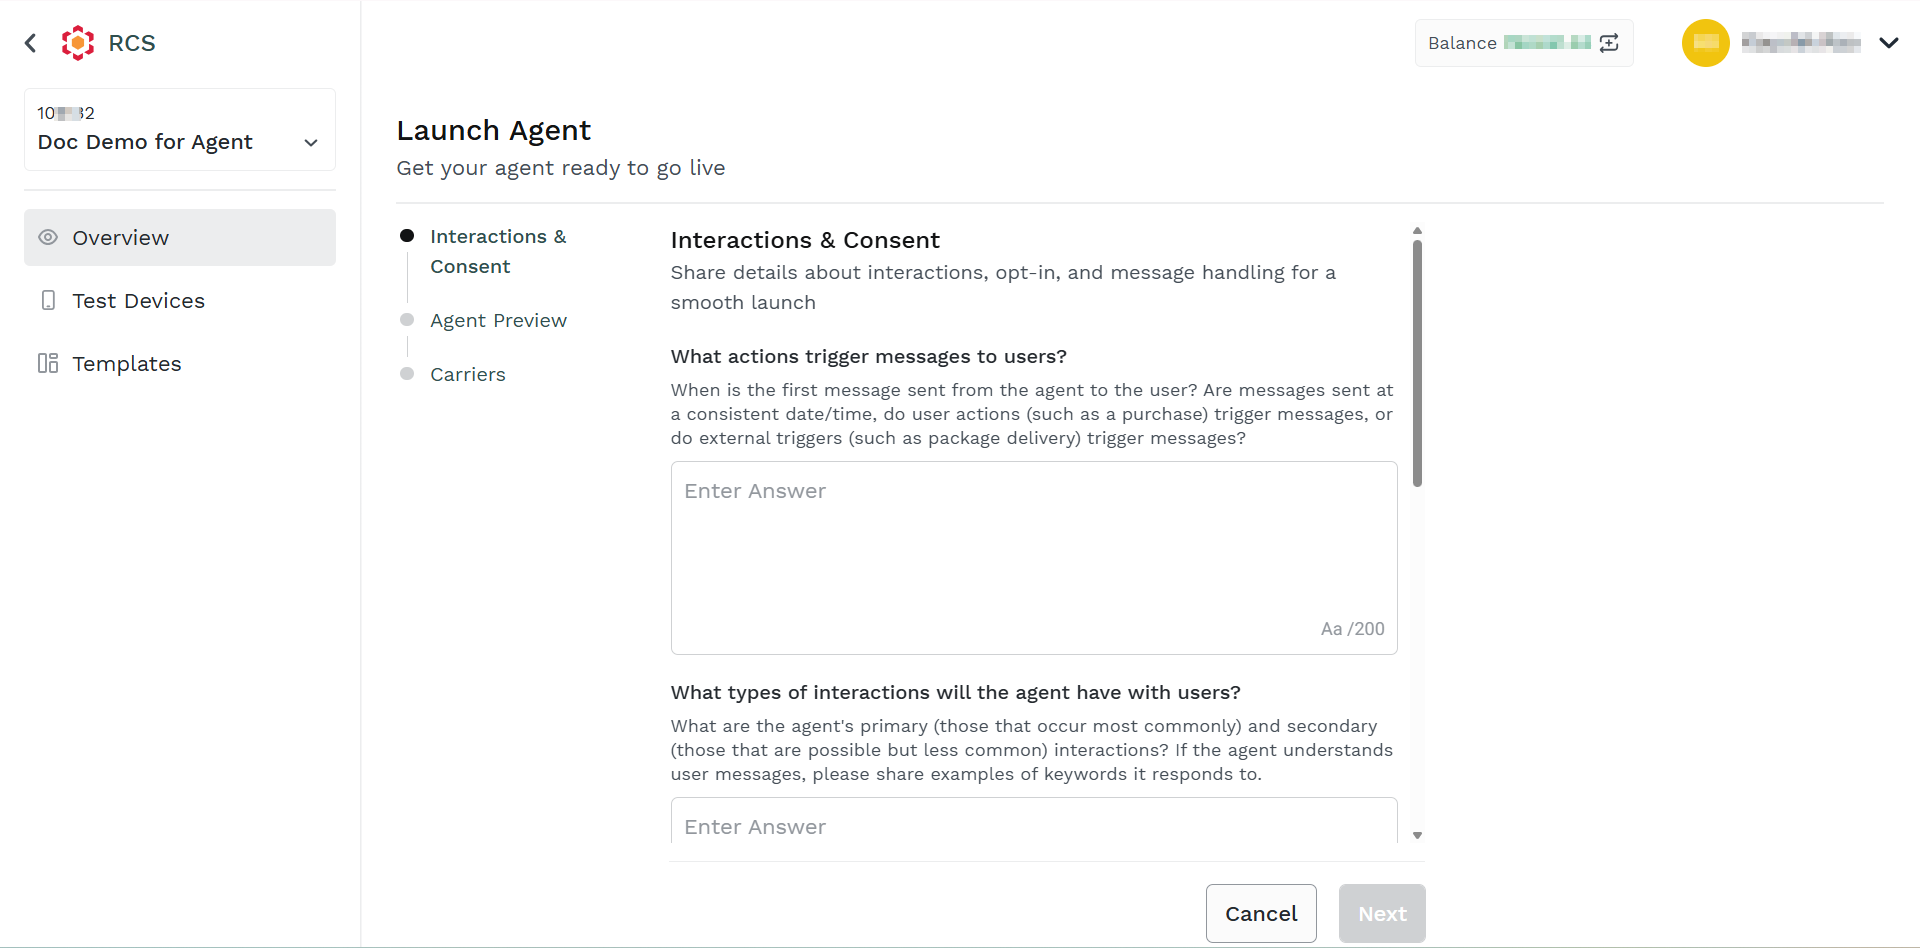
During the process of sending an agent for verification, you must answer the questions; these answers will help the Google team to set the context and purpose of an agent. It is recommended to answer the questions for quick and faster verification of an agent and getting approved to launch an agent. The detailed description for each question is provided next to each question.
To verify and launch an agent request, perform the following steps:
- Follow step 1 to step 3 of the Add a New Agent topic.
The Agents dashboard page appears.
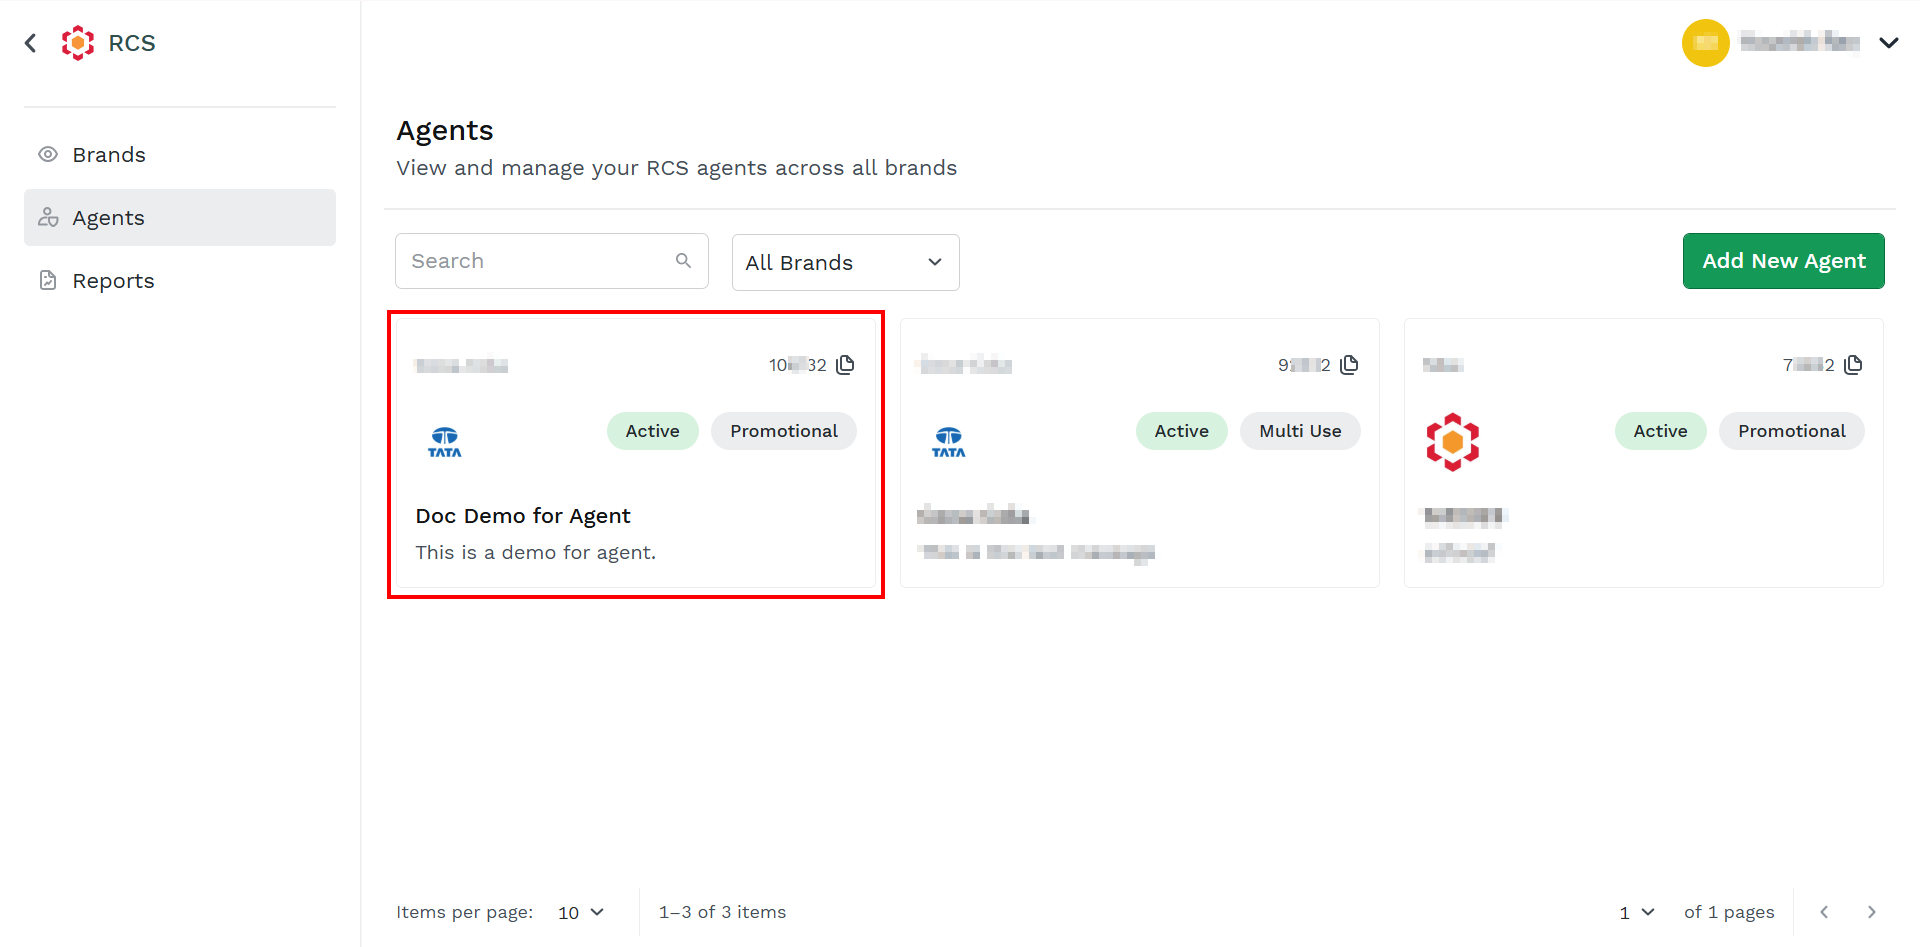
- Click the card you want to add a new test device.
The Agent Overview page appears.
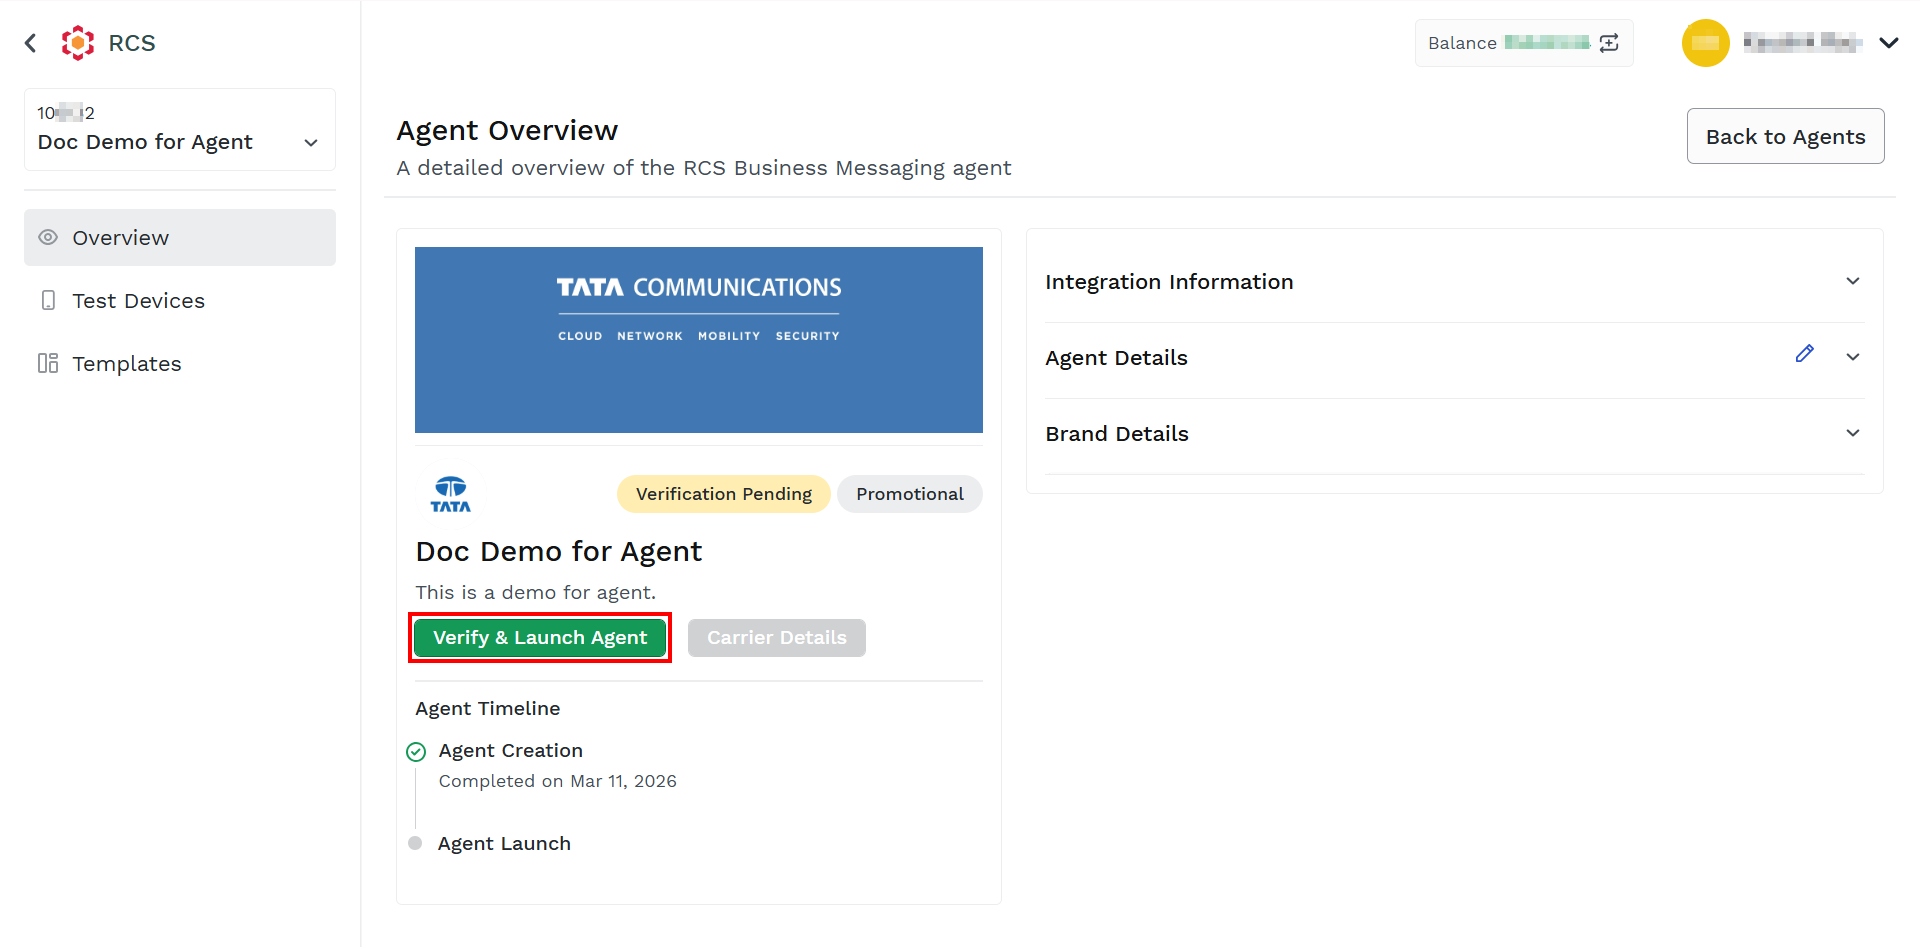
- Click Verify & Launch Agent.
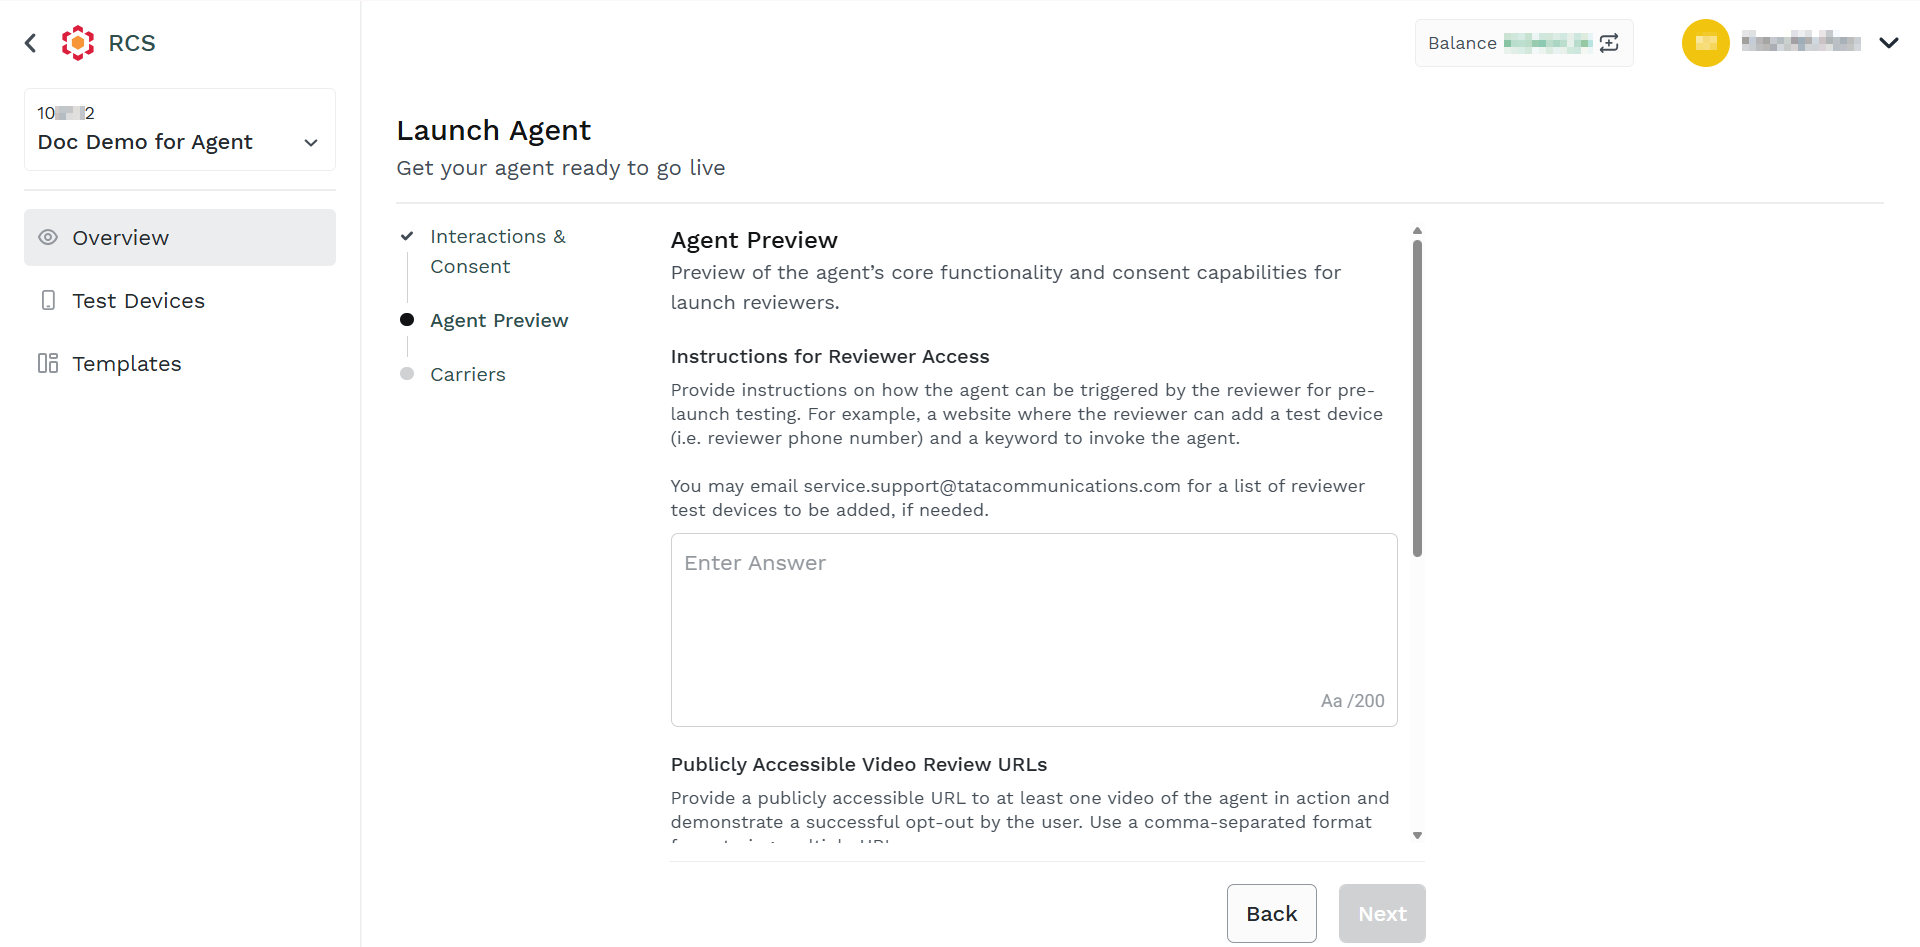
The Interactions & Consent step appears.
Note:
A detailed description for each question is provided next to each question. It is recommended to go through the description and answer the questions accurately.
- Answer all the questions for your agent accurately.
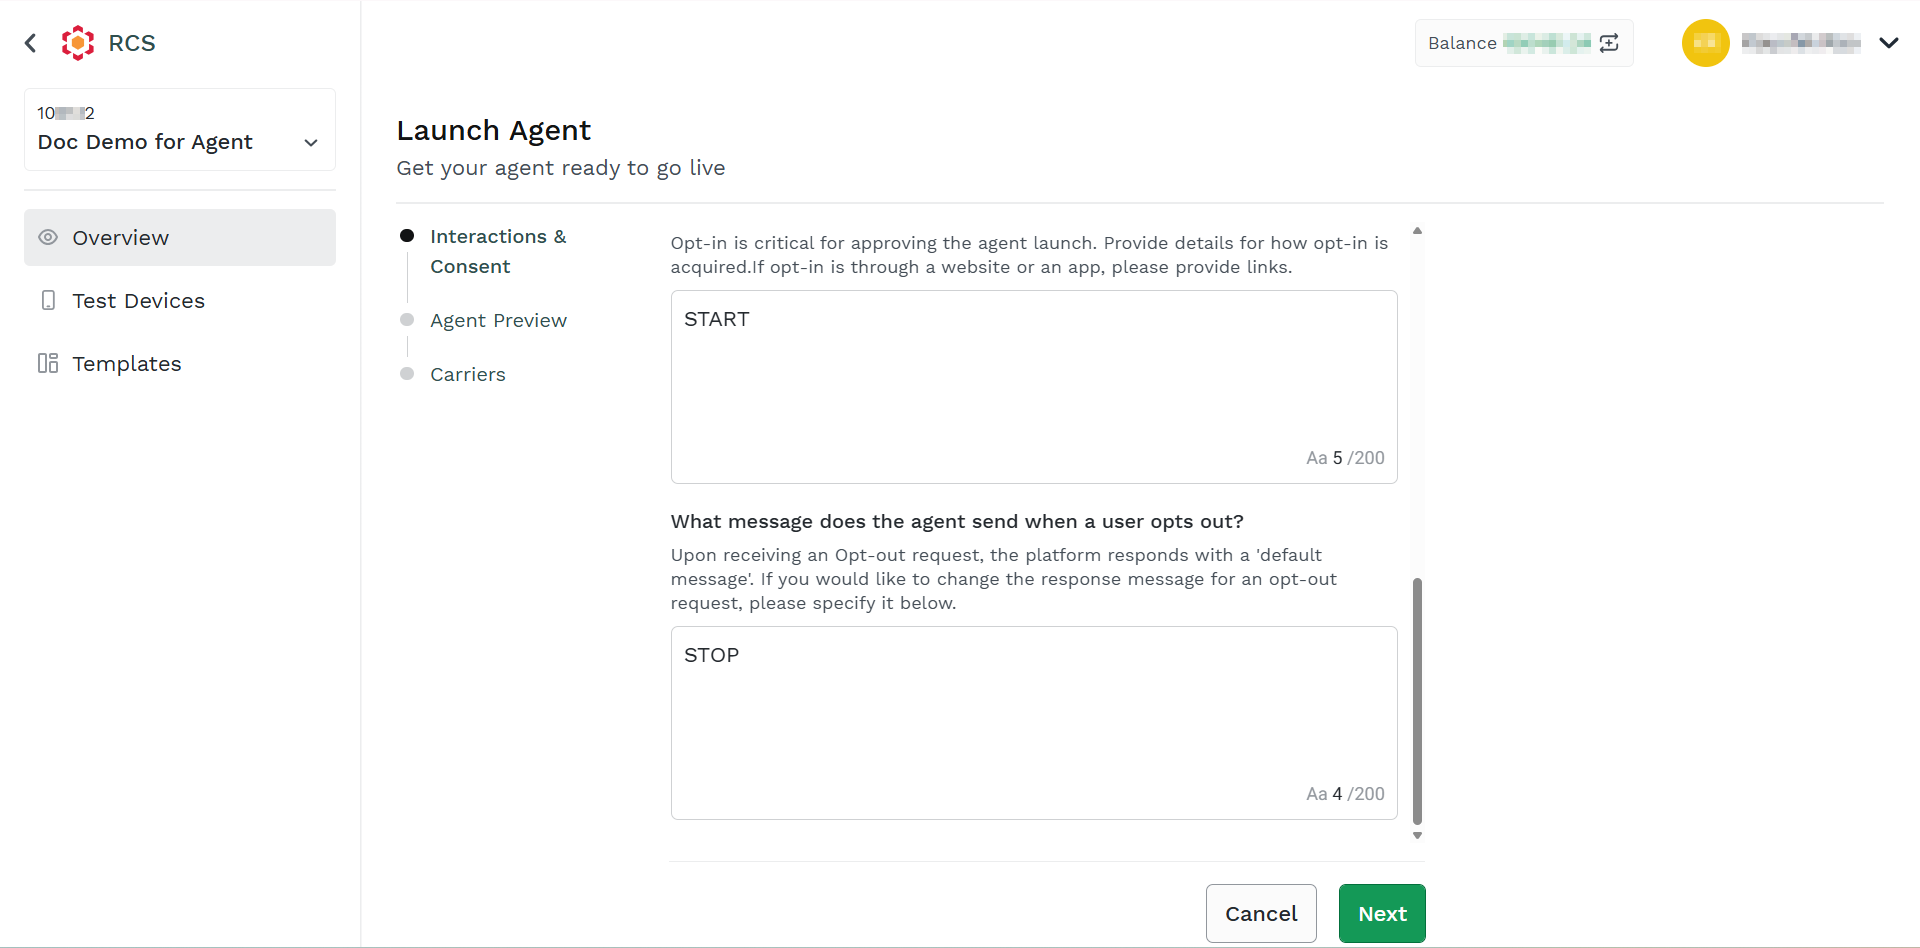
- Click Next.
The Agent Preview step appears.
- Answer all the questions for your agent accurately.
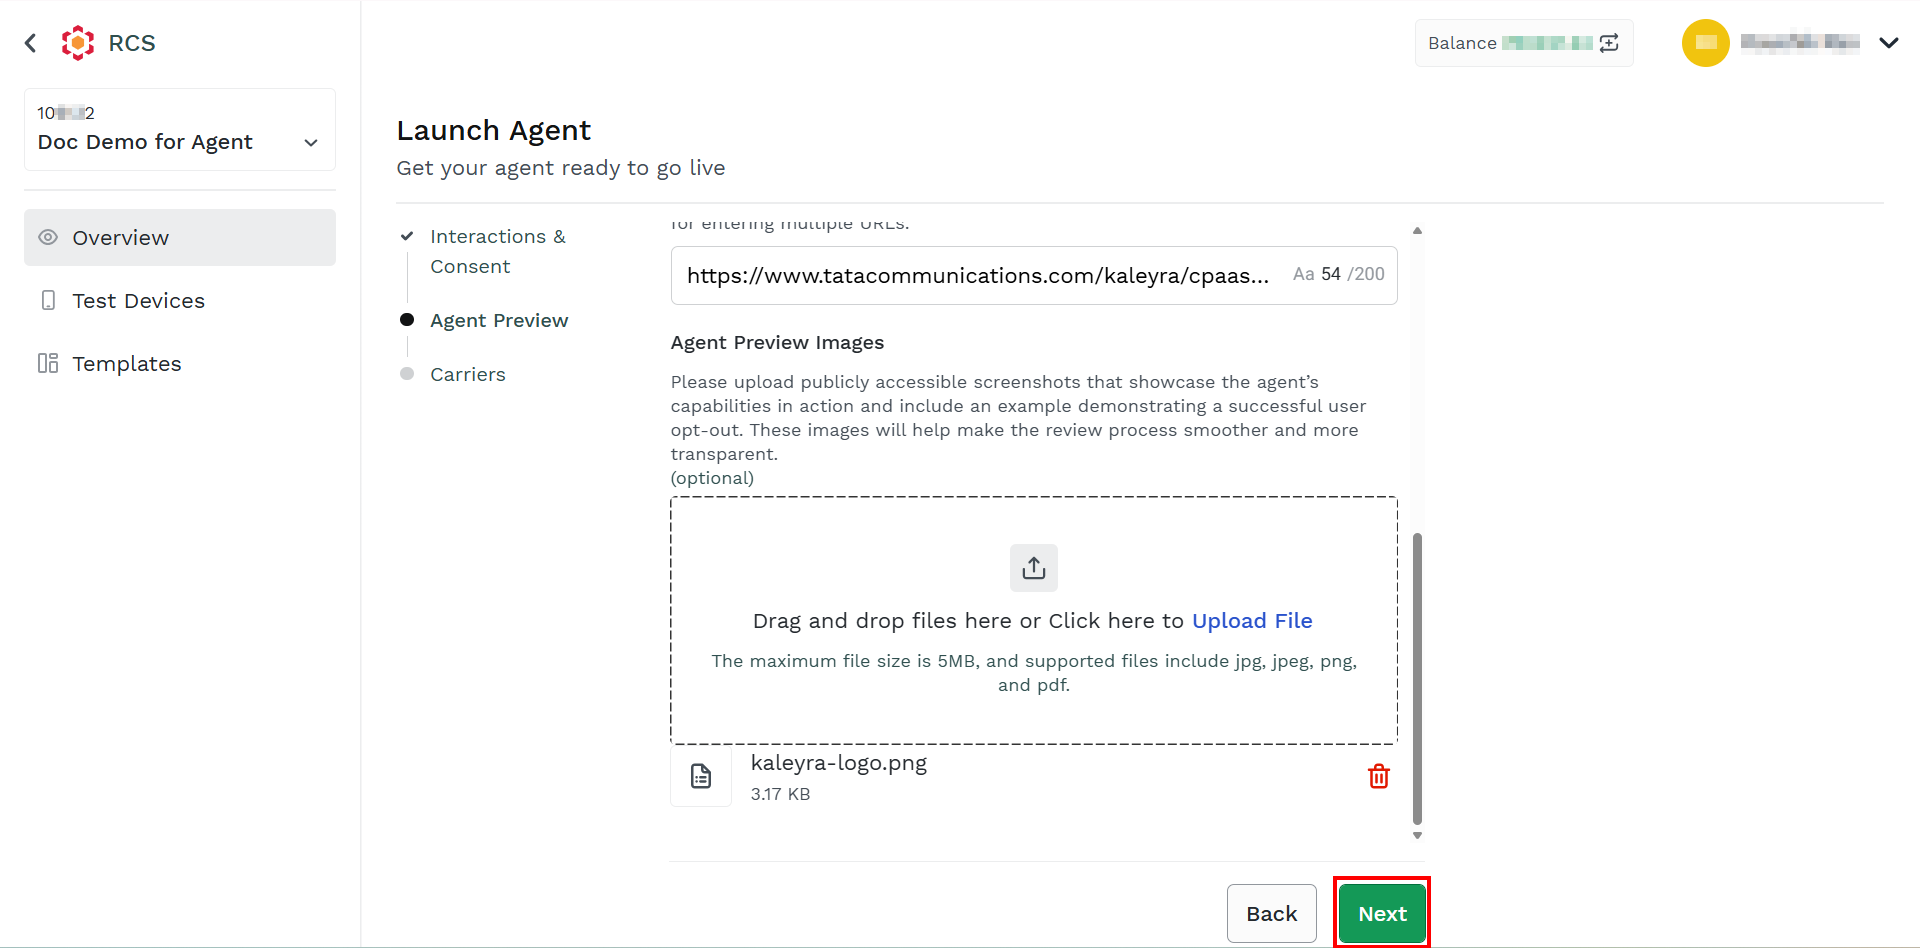
- Click Next.
The Carriers step appears.
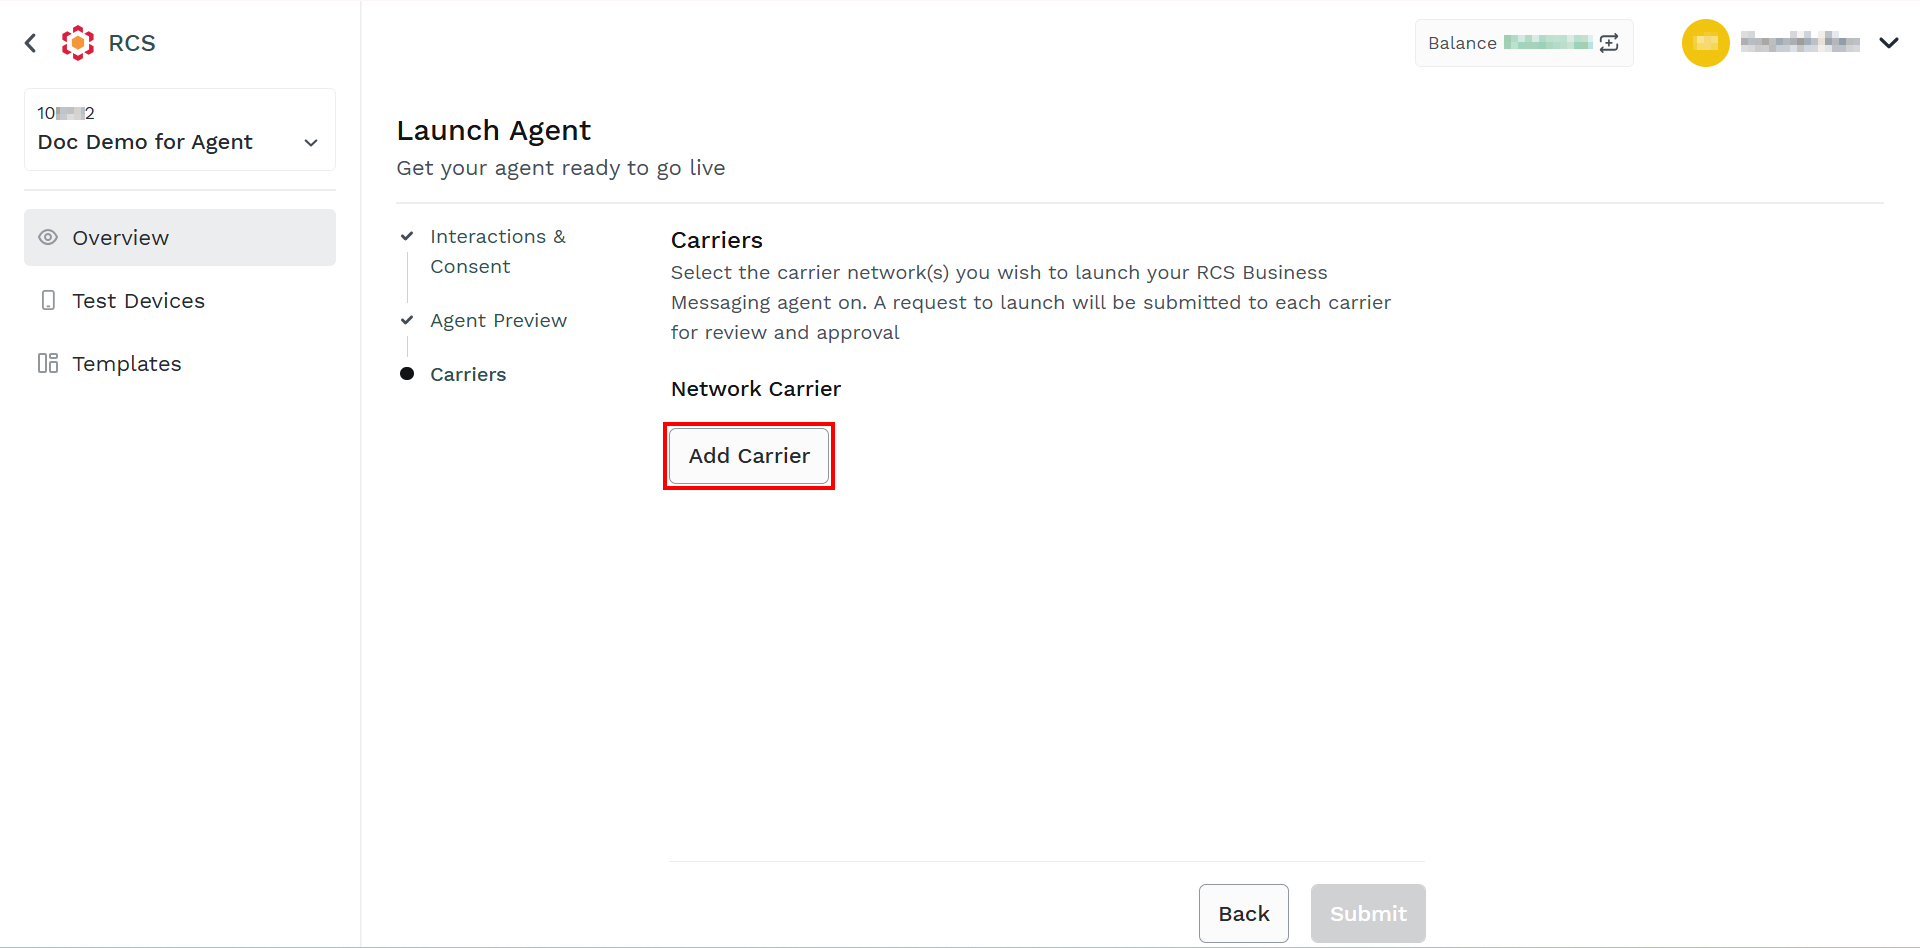
- Click the Add Carrier button.
The Select Carrier pane appears on the right-side of the page.
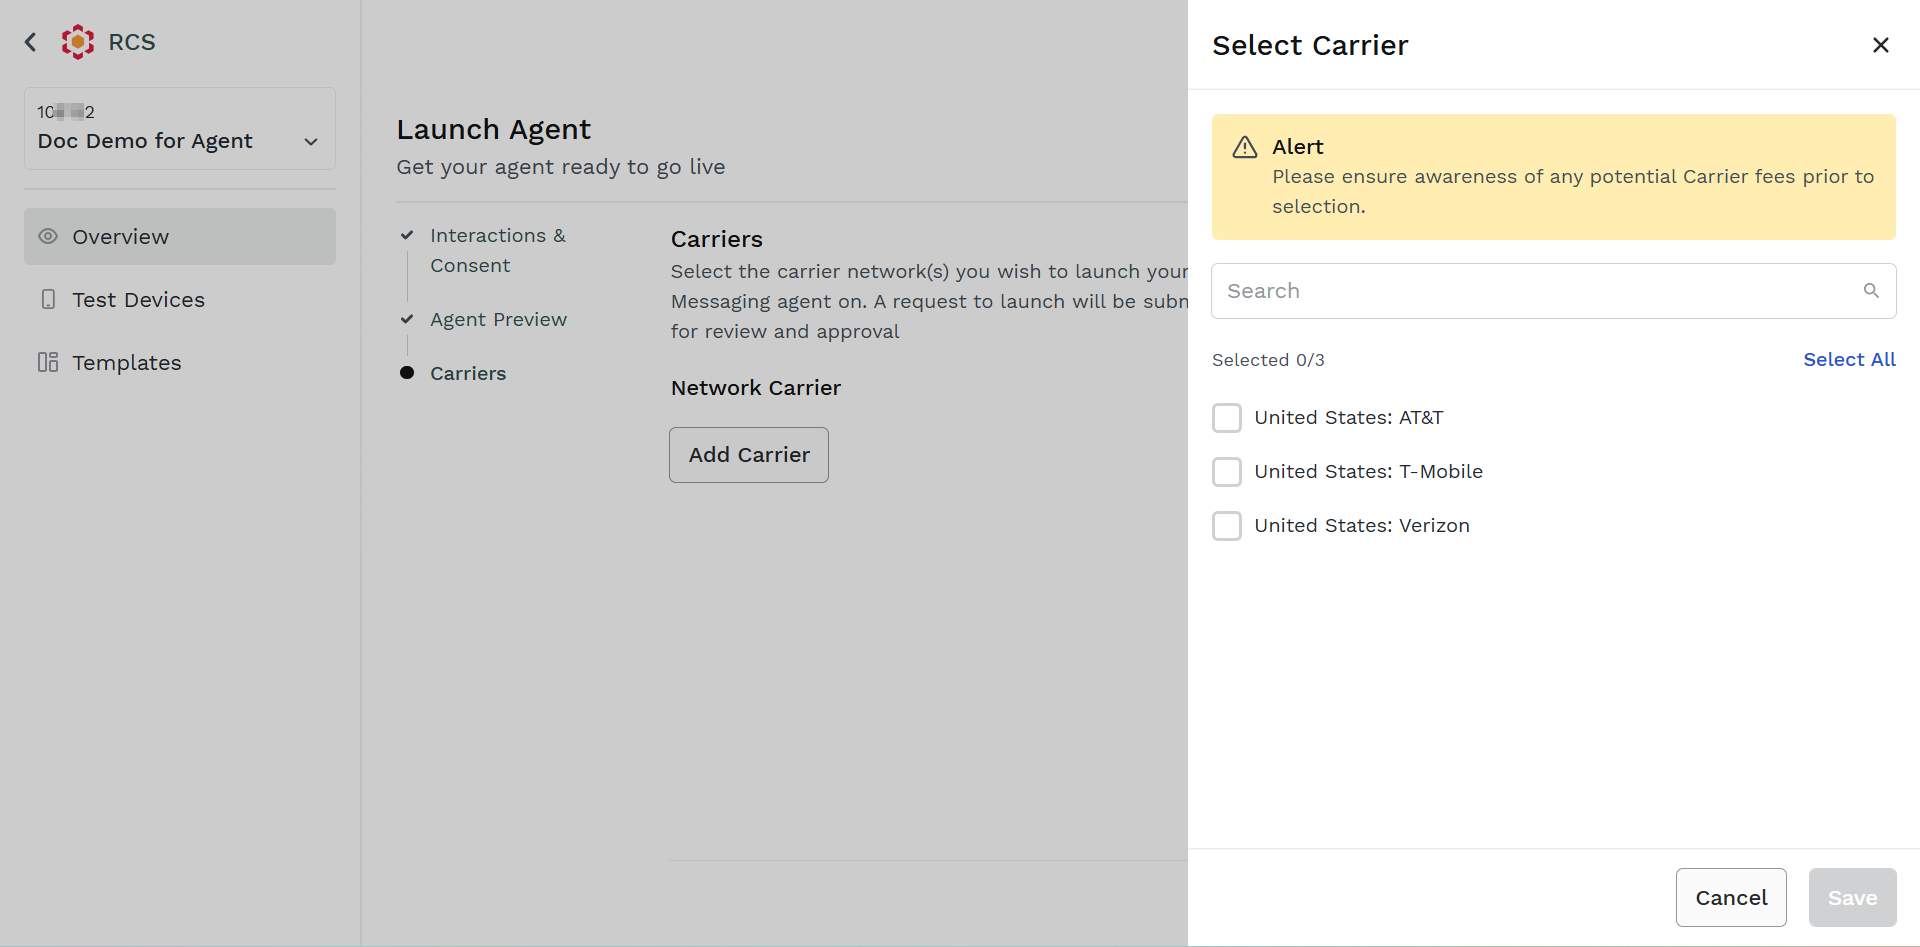
- Select the network carrier provider for your agent.
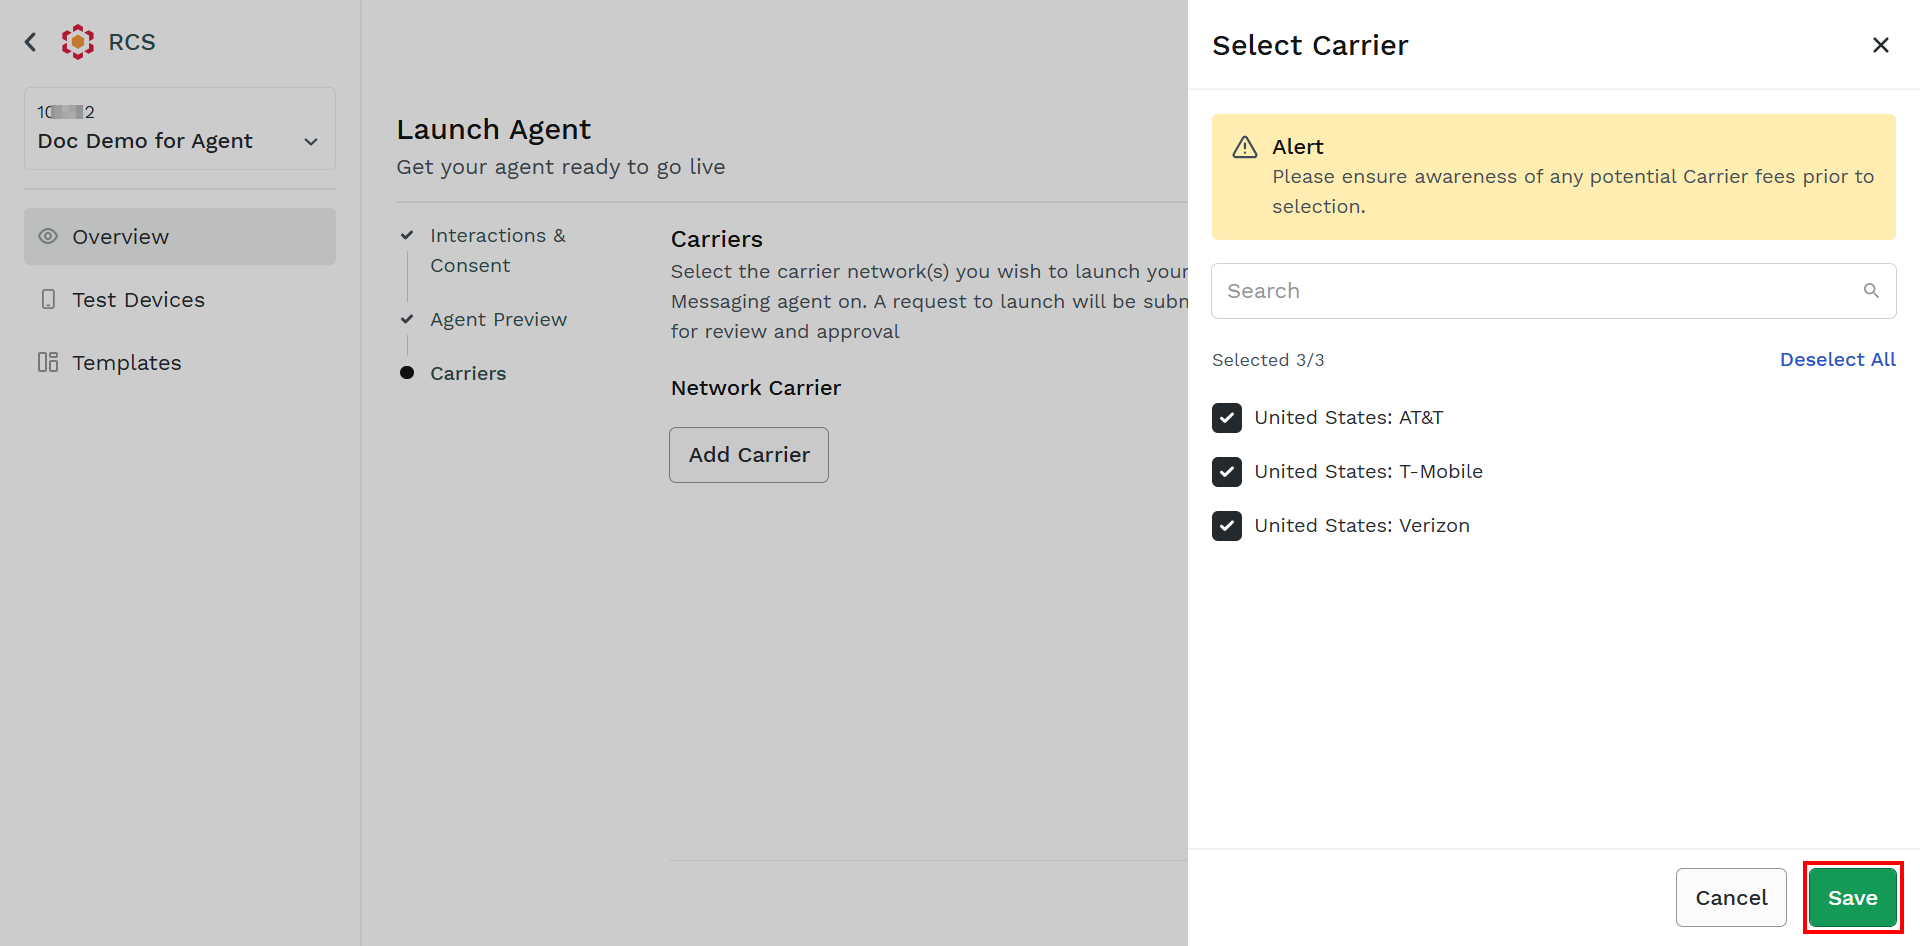
- Click Save.
The Network Carrier gets updated.

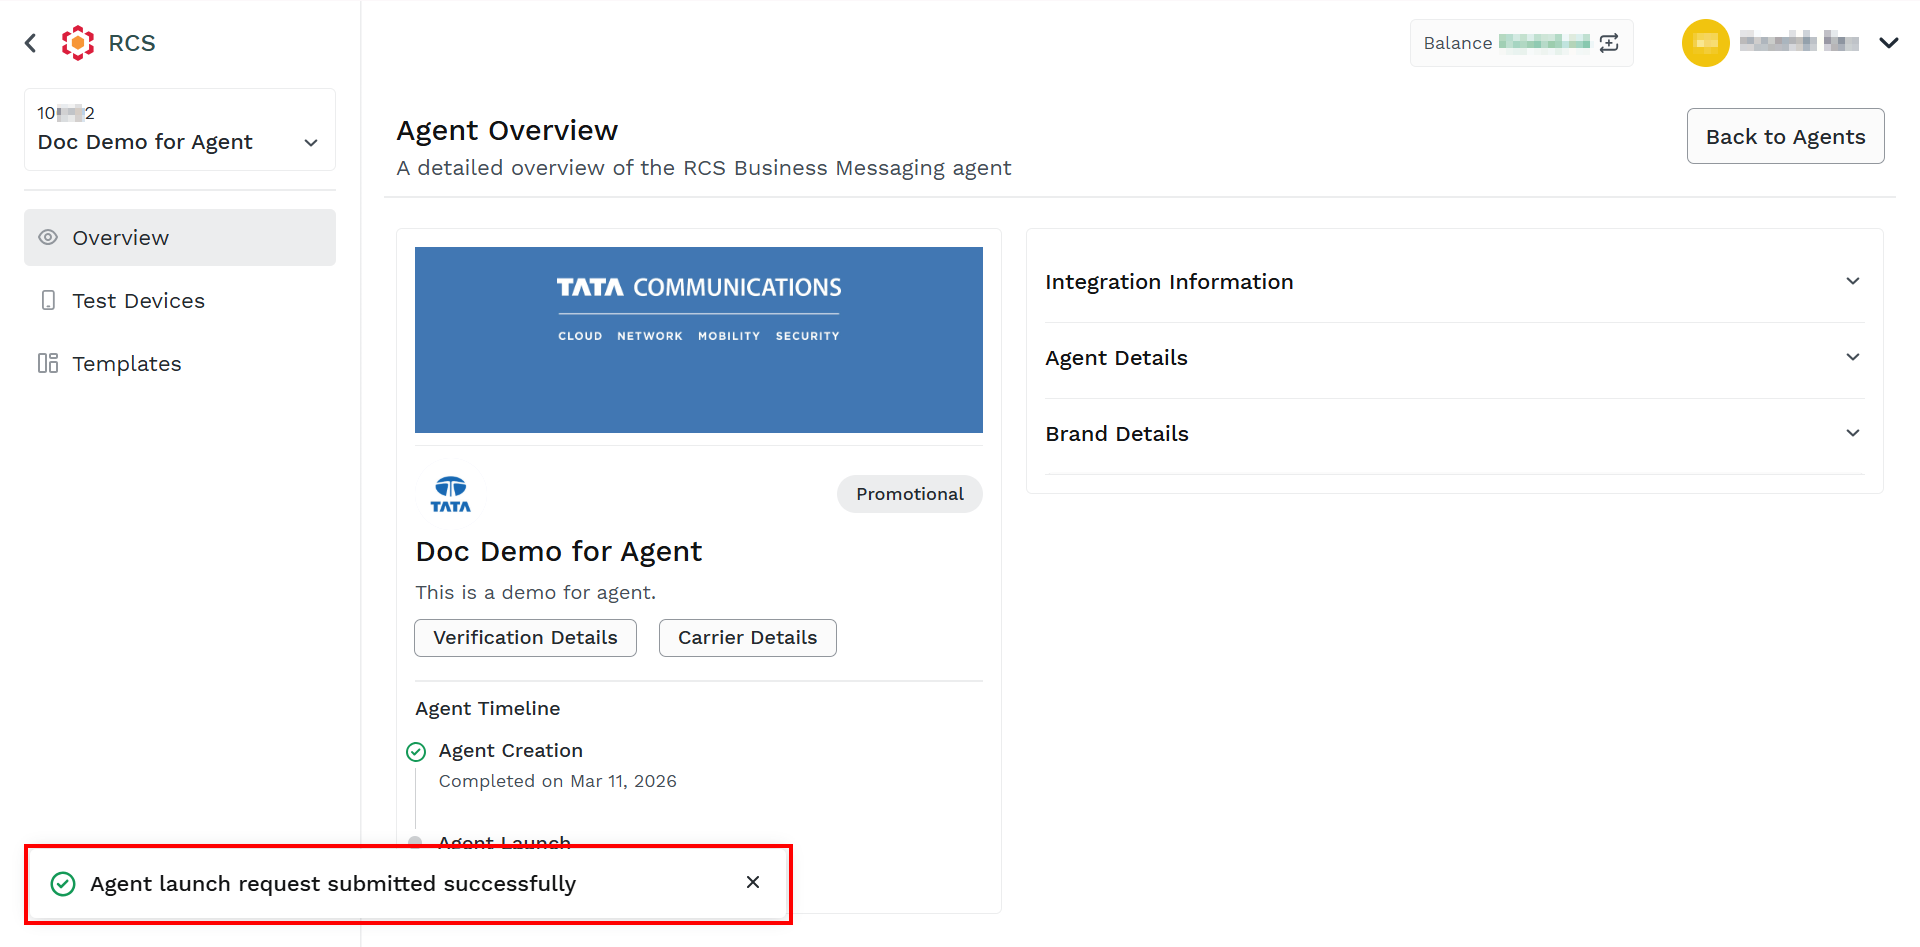
- Click Submit.
The Confirmation message appears.

- Click the Yes, Confirm button.
Notes:
- You can view the verification details and agent preview by clicking the Verification Details button.
- You can view the carriers and add carriers by clicking on the Carriers button.
Updated about 1 month ago