Launch an RCS Campaign
The Launch RCS Campaign functionality allows you to create and launch campaigns using Rich Communication Services (RCS) messages. It allows businesses to send interactive and media-rich messages such as images, pdf, videos, rich card templates, rich carousel templates, and branded content directly to end users’ messaging apps.
Prerequisites
Before creating a new RCS Campaign, ensure the following prerequisites are met:
- Complete the KYC process. For more information on the KYC process, see the Complete the KYC page.
- An RCS Agent and Templates (business profile) must be created and approved.
To launch an RCS campaign, perform the following steps:
- Sign in to your Kaleyra platform.
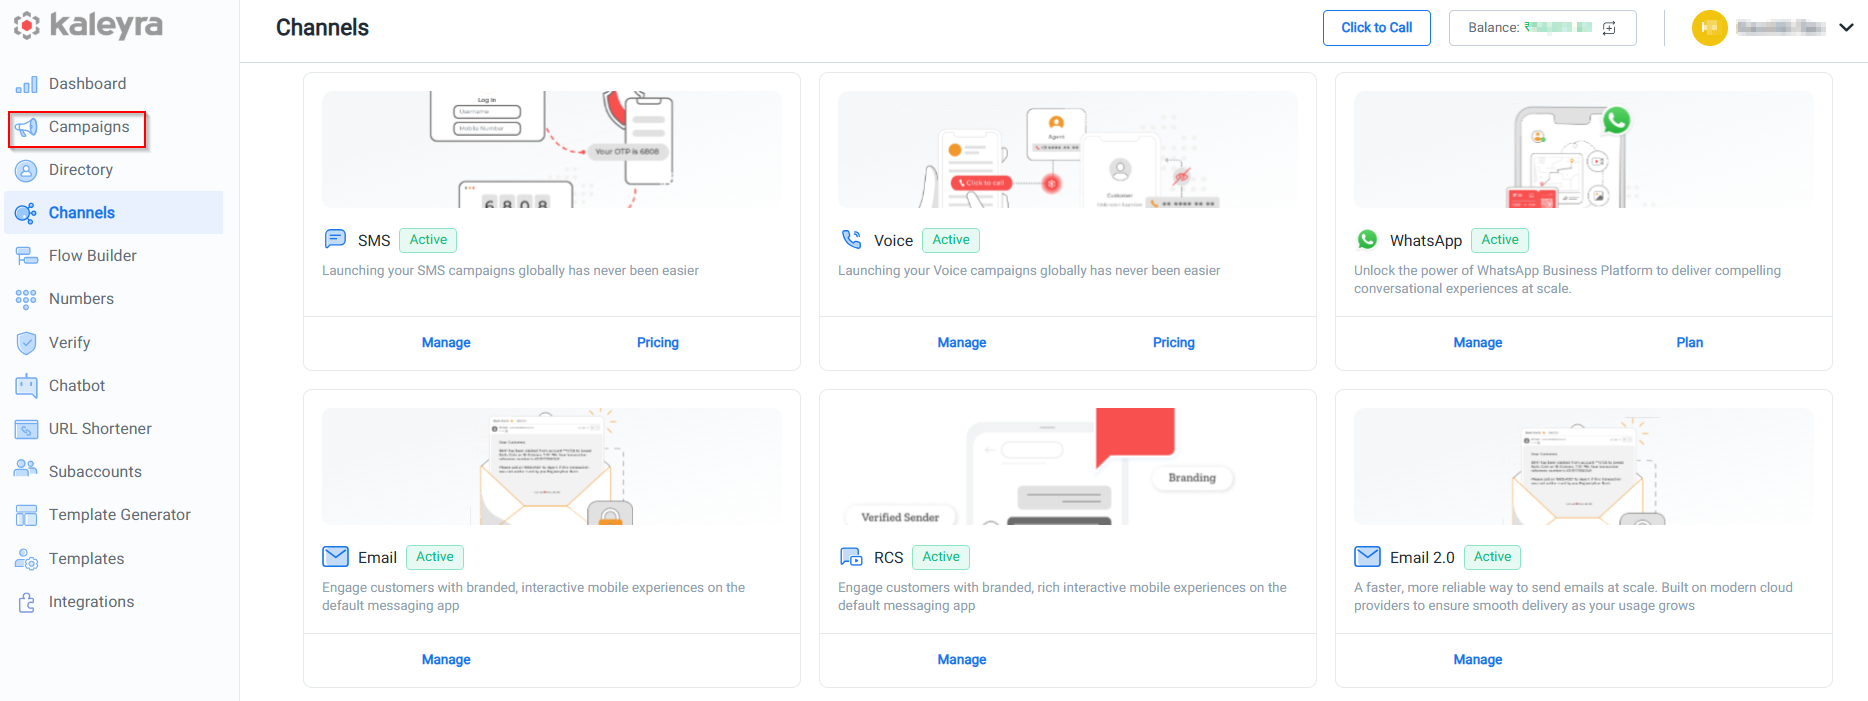
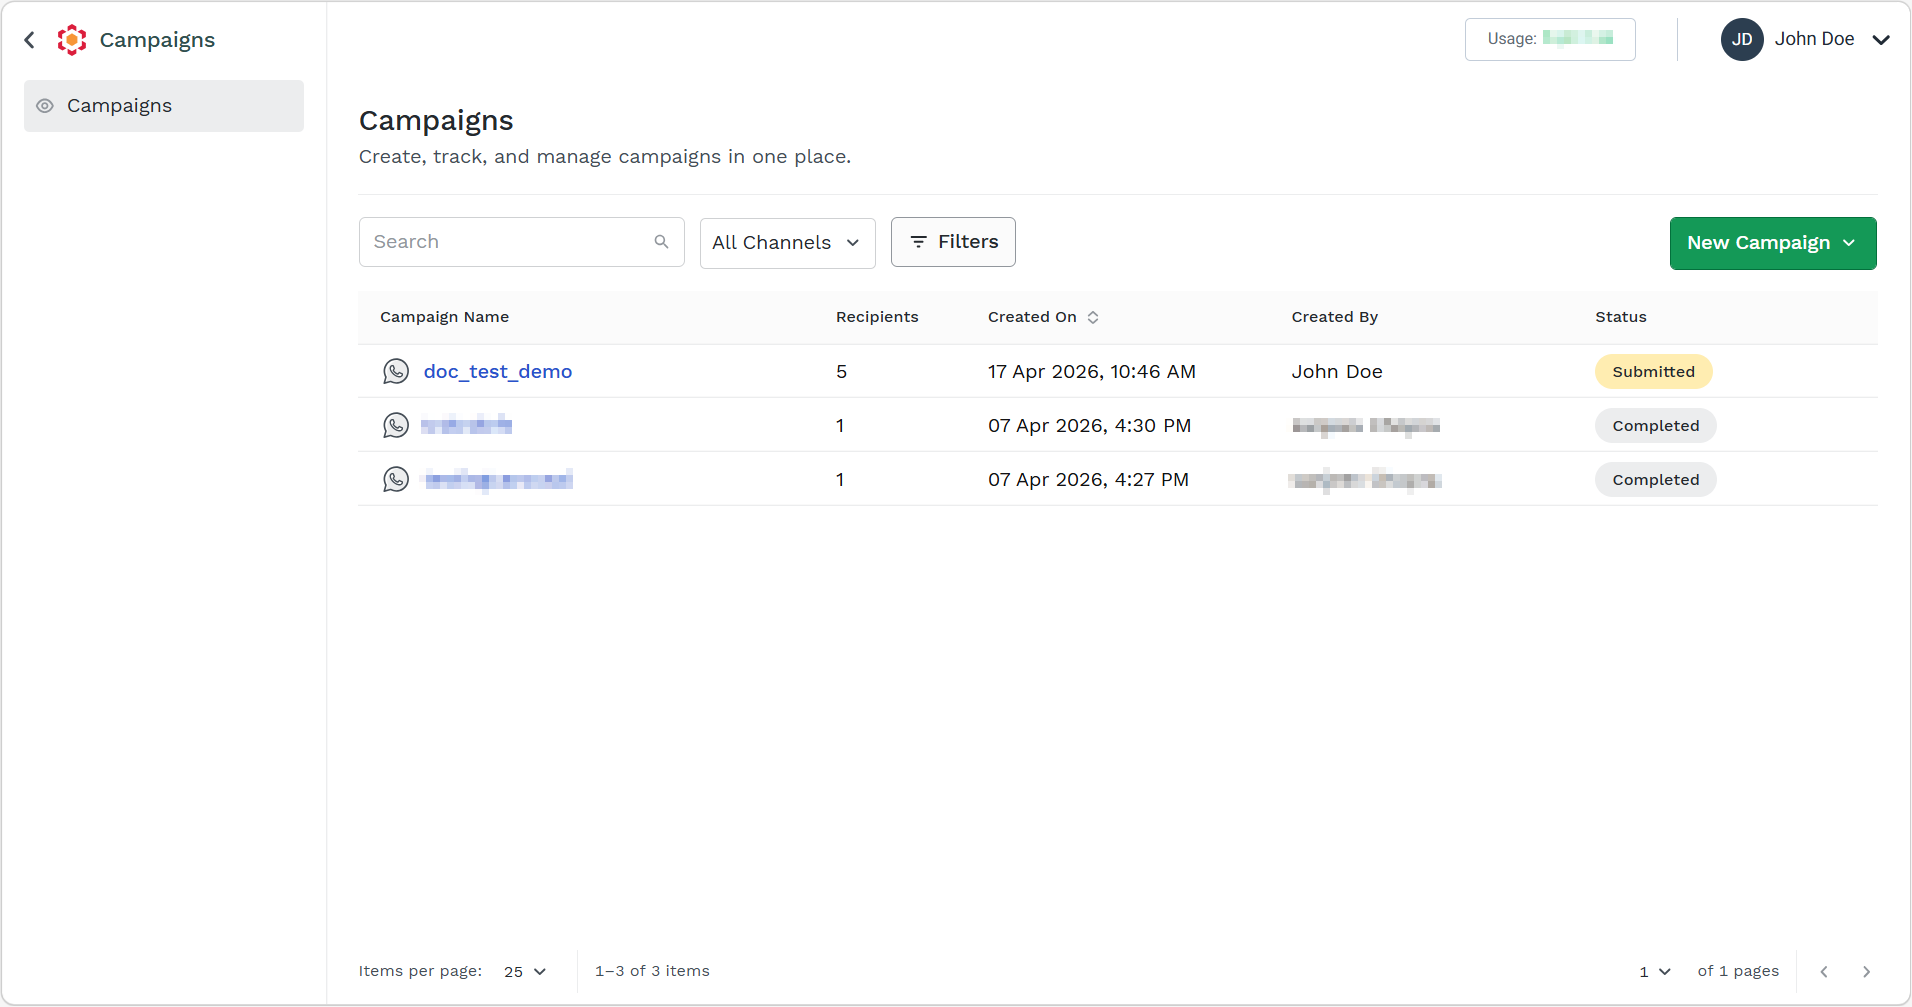
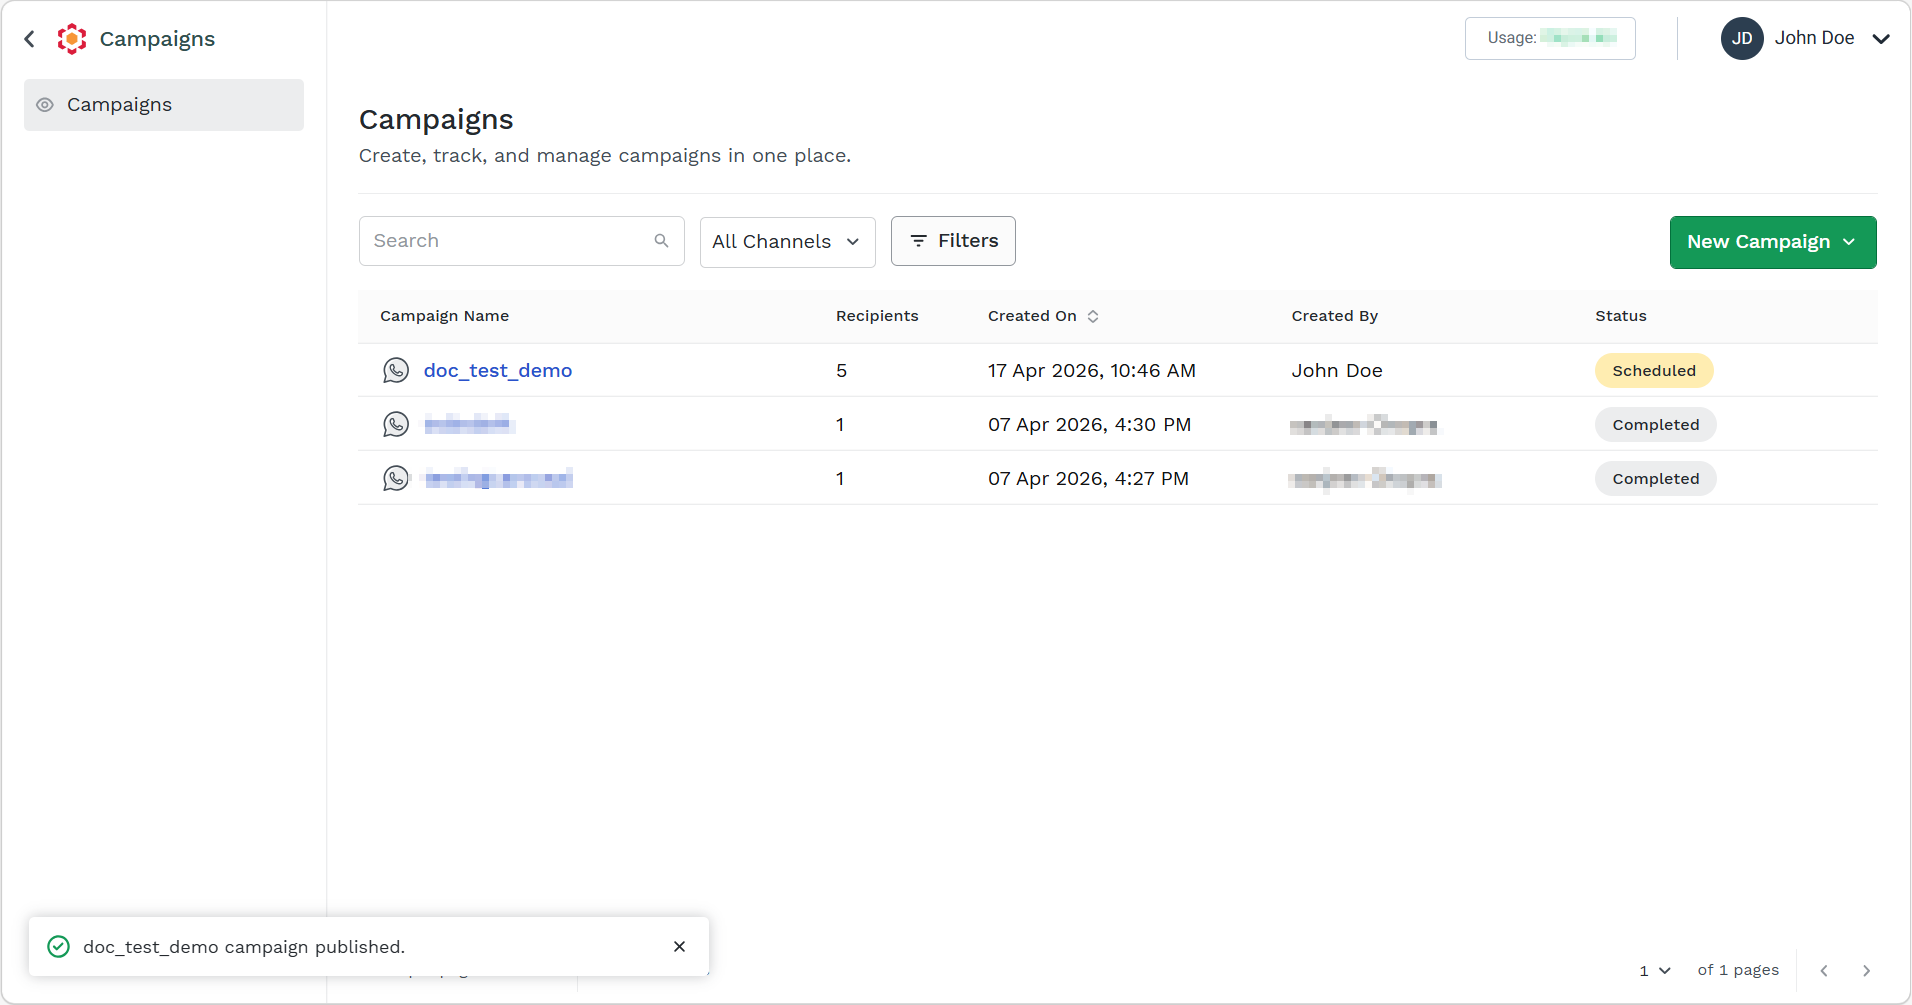
- Click Campaigns. The Campaigns listing page appears.
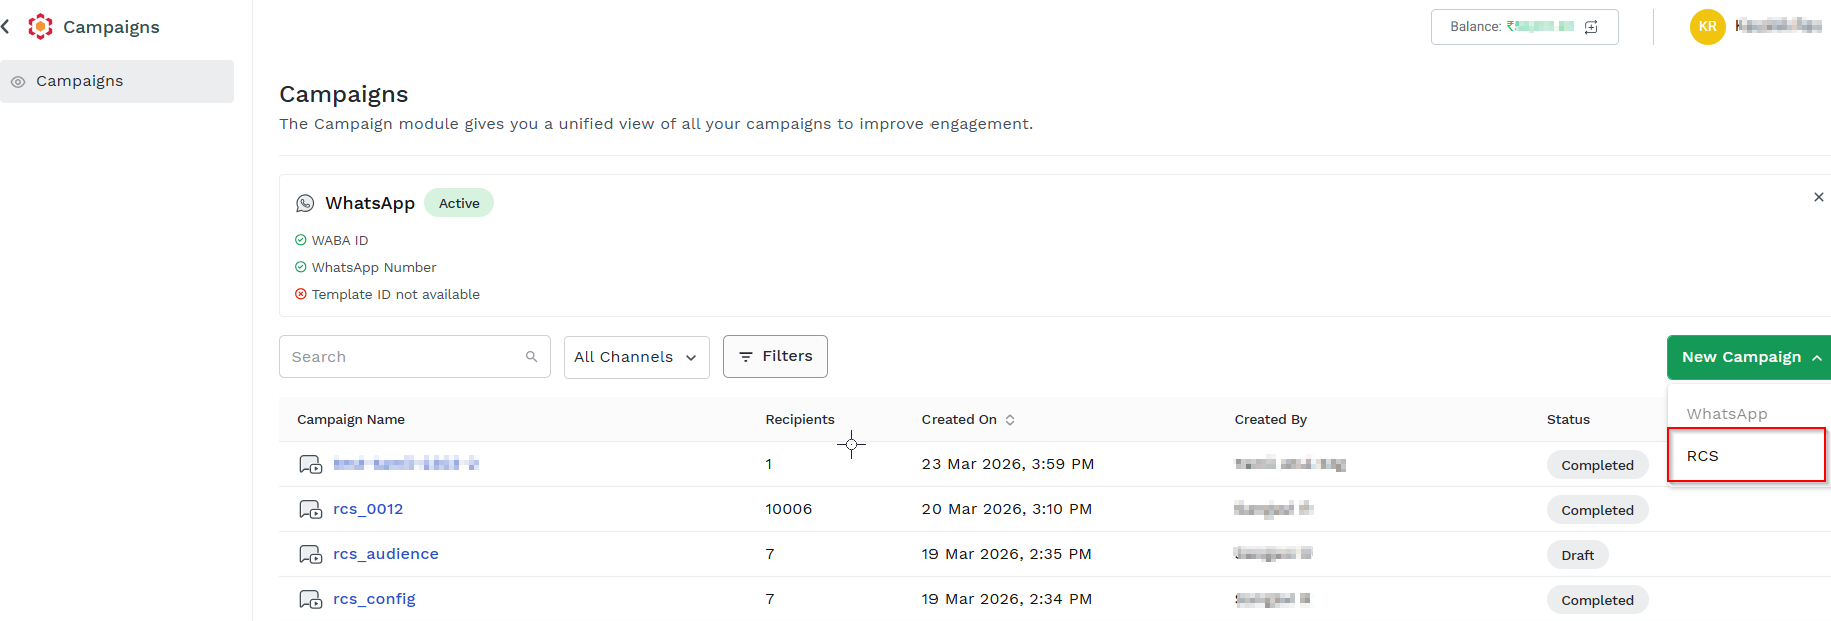
- On the New Campaign drop-down, click RCS. The New RCS Campaign with Configuration step appears.
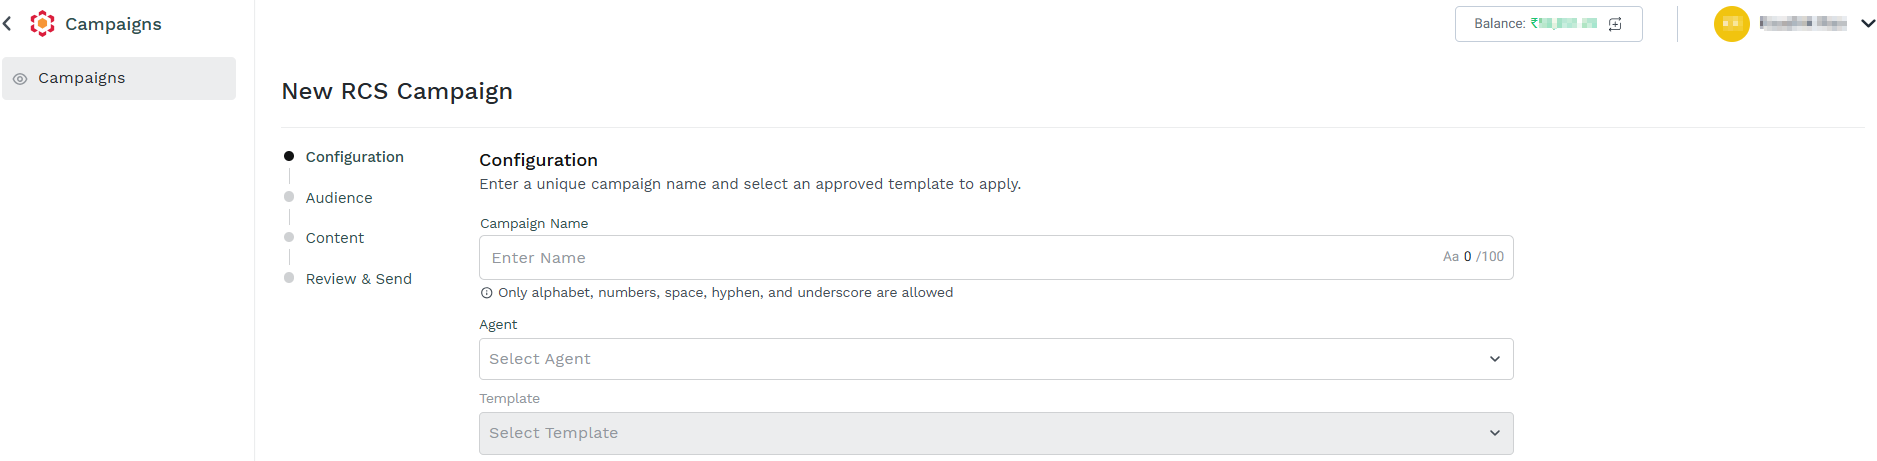
The Configuration step allows you to enter a unique campaign name and select an approved template.
- The Configurationstep has the following fields:
- Campaign Name - Enter the name of the campaign. A maximum of 100 characters is supported for the Campaign Name field.
Note:
Only letters, numbers, space, hyphen, and underscore are allowed.
- Agent - Select one of the available agent from the drop-down list through which the campaign will be sent.
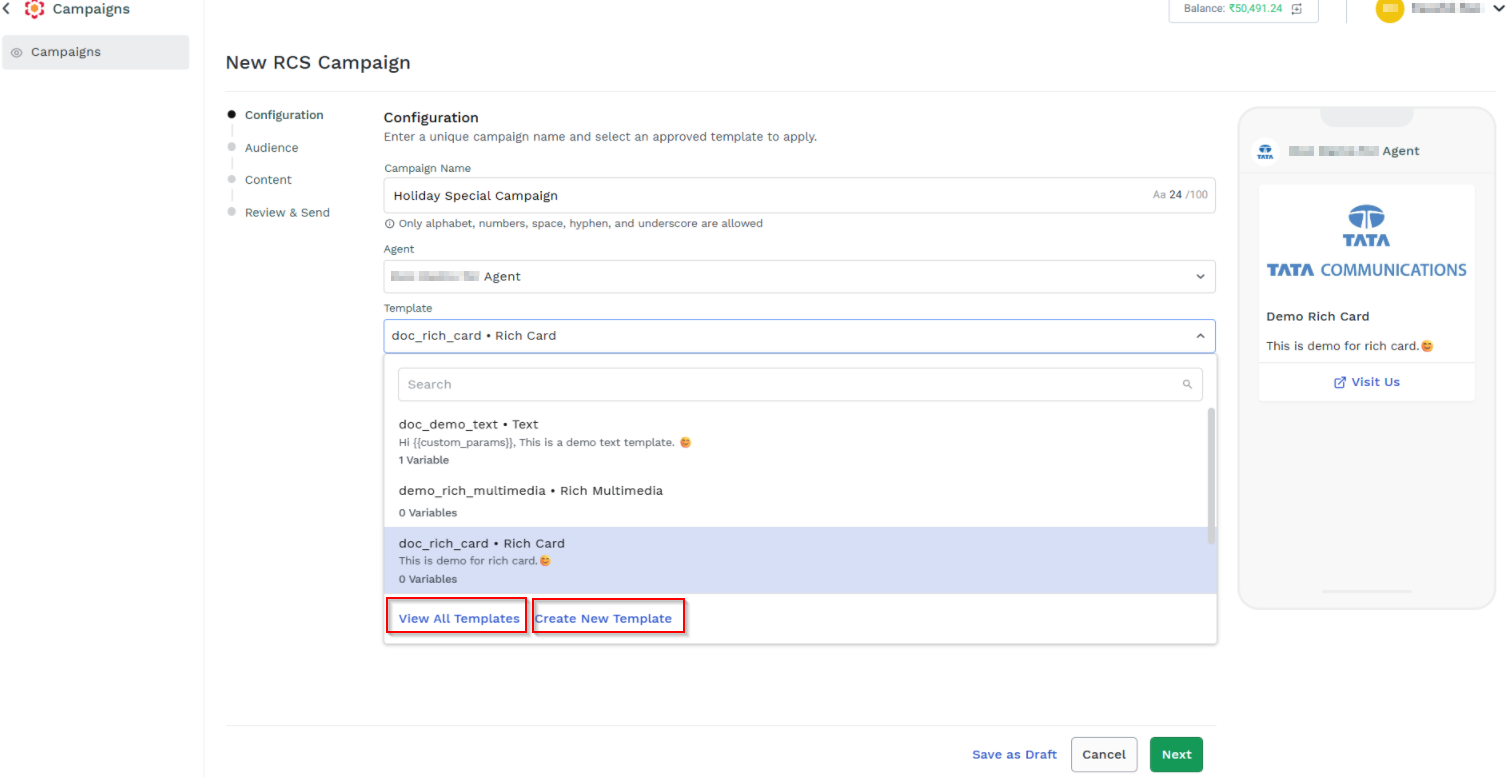
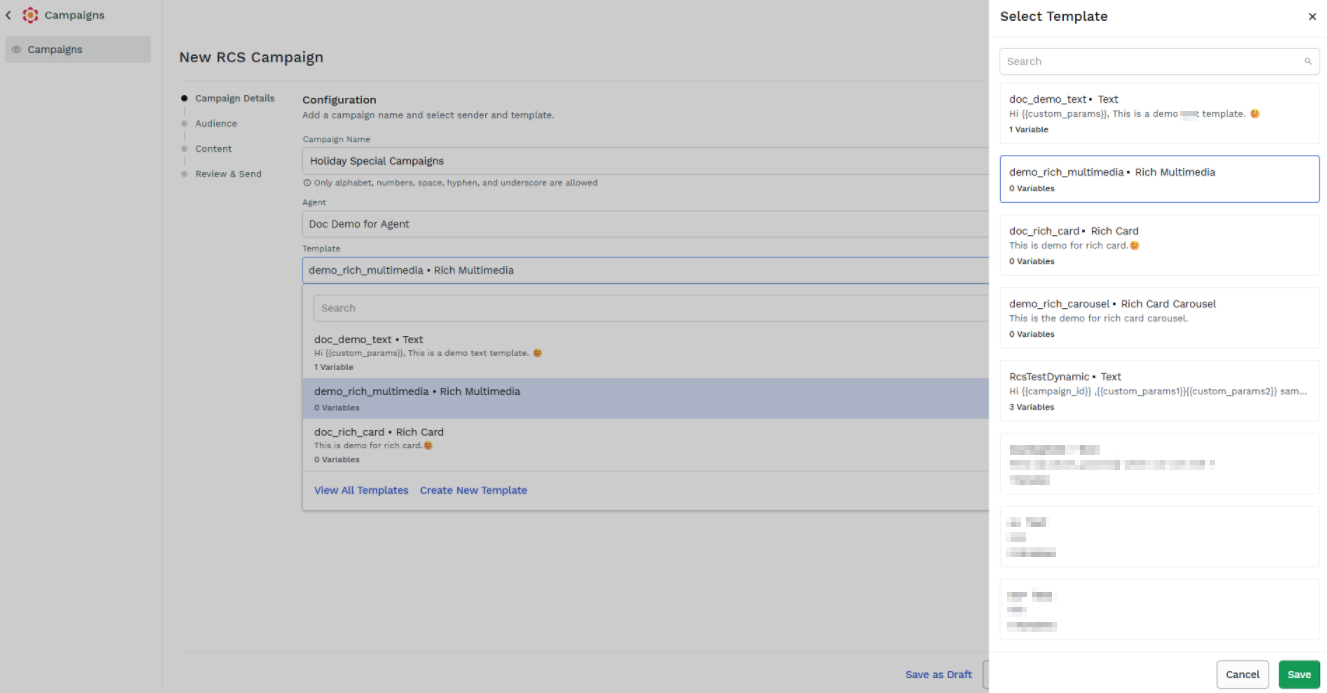
- Template - Select one of the available template from the drop-down list to be used for the message content.
-
Click View All Templates. The Select Template sidebar pop-up appears with a list of existing templates for the selected agent. You can enter the partial or complete template name in the search field. Select the template you want to use in your campaign and click Save.
Optional:
Create New Templates
You can also create a template on the fly during campaign setup.
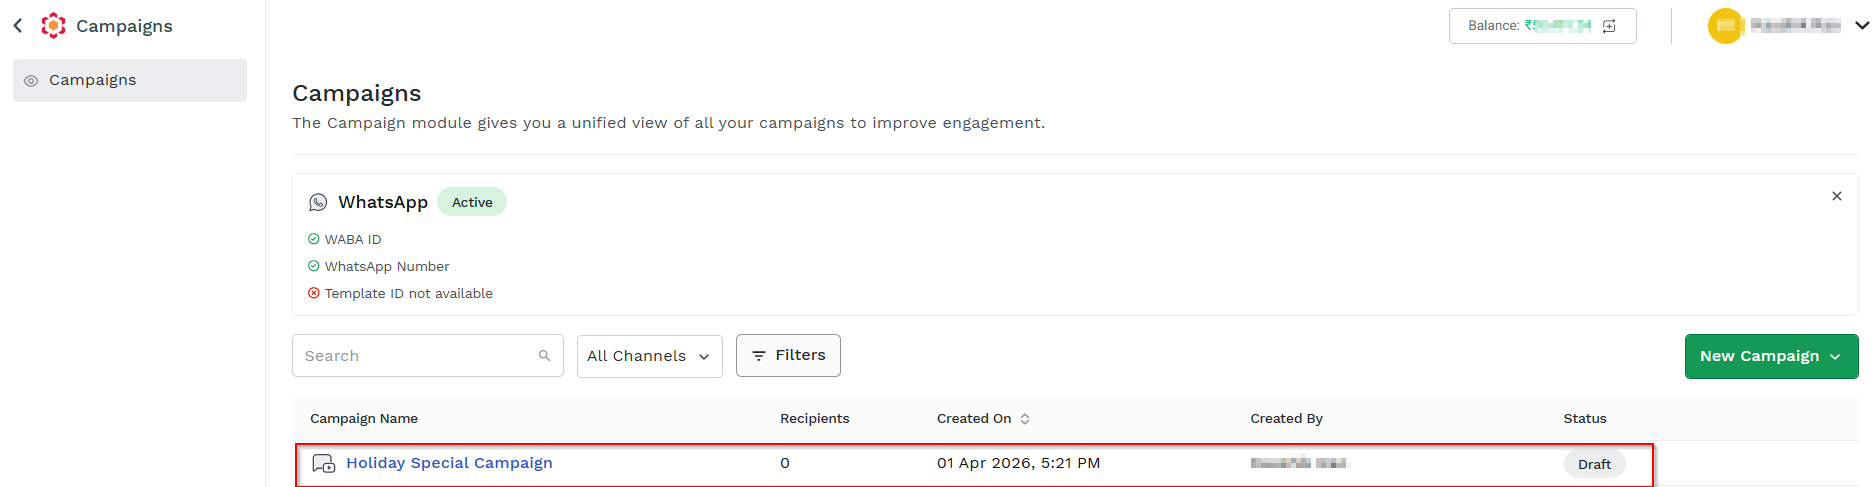
- Click Save as Draft to save your campaign so far as a draft for further editing at a later stage or just to be sure your work so far won’t be lost. A pop-up message "Are you sure you want to save Holiday Special Campaign as draft?" appears.

Notes:
- Draft is created only when you click explicitly Save as Draft button.
- Draft can be saved from any step after Configuration is valid.
- Click Save. The draft will be saved in the Campaigns listing page with the status as Draft.
- Click Next. The Audience step appears.
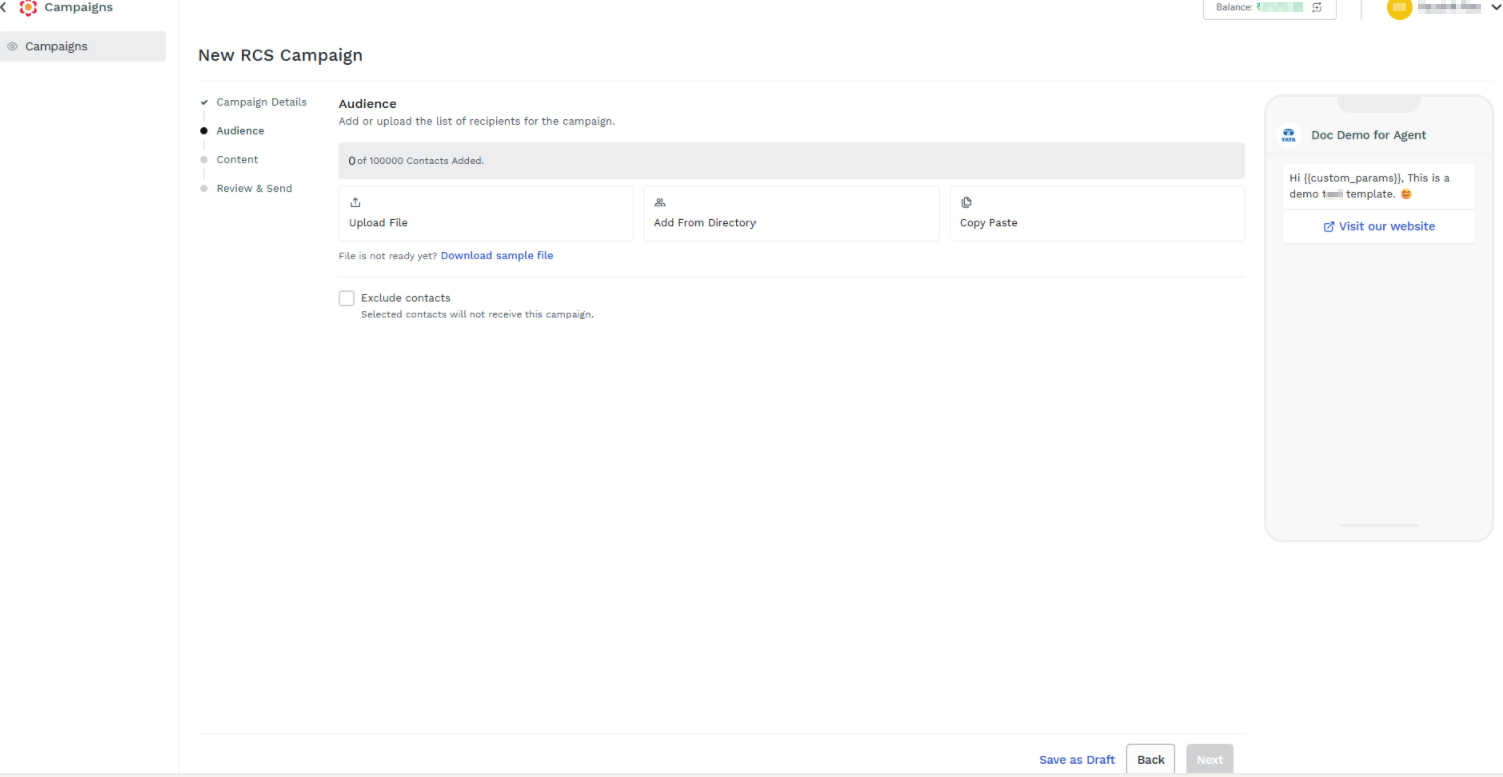
The Audience step allows you to define the recipients who will receive the RCS campaign.
You can add recipients using one or more of the following methods:
- Upload File - You can upload the contacts to whom you want to send message using the spreadsheet. For more information, see Add Contacts by Uploading a File.
- Add From Directory - You can add the contacts from the Kaleyra platform directory. For more information, see Add Contacts from Directory.
- Copy Paste - You can manually enter the contacts or copy and paste the list of phone numbers separated by comma. For more information, see Copy Paste the Contacts.
Note:
This option will not allow you to pass any values to personalize the content of the messages. If your template has dynamic variables in it, then use file or directory method to pass the recipient’s mobile number and the values to replace dynamic variables.
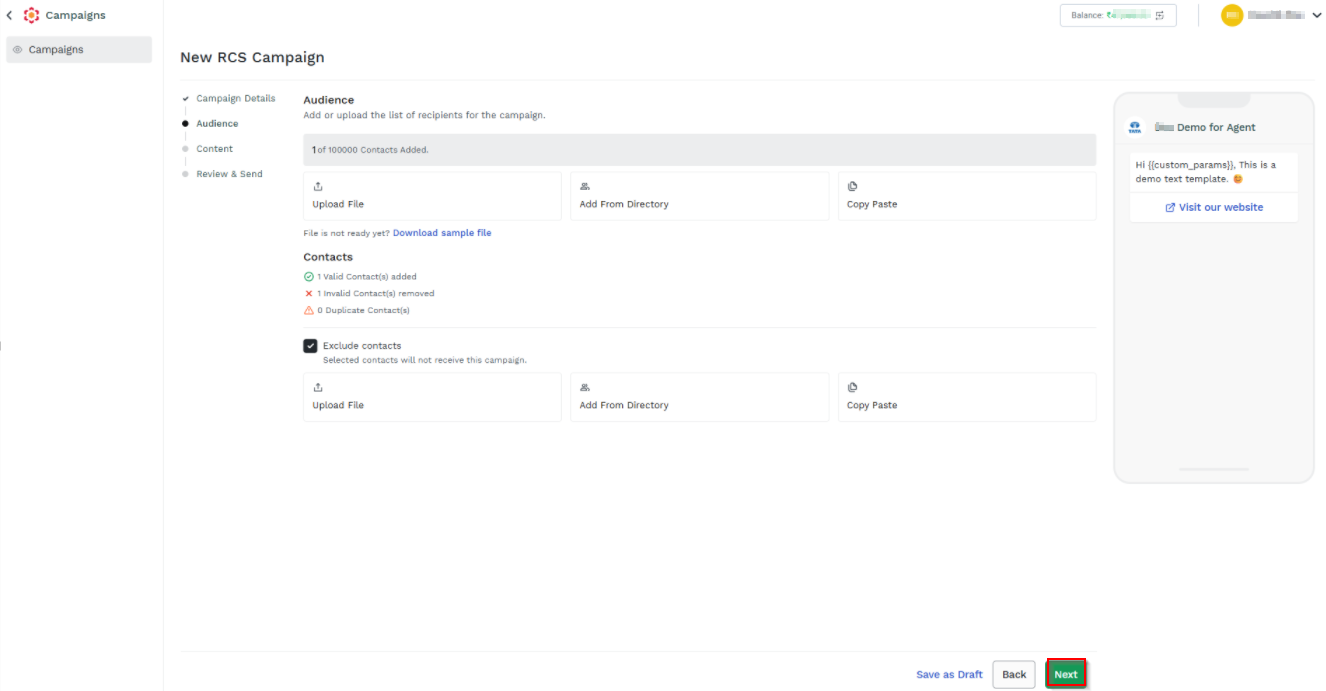
- (Optional) If you want to exclude any number from the campaign list, select the Exclude contacts checkbox and use the Upload File, Add From Directory, and Copy Paste methods.
Note:
If any duplicated contacts are uploaded (duplication is detected based on recipient mobile number), a pop-up message "Duplicate contacts found" is displayed.
- Click Next. The New RCS Campaign page for the Configure Default Variables step appears.
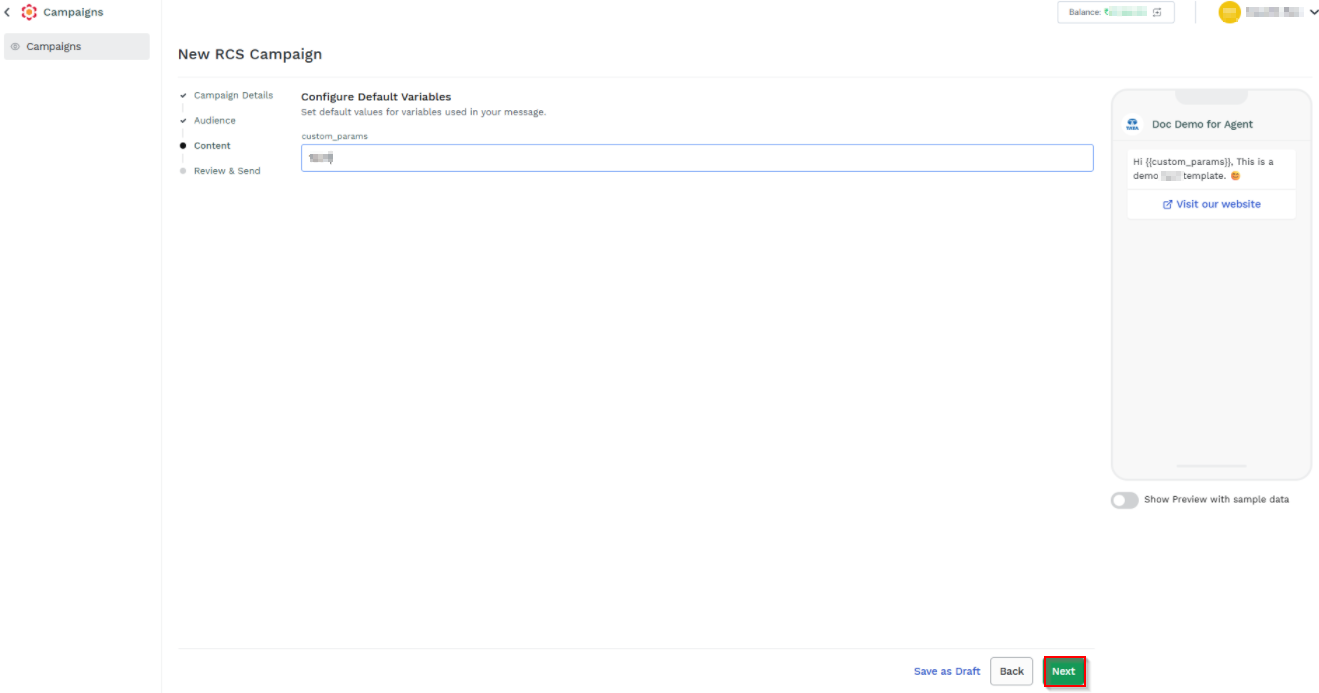
- Click Next. The New RCS Campaign page for the Review & Send step appears.
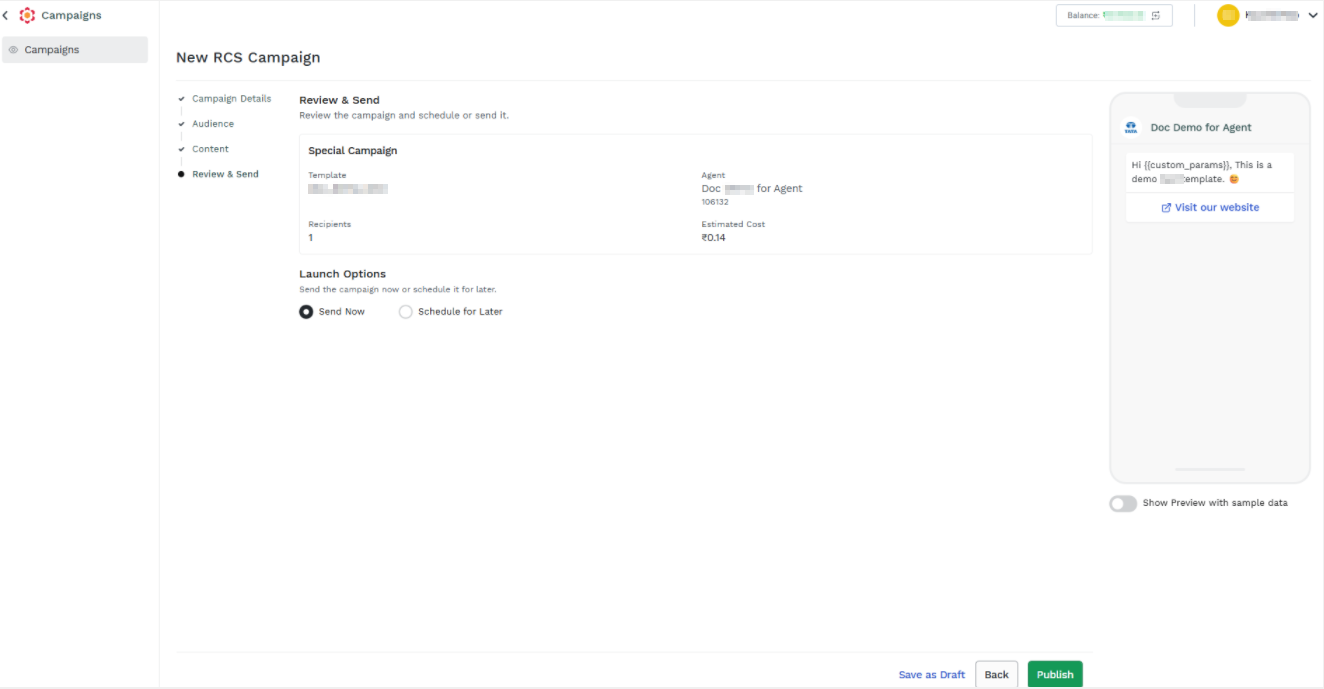
You can review the campaign detail such as campaign name, template used, agent, recipients, and estimated cost.
-
(Optional) Toggle Show Preview with sample data to view preview of the message with sample data after the campaign is sent. For more information, see View RCS Campaign .
-
You can select one of the following options to publish the campaign:
- Send Now - Select send now option to launch the campaign immediately.
- Schedule for Later - Select Schedule for Later option to launch the campaign at the scheduled time and date.
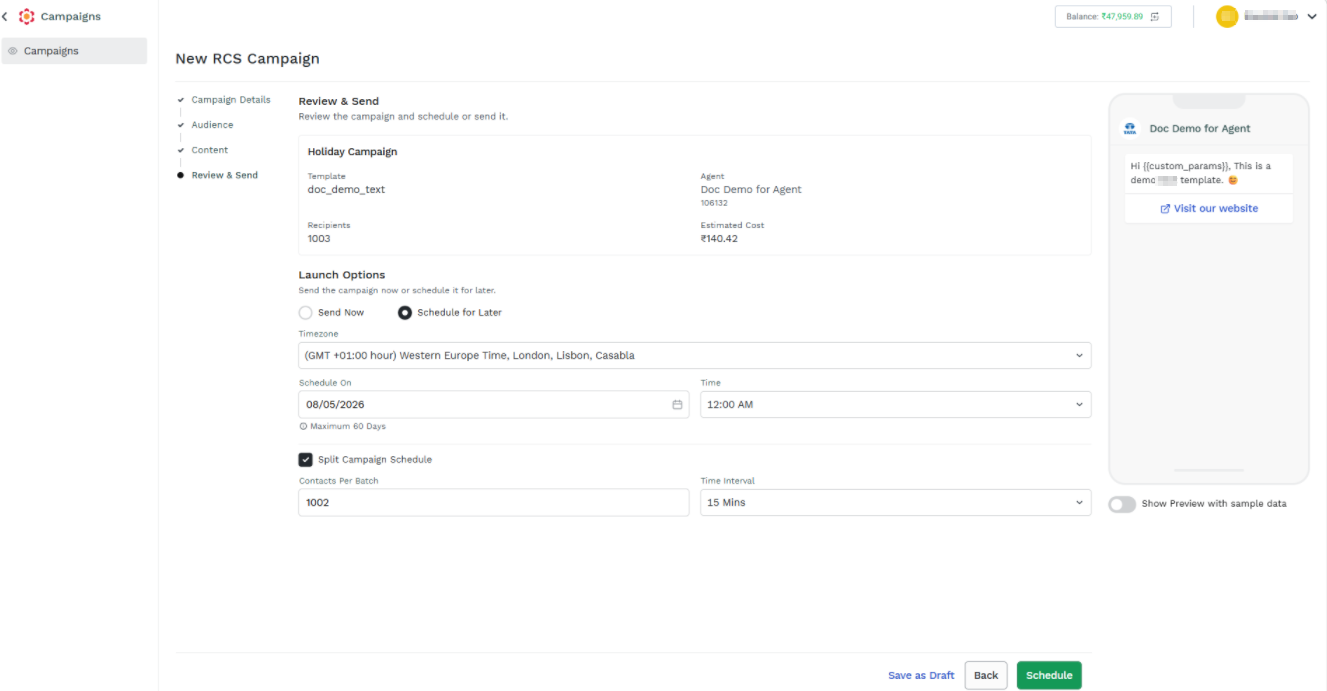
If you are selecting the Schedule for Later option, then perform the following steps:
a. Click the Timezone drop-down field and select the time-zone where you want to send the campaign messages.
b. Click the Scheduled On calander icon, select the date when you want to launch the campaign. You can select any day in the following of 60 days from the current date.
c. Click the Time drop-down field and select the time when you want to schedule the campaign.
d. Select the Split Campaign Schedule checkbox to split the campaign in batches to be run one after the other. For more information, see Add Contacts in Batch for RCS Campaign and View Batch Details page.
- Select either Send Now or Schedule for Later based on your choice for campaign. Based on your selection for send now and schedule for later, the following status will appear:
- For Send Now, the status will be in In Process status.
- For Schedule, the status will be Scheduled. After the campaign is sent on the scheduled time, the status will be In Process status.
Note:
Once the campaign is launched and all messages have been processed and sent to RCS network, the campaign status changes to Submitted.
Updated about 1 month ago