Add a New Agent
You can create a new agent from the Agents dashboard page.
Note:
If you select a specific brand and create an Agent, the Brand is set as the default for the Agent. Although you have the option to change the brand.
To create a new agent, perform the following steps:
- Log in to your Kaleyra account.
The Channels page appears.
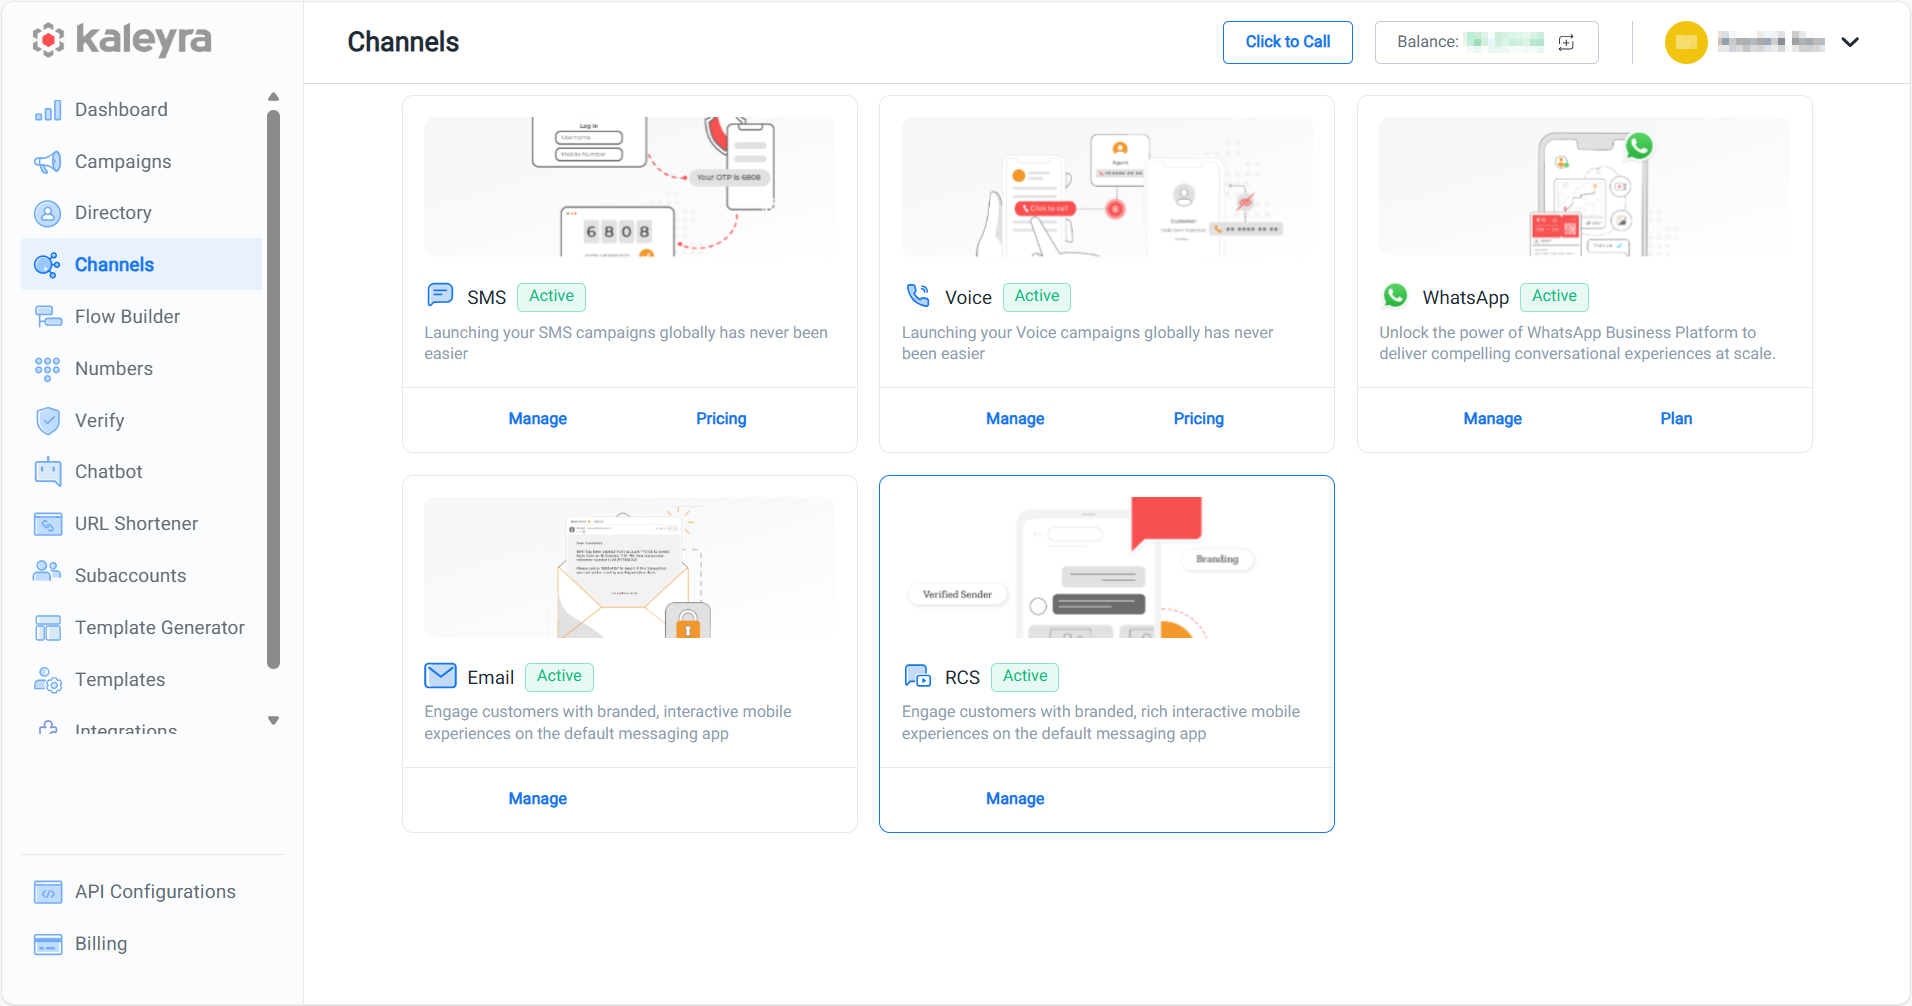
- On the RCS card, click Manage.
The Brands page appears. Before creating an agent, you must create a brand. For more information, see Add a New Brand.
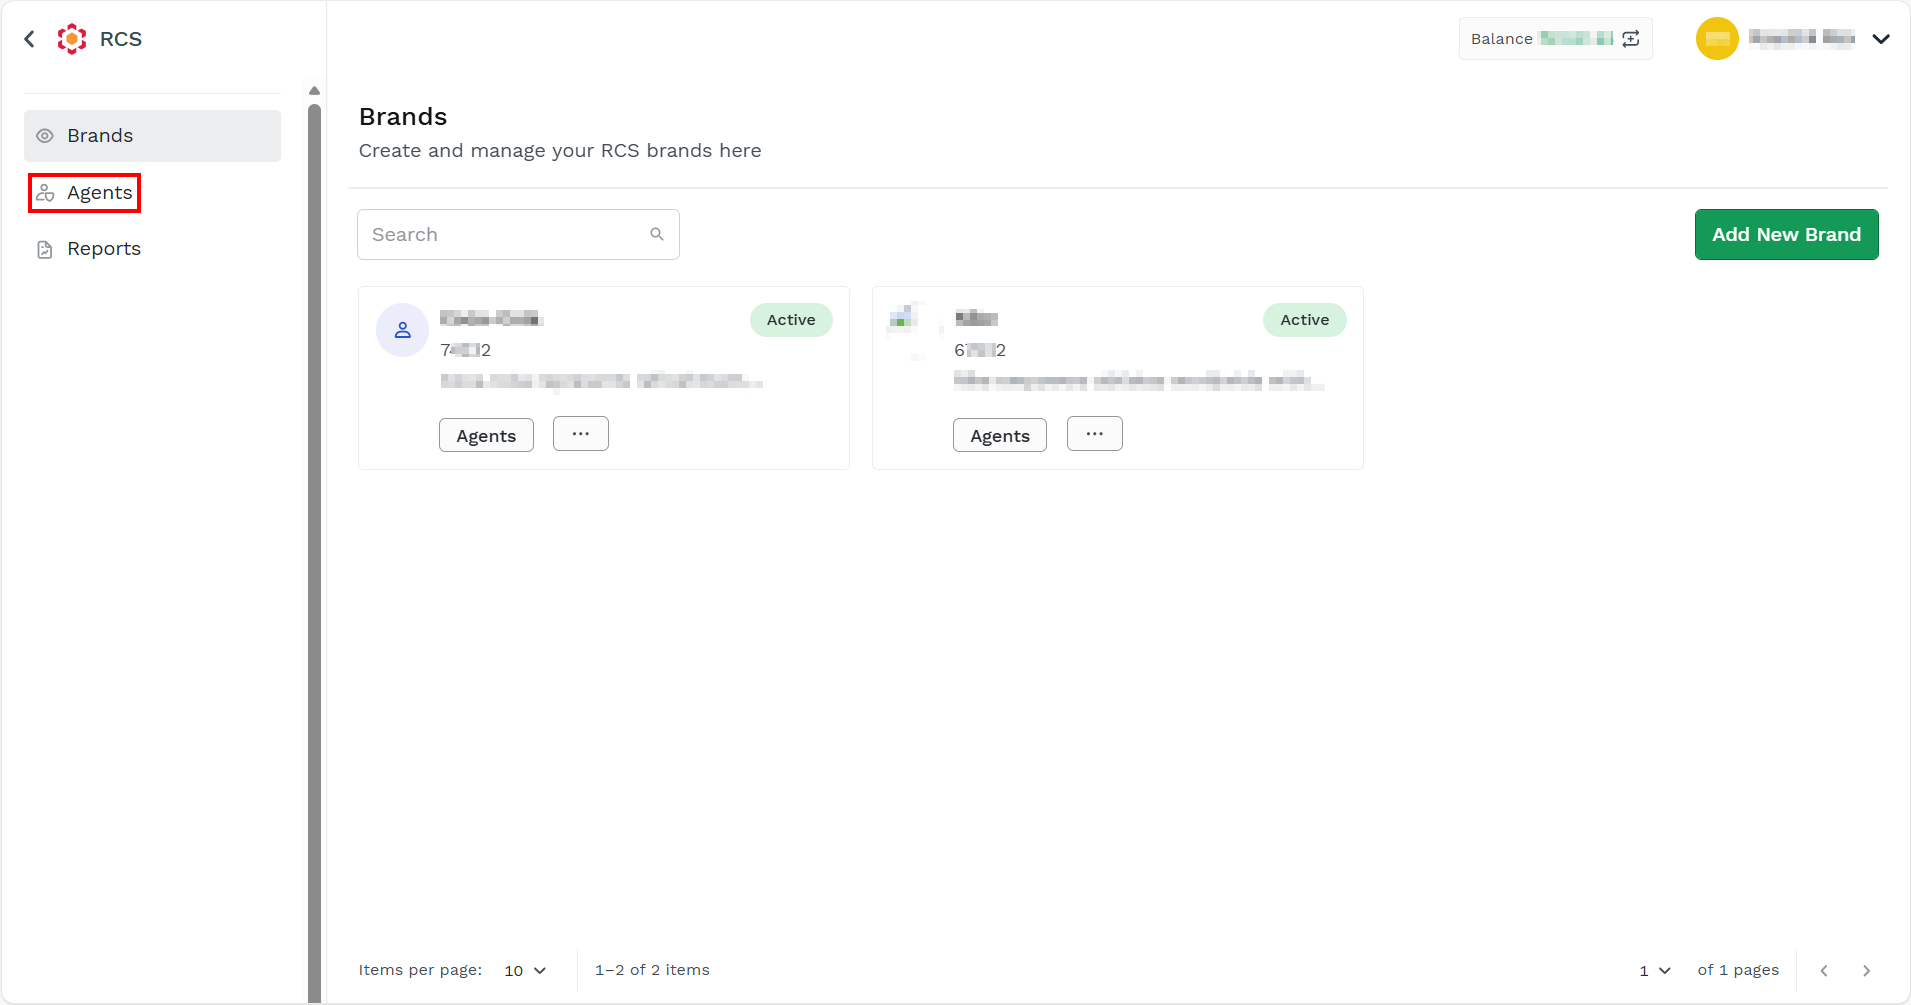
- On the left menu-bar, click Agents.
The Agents page appears.
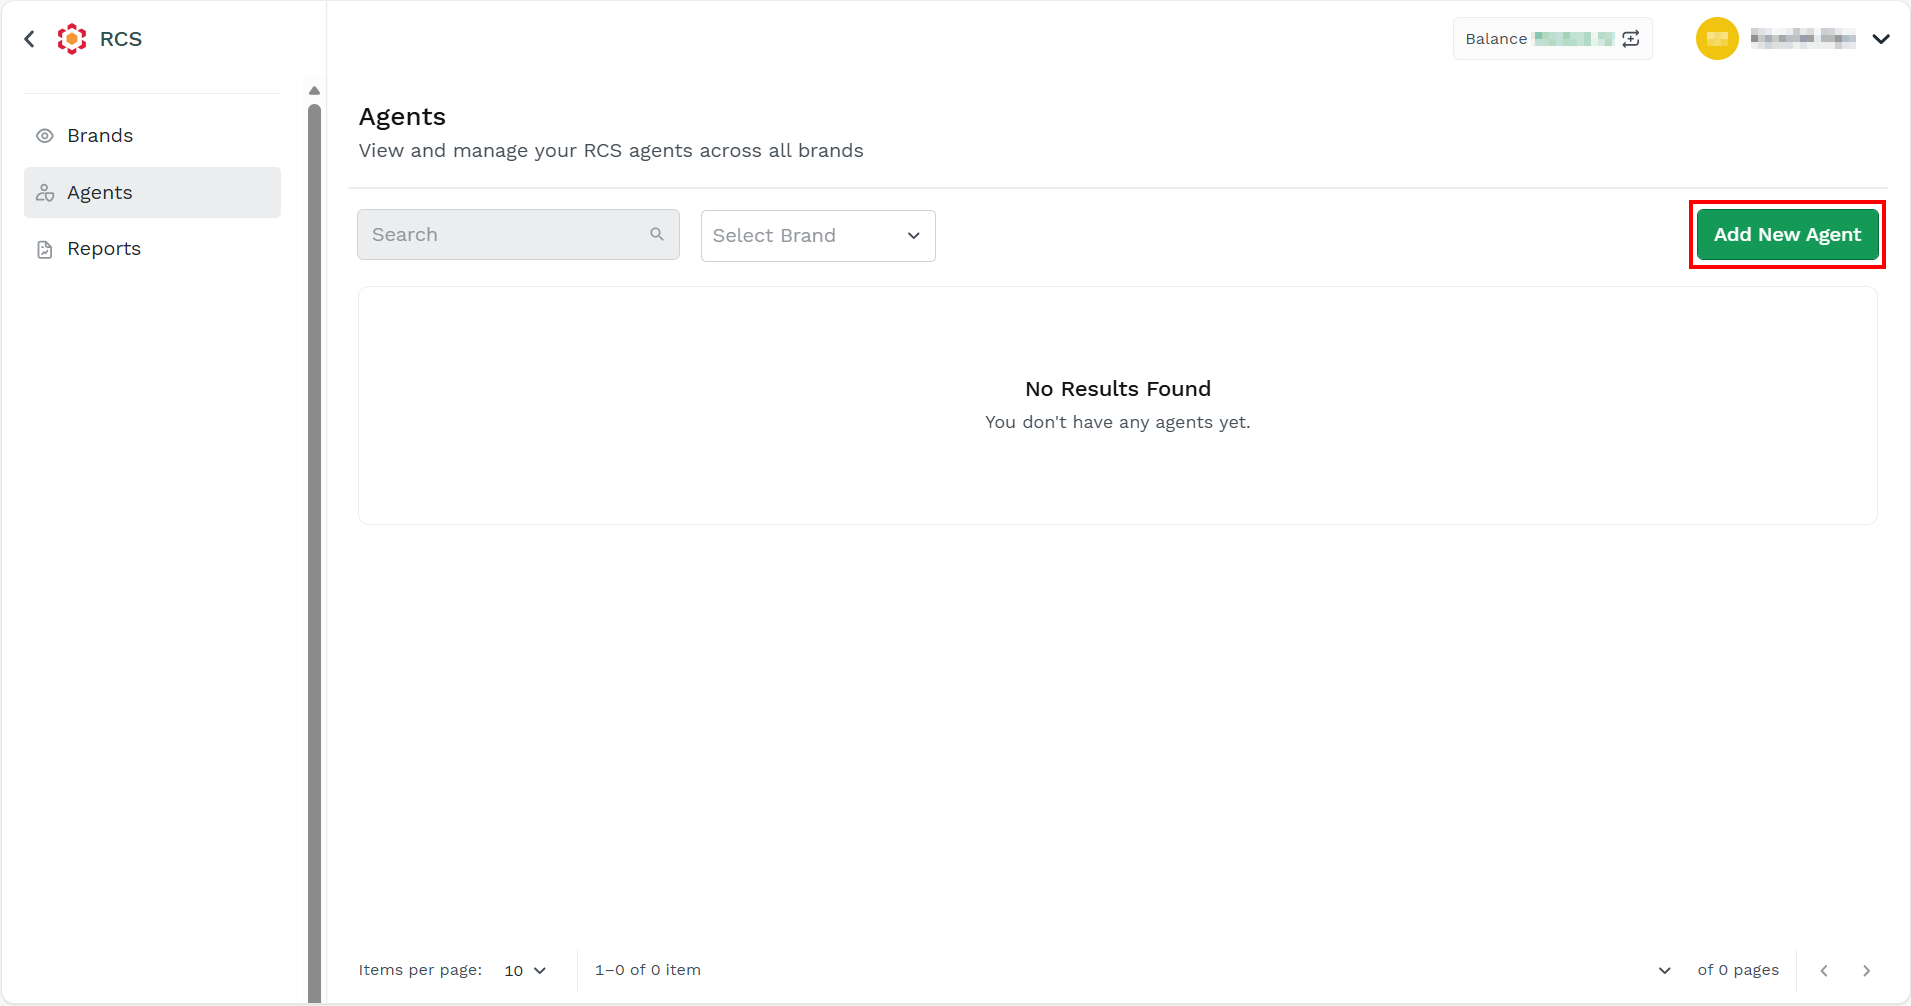
- Click the Add New Agent button.
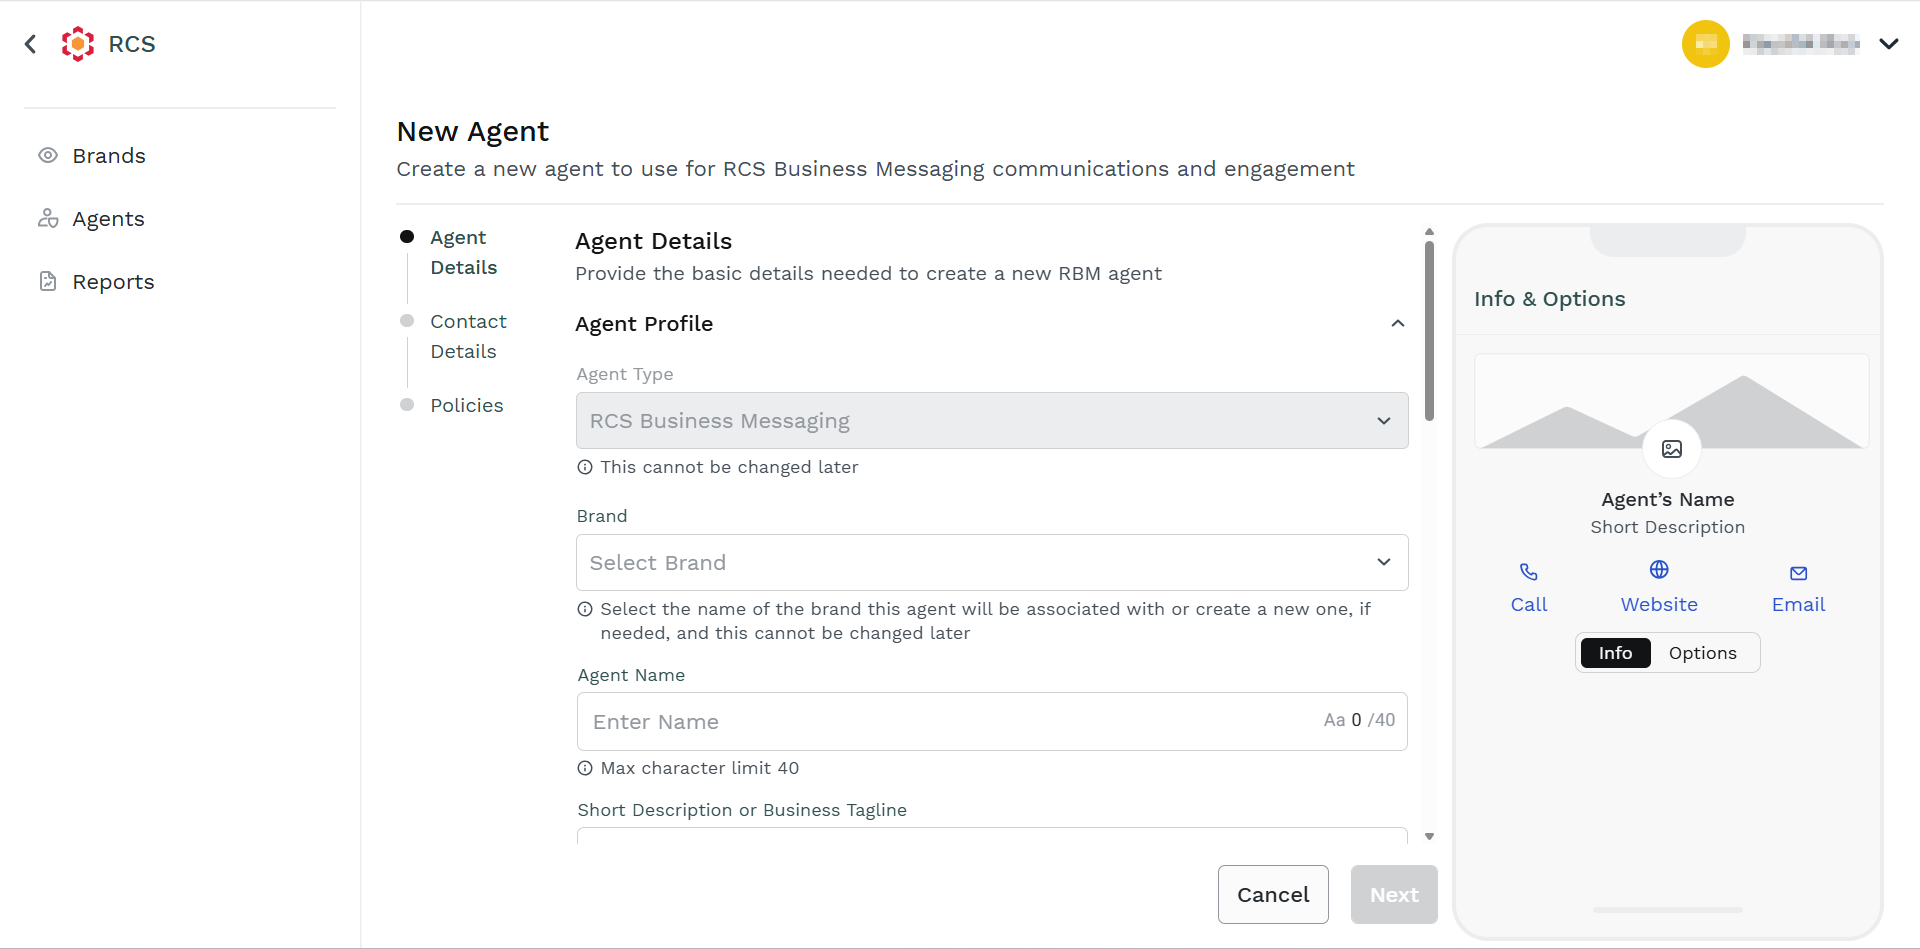
The Agent Details step appears. The agent details provide the basic details required to create a new RBM agent.
Note:
The agent configuration preview is available on the right side of the page.
- In the Agent Profile section, perform the following:
- The Agent Type drop-down field defines Business Messaging Agent (BMA) or RCS Business Messaging (RCBM). If you have only one option available, then by default that option will be selected. After you configure this option for an agent, you cannot change it.
- From the Brand drop-down field, select the brand to which you want the agent to get associated. After you select a brand for an agent, you cannot change it.
- In the Agent Name field, enter the agent's name. The agent's name has a maximum character limit of 40.
- In the Short Description or Business Tagline field, enter the short description for the agent or tagline for your business. Please do not put any space at the end of the content. If so, a validation error message will appear. The short description or business tagline has a maximum character limit of 100.
- In the Agent Use Case drop-down field, select the use case for your agent from the following options:
- Transactional - Provide information related to an ongoing service, purchase, or user‑initiated action.
- Promotional - Market or advertise a product, service, discount, or brand offer.
- OTP - Authenticate a user identity or authorize an action.
- Multi Use - Support multiple message categories within the same agent.
- Unspecified - Used when the message category is not defined, or the business has not declared a specific use case.
- In the Agent Billing Category drop-down field, select the agent billing category from the following options:
- Conversational - For active back‑and‑forth communication between your business and the end-users.
- Non-conversational - For one‑way or outbound‑initiated messaging. Non‑conversational messages are more regulated to prevent spam.
- Click the Agent Hosting Region drop-down field and select the region where agent is hosted.
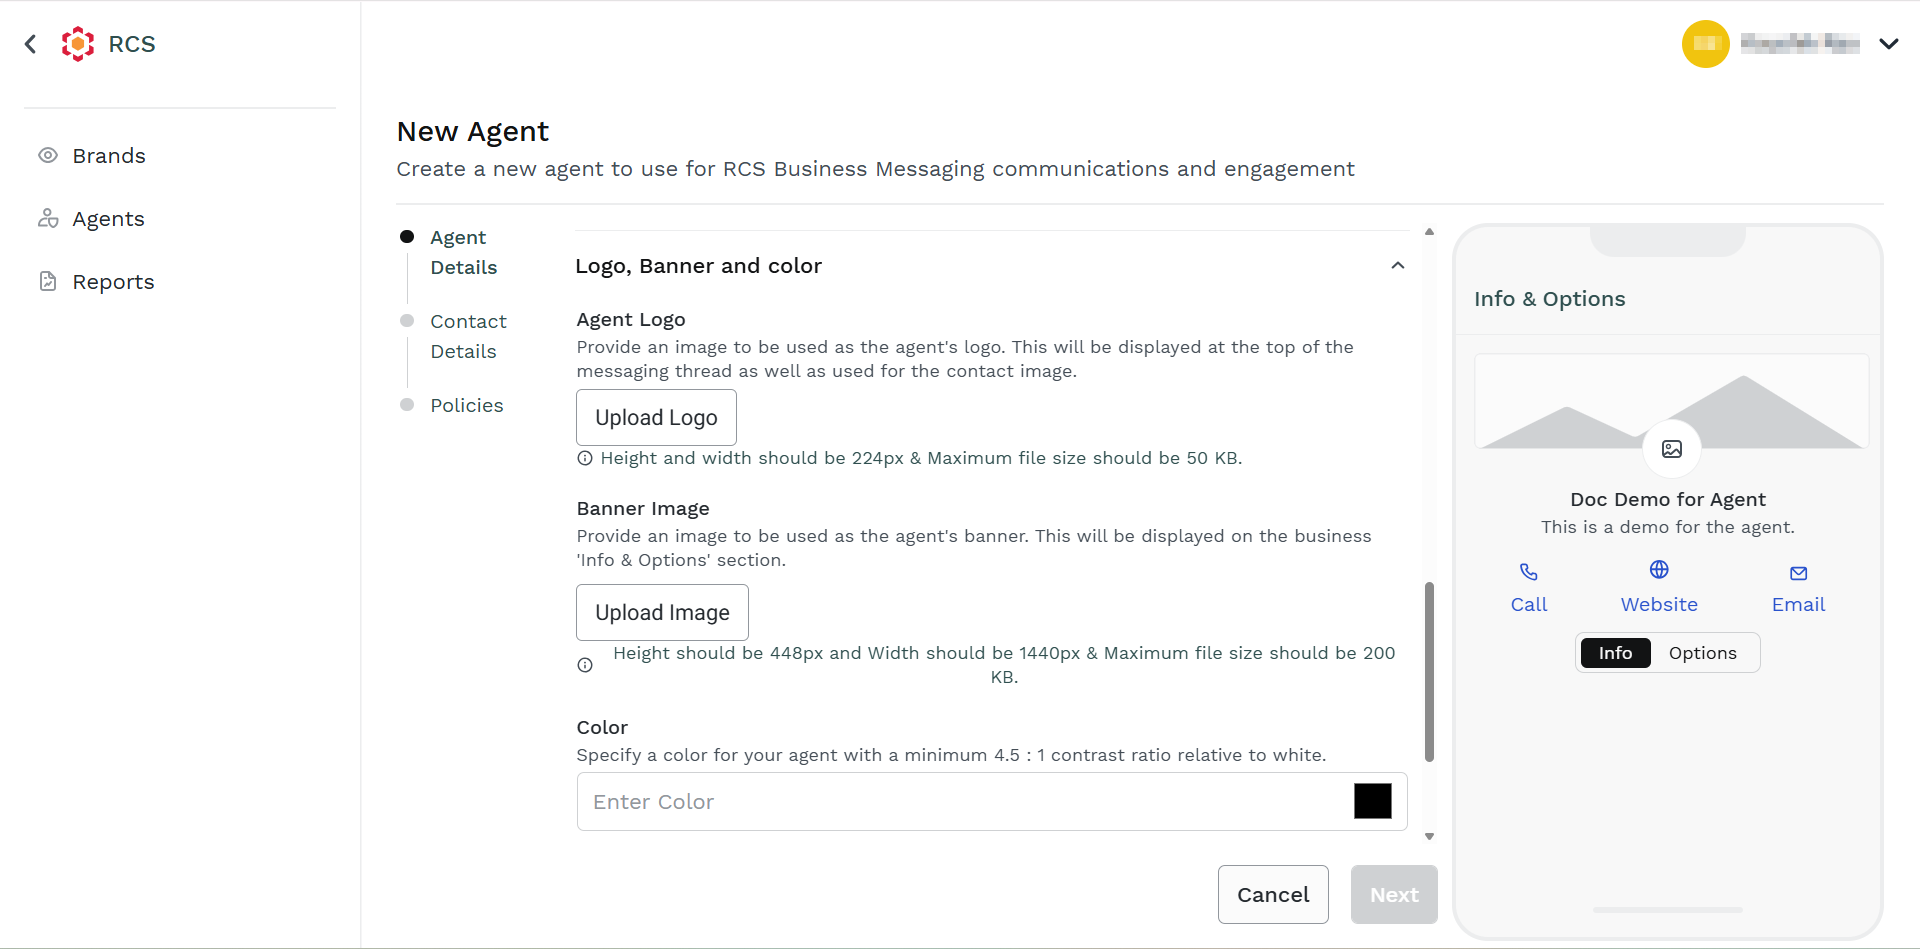
- In the Logo, Banner and color section, perform the following:
- The logo image provides an image to be used as the agent's logo. This will be displayed at the top of the messaging thread as well as used for the contact image. Height and width should be 224px, and the maximum file size should be 50 KB. Click the Agent Logo button and select the logo from the mapped folder.
- The banner image provides an image to be used as the agent's banner. This will be displayed on the business Info and Options section. Height should be 448px and Width should be 1440px, and the maximum file size should be 200 KB. Click the Upload Image button and select the banner image from the mapped folder.
- The color specifies a color for your agent with a minimum 4.5:1 contrast ratio relative to white. The same color will appear when you send the message for Call, Website, and Email. Click the color icon available on the right side of the field. Select the color or enter the RGB value.
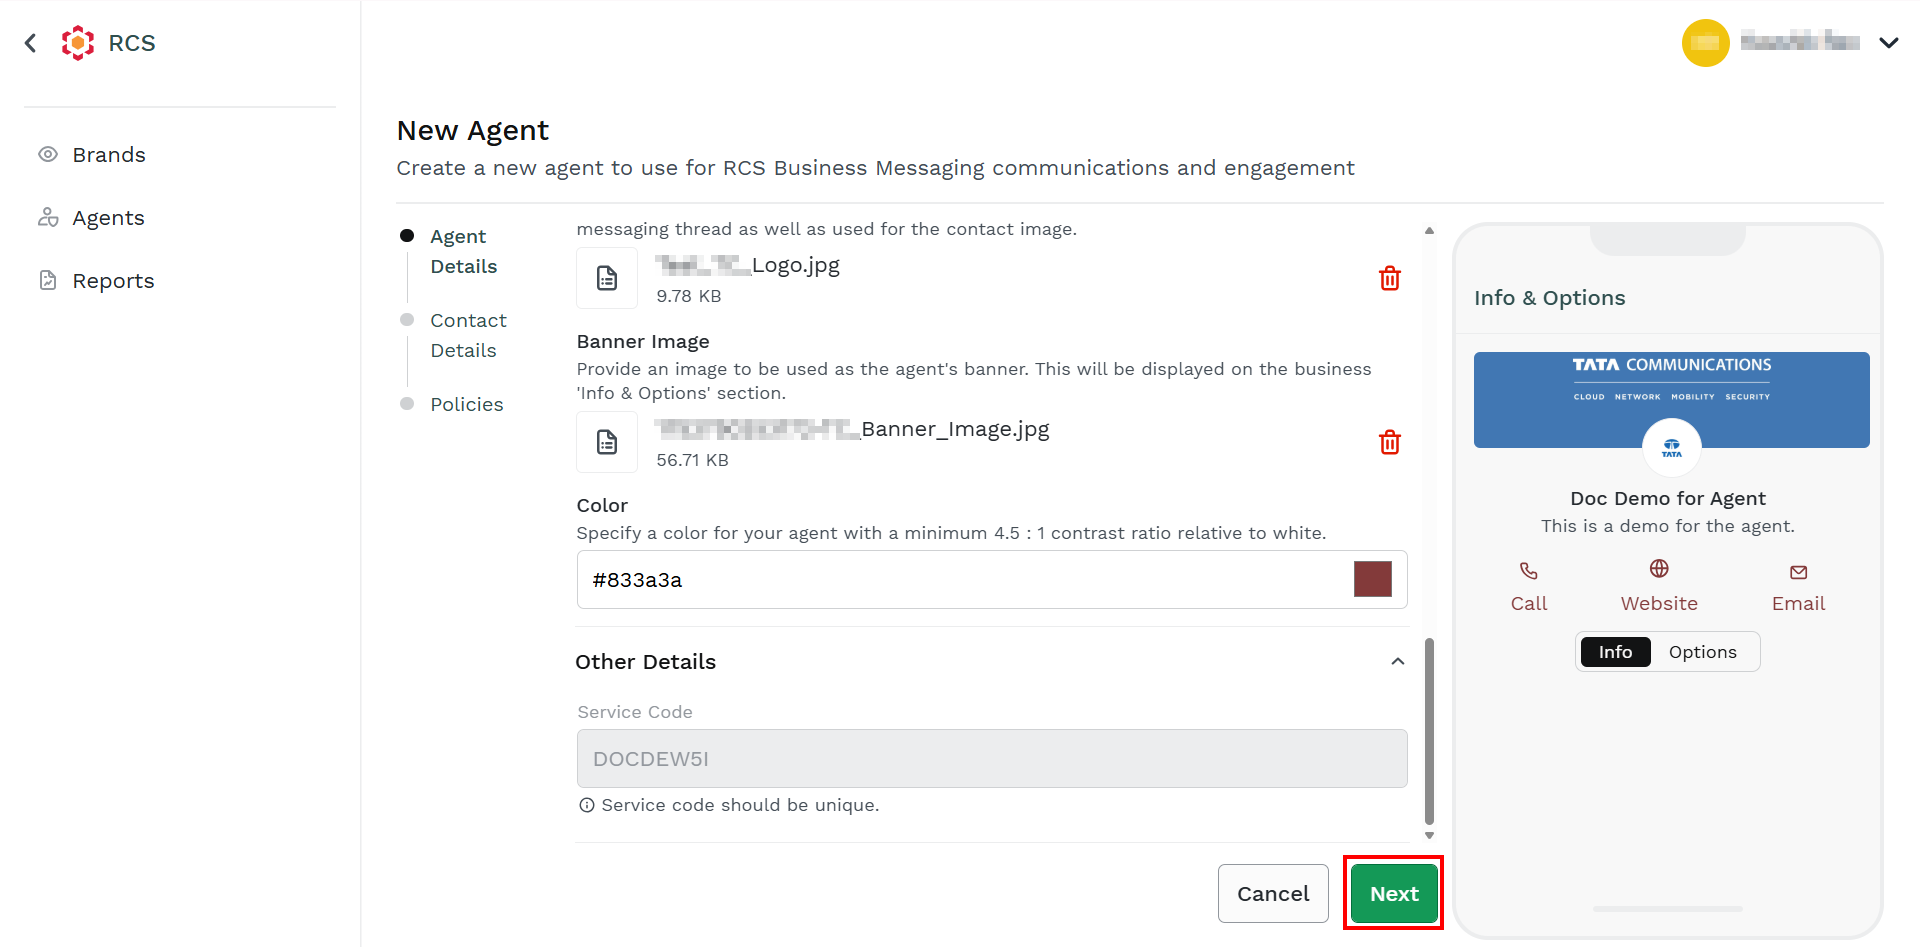
- Click Next.
The Contact Details step appears. You can provide the contact details needed to create a new RBM agent.
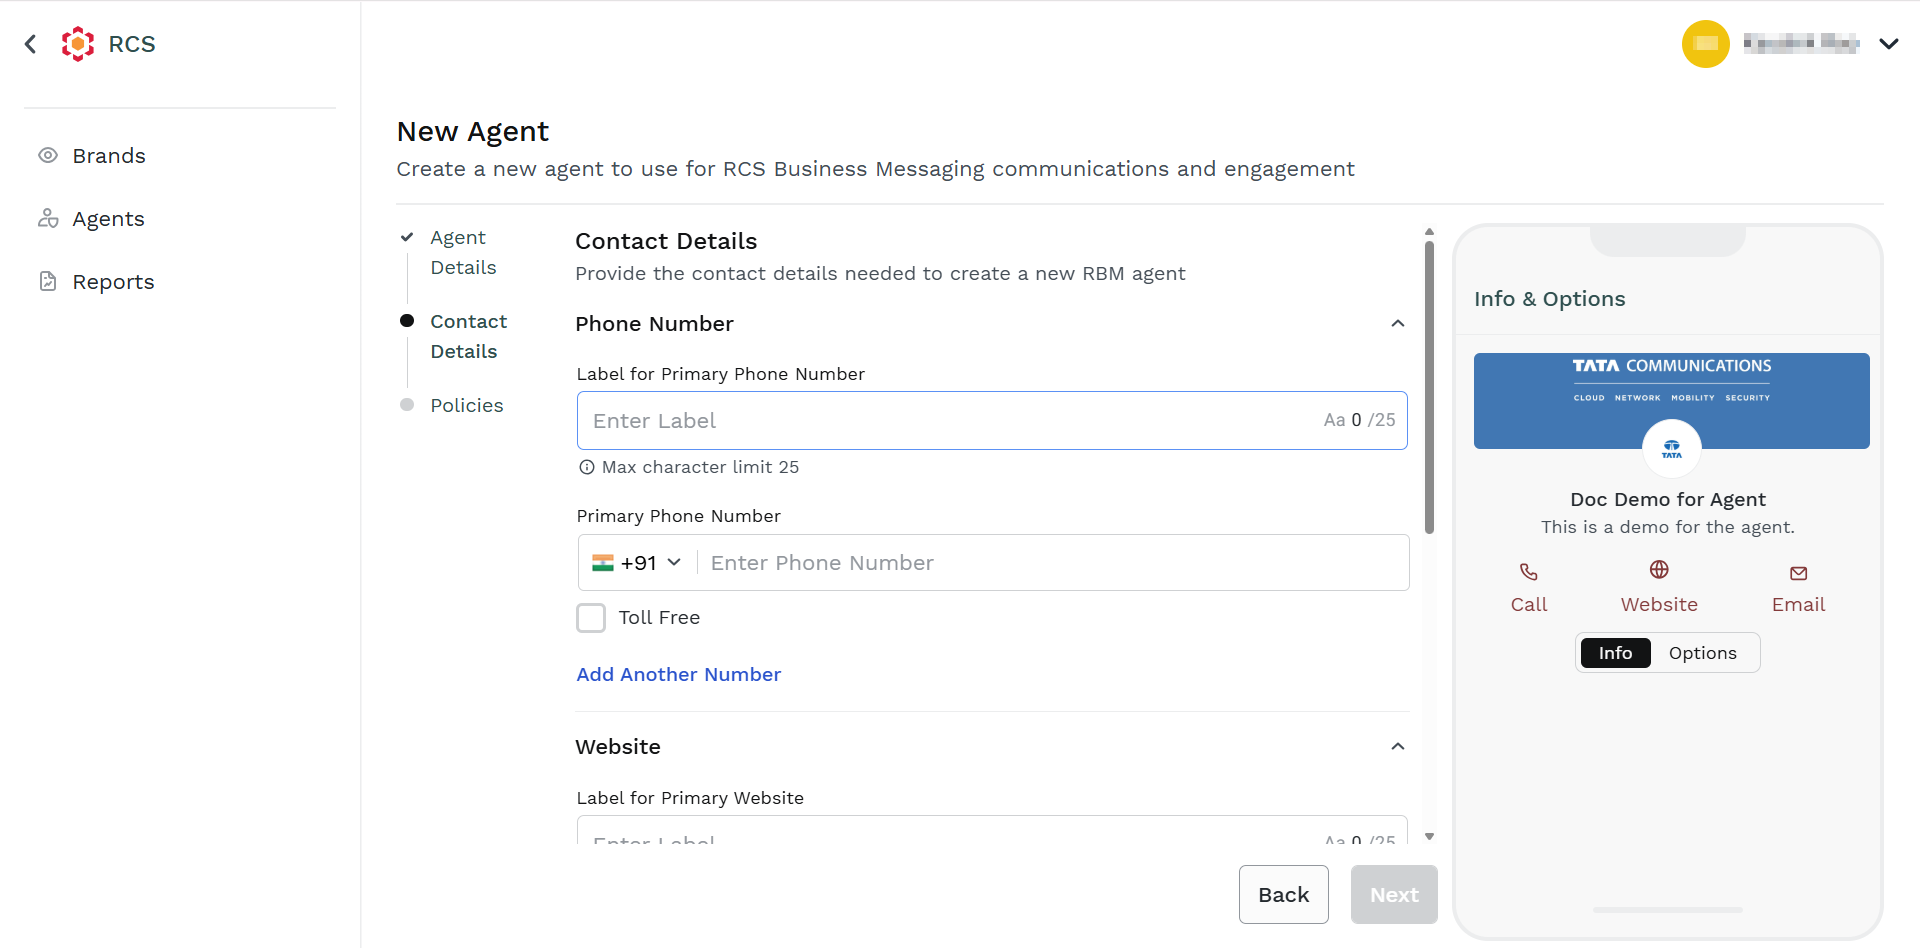
- In the Phone Number section, provide the following:
- In the Enter Label field, enter the label for the phone number. The agent's phone label has a maximum character limit of 25.
- Select the country code for the phone number for which you want to configure the agent's number. It is recommended to enter the phone number with RCS enabled services.
- In the Enter Phone Number field, enter the phone number with RCS enabled services.
- Select the Toll Free checkbox if the number is toll-free.
- Click the Add Another Number link to add another number associated with that agent. If you want to add another number, click the link and then follow step 8 (i) to Step 8 (iv).
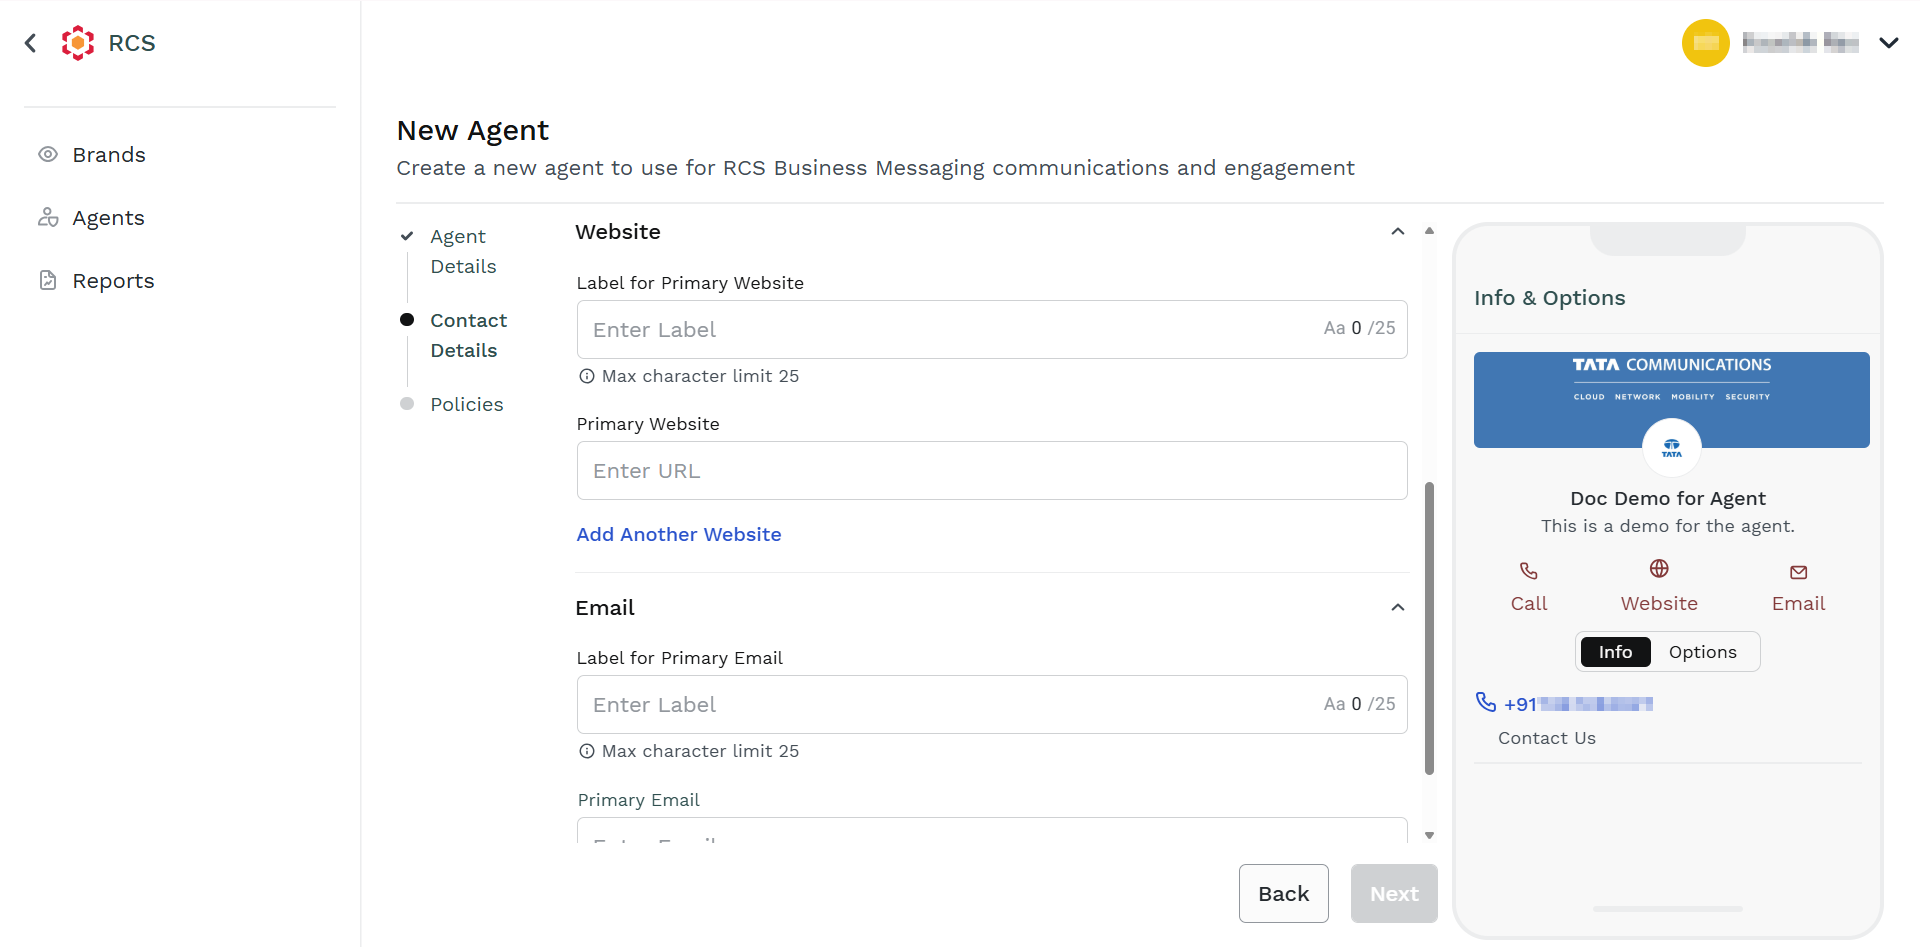
- In the Website section, provide the following:
- In the Enter Label field, enter the label for website.
- In the Enter URL field, enter a valid website that can be helpful for the end-users.
- Click the Add Another Website link to add another website. To add the website details, follow the step 9(i) and step 9(ii).
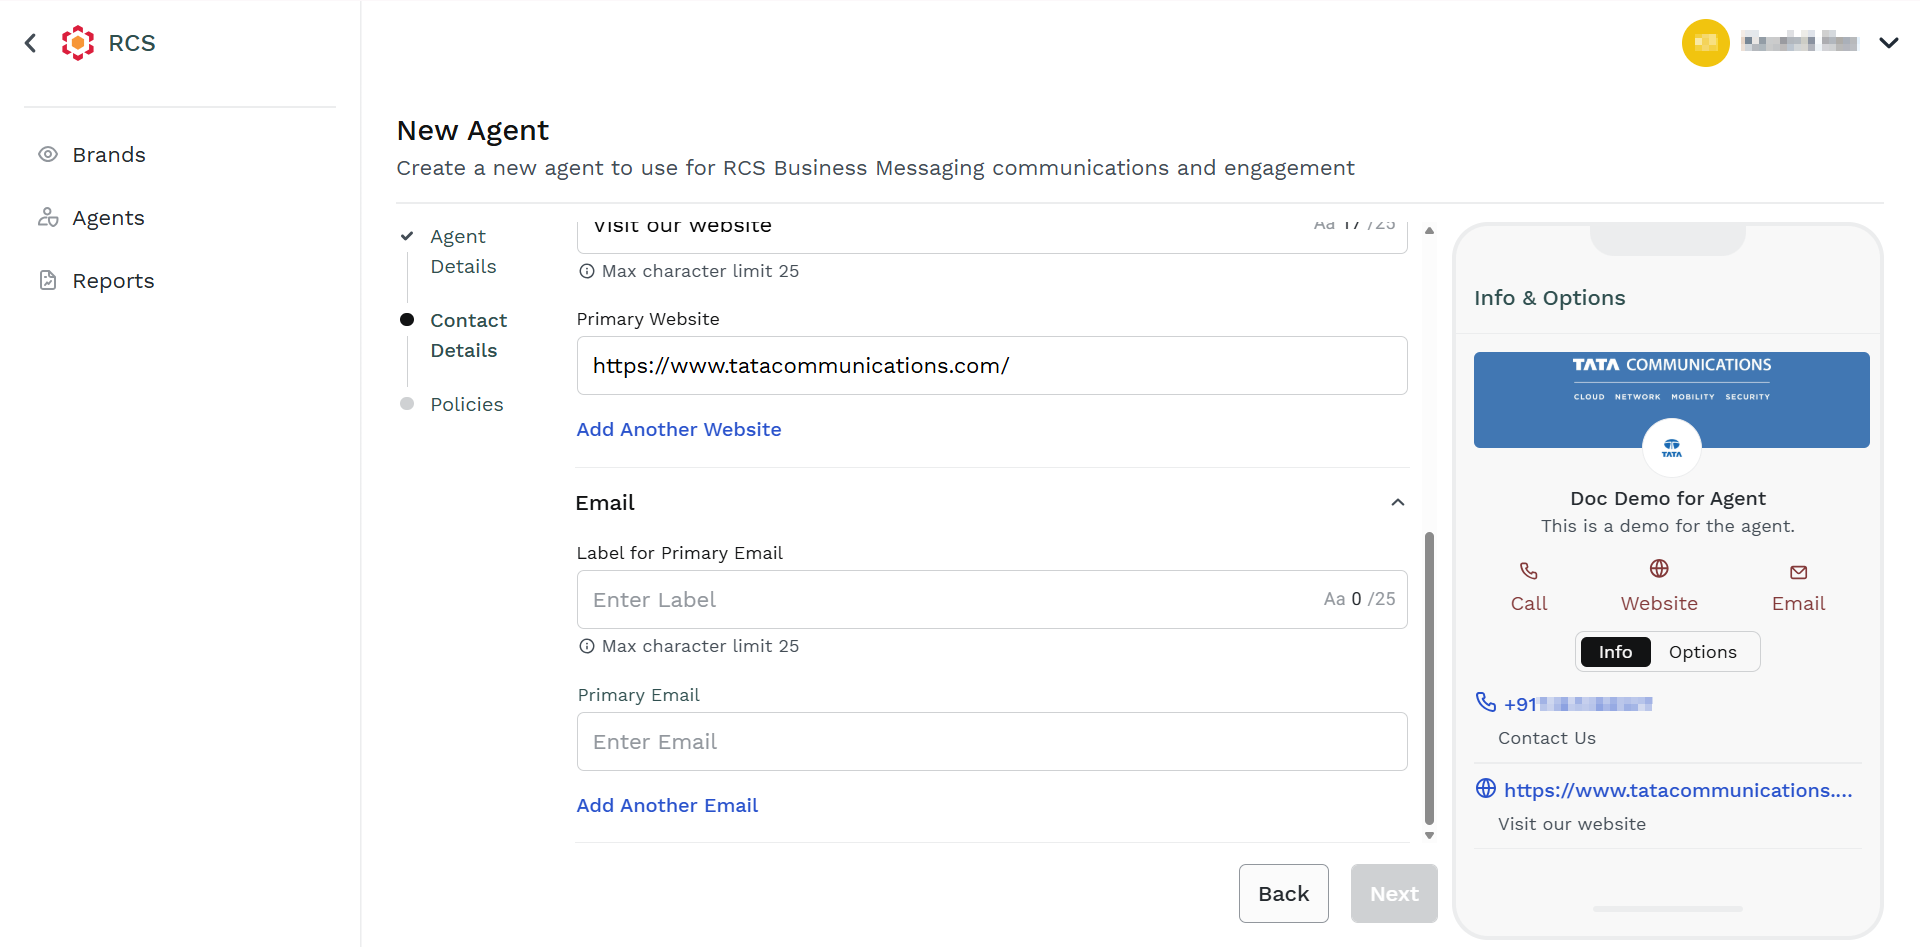
- In the Email section, perform the following:
- In the Enter Label field, enter the label for email.
- In the Enter Email field, enter a valid email address that can be helpful for the end-users for communication and support.
- Click the Add Another Email link to add another email address. To add the email details, follow the step 10(i) and step 10(ii).
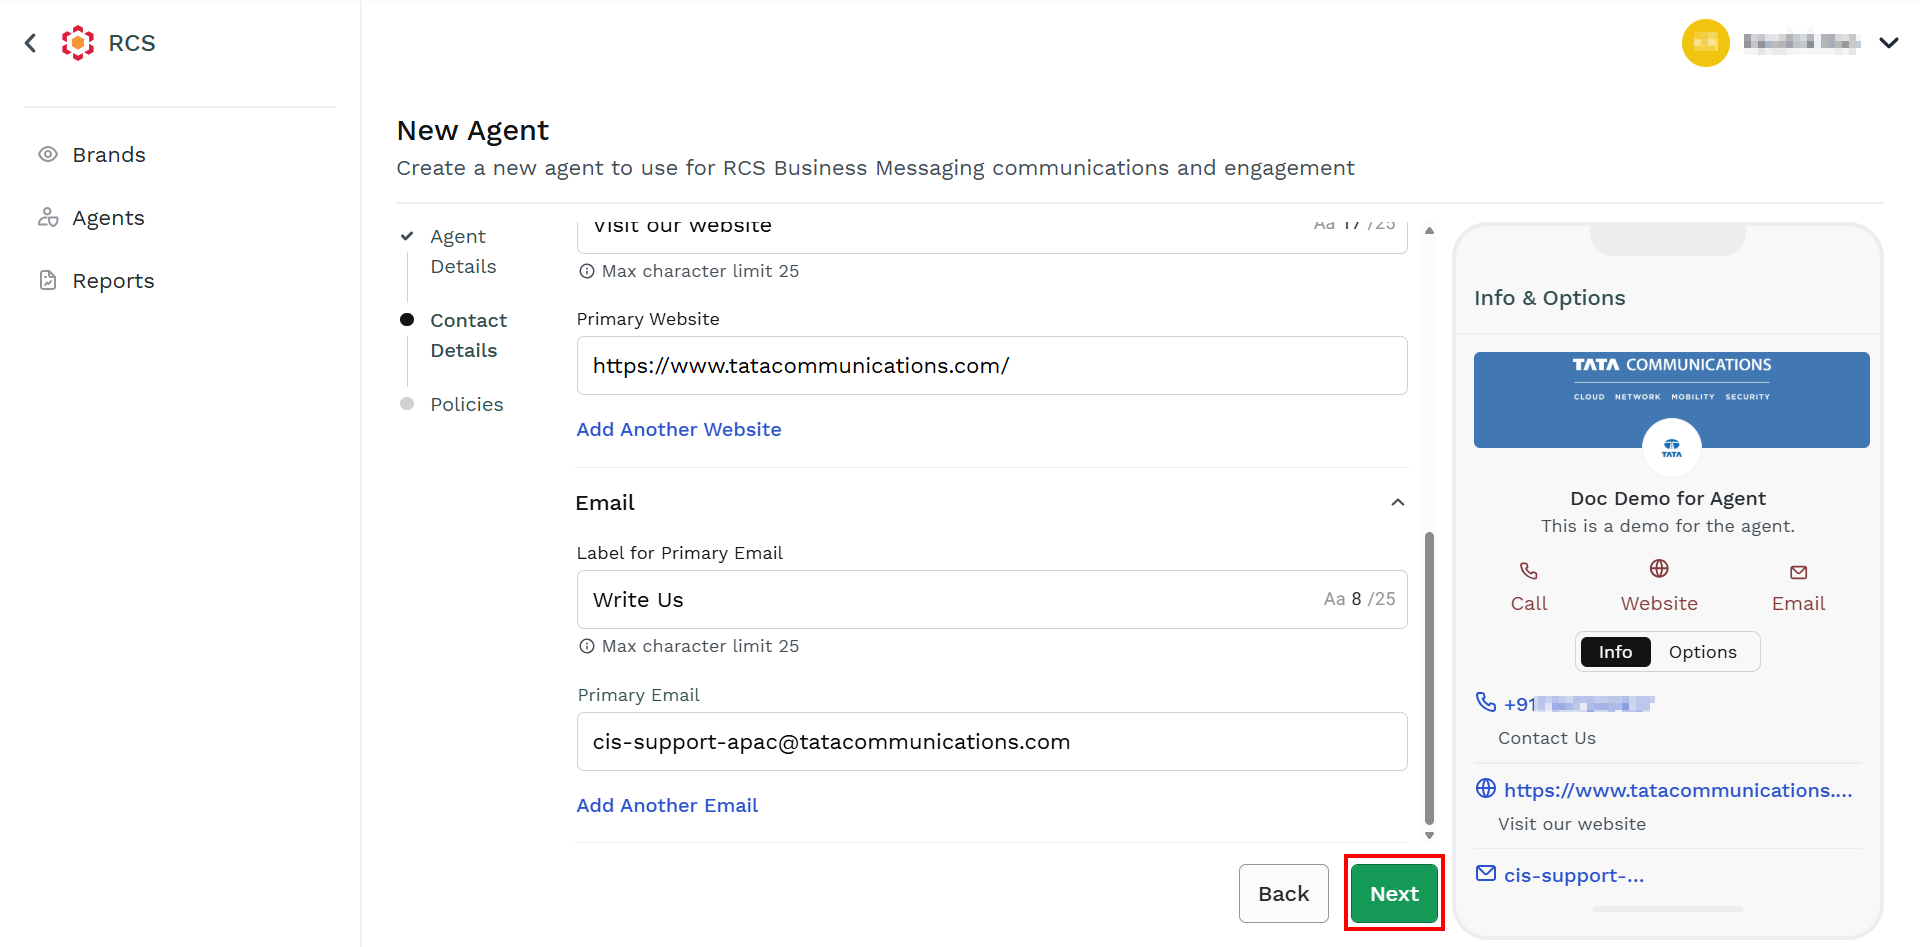
- Click Next.
The Policies step appears. Provide the policies needed to create a new RBM agent.
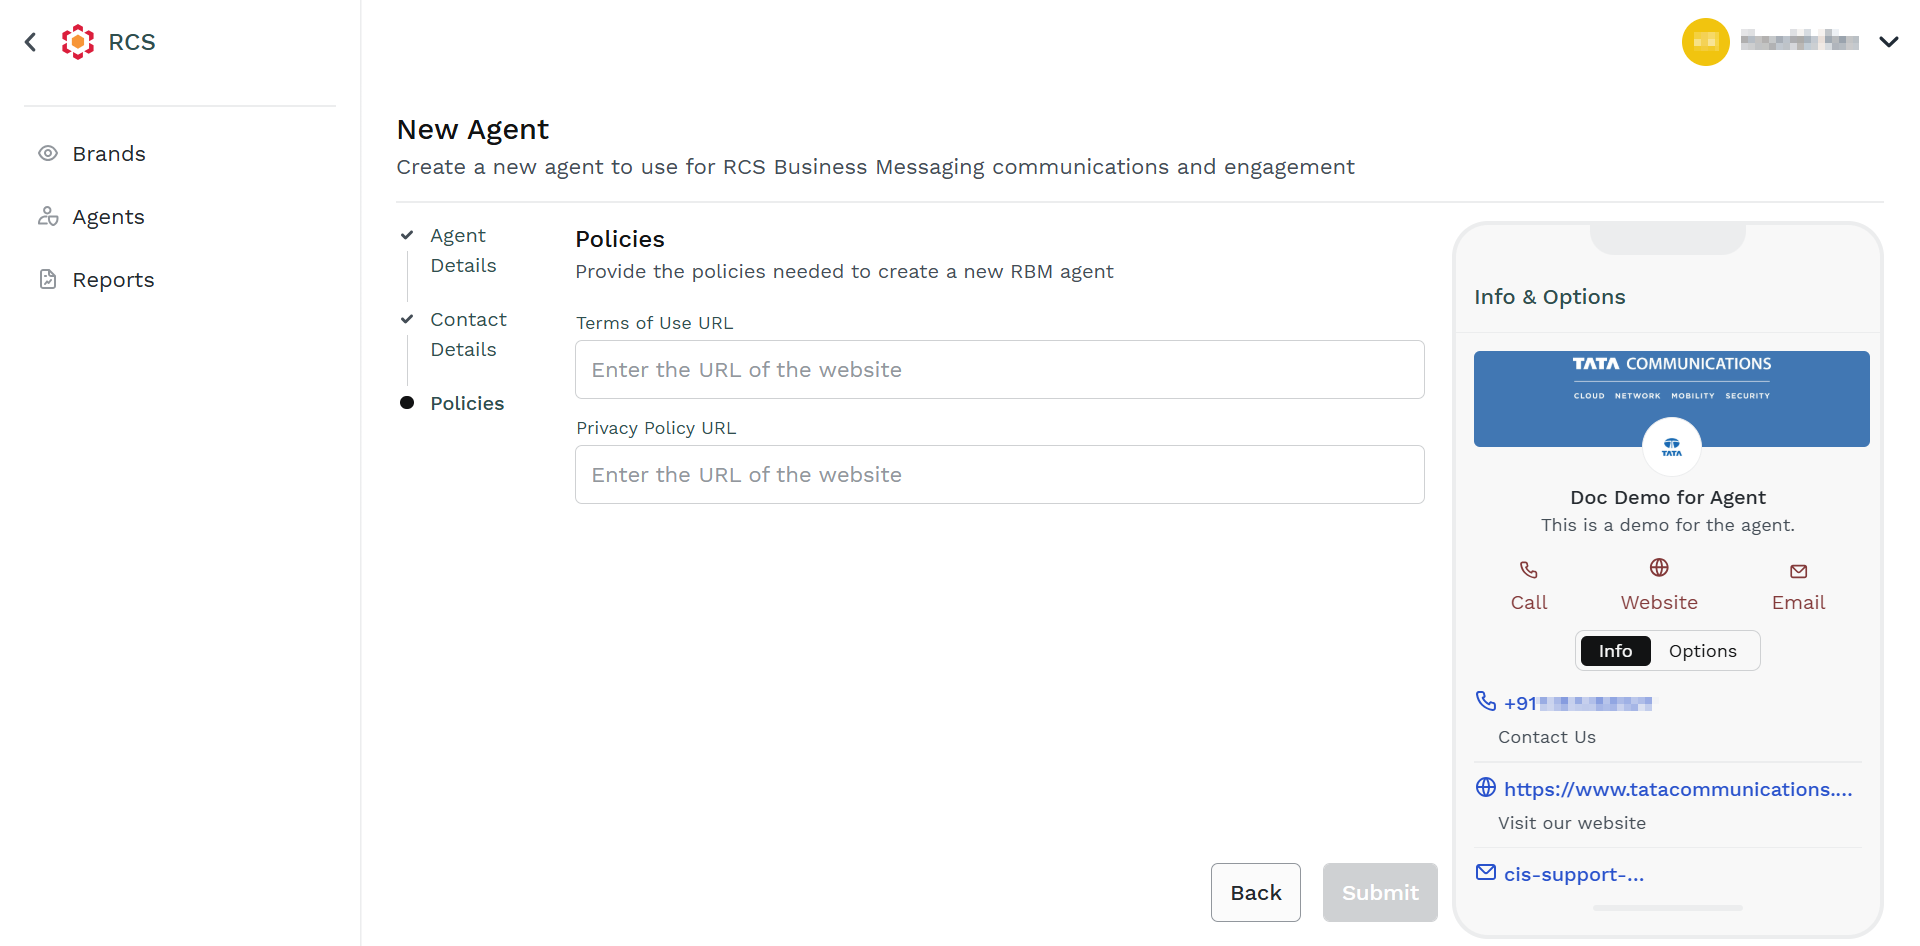
- In the Policies section, perform the following:
- In the Enter the URL of the website field for terms of use, enter the URL for your organization's terms policy.
- In the Enter the URL of the website field for privacy policy, enter the URL for your organization's privacy policy.
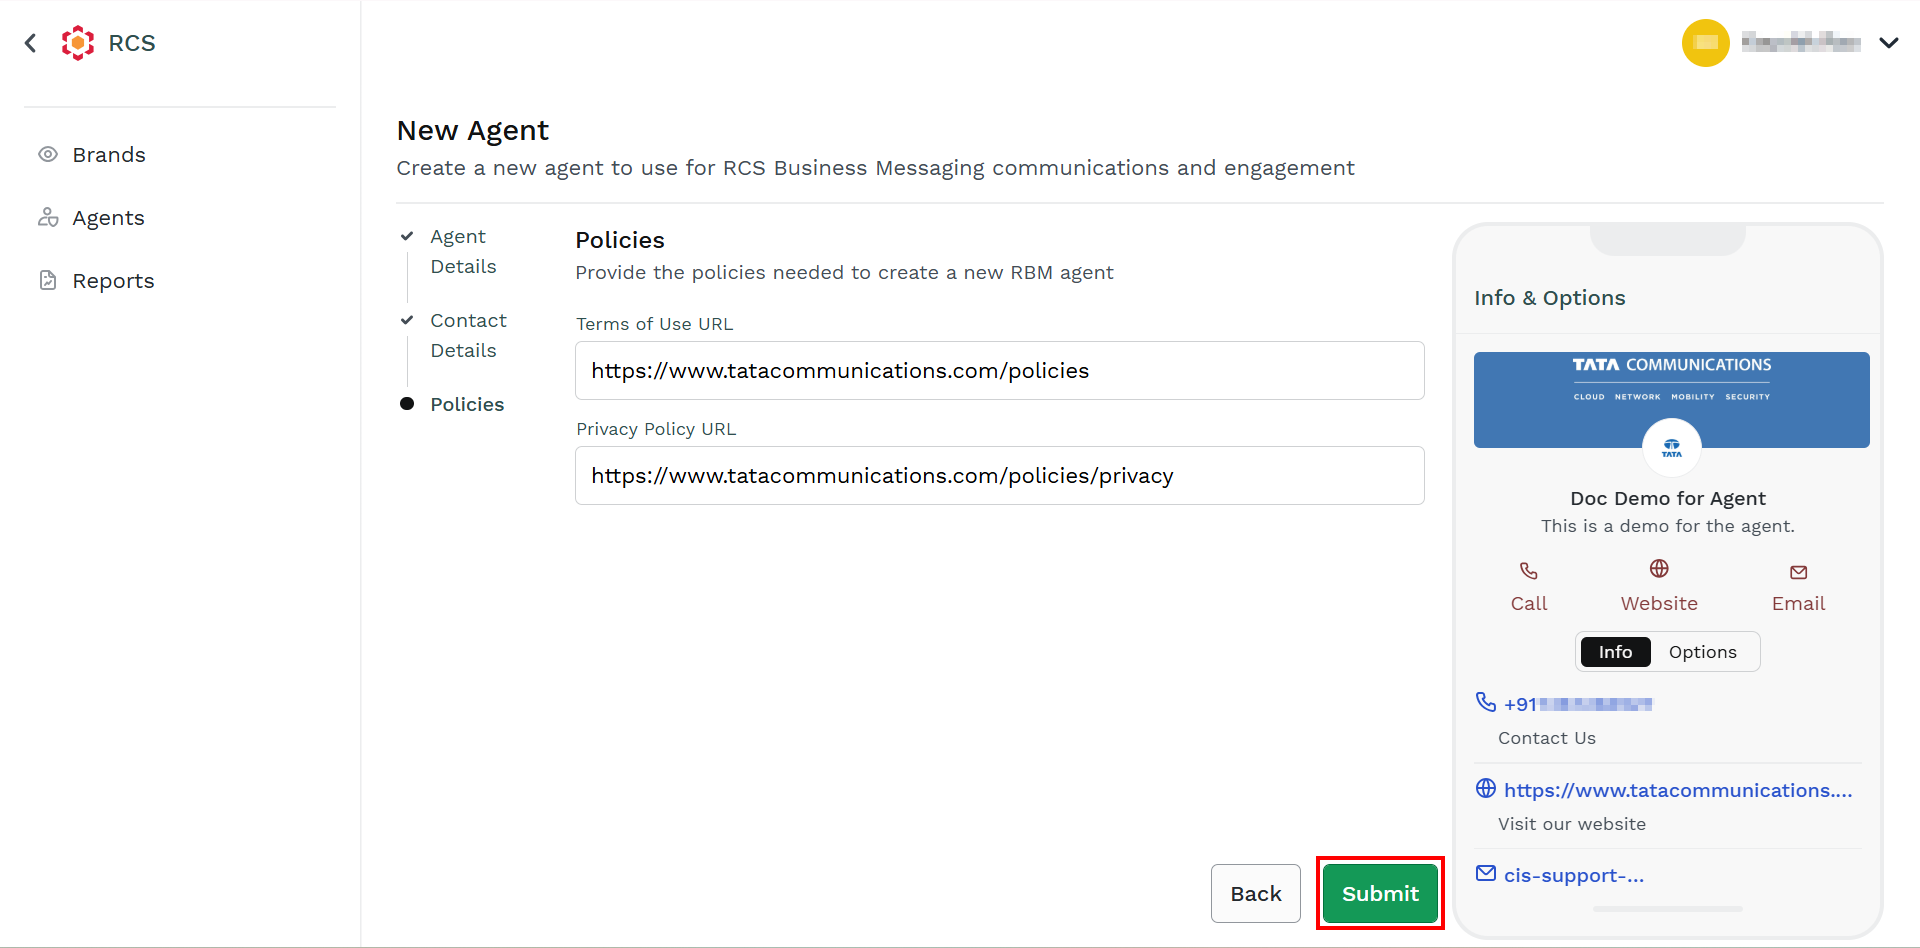
- Click Submit.
The Policy Confirmation pop-up appears.
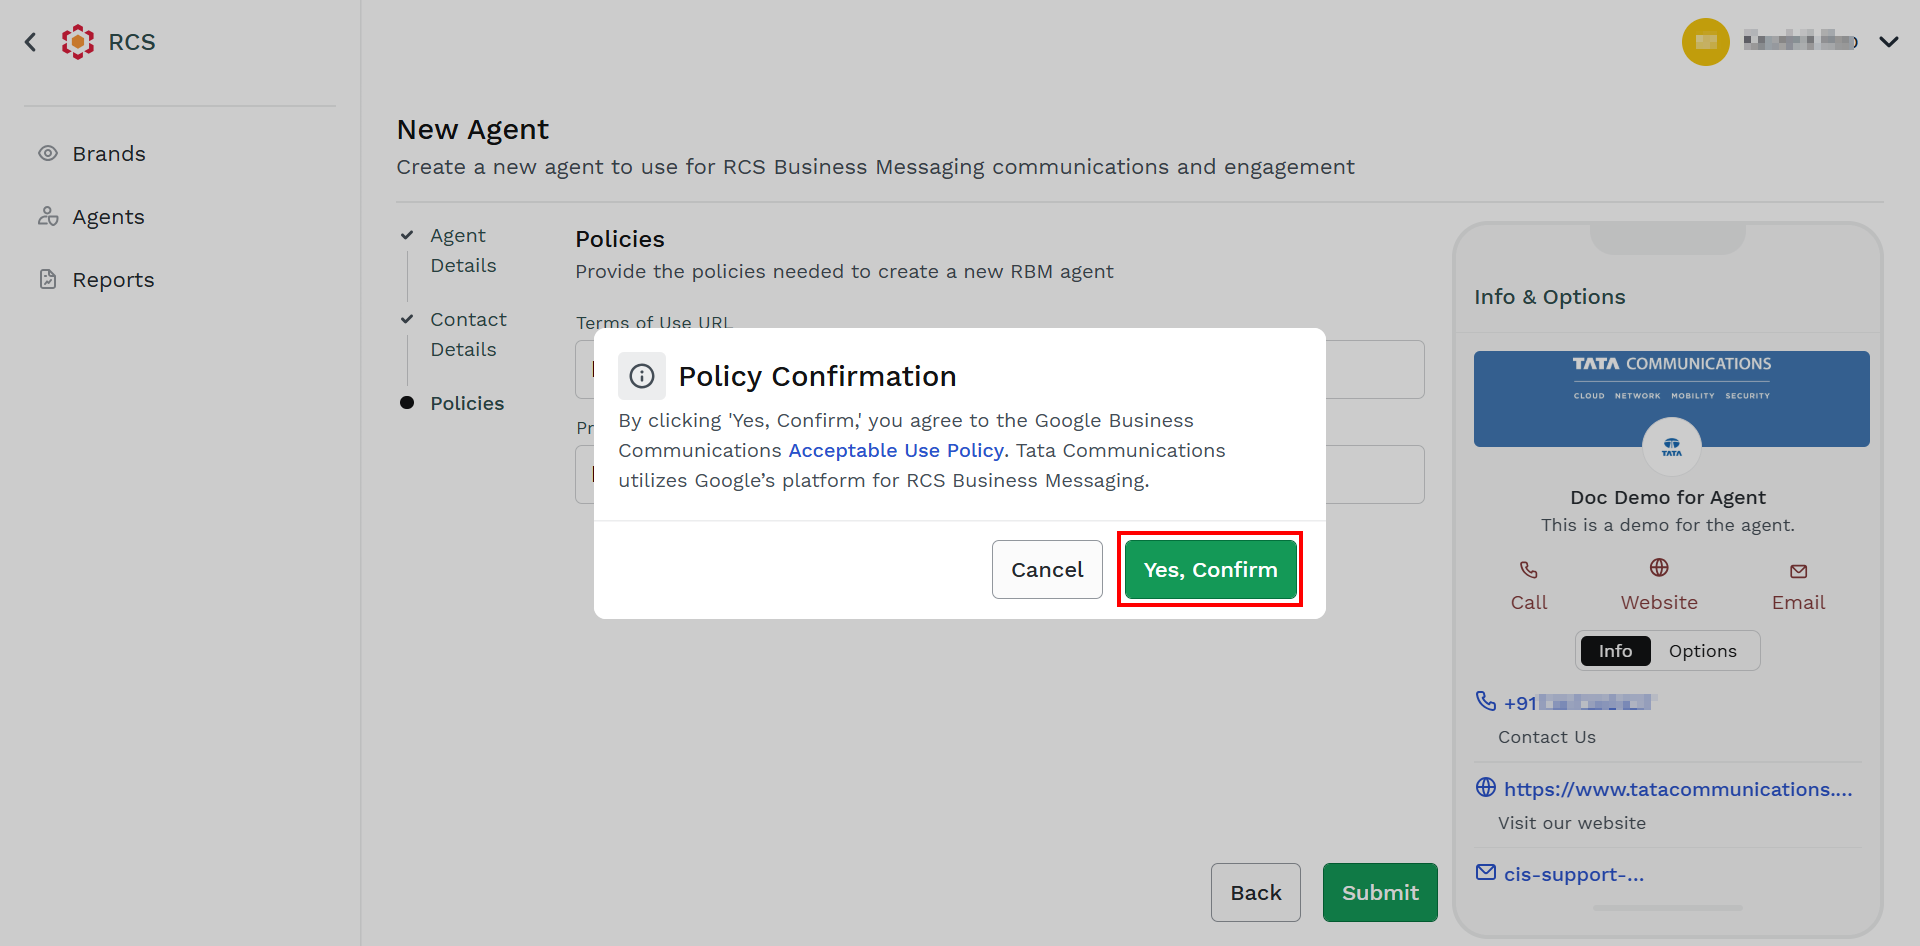
- Click Yes, Confirm.
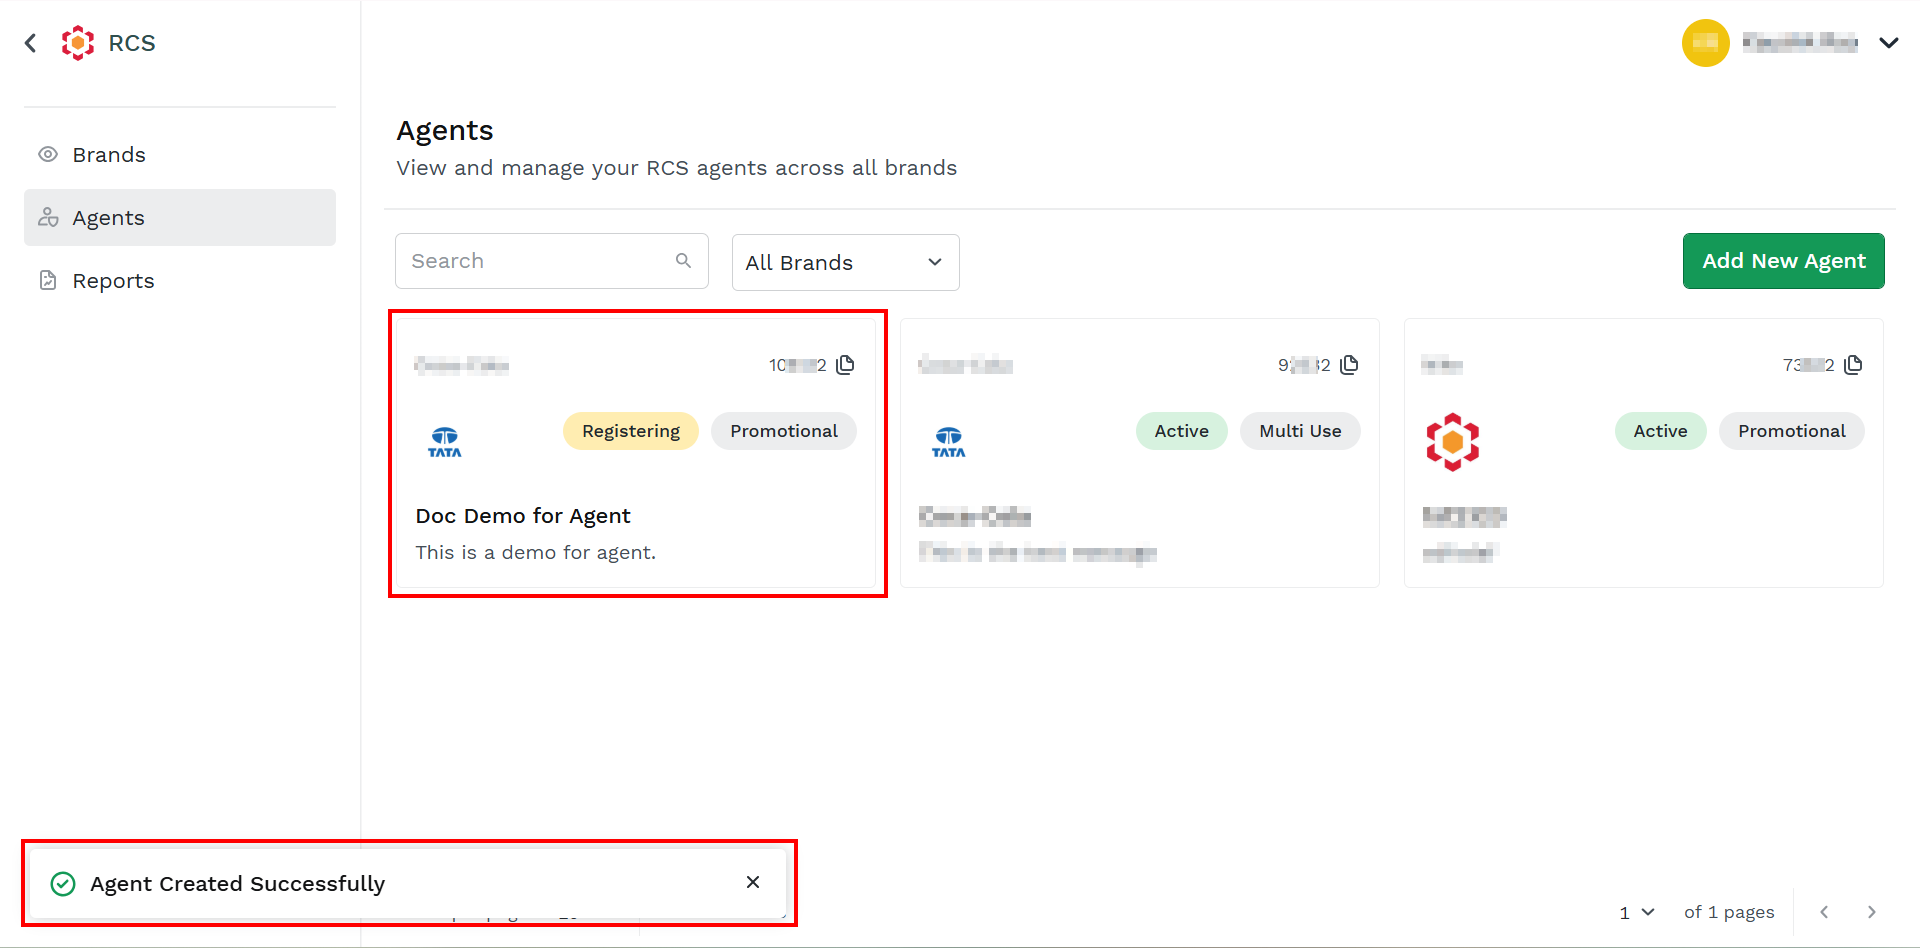
The confirmation message Agent Created Successfully appears and the card for the newly created agent appears on the Agent's dashboard page.
Notes:
- If there is a session timeout, you will get an error response while submitting the Agent. It is recommended to refresh the page, log in to the Kaleyra platform, and then create the agent.
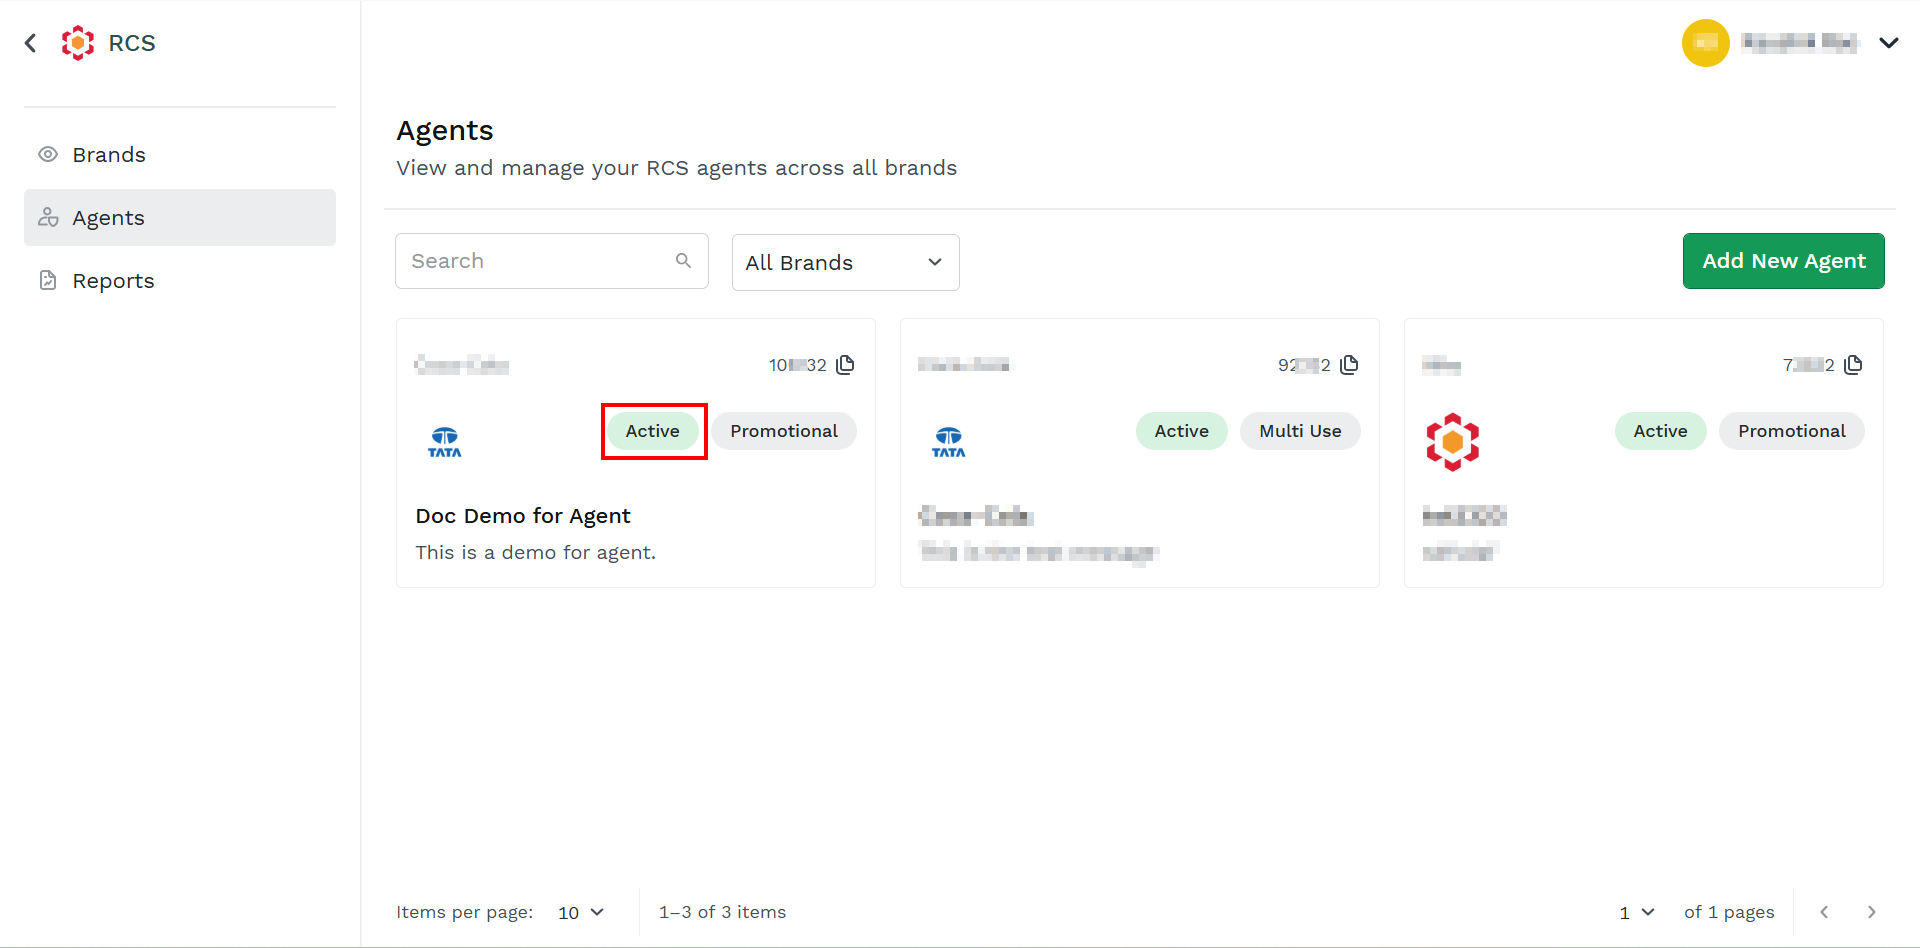
- After verification from Google, the Agent gets activated.
A sample active agent:
Updated about 2 months ago
Did this page help you?