Configure Workflow and Trigger WhatsApp Message
You can configure the workflow and automate trigger points (such as if any ticket is created, edited, field updated, and so on) when you want to send the notification to your customers. It helps your customers to keep them updated and brings more clarity on the status of tickets.
To configure workflow and trigger WhatsApp messages, perform the following steps:
- Sign in to your Zoho Desk.
The All Tickets page appears.
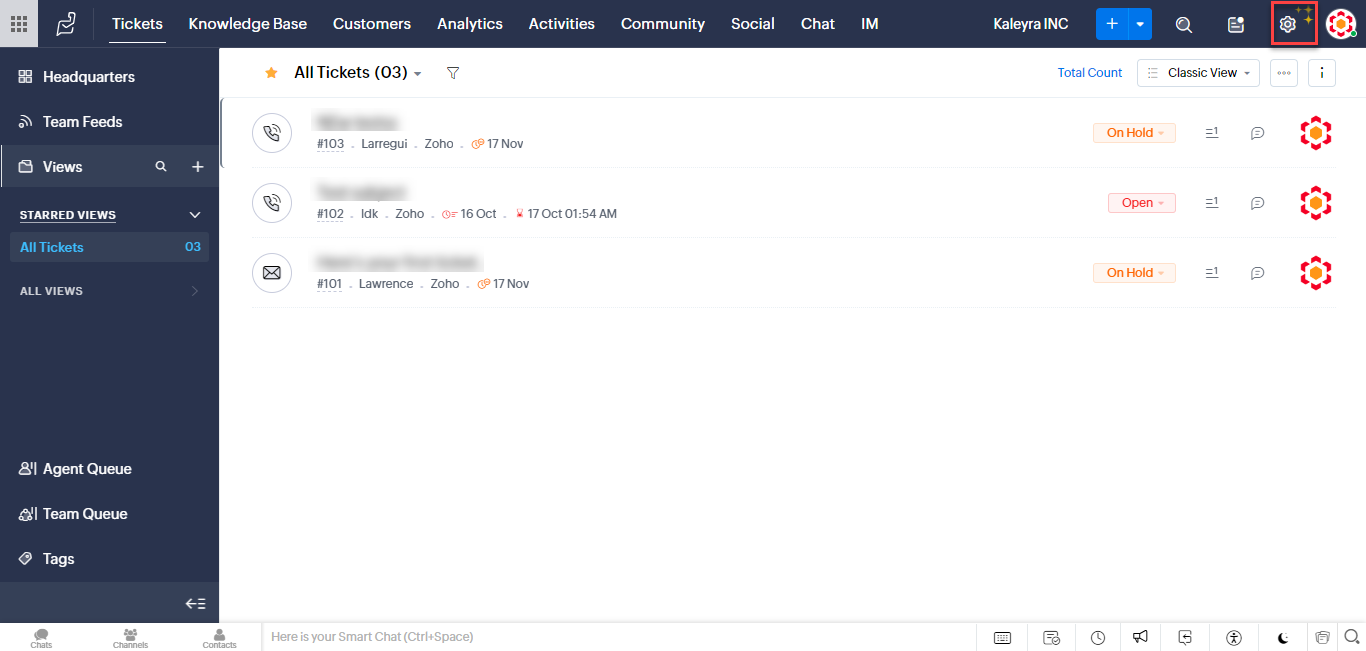
- On the top-right of the page click the gear icon for Setup(S).
The Setup(S) page appears.
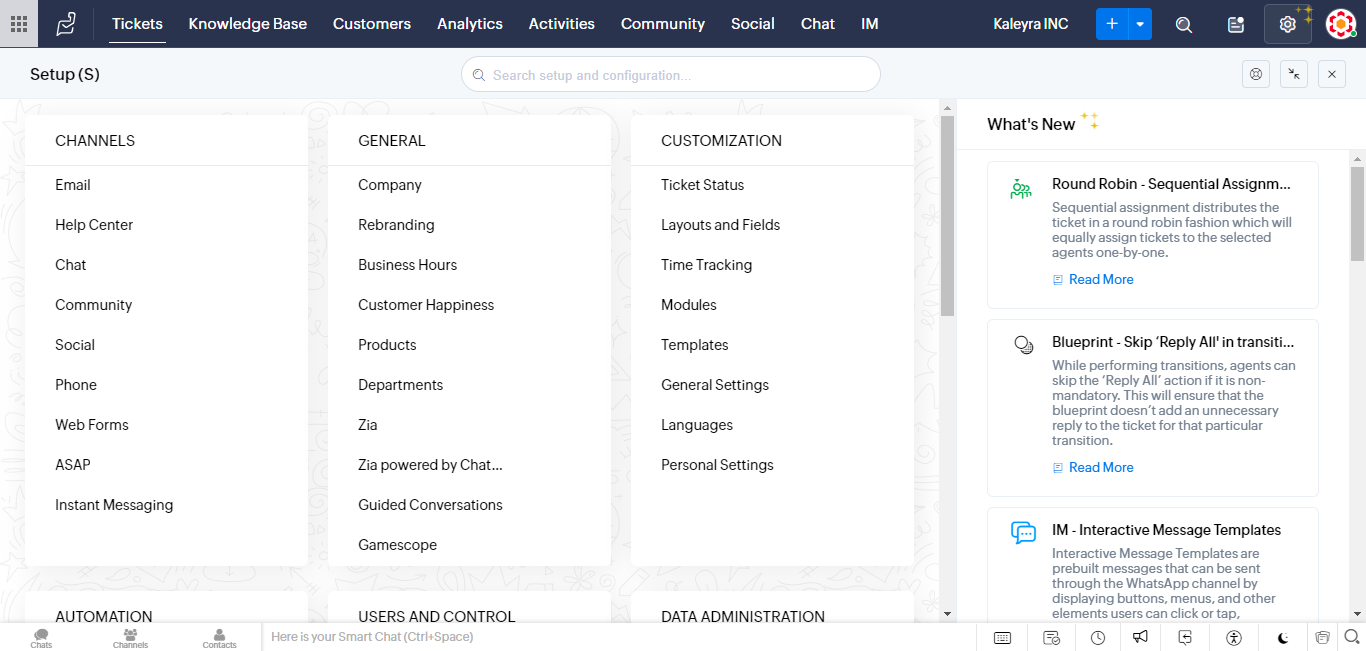
- Scroll down to the AUTOMATION section.
The AUTOMATION section appears.
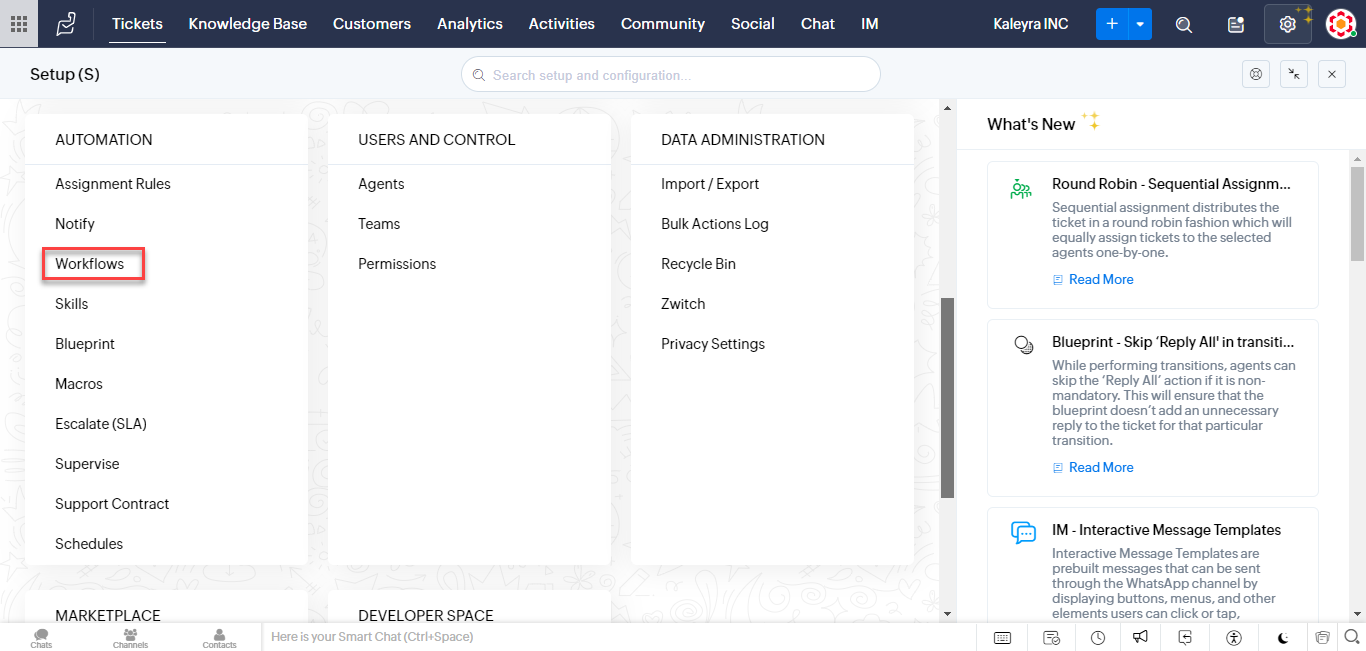
- Click Workflows.
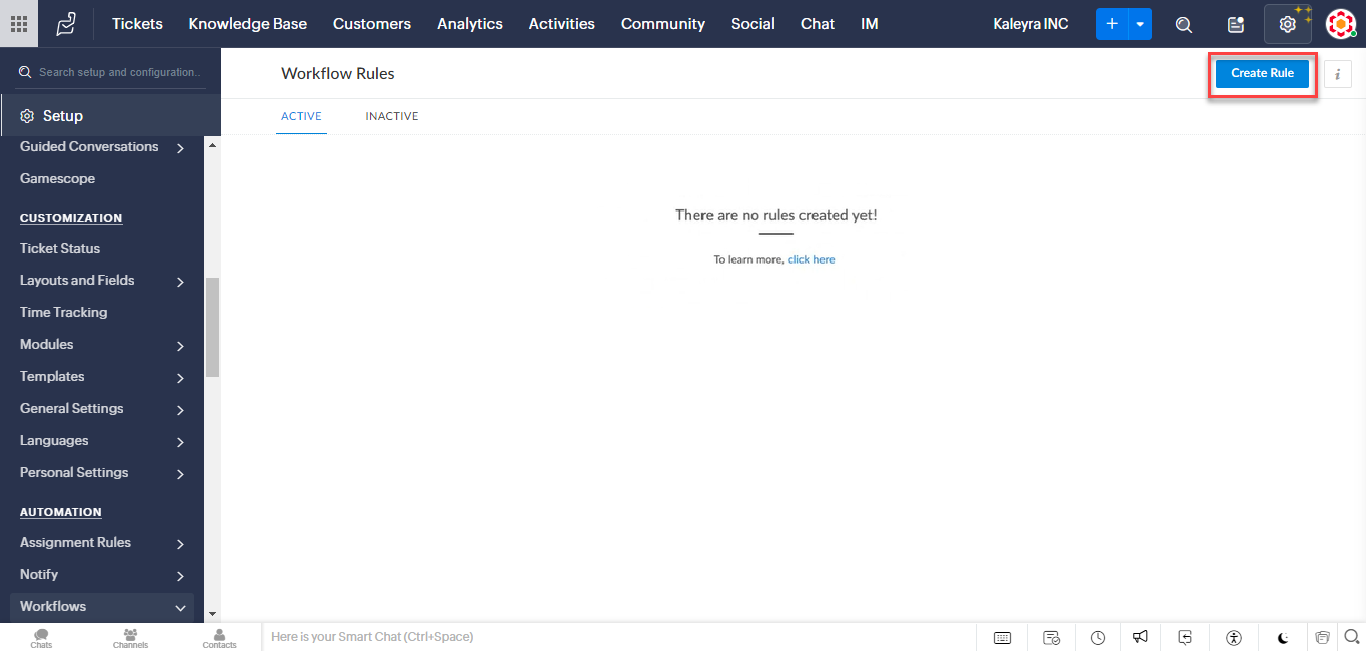
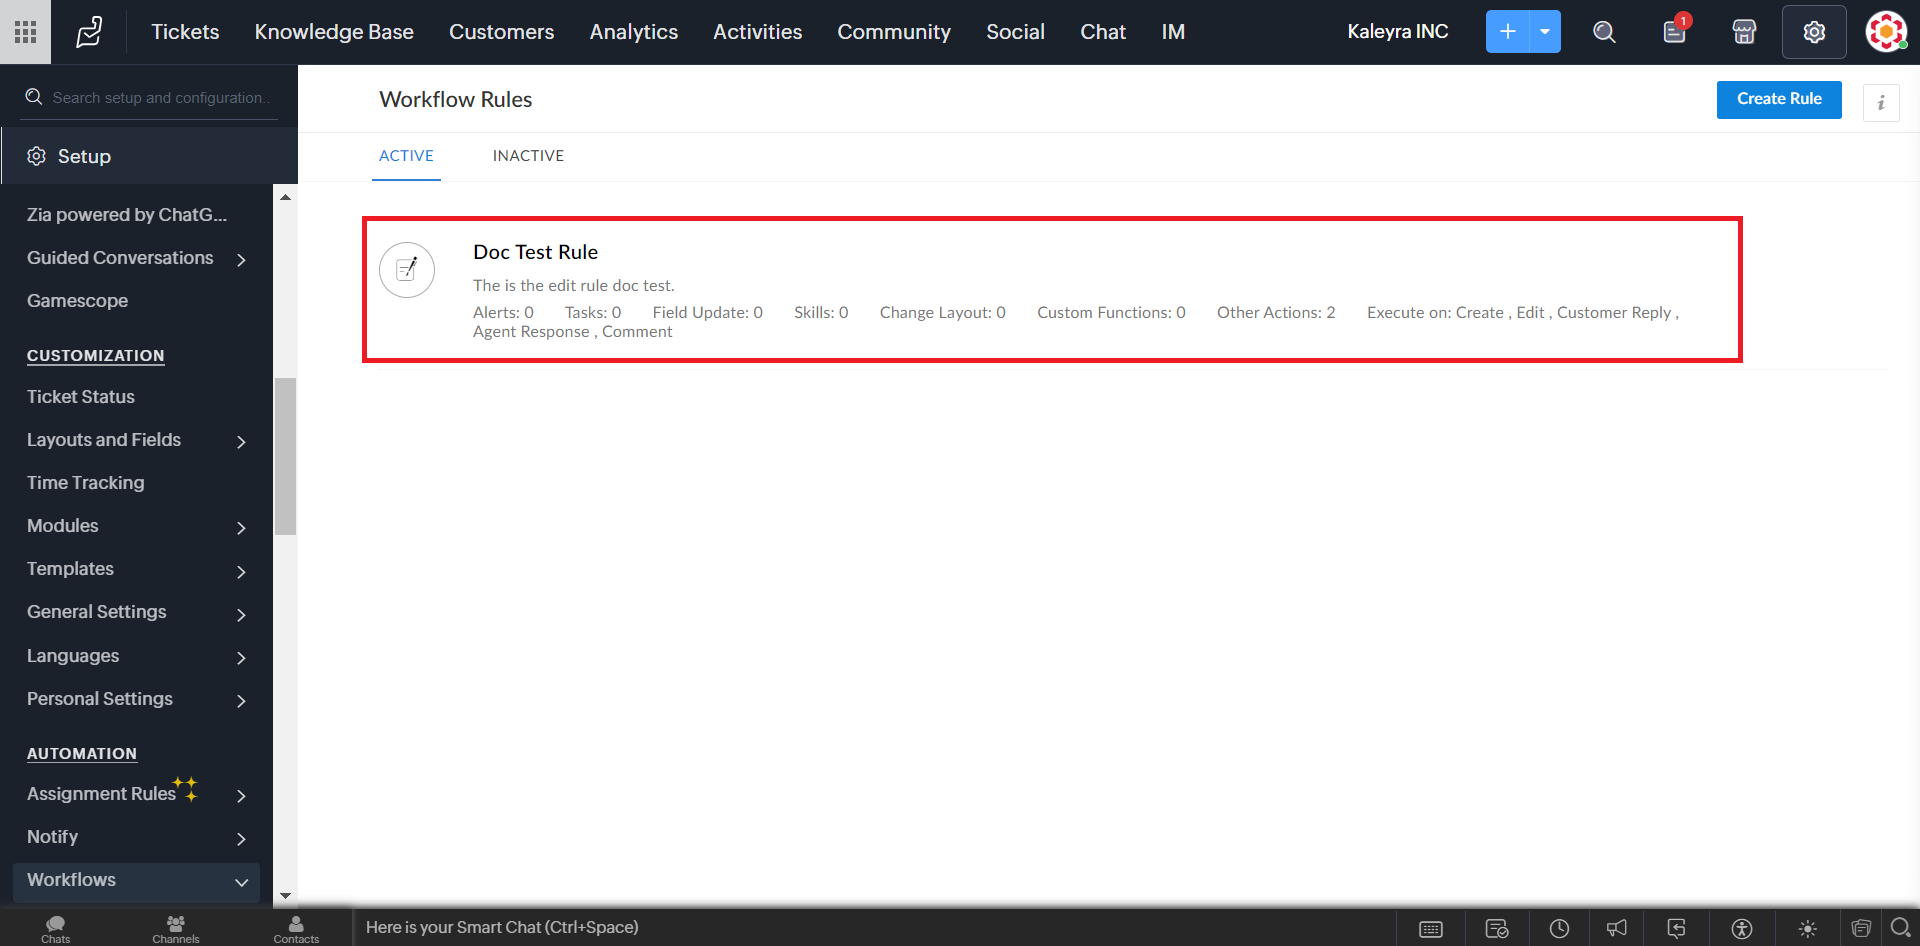
The Workflow Rules page appears.
Note:If you have any existing workflow rules, they will be listed on the Workflow Rules page. You can edit, delete, and deactivate or activate the existing rules.
- On the top-right side click Create Rule.
The New Workflow page appears.
Note:Currently, Kaleyra supports only the Tickets module for Zoho Desk.
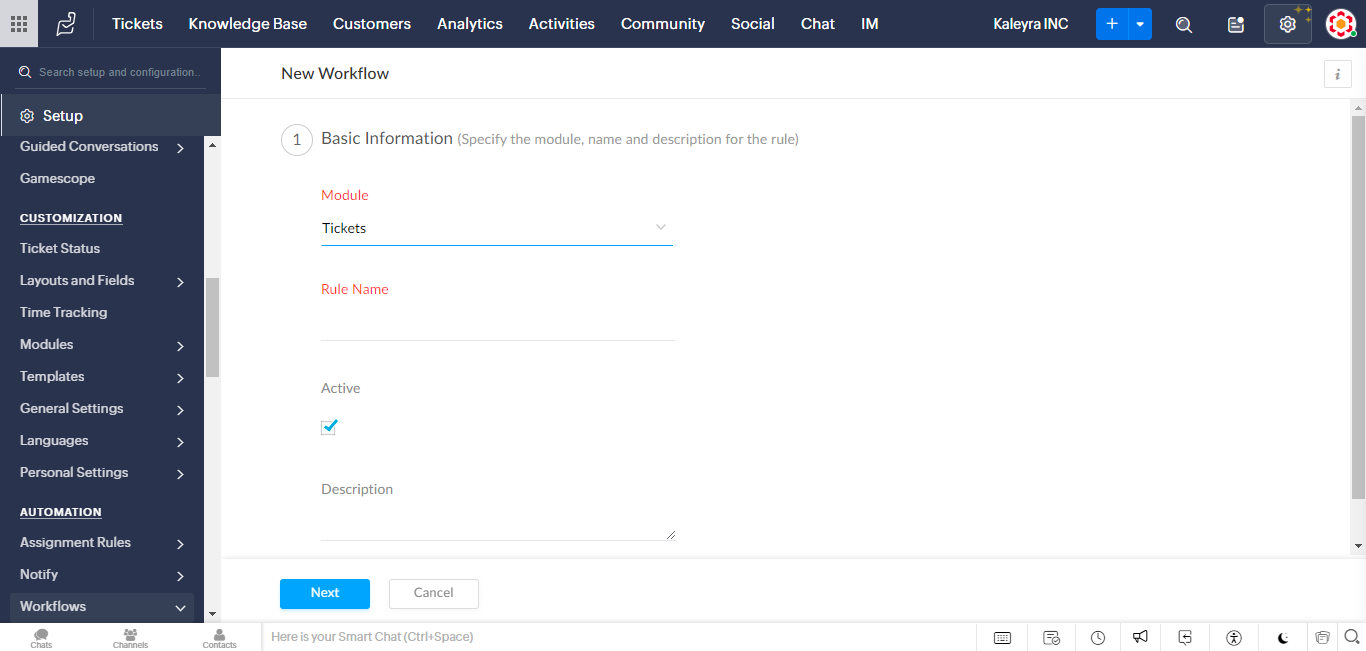
- In the Basic Information section, perform the following steps:
- By default, in the Module field, the Tickets option appears. Currently, kaleyra.io supports only the Tickets module.
- In the Rule Name field, enter the name of the rule you want to create.
- By default, Active is selected. If you wish to deactivate the current ticket deselect the Active checkbox.
- In the Description field, enter the description that you want to add for your rule.
- Click Next.
The Execute on section appears.
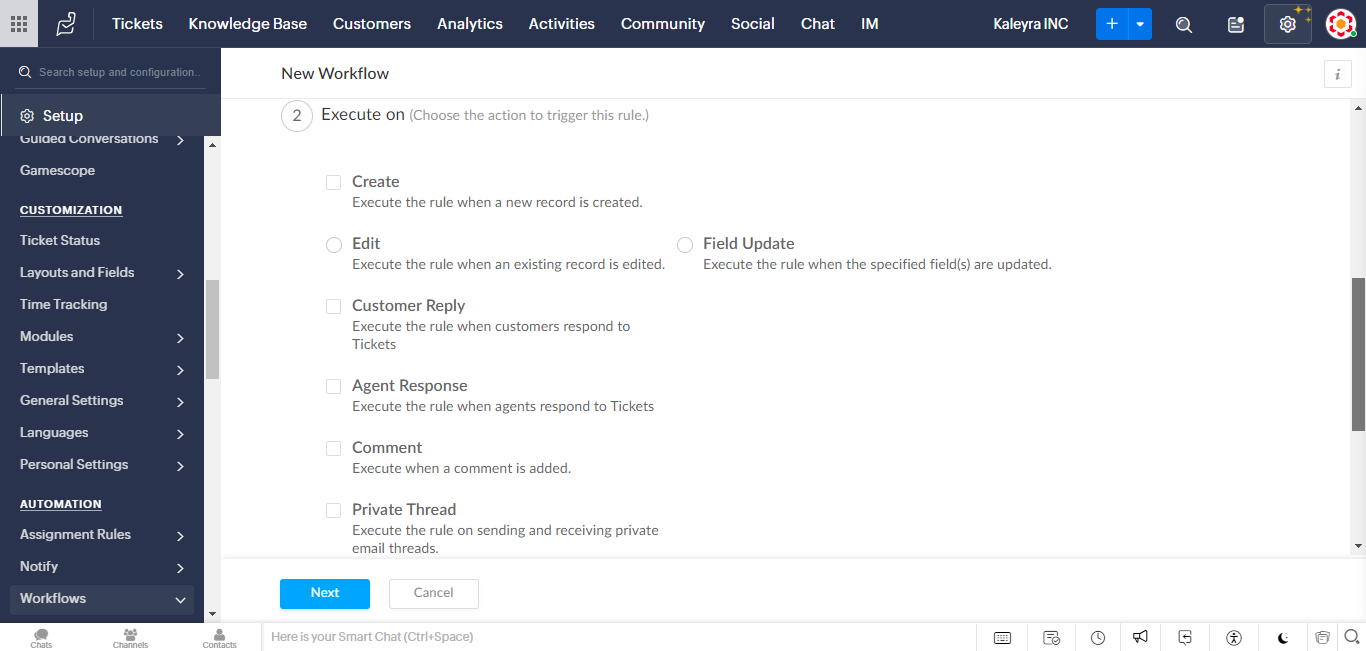
- From the Execute on section, select from the following options when you wish to trigger the rule:
- Create - Execute the rule when a new record is created.
- Edit - Execute the rule when an existing record is edited.
- Field Update - Execute the rule when the specified field(s) are updated.
- Customer Reply - Execute the rule when customers respond to Tickets.
- Agent Response - Execute the rule when agents respond to Tickets.
- Comment - Execute when a comment is added. You can select from the following options:
- Agent Comment - Public - When an agent comments Public, it is set to appear publicly for a ticket.
- Agent Comment - Private - When an agent comments Private, it is set to appear privately for a ticket.
- Customer Comment - When a customer comments on a ticket.
- Private Thread - Execute the rule on sending and receiving private email threads. Once you select the Private Thread, Incoming Response and Outgoing Response are selected by default. To change the selection click to clear Incoming Response and Outgoing Response.
- Happiness Rating - Execute the rule on receiving ratings from customers. Click All Ratings drop-down and a list of the following options appears. Select one of them based on which the rule gets executed:
- All Ratings
- Good
- Okay
- Bad
- Okay (or) Bad
- Delete - Execute the rule when a record is deleted. If any of the options in the Execute section is enabled, then you can not select the Delete option.
Note:To select the delete option, you must clear all the other options.
- Click Next.
The Criteria section appears.
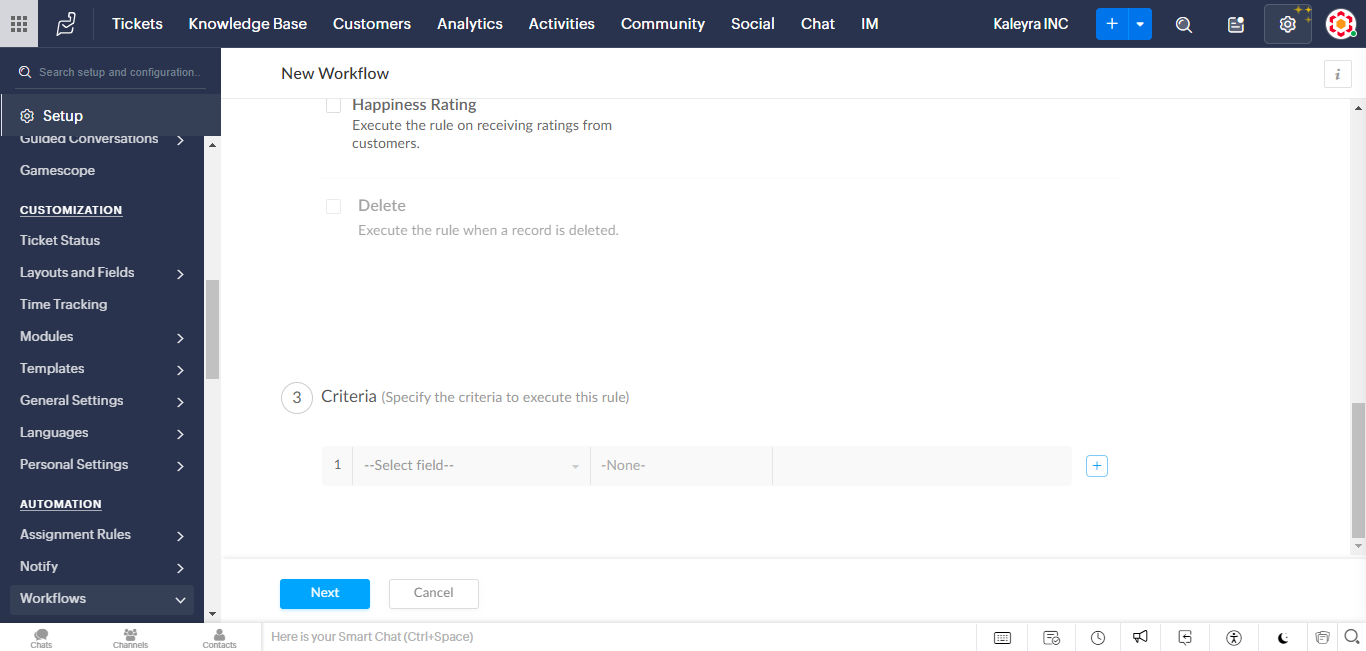
- (Optional) In the Criteria section, configure the criteria to execute the rule.
- Click Next.
The Actions section appears.
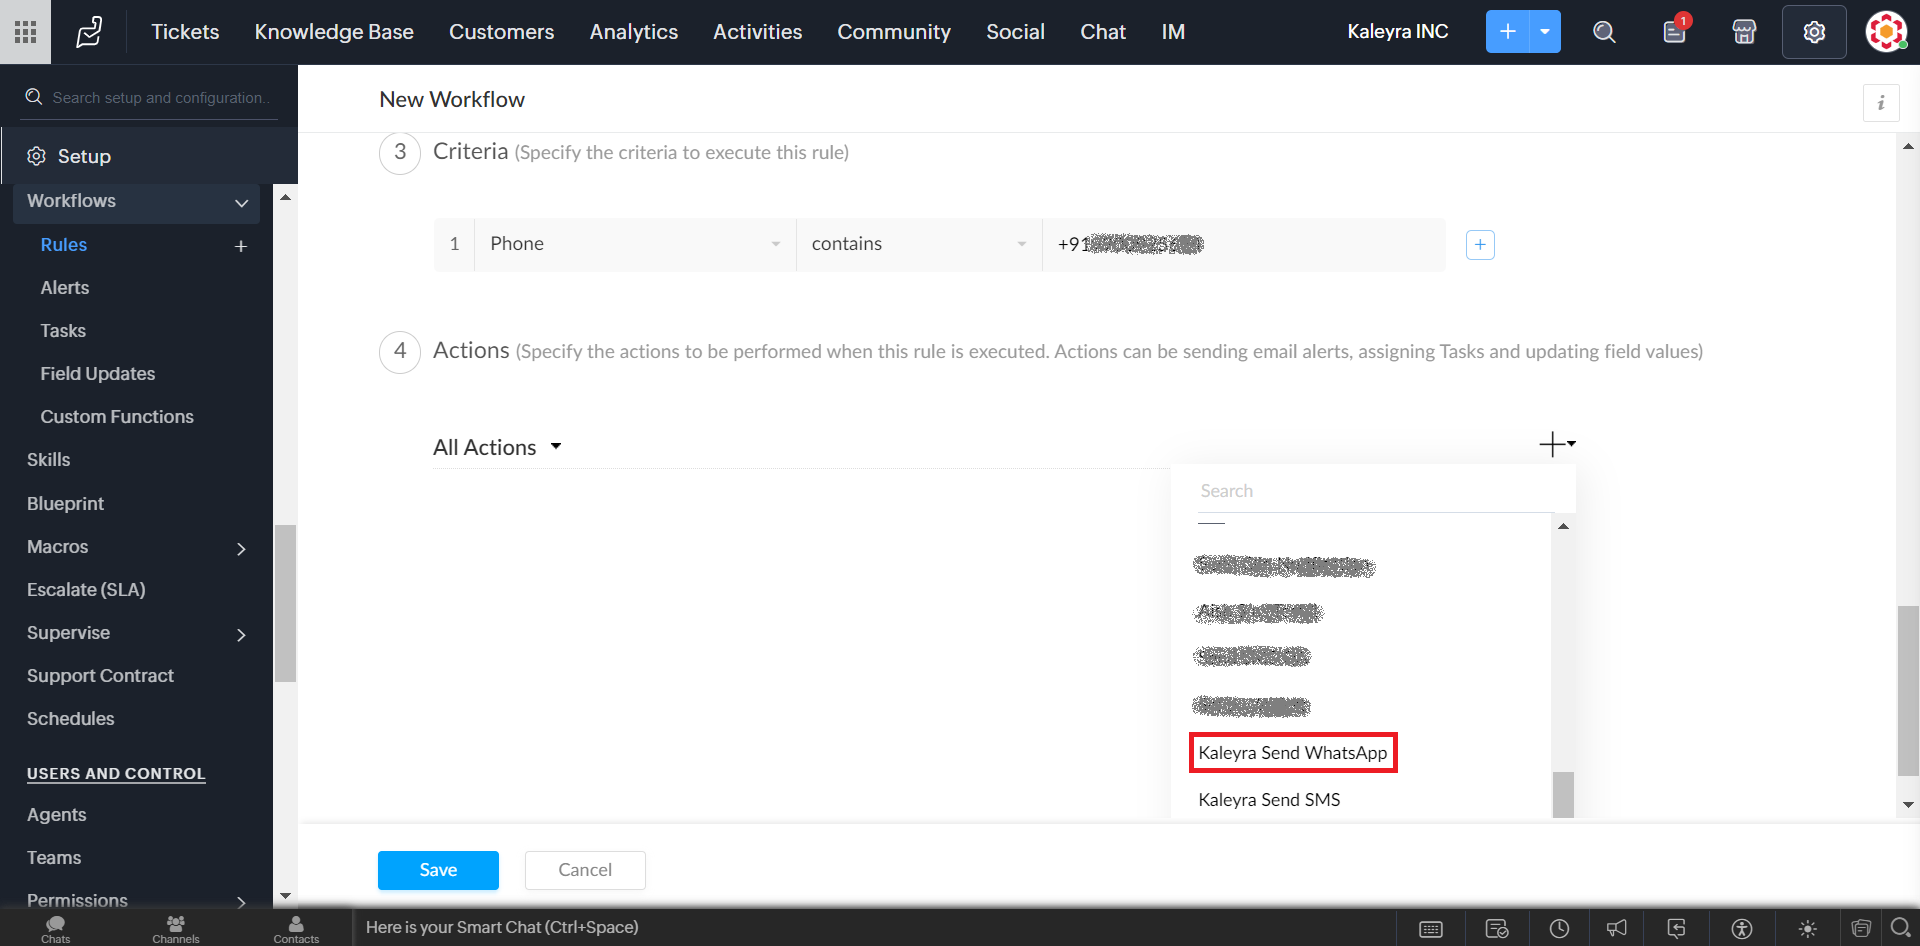
- Click + (plus) symbol on the right side of All Actions and a list of actions appears. Scroll down to EXTERNAL ACTIONS and then select Kaleyra Send WhatsApp.
The Kaleyra Send WhatsApp page appears.
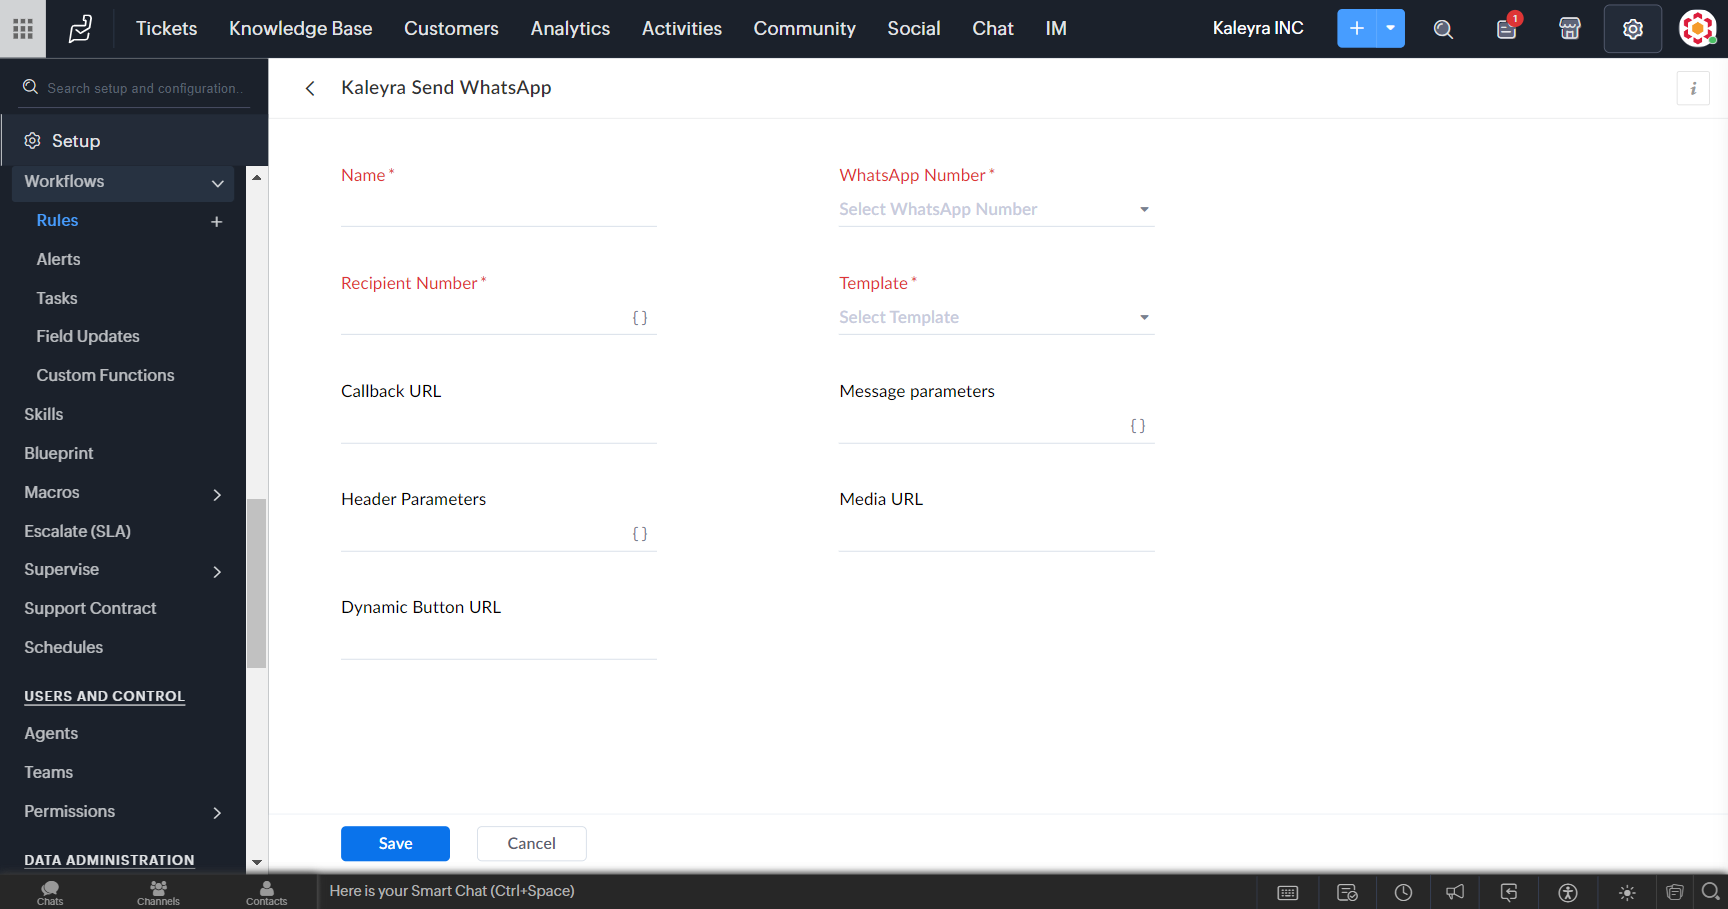
-
Enter the following details from the WhatsApp approved templates.
-
In the Name field, enter the name for the WhatsApp message trigger. It will help you to remember when the WhatsApp message gets triggered when you have a list of message triggers.
-
Click the arrow next to WhatsApp Number and the list of approved WhatsApp numbers from your kaleyra.io account appear. Select the WhatsApp number using which you want to send the WhatsApp message.
-
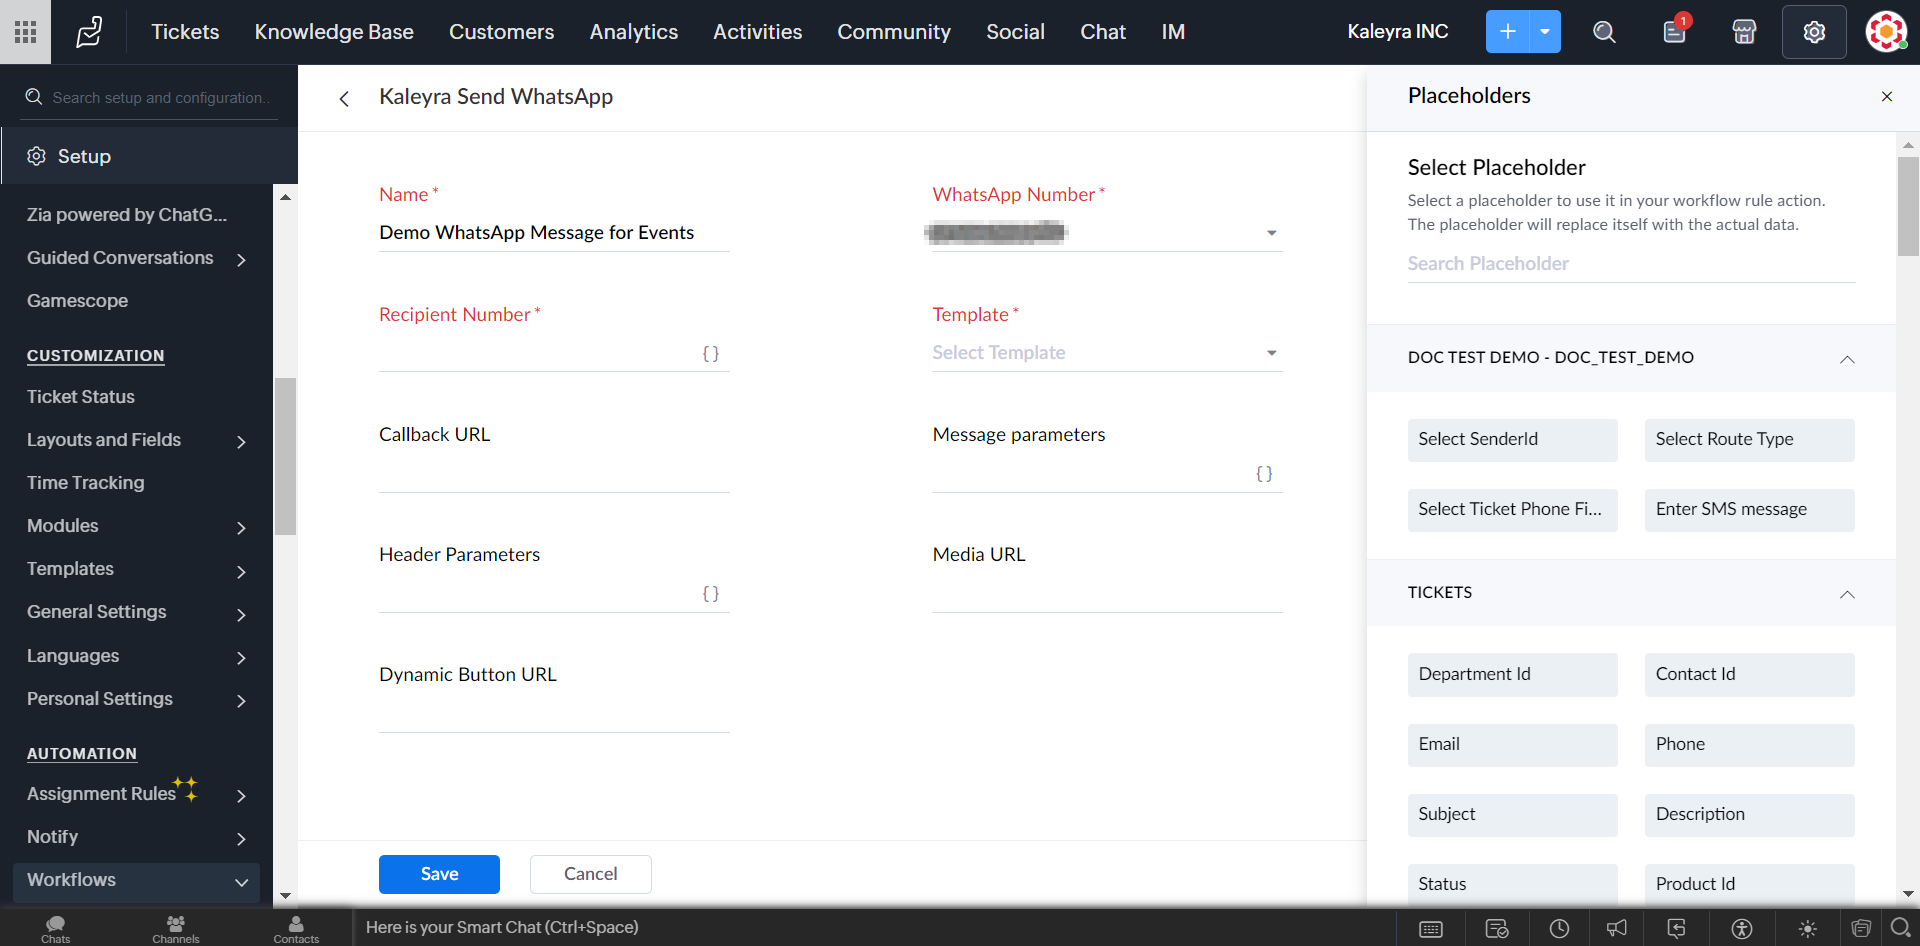
In the Recipient Number field, perform one of the following:
- Enter the specific phone number you want to send the WhatsApp message according to your needs.
- Click the curly bracket symbol and the Placeholders pane appears. Select a placeholder to use in your workflow rule action. The placeholder will replace itself with the actual data. You must select only one placeholder for the recipient number by clicking the field only once. Be sure to select a placeholder containing a mobile number.
-
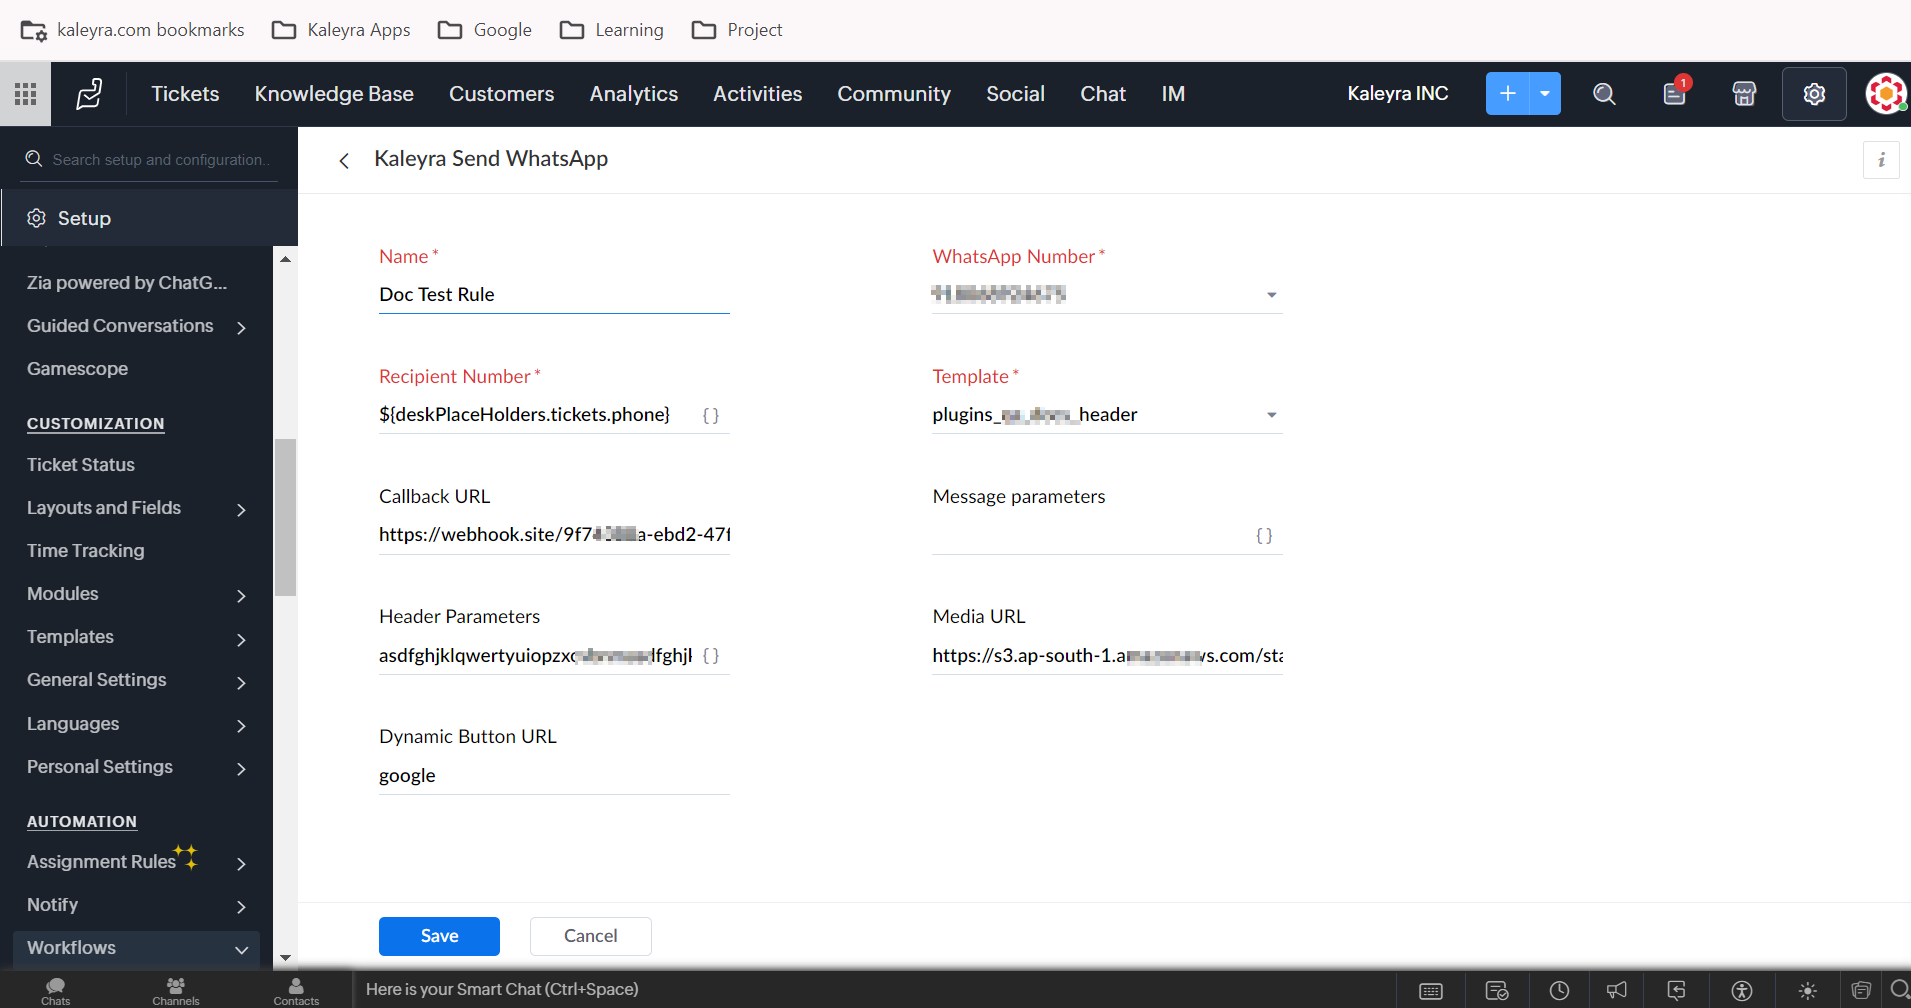
Click the arrow next to Template and the list of approved WhatsApp templates from your kaleyra.io account appears. Select the approved WhatsApp template using which you want to send the WhatsApp message. For mor information about WhatsApp templates, see WhatsApp Templates.
-
In the Callback URL field, enter the callback URL. For more information about callback URL, see Create Callback Profile for Incoming WhatsApp Messages and Create Callback Profile for Outgoing WhatsApp Messages.
-
In the Message parameter field, enter the message from the approved WhatsApp template or click the curly bracket symbol and the Placeholders pane appears. Select the placeholder based on the approved WhatsApp template.
-
In the Header Parameters field, enter the header parameter from the approved WhatsApp template or click the curly bracket symbol and the Placeholders pane appears. Select the placeholder based on the approved WhatsApp template. In the case of plain text, copy the text from the Approved template. If any variable is there, then update them based on the approved templates. In the case of plain text, copy the text from the Approved template. If any variable is there, then update them based on the approved templates.
-
In the Media URL field, enter the media URL based on the approved WhatsApp template.
-
In the Dynamic Button URL field, enter the dynamic button URL based on the approved WhatsApp template.
-
- Click Save.
The New Workflow page appears.
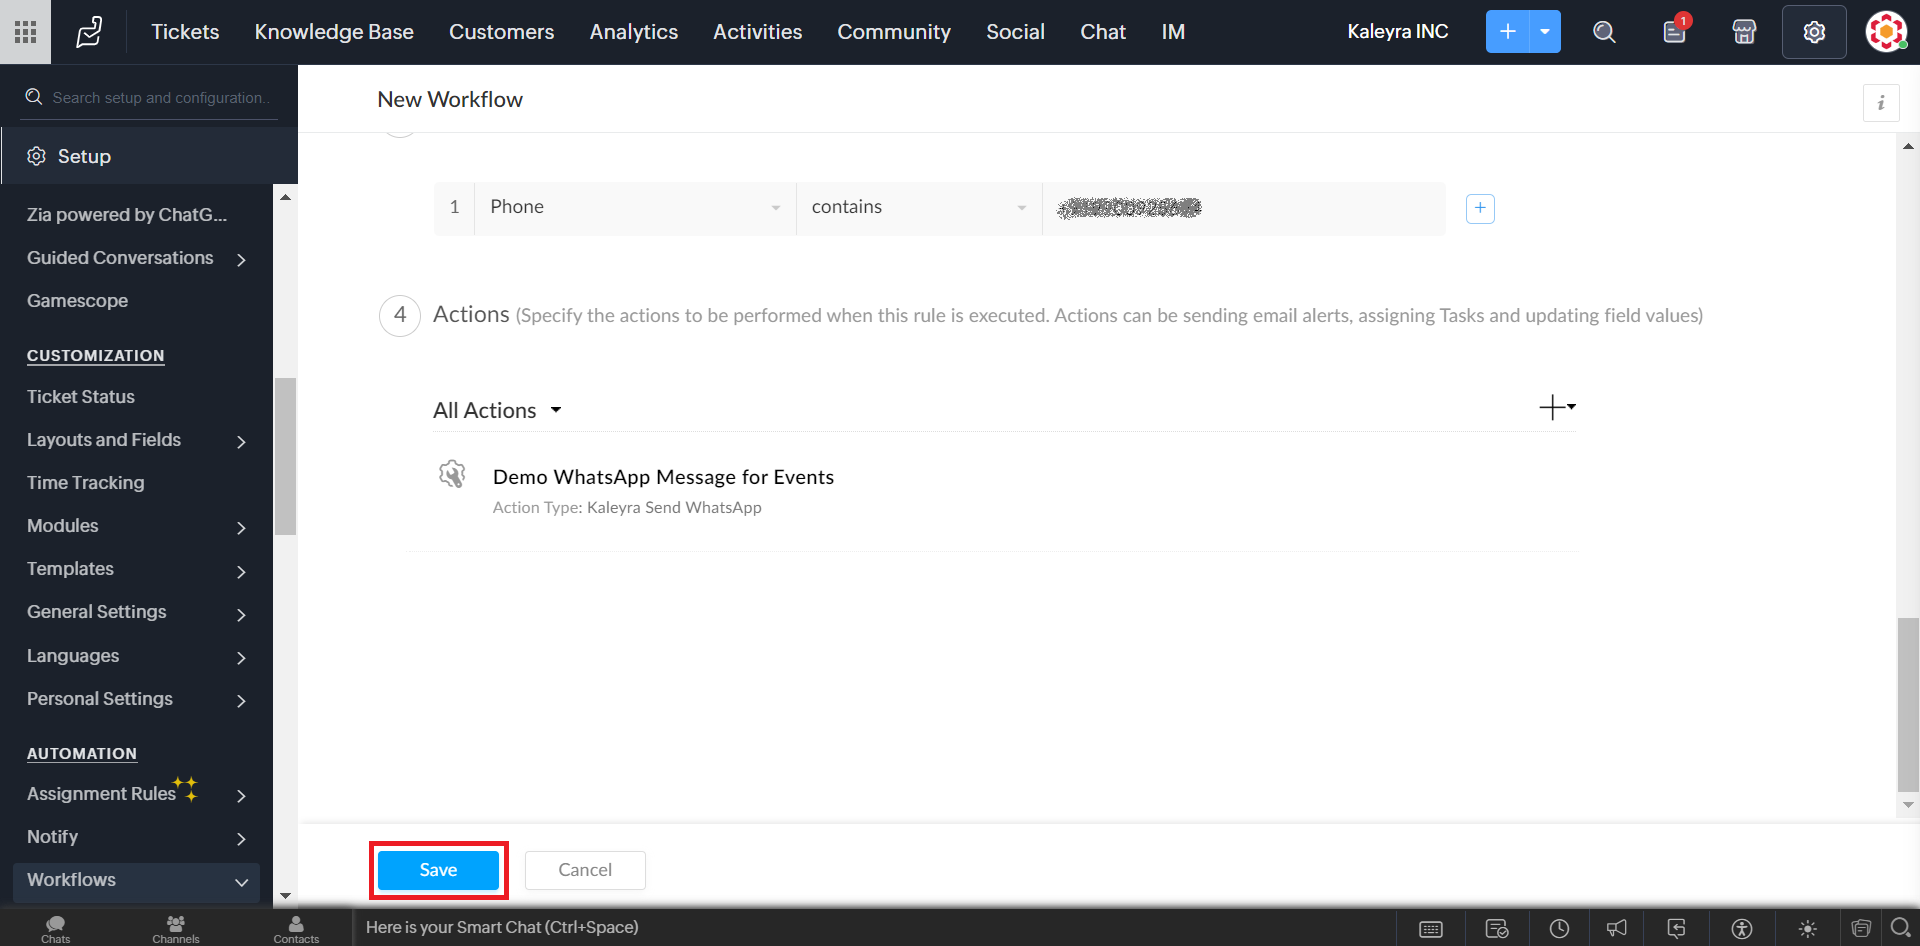
- Click Save.
The Workflow gets created.
The workflow rule is configured successfully, based on your rule configuration a message gets triggered whenever the defined criteria are met, and the message is sent to the configured number. You can view the logs from the Logs tab. Also, you can view the message logs from the kaleyra.io application by navigating to Channels > on WhatsApp card > Manage > Analytics > Logs tab.
Updated 8 months ago