Web SDK Authentication and Connection
The Web SDK is a fast and effective way to include a live video chat in a web application. It consists of a JavaScript library that adds a floating widget to your web page, allowing chats and video calls out of the box. In addition, you can customize the user experience, or even leverage your own chat widget in place of the one supplied, by using the functions and parameters provided by the library. The SDK can be included as an NPM module or it can be embedded directly in a web page by using the corresponding CDN link. The full documentation can be found here.
The following diagram represents the most common integration layout of the Web SDK and the section following the diagram elaborates on the flow:
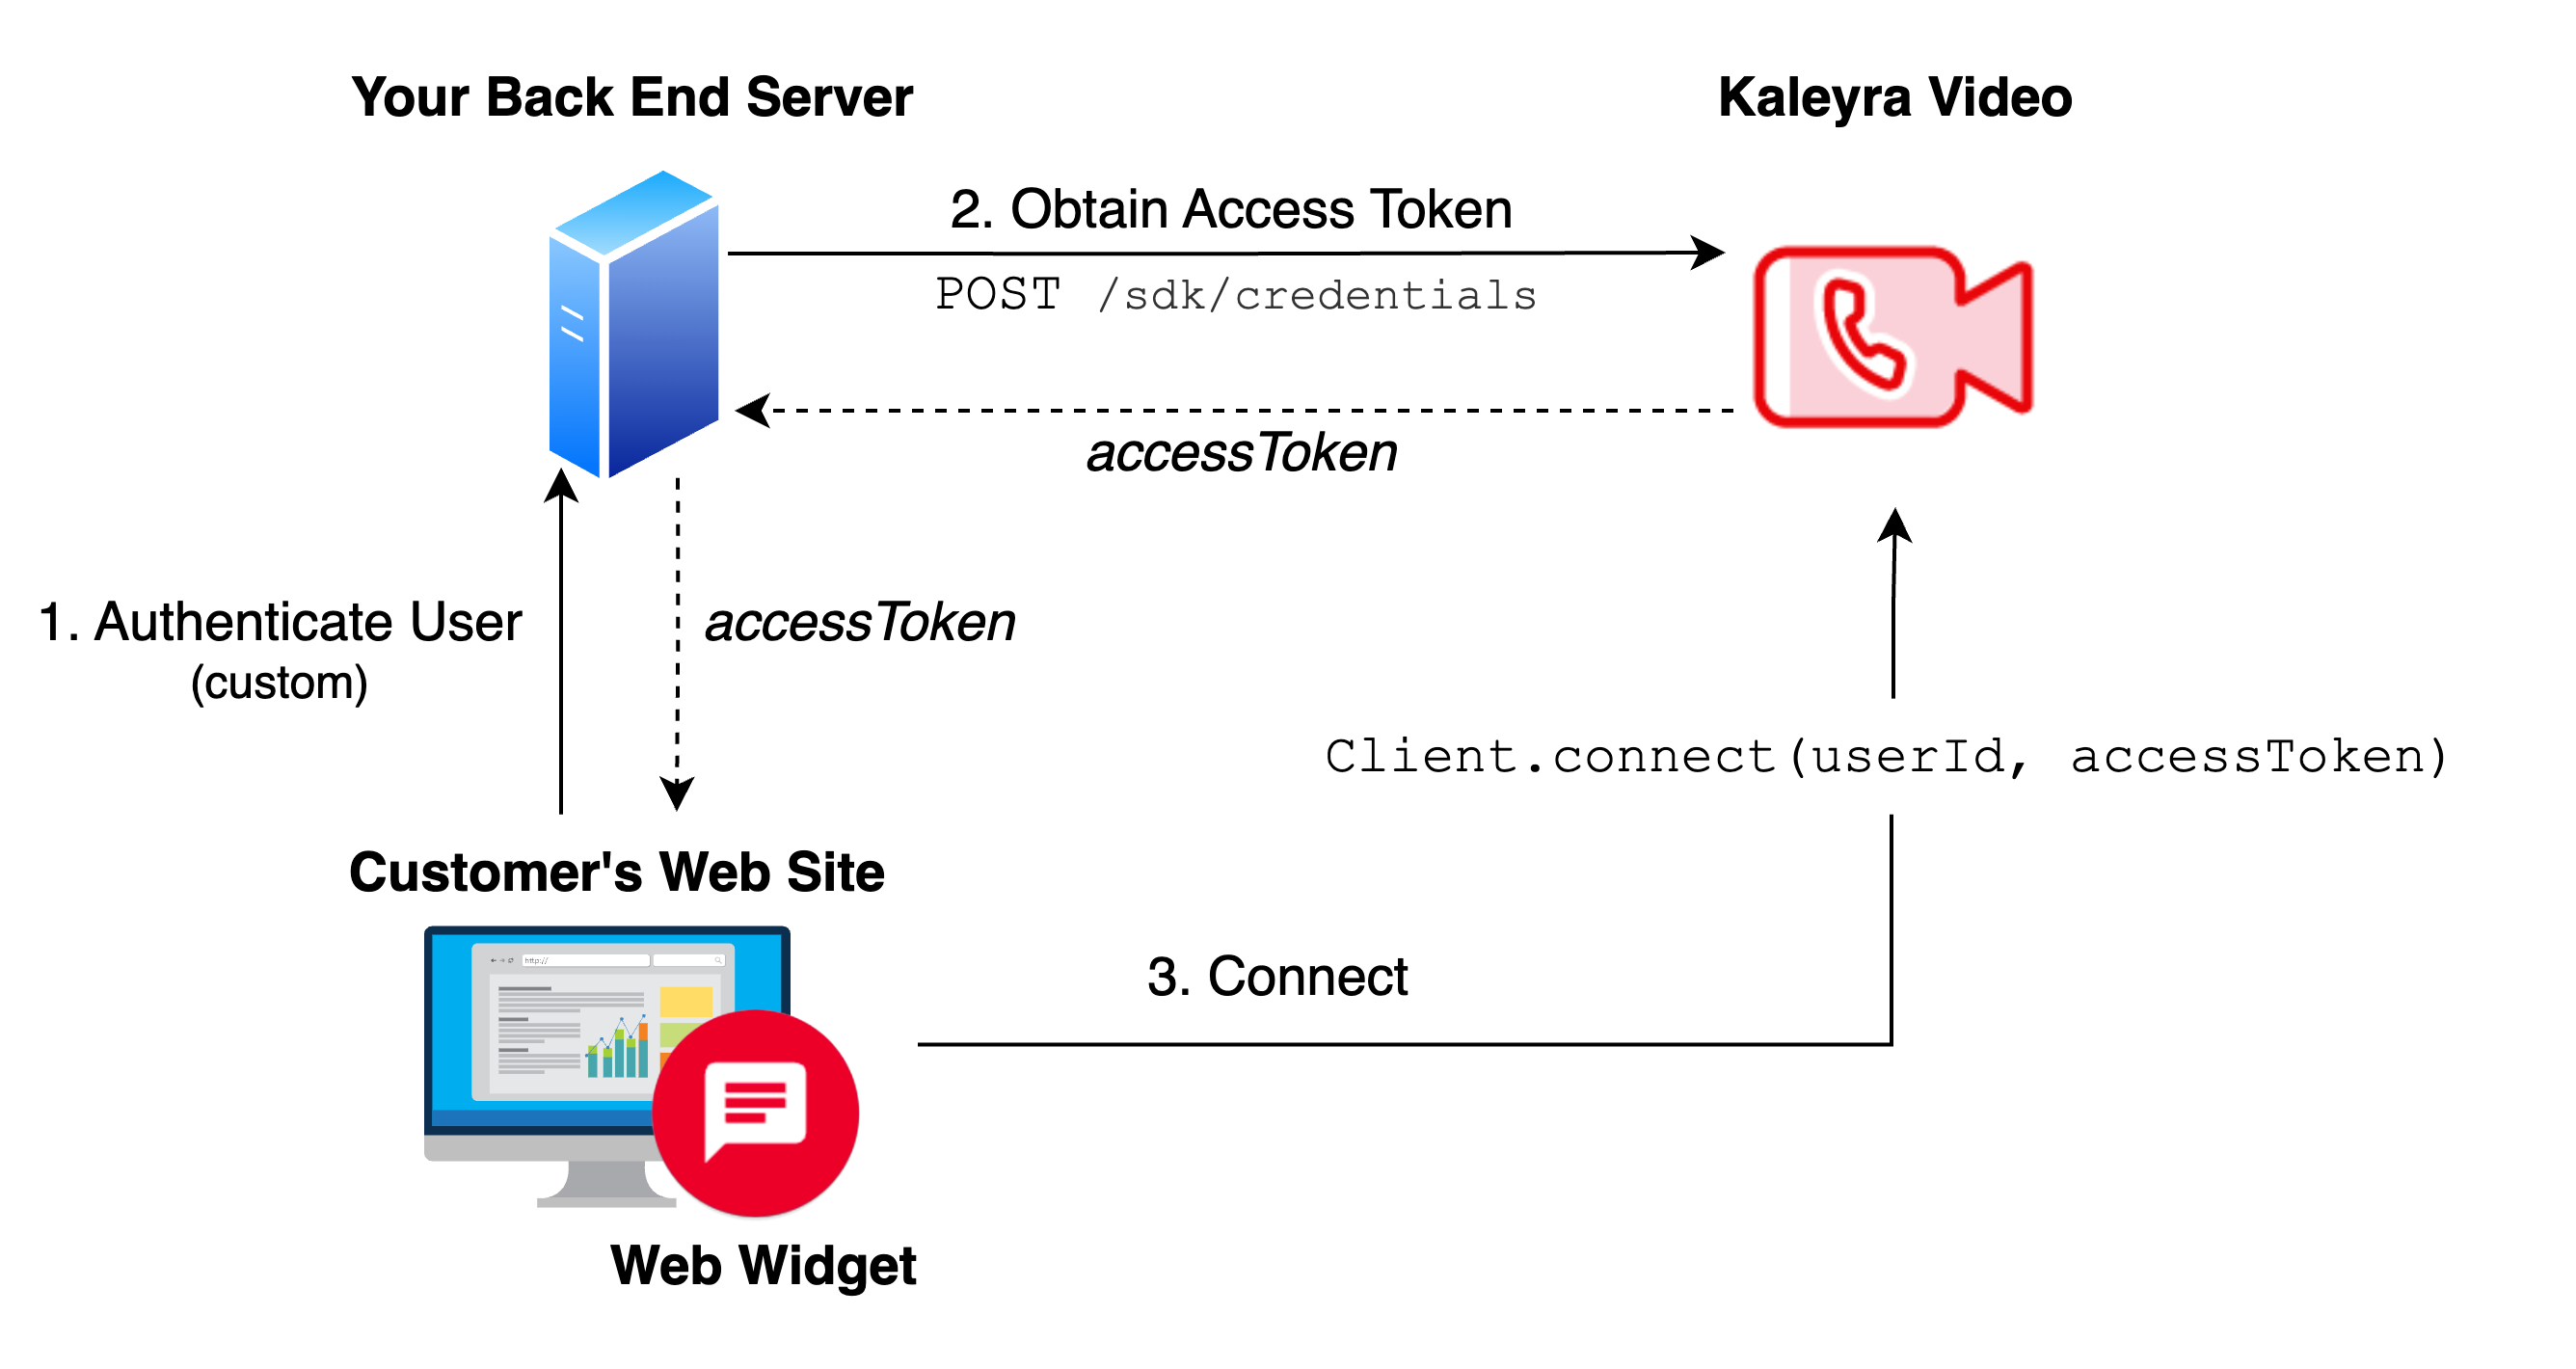
Note:The access token used by the SDK is obtained on the server side. This implementation ensures that the apiKey is not shared publicly, and the access token is bound to the user session on the integrated website.
Using the apiKey on the client side is strongly discouraged and should be absolutely avoided in production.
1. Authenticate User
The user accesses the integrated website by leveraging an authentication method of choice. User authentication is done externally from Kaleyra Video.
2. Obtain Access Token
Refer to the SDK Authentication section.
3. Connect
The Web SDK can connect the user to Kaleyra Video by using the connect function Client.connect(userId, accessToken).
You can make a basic integration of the widget for testing purposes by simply copy-pasting the following snippet of code inside the <body> tag of an HTML file.
Substitute <version> with the desired version of the SDK.
Note:You can find the latest version here: https://github.com/Bandyer/Bandyer-Chat-Widget#versions
Alternatively, if you havenpminstalled, you can runnpm view @bandyer/bandyer-chat-widget version
on your terminal.
Set userId, appId, region, environment, and accessToken variables as indicated in the following code:
Note:In sandbox environment ‘region’ is always ‘eu’.
<script src="https://cdn.bandyer.com/sdk/js/chat/<version>/bandyer-widget.min.js" type="text/javascript" ></script>
<script type="text/javascript">
    const userId = 'user id';
    const appId = 'app id associated to your account';
    const region = 'region to which your account belongs: eu or in';
    const environment = 'sandbox or production';
    const accessToken = 'returned by POST /sdk/credentials on server side'
    window.createWidget = async function() {
        window.Client = window.BandyerSDK.configure({
          appId: appId,
	      region: region,
	      environment: environment,
            tools: {
	          chat: true
	      }
        })
        await Client.connect(userId, accessToken)
    };

    window.createWidget();
</script>
Good Job!There are a more customizations available. Refer to Chat-Widget for further information.
Sample template
For a more complete template that includes a refresh policy for the access token you can refer to the following code snippet.
<script src="https://cdn.bandyer.com/sdk/js/chat/<version>/bandyer-widget.min.js" type="text/javascript" ></script>
<script type="text/javascript">
    const userId = 'user id';
    const appId = 'app id associated to your account';
    const region = 'region to which your account belongs: eu or in';
    const environment = 'sandbox or production';

    const retrieveAccessToken = async (region, environment, userId) => {
        // Retrieve the access token using POST /sdk/credentials on server side
        const accessToken = await callToYourServer()
        return accessToken
    }

    window.createWidget = async function() {
        window.Client = window.BandyerSDK.configure({
            appId: appId,
            region: region,
            environment: environment,
            tools: {
                // Choose you tools configuration
                chat: true
            }
        })
        try {

            Client.on('client:access_token:is_about_to_expire', async (data) => { // data: {expiresAt: "2022-01-10T11:41:19.000Z"'}
                const accessToken = await retrieveAccessToken(region, environment, userId); // Async function that allows you to ask a new access token to the server
                // Provide the obtained accessToken to the sdk
                const { expiresAt } = await Client.updateAccessToken(accessToken); // Return the new expiration date

            })

            Client.on('client:access_token:expired', async() => {
                // The session expired, you need to re-connect the Client with a new access token
                await Client.disconnect();
                const accessToken = await retrieveAccessToken(region, environment, userId); // Async function that allows you to ask a new access token to the server
                // Retrieve a new accessToken
                await Client.connect(userId, accessToken)
            })

            const accessToken = retrieveAccessToken(region, environment, userId)
            await Client.connect(userId, accessToken)
        } catch (e) {
            // Check the appid, region, environment or the access token
            console.error('Failed to retrieve the access token or to connect', e)
        }
    }

    window.createWidget();
</script>
Make a call with Web SDK
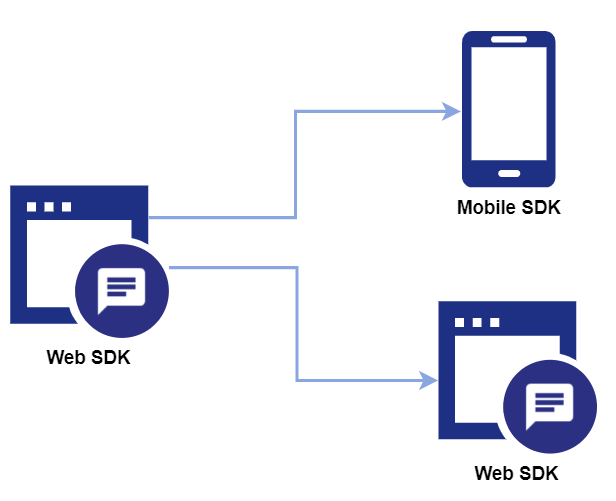
Through the Web SDK it's possible to reach users on both Web and mobile SDKs.
Make a call from the UI
The Web SDK allows to call another user directly from its User Interface.
| 1 | Click on the widget icon to open the chat list |  |
| 2 | Select a user from the chat list. If the desired user is not present in the list, it means that there are still no chats present with that user. To add a chat with a user, call the API Add channel API | 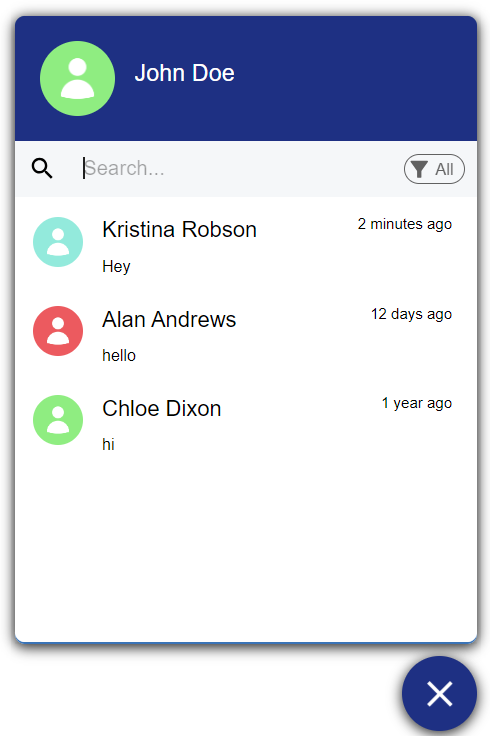 |
| 3 | The chat view will be displayed. Use the buttons on the top right to start a call. Note: the available buttons (audio call and video call) depend on the call type configuration. See the Web SDK documentation for the full list of parameters and possible values. | 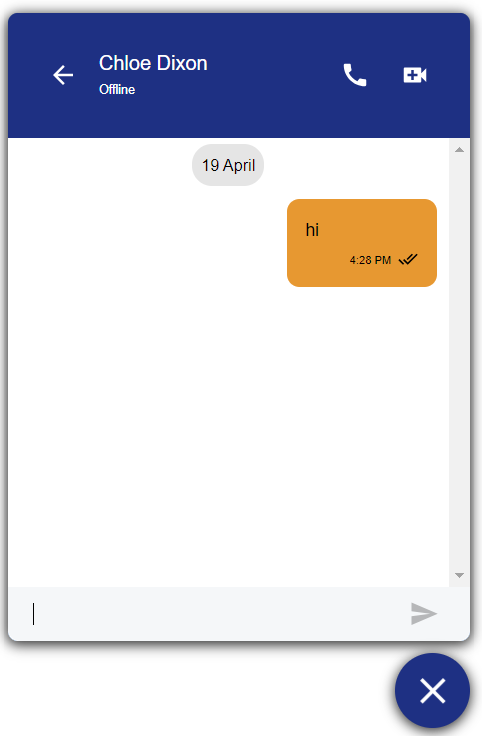 |
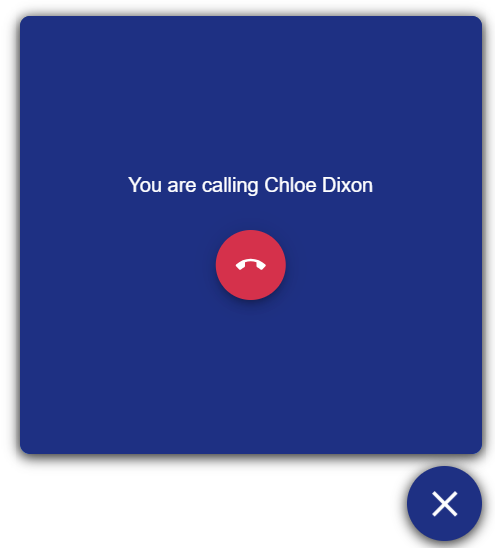
| 4 | The call will start dialing. |
Make a call programmatically
Create a call
It's possible to start a video call programmatically by using the createCall() function.
const callView: CallView = Client.createCall(['usr_fr55ga3'], { call_type: 'audio_video' });See the Web SDK reference for more details.
Join an existing room
If a room has already been created (via REST API) and you want to join from within the widget itself, you can leverage the joinUrl() function passing the participant link as a parameter.
const call: CallView = Client.joinCallUrl('link');See the Web SDK reference for more details.