Assuming we are the Agent, we will find the Sign tool (pen icon) available in our toolbar, as follows:

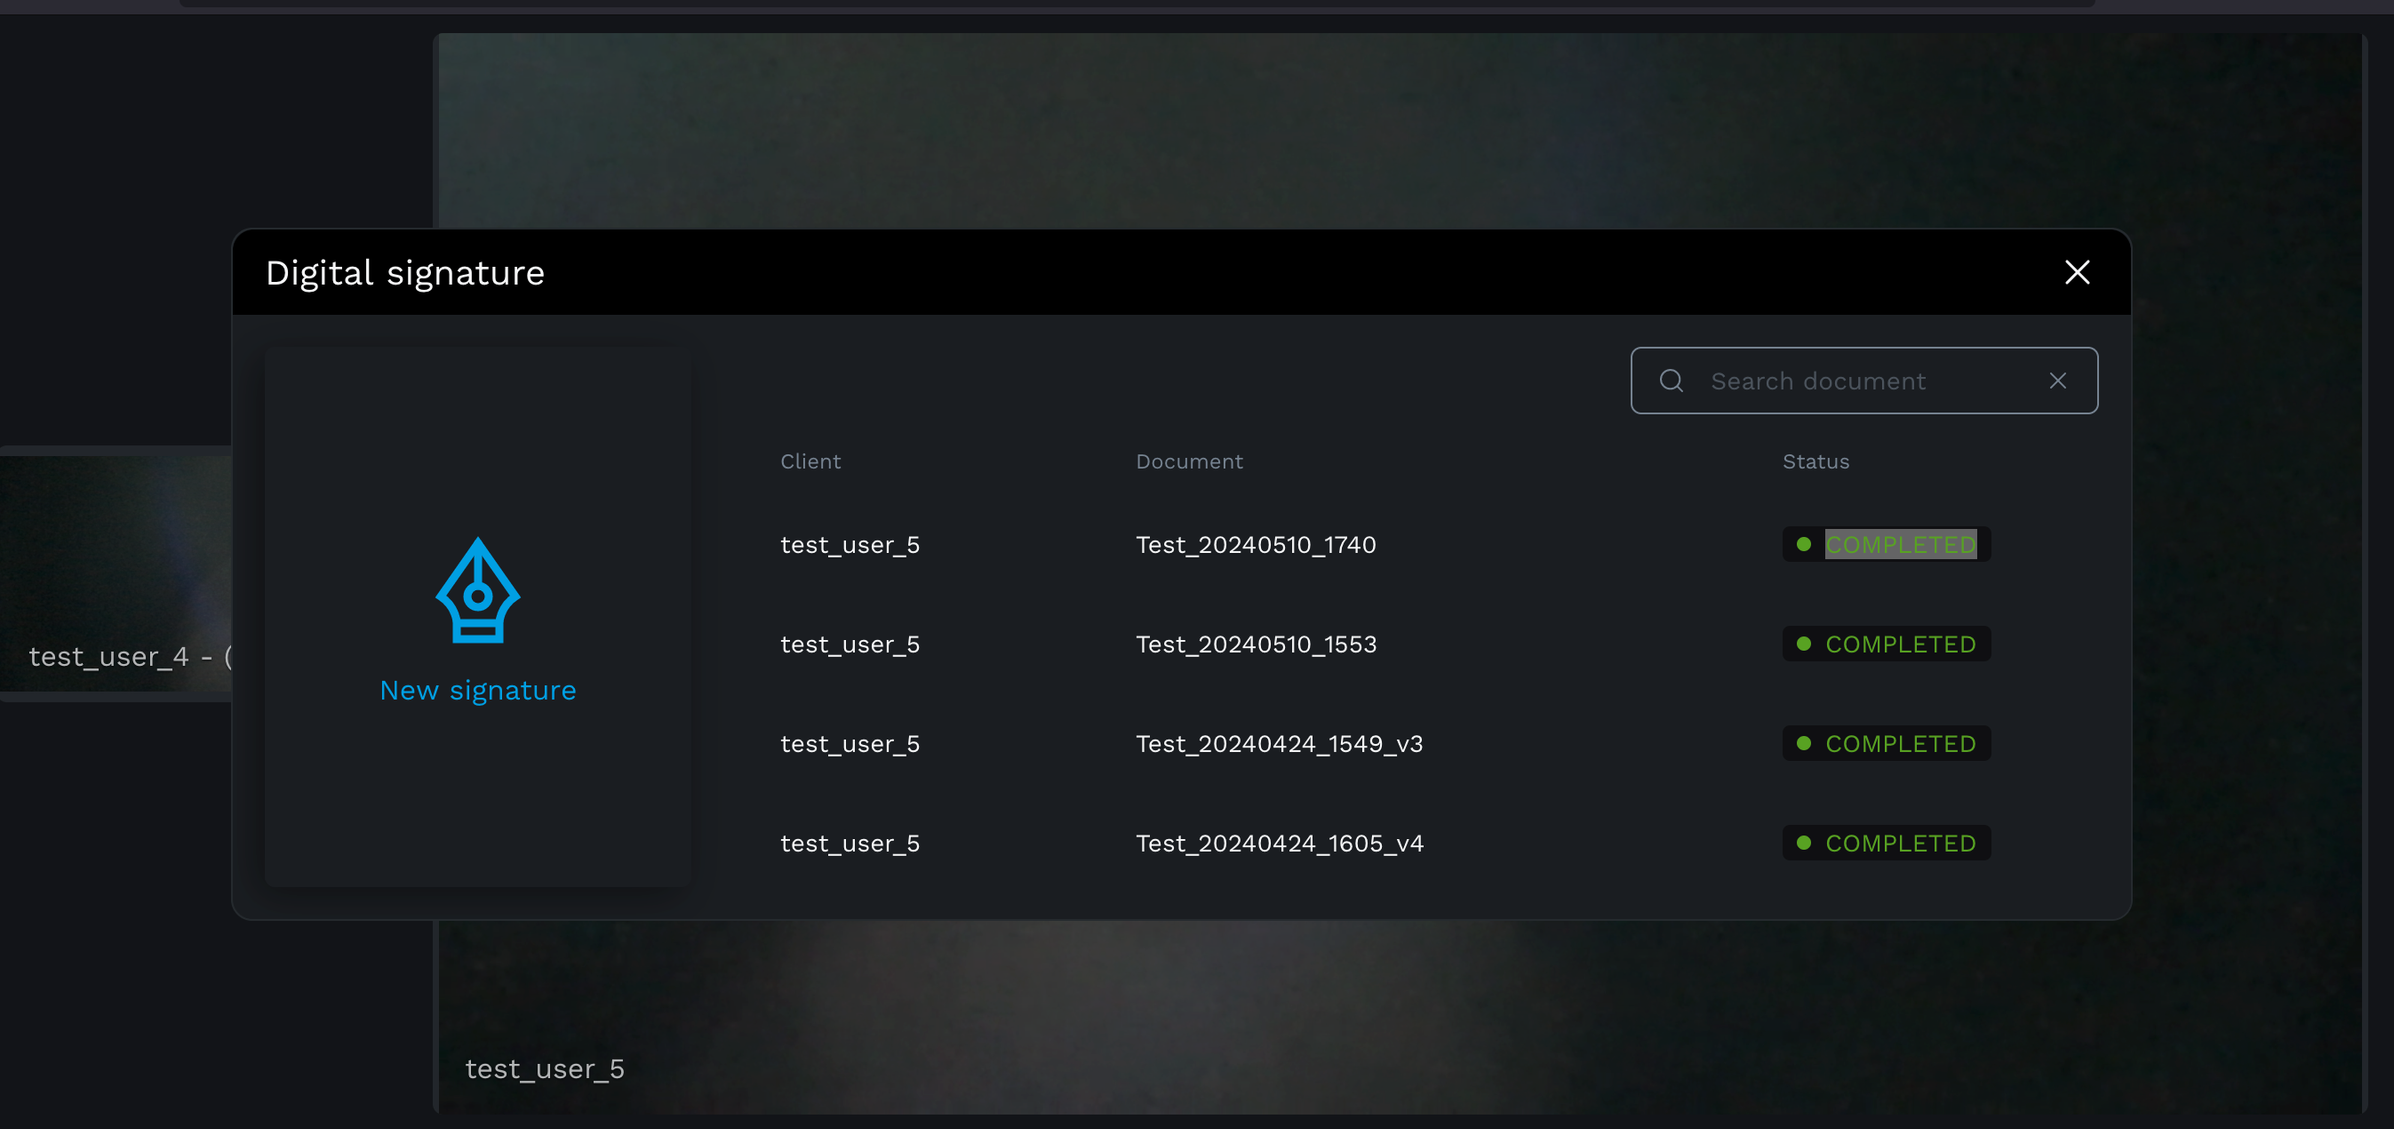
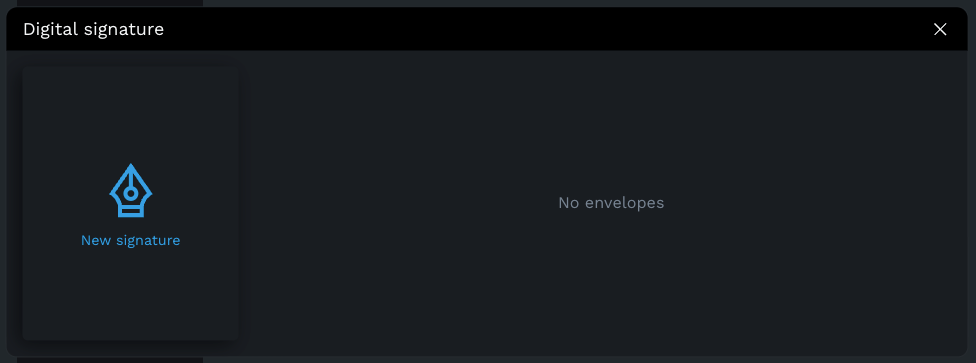
By clicking on it, the Digital Signature modal form will appear, as shown below, and we’ll be able to create a new request to sign a document, with the corresponding button New signature:
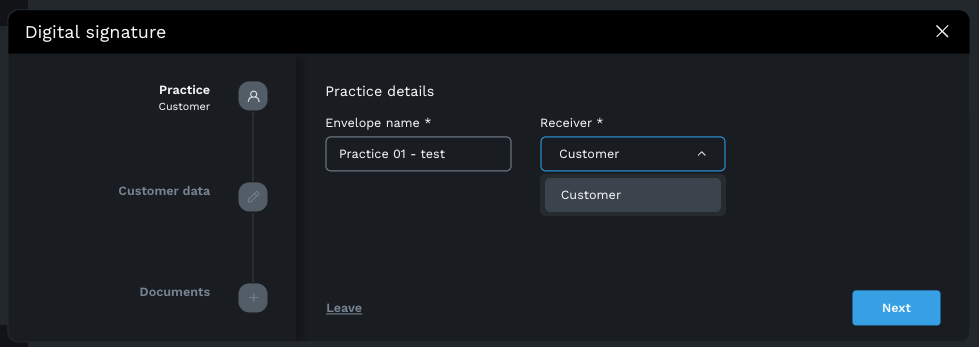
After clicking the New signature button, the Agent can begin defining information about the practice (a file to sign by the client), selecting the receiver of the e-sign request (you can have only one receiver per request).
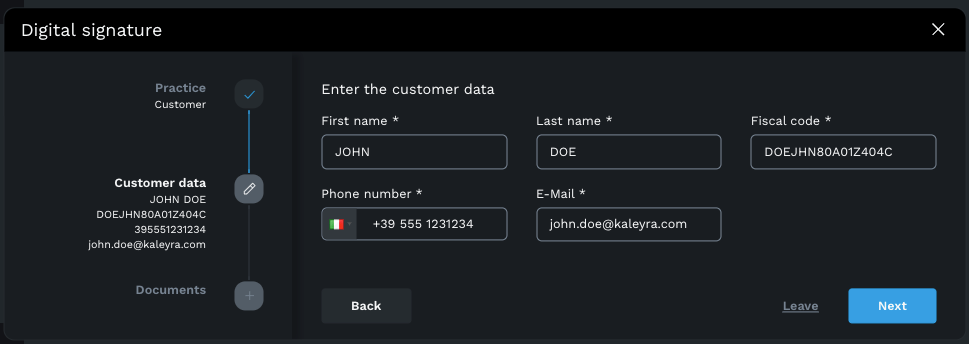
After clicking on the Next button, the Agent is asked to enter the Customer’s data (which will later appear on the e-sign provider’s platform):
Next, it’s required to select a document template and upload the related document, which will later be signed by the Customer, as follows:
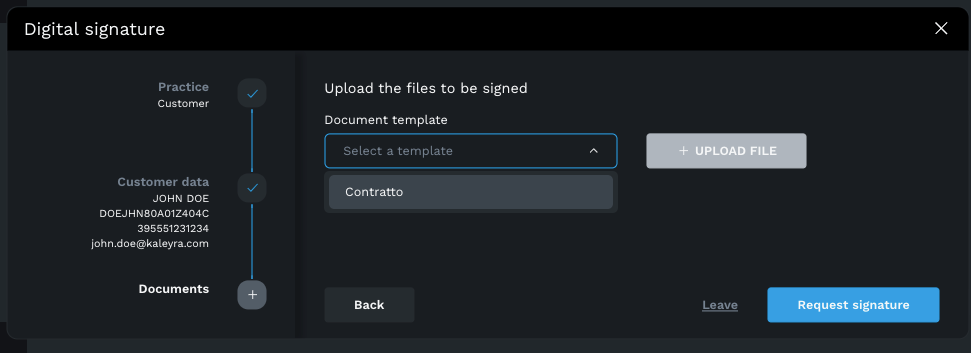

With all the steps completed, now it’s possible to click the Request signature button.
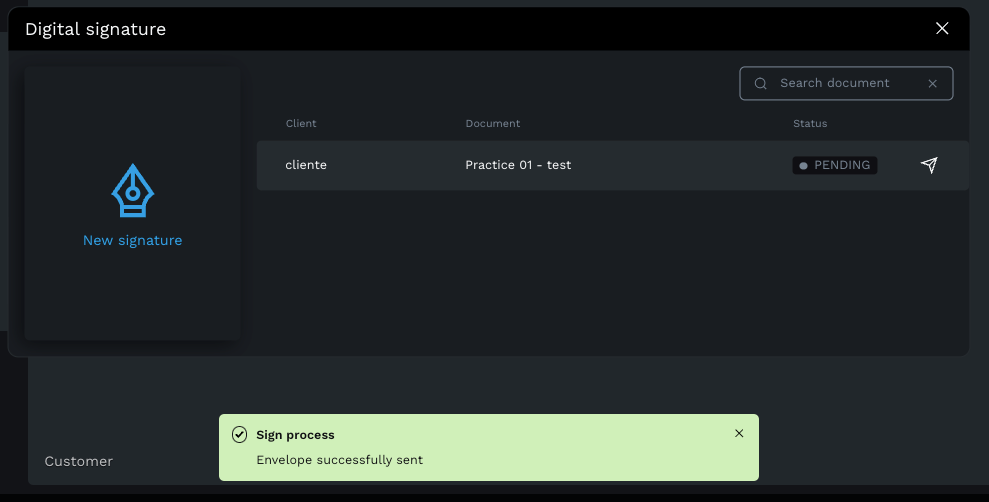
At this point, all the information is sent to the provider and the e-signature process is taken care by the certification authority.
When the e-signature is completed we’re going to see the status updating.